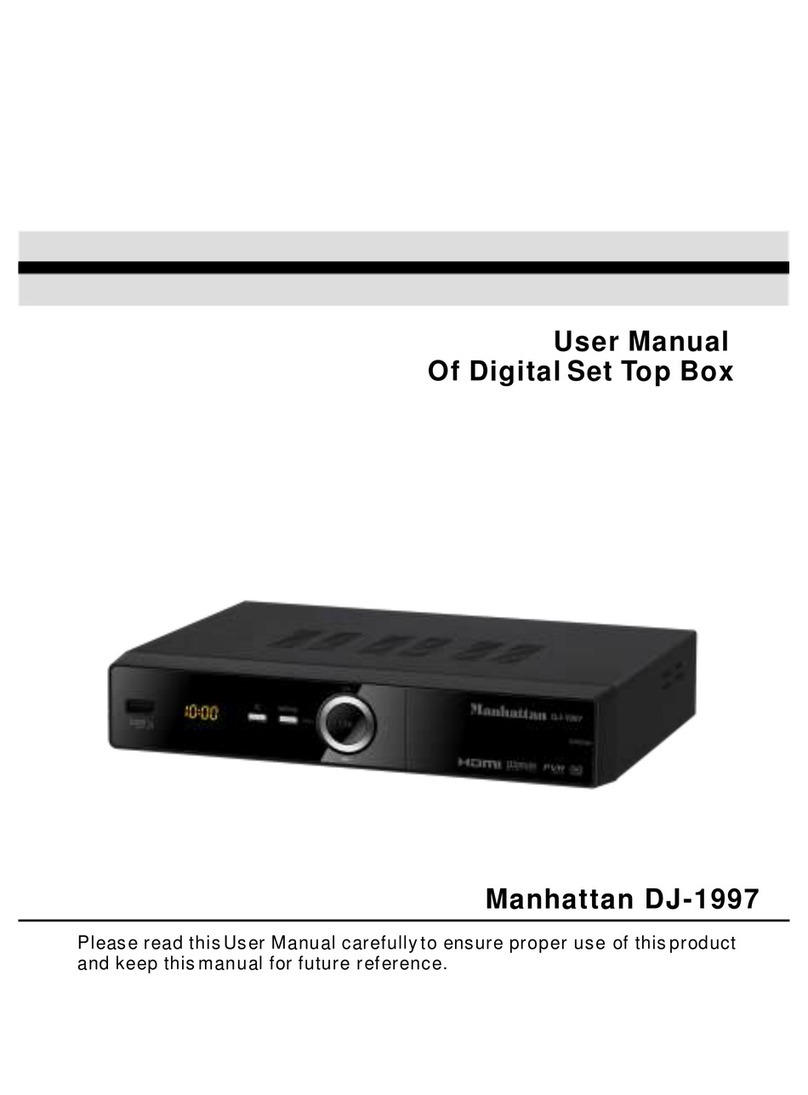
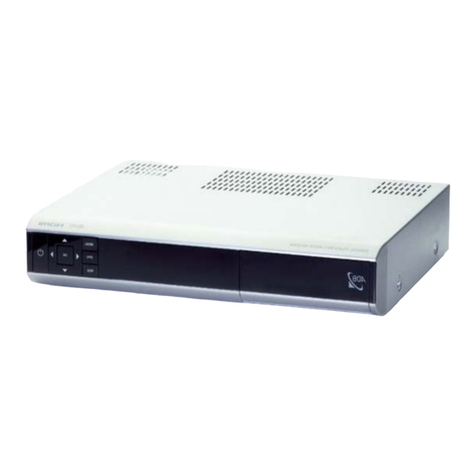
Manhattan RC-1978 User manual

User Manual
Of Digital Set Top Box
Manhattan RC-1978
Please read thisUser Manual carefullyto ensure properuse of thisproduct
and keep thismanual for futurereference

Tableof Contents
Important Safety Instructions.................................................................................1
Front and RearPanel Illustration.........................................................................2
Remote Control.................................................................................................3
Connections......................................................................................................5
Quick Installation, Program Scanning, Satellite Setting, Satellite Searching.........6
Setup Shortcut………………………………………………………………………………..8
DTVOperation....................................................................................................9
Wired and Wireless IPTV Setup…………………………………………………………...9
System Settings……………………………………………………………………………..10
Loading Update Files Into Receiver……………………………………………………..10
Exporting Files from Receiver to a USB Memory Stick………………………………10
More System Setup
Multimedia......................................................................................................
DVR................................................................................................................
IPTV
Troubleshooting ...........................................................................................
Specifications..................................................................................................

Important Safety Instructions
*Warning: Toreduce the riskof electric shock,do not removethe cover orback.
There are nouser-serviceable parts inside.Refer servicing toqualified personnel.
*Warning: Toprevent fire orelectric shock hazard,do not exposethe unit torain or
moisture.
*Do not exposethe Adaptorand Set topbox to water(dripping or splashing)and no
objects filled withliquids, such asvases, should beplaced on theunit.
*Keep the Settop box awayfrom direct sunlightand heat sourcesuch as radiators
or stoves.
*Do not blockthe ventilation openings.Slots and openingson the unitare provided for
ventilation. Theopenings should neverbe blocked byplacing your Settop box on a
cushion, sofaor other similarsurface.
*Do not placethe Set topbox on unstablecart, stand, tripod,bracket or table.
The unit mayfall, resulting inpossible damage orinjury.
*Only use theAC adapterincluded with Settop box. Usingany other adapterwill void
your warranty.
*Unplug the powerfrom the outletwhen the unitis not inuse.
*Attention should bedrawn to theenvironmental aspects ofbattery disposal.
*WARNNING: Thebattery (battery orbatteries or batterypack) shall notbe exposed
to excessive heatsuch as sunshine,fire or thelike.
*WARNNING: Excessivesound pressure fromearphones or headphonescan cause
hearing loss.
*WARNNING: Onlyuse attachments/accessories specifiedprovided by the
manufacturer, theSet top boxis supplied byAC adapter, theAC adapter isused as
disconnect device, thedisconnect device shallremain readily operable.
Caution: Danger ofexplosion if batteryis incorrectly replaced,replaced only with
the same orequivalent type (Lithiumbattery)
The symbol indicatesthat dangerous voltagesconstituting a riskof electric
shock are presentwithin this unit.
The symbol indicatesthat there areimportant operating andmaintenance
instructions in theliterature accompanying thisunit.
The USB memorystick should beplug in theunit directly.USB extension
cable should notbe used toavoid failing ofdata transferring and
interference caused.
This marking indicatesthat this productshould not bedisposed with other
household wastes throughoutthe EU. To prevent possibleharm to the
environment or humanhealth from uncontrolledwaste disposal, recycleit
responsibly to promotethe sustainable reuseof material resources.
Toreturn your useddevice, please usethe return andcollection systems
or contact theretailer where theproduct was purchased.
They can takethis product forenvironmental safe recycling.
1

Front and Rear Panel Illustration
1. Front Panel
1.USB JACK: Usedto connect toan external USB2.0 device.
2.VOL +/-: Used to increase/decreasethe volume withoutusing the remote
control.
3.LED DISPLAY: Used todisplay the timeor channel information.
4. CH +/-: Selects the next/previousChannel without usingthe remote control.
5.MENU: Turnson main menu.
6.OK: Confirms an entryor selection.
7.STANDBYINDICATOR:Used to visuallyshow power stateof the STB.
2. Rear Panel
1. LNB IN:This socket connectsthe LNB toreceive thesignal.
2. LOOP OUT: This socketwill bypass theRF signal toeither your TVor another
video system.
3. USB JACK:Used to connectto an externalUSB 2.0 device.
4. HDMI OUT: This socketconnects to HDMIin device.
5. AUDIO L/R: Thissocket outputs analogaudio L/R adapter.
6. CVBS: Thissocket outputs compositevideo signal.
7. SPDIF: Thissocket connects toa coaxial socketon your surroundsound system.
8. LAN: Connect to RJ45 cable for internet connection
9. DC IN12V:Thisis used toconnect the 12VDC adapter.
10. RS232: Connectto serial portof PC forsoftware update.
2

Remote Control
No
Button Name
Function
0
Set
Setting
1
Power
Turn the receiver on/standby
2
TV/Radio
Switch between TV and Radio
3
Mute
Mute
4~1
2
Numeric keys
Control the numeric operation
13
Recall
Return to the previous program
14
0
Numeric key
15
Menu
Call the main menu
16
EPG
Call the EPG information
17
EXIT
Exit the current operation
18
Up
Arrow key
19
Left
Arrow key
20
OK
Confirm key
21
Right
Arrow key
22
Down
Arrow key
23
VOL+
Volume up
24
VOL-
Volume down
25
Page+
Page up
26
Page-
Page down
27
Red key
Specific function in different cases.
28
Blue key
Specific function in different cases.
29
Green key
Specific function in different cases.
30
Yellow key
Specific function in different cases.
31
Info key
Display the current program’s
information
32
SUBT
Call Subtitle information
33
REC
Start Record
34
TEXT
Tetetext
35
FAV
Call the FAV list
36
Fast rewind
37
Fast forward
38
Stop
39
Play & Pause
40
AUDIO
Call the audio information
40
Source
Change source
41
OK
Confirm Key
42
VOL-
TV Volume down
43
VOL+
TV Volume up
3

Remote Control
Installing the Batteries
Remove the batterycover from theremote control andput 2xAAAsize batteries
inside the compartment.
The diagram inside the battery compartmentshows the correctway to install
the batteries.
1.Open the cover
2.Install batteries
3.Close the cover
Using the RemoteControl
Touse the remotecontrol, point ittowards the frontof the digitalset top box.The
remote control hasa range ofup to 7meters from theset top boxat an angleof up
to 60 degrees.The remote controlwill not operateif its pathis blocked.
Note:
Sunlight or verybright light willdecrease the sensitivityof the remotecontrol.
4

Connections
Caution:
Make sure tocheck the voltagespecification of thewall outlet isthe same ratingwith
the receiver.Toprevent the riskof electric shock,do not openthe cover orthe back
of the receiver.
Note:
When connecting thereceiver to otherequipment, e.g., TV, VCR andamplifier,
make sure torefer to relevantuser manual forinstruction. Also,make sure you
disconnect all theequipments from themains supply before the connection to
the RF input of the box with coaxial cable.
5

Quick Installation
(1) Unplug theset-top box andtelevision.
(2) Connect theantenna to theRF input ofthe box withcoaxial cable.
(3) Connect theaudio out portand video outport on thebox to theaudio in portand
video in porton the televisionrespectively using audio/videocables.
(4) Plug andpower on theset-top box andtelevision.
Program Scanning
Satellite Setting
(1) Press MENU and go to Installation page.
Select ANTENNA SETTING and press OK.
Select SATELLITE LIST and enter a check mark on each desired satellite.
Please note that Ku-band satellites are listed first, followed by C-band type.
Note that only satellites that have been checked in the SATELLITE LIST
can be scanned. You cannot scan an unchecked satellite. Exit and save.
(2) From INSTALLATION menu, select ANTENNA SETTING with OK button.
Repeat the following for each satellite that you wish to use:
Set LNB POWER to ON.
Set LNB FREQUENCY to proper local oscillator setting
(normally 5150 for C-band, 10750 for Ku-band, and Universal 9750/10600
for Universal Ku LNBF.
DiSEqC 1.0 and 1.1 settings should be set to OFF.
(any DiSEqC switches should NOT be connected at this time).
(3) Make a decision on whether system will be motorized.
Go to Installation menu, and select MOTOR SETTING, press OK
Motor Type should be set to OFF if antenna is to be non-motorized, or if
another device is used separately for Antenna motor control.
Continue installation instructions below MOTOR section if this is to be a non-
motorized system.
MOTORIZED SYSTEMS:
If antenna is to be motorized, select either USALS or DiSEqC 1.2.
Use of either assumes that you have first mechanically aligned the DiSEqC motor
to properly follow the geostationary satellite arc. Study any instruction manual
that came with your motorized system components.
DiSEqC 1.2 should be used on a conventional motorized installation.
Different parameters can be set, including East and West limits.
Individual satellites can be set and stored, using numbers starting with 1 as a
reference to each satellite’s position. You should start with a plan on either the
far east or the far west side of the satellite arc, so that all satellites are listed and
stored sequentially (1, 2, 3 …). T ake notes as you ali gn and store each satellite.
6

USALS is a time-saving feature that can be used to more easily locate all
satellites, provided that you have done a proper mechanical alignment of the
mount and motor. It also depends upon putting exact local LONGITUDE and
LAT ITUDE information for your location into the receiver’s memory. A mathe -
matical calculation that is the result of all of this information will automatically
align predicted dish positions for each satellite, assuming that everything has
been done properly. IF you do the math and mechanical alignments less than
perfectly, the USALS system CANNOT be expected to work properly. In that
situation, one can sometimes use DiSEqC 1.2 Mode on individual satellites to
store them as best as possible. A proper mechanical adjustment is much
more preferable, simply to minimize frustration.
USALS MOTORIZATION—continued
After selecting USALS motor type, enter LOCAL LONGITUDE and LOCAL
LATITUDE in decimal degrees. Confirm that Longitude is WEST for North
American locations, and that Latitude is NORTH. SAT LONGITUDE for most Ku-
band DiSEqC systems should be set at 097.0 West, or the Galaxy 19 satellite.
SATELLITE SEARCHING
While in INSTALLATION section, under ANTENNA SETTING, satellite scanning
can be done. After all other parameters have been properly entered, toggle down
to START SEARCH and then toggle left to right to select SATELLITE, BLIND or TP
SATELLITE gives you three subsettings to select. FTA ONLY, TV/RADIO, NIT.
If you select SATELLITE, small box labeled SATELLITE SEARCH will appear in the
center of the screen.
FTA ONLY should normally be set to YES so that only non-scrambled channels are
saved. If you select NO and then SEARCH, ALL possible channels will appear,
including scrambled signals. This creates extra work as each non-wanted channel
must be manually deleted.
TV/RADIO has choices of ALL, TV or RADIO. Unless you don’t want radio at all,
ALL is normally selected so that everything is scanned.
NIT SEARCH is normally set to NO, unless you want a thorough but often time-consuming
search of unknown signals.
BLIND gives you a choice of a regular Blind Scan for unknown channels.
The above FTA ONLY and TV/RADIO choices are available in Blind mode.
There is no NIT SEARCH mode, which must be accessed by first entering
SATELLITE instead of BLIND scanning mode. If you want a relatively quick scan
for unknown channels, choose BLIND. Otherwise SATELLITE then NIT SEARCH
for a deep scan.
TP provides an individual Transponder scan.
You can make FTA ONLY, TV/RADIO or NIT SEARCH options in this mode.
This might be useful when choosing an individual transponder, then NIT SEARCH
for a deep scan of channels found only on that TP, rather than across the entire
satellite.
7

Setup Shortcut
Go to www.manhattan-digital.net and download the appropriate (C/Ku or Ku-band)
Manhattan RC-1978 file. Save to your computer, and then make a copy on a USB
memory stick. Insert USB stick into a spare USB port on your receiver.
As a continuing long-term service to its customers, Manhattan-Digital will make
available on its website a separate Ku-band only as well as C/Ku band
downloadable files for the RC-1978 receiver.
These may be slightly different from the original files you may have received with
your receiver, as some satellite dealers may have created their own files. But it is
a resource that is intended to be there to provide an emergency fix for anyone that
mistakenly “Resets To Factory Values” purposely or by accident. Or is otherwise
in need of a basic setup file for satellites and transponders that are ready to go.
8

DTV OPERATION
When your receiver is powered on, a press on the Menu button will bring out the main
menu. Toggling left and right will give us the main areas of the receiver, with submenus
below each:
CHANNEL EDIT
TV Channel
Radio Channel
Delete All
SYSTEM SETTING
Time Setting
Timer Setting
Lock Control
AV Setting
Network Setting
INSTALLATION
Antenna Setting
Motor Setting
Satellite List
TP List
UTILITY
System Information
Factory Reset
Game Center
Software Upgrade
Network
MEDIA CENTER
Media Player
PVR Management
Record Files
IPTV
Weather
Wired vs. Wireless Network
The IPTV Connection will identify either a wired (RJ45 cable) or a wireless connection
(external IPTV antenna connected via USB port). If RJ45 cable or USB-connected
IPTV antenna are in place, go to NETWORK SETTING screen under System Setting.
Please note that you can only connect cable or Wi-Fi antenna separately one at a time.
System will be disabled if you attempt to use both connections at the same time.
Appropriate settings can be made in NETWORK SETTING area, including DEVICE,
MODE and TYPE. Once you have made entries, press the GREEN button to SCAN,
which should acknowledge a connection. In Wireless mode, select desired network
and press OK.
9

System Setting
While in SYSTEM SETTING menu, subdirectories can be accessed to change system
parameters or to locally customize settings. These include TIME SETTING,
TIMER SETTING, LOCK CONTROL, AV SETTING, and NETWORK SETTING.
While you can set your local time zone, please note that the time will only be displayed
correctly when connected to the Internet.
AV SETTINGS (Audio-Video) should be left in factory default mode unless there is a
reason or a need to change them. Before changing anything, please confirm that your
TV device can support the mode(s) that you select. Within the AV SETTING area,
there are abilities to made custom settings for LANGUAGE, OSD (On Screen Display),
and COLOR.
Most settings are self-explanatory, dropping down through menus, and making the
appropriate selections for your requirements.
Loading Upgrade Files Into Receiver
Confirm full name of upgrade file before using. Write it down.
It should have a .bin Suffix and be larger than 8 Mb in size.
Assuming that you have proper file on a USB memory stick, install it via a spare
USB port on your Manhattan RC-1978 receiver. Power receiver ON.
Press MENU and toggle left/right to UTILITY page.
Select SOFTWARE UPGRADE and press OK.
Under UPGRADE TYPE, select USB UPGRADE and press OK.
Under SECTION, choose one of the following as it applies:
ALL—to install firmware and programming.
APP—to install specific applications.
USER DATA—to install user data
ETC—(future choice as required)
Under FILE PATH, select OK. Under START, Press OK.
Updated file should make changes and save them.
Exporting Files from Receiver to USB Memory Stick
Press MENU and toggle left/right to UTILITY page.
Select SOFTWARE UPGRADE and press OK.
Under UPGRADE TYPE, select DUMP.
Under FILE PATH, press OK. Confirm that you are saving to proper drive.
Under START, Press OK. Heed the warning not to cut off the power, and wait.
File should normally save as a 16 Mb .bin type file.
Save a spare copy from USB stick to your computer drive.
10

STANDBY
Press [STANDBY] key, you can enter the Standby state;
In Standby state, press [STANDBY] key again, you can call back
the unit and go on playing the channel;
User can also switch off the STB to end the Standby state by press
the [Device’s Main Power];
Channel Up / Channel Down
In full screen, press[▲ ▼] to change channel. You can change
channels in channel list too.
Volume Up/Volume Down
In full screen, press [ / ] to adjust volume.
OK
In full screen, press [ok] key, you can enter “Channel list”.
Press [▲ ▼] key to move highlight and press [ok] key to play the
highlighted channel.
Press [ ] key to select channels from a particular satellite.
FIND
Press [LIST] key to open “Find” window. Here you can find channel
you want to watch by its name.
ZOOM
The zoom function allows to magnify a certain area on the images.
Just press [] key in full screen.
Press [ ] key again, the image will enlarge rotate as ×1, ×2, ×4.
In zoom mode, press [EXIT] key to close “zoom”.
MEDIA
Press [MEDIA] key to enter “media player” in full screen. There you
can play MP3/video/book/picture.
FAST SCAN
Press [USB] key to search satellite by auto scan.
INFO

Press [INFO] key once, you can see basic information of the
channel you watch.
Press [INFO] key twice, you will enter the signal indicator window.
There you can check the strength/quality/video format / audio
format etc.
Media Center
Media center will be used when USB device is plugged. When you
enter to “Media Center” menu, you will see a screen as below
Media Player
First you enter media play window,the highlight is on the “File”
menu. Press [ / ] to select mode among Video/Music/Picture/Text.
Press [ok] to confirm. Press [EXIT]/[MENU]/ to exit.
File mode: In this mode, you can play every kind of media format,
for example: Music/Video/Picture. But it is not very convenient
when you just want to play a kind of media mode,take music for
example. Now you can move highlight to the other mode, as
bellows:
Video mode: Select “Video” menu, then all the useable video files
will display on the screen. When you are playing it, press [ok] key,
you will see picture as below:
Here,you can page up/down, pause, play, check the size of the
video and so no. The STB support
.MP4/.AVI/.MKV/.FLV/.MPG/.VOB/.TS etc.
Music mode: Press [ok] key to move highlight to directory and you
can see picture as bellows
Picture mode:You can browse pictures by entering “Picture”
menu. You can browse one by one or enjoy automatically.
Text mode: Enter the “Text” menu, select a Text to look at it. When
you read the text again the open, it will be prompted whether to
continue the last view of the page.

Record Files
Move the highlight to “Record Files” and press [ok] key. It will
display “Record Files” as below:

Troubleshooting
Problem
Potential Reasons
What to do
No picture
Power isn't connected
Connect the power
The power switchis not
on
Switch on thepower
Screen shows
No Signal
DVB-S cable not
connected
Plug in theDVB-S cable
Incorrect setting
Setup correctly
parameter
No sound
from
speaker
No or incorrect
connection with audio
cable
Connect the audio
cable properly
Mute the sound
Switch on the
correct volume
control
Incorrect soundtrack
Tryanother sound track
Only
sound, no
image on
the
screen
No or incorrect
connection with AV
cable
Connect the audio
cable properly
The program isa
radio program
Press <TV/RADIO> key
to shift into TVmode
Remote control
unit does not
work
The battery is
exhausted
Change new battery
Remote control unit is
not in the right
opposite of the front
panel ortoo far from it
Point more directly at
the STB with remote
control, and move
closer

Picture image
freezes or is
intermittent
The signal istoo weak
Align the antenna and
LNBF for best quality
reading
24

Specifications
Item
Specification
Tuner
Frequency Range
Input Impedance
950MHz to 2150MHz
75Ohms unbalanced
Signal Input Level
-65 ~ -25dBm
Symbol Rate
2-45Mbps
LNB Power
13/18V,Max500mA
Demodulation
Demodulator
QPSK/8PSK
FEC
1/2,2/3,3/4,5/6,7/8,8/9,9/10
Connections
LNB IN
F connector
LOOP OUT
F connector
CVBS
Connect to yourTV using RCA
COAXIAL
RCA,for SPDIF digitalaudio output
HDMI
Connects to HDMIin device.
RS232
Used for datatransport
USB
Connect to anexternal USB 2.0
device.
Power
Input
DC 12V
Consumption
Max 18W
Display
Decoder Module
PAL,NTSC
Resolution
720X576(PAL),720X480(NTSC),
720P,1080i
Decoding
Aspect Rate
4:3(Letterbox, Pan& Scan)16:9
Video
MPEG2 TransportMP@ML.HL
MPEG4 AVC/H.264HP@L4
Audio
MPEG2 AudioLayer I&II
Others
Compliance
ETSI/EN 300421 DVB-Scompliant
Sound Mode
Right, Left, Stereo
*Specifications are subjectto change withoutfurther notice
[Service]
Grandview Satellite
3859 East Grandview Ave.
Phoenix, AZ. 85032
TEL 602-363.1875
25
Table of contents
Other Manhattan Set-top Box manuals

Manhattan
Manhattan SX User manual

Manhattan
Manhattan Plaza HDT-700 User manual

Manhattan
Manhattan Plaza HDT-700 User manual

Manhattan
Manhattan Manhattan T3 Operating manual

Manhattan
Manhattan RS-1933 User manual

Manhattan
Manhattan DJ-1997 User manual

Manhattan
Manhattan T1 Freeview Specification sheet

Manhattan
Manhattan T1 Freeview Installation guide