Wireless smart thermostat user manual
Application
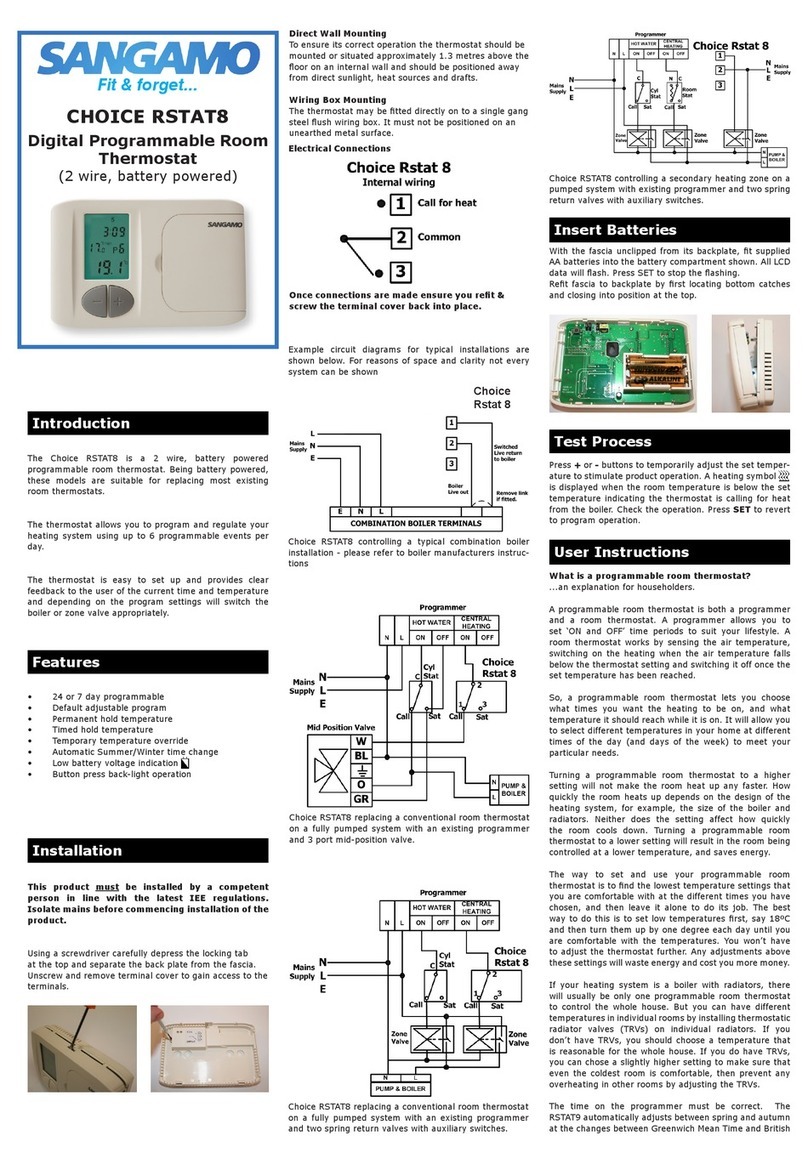
ME901 is smart wifi wireless low power consumption heating
thermostat with LCD display. It’s designed for electric actuated
valve control of water heating system. It’s weekly programmable
and possible to set 6 periods each day with different temperature.
Through temperature valve between room environment and
setting temperature, it’s possible to control heating through
wireless remote and App, you can also choose manual control
and period control.
User operation:
Power key : Press " " to turn the thermostat on or off.
Mode key : Press " " to switch“ period control mode”or
“manual mode .”
Up/down key : Press " " to set the temperature and
adjust the system parameter.
Clock key : Press " " to set time and week when the
thermostat is on.
Lock key : Press”-“ button for 5 seconds, if the lock icon
appears in the key right corner of the display, it indicates the
lock is successful.
+
_
Pai r Cod e
Pow er
Hea ting on
+
-
+
-
Anti-frozen function
In the state of shutdown, the thermostat will turn on the heating
device automatically, When the room temperature is below 5℃ .
when the room temperature is above 7 ℃ , the thermostat will
turn off the heating device automatically.
Programming
In the shutdown state,long press "mode" key for 5 seconds to
enter programming mode, you can switch the parameter by" ".
In the first period under entering programming mode, press" "
to adjust hours, press" " again to adjust minutes, then press" "
to adjust the temperature. The next period setting is same as
first period.
Programming icon:
1 .Wake-up 2. Leave 3 Return(am) 4.Leave(pm)
5.Return(pm) 6.Sleep
value
+/
-
+/
-
Key Event Time Default
Week day
Weekend
Set time
Set temperature
Advanced setting
Press" " for 5 seconds,then enter the mode of advanced setting,
when the thermostat is off. The following functions can be switched
by" ",and press to set the parameters.
1
2
3
4
-2
1℃
ON
Symbol
Setting Default or
Temperature
Switching
Anti-frozen
Adjust measured temperature range:-9~9°C
Adjust switching differential range:1-5℃
Turn on(01)/off(00) Anti-frozen function
calibration
differential
function
of time mode
7
01
Kinds of periods
01:5+2 day mode
02:6+1 day mode
5
6
Max .temperature
40
Adjust range:30℃~90℃
Set the lower limit
of temperature
10
Adjust range:5℃~20℃
Reset to factory
settings
03:7 +0day mode
OF : Close
+
-
Press"+"and hold for 5s, all parameters will de rest
value
Technical data
1,Power supply: 2 pcs No.7 battery 2, Temperature
3,Temperature accuracy : ±1℃ 4,Temperature range:0~90
sensor: NTC
℃
5,Power consumption : <1W 6,Temperature setting range:
7, Ambient temperature: 0~50℃ 8, Load current: 3A
9,Wireless receiver: AC230V,50/60Hz
10,Wireless 100~200m in the open area.
11,Wireless frequency:868MHZ/433MHZ
12,Wifi protocol: 13,WiFi frequency:2.4G
14,Electrical safety standards:GB14536.1-2008 GB14536.10-2008
5~90℃
transmission
Tuya
distance:
+
_
Thermostat icon
Time
Week
Room
Temp
Setting
Locking
Heating
Mode
Anti-
Connect
Mode key
Up key
Down kek
Clcok key
Temp
frozen
Receiver icon
WIFI key
Pair code key
Power indicator
Heating on indicator
Pair Cod e
Power
Heating o n
Pair operation
1,Press power button on receiver for 5 seconds, then enter coding
status, red power indicator flicker.
2,When the thermostat turns off, press“power button”for 5
seconds coding status. When the thermostat displays
address“0000”, then press button, the“0000”flicker, press
clock button to switch“high or low” press“+ -“button to
adjust address parameter, press mode button to confirm.Until the
red light on receiver stops flickering (it means pair code failed, if
flickers), press mode button again to confirm, when the
screen displays it’s successful. Press power button to exit.
When the screen display" " been successful to connect
with receiver.
while
“
the
to enter
mode
address,
red light
ADDR”
+
_
Thermostat mounting steps Thermostat placing steps
,it has
1,Use screw to make plate fixed in box.
2, Mount the thermostat into plate.
1, Put the stand into the pedestal
2, Put the thermostat with stand
on the desk.
Receiver mounting steps
