3
Safety Information
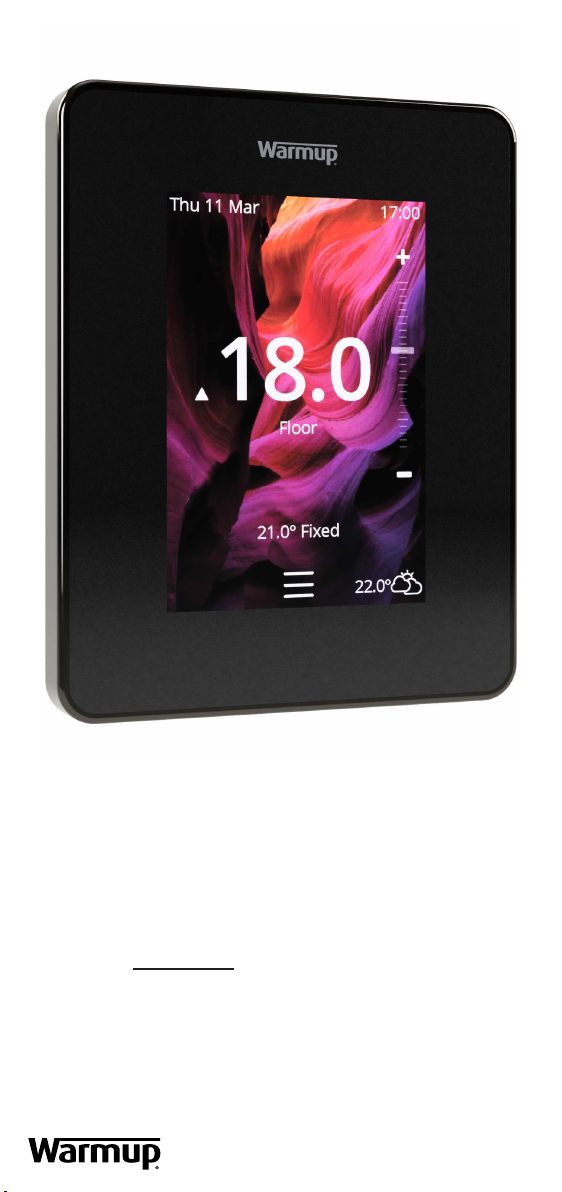
Step 1 - Installation
The6iEmustbeinstalledbyaqualiedelectrician.Itrequiresa
permanent 230 V AC supply from a 30mA RCD or RCBO protected circuit
in accordance with the current edition of the BS7671 Wiring Regulations.
Isolate the 6iE from the mains supply throughout the installation process.
Ensure that wires are fully inserted into the terminals and secured, free
strands should be trimmed, as they could cause a short-circuit.
Install the 6iE in an area with good ventilation. It should not be beside a
window/door, in direct sunlight or above another heat generating device
(e.g. radiator or TV).
Ensure the distance from your router to the 6iE is not excessive. This
will ensure the wireless connection is not subject to range issues once
installed.
q
q
q
q
For bathroom installations the 6iE MUST be mounted outside of Zones 0,
1 and 2. If this is not possible then must be installed in an adjacent room,
controlling the rooms using remote sensor(s).
The 6iE and its packaging are not toys; do not allow children to play with
them. Small components and packaging present a risk of choking or
suocation.
The 6iE is suitable for indoor use only. It must not be exposed to moisture,
vibrations, mechanical loads or temperatures outside of its rated values.
For safety and licensing reasons (CE/UKCA), unauthorised change and/or
modicationofthe6iEisnotpermitted.
q
q
q
q
Isolate the 6iE supply from the
mains supply.
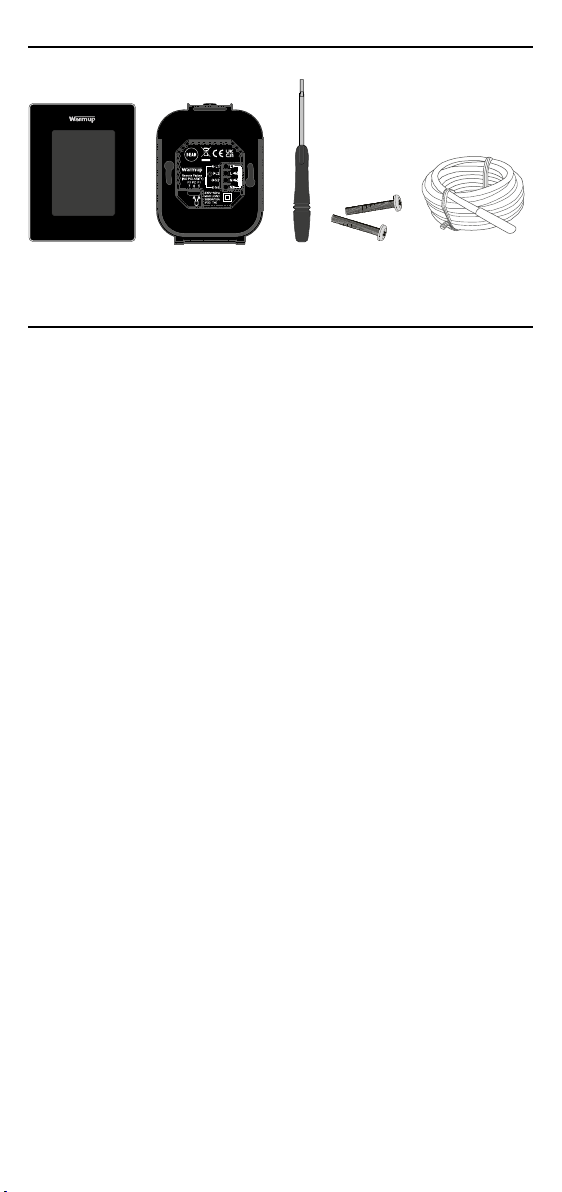
Install a 50 mm deep electrical back
box in your preferred thermostat
location. Pull wires (heater, supply
and sensor(s) through back box
and complete terminal wiring.
Unclip the display from the power
base.
Release the display as shown.
1
3
2
4
230 V AC:
50Hz Heaters. Max. 16A
(3,680W)
Sensor