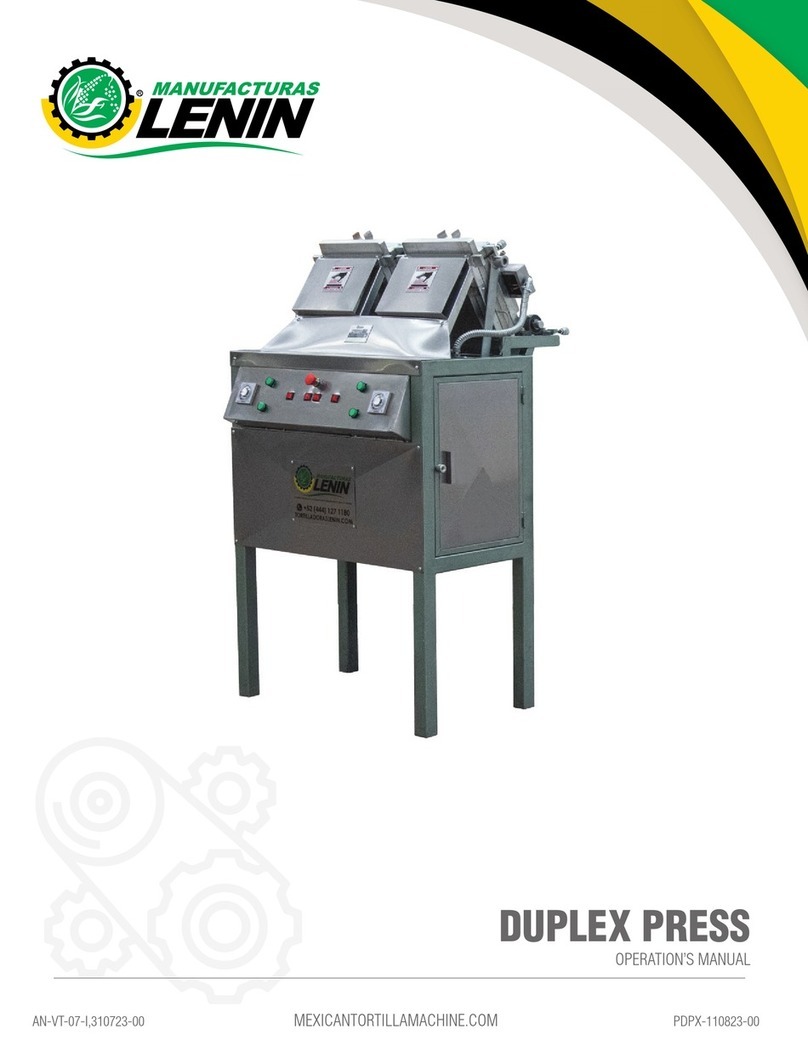
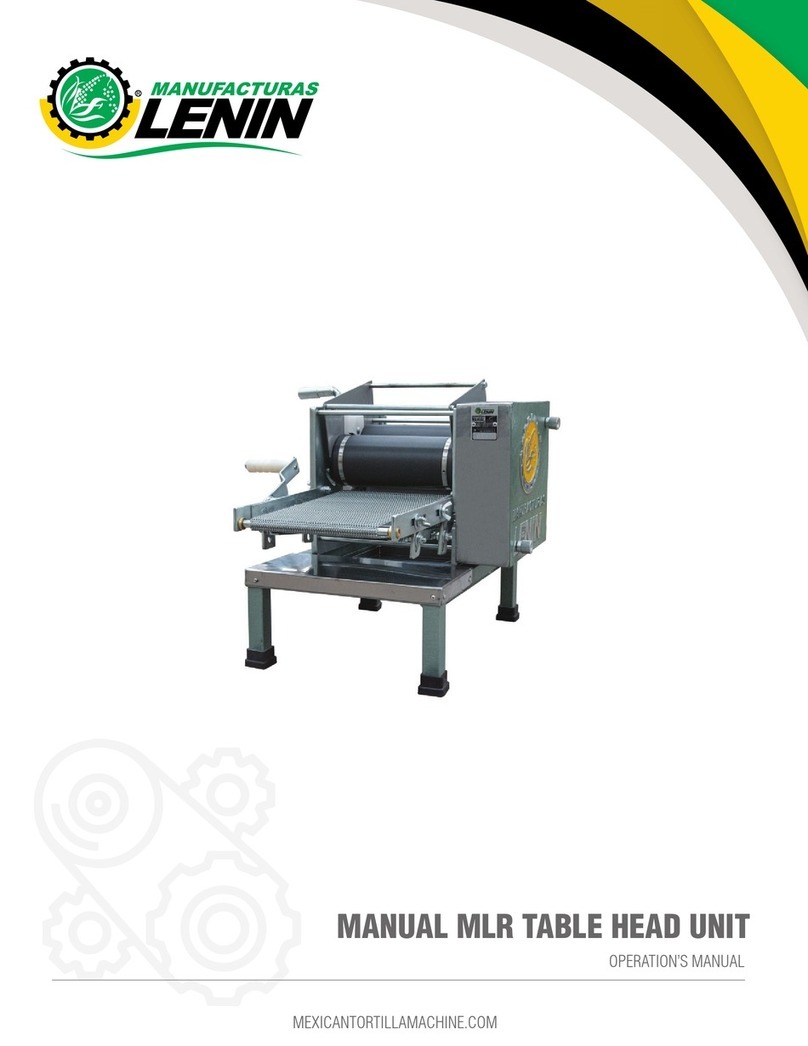
Manufacturas Lenin MLR NSF User manual

USER MANUAL
CERTIFICATED TORTILLA ROLLER MACHINE
MLR NSF
We are the best option in the tortilla
industry
SAVE THIS MANUAL FOR FUTURE
CONSULTING
CERTIFICATE:
C0312458-01
WARNING: READ CAREFULLY THIS
INSTRUCTIVE BEFORE USING THE PRODUCT.
For more information, you could contact us by:
(444)127-11-80 or (444)126-02-34 1 866 551 81 46
mexicantortillamachine.com / tortilladoraslenin.com

CONDITIONS TO VALIDATE THE WARRANTY
The seller guarantees that his equipment will be delivered in condition of use, free of
material defects and undertakes to support the guarantee for up to six months from the
date of installation, under the following terms and conditions:
a) For thirty days from the date of installation, the seller will change the parts that show
defects, free of charge for the buyer. As long as in the manufacturer's judgment they
show manufacturing defects. The travel expenses, per diem or freight that are originated
to satisfy this type of claims will be covered by the buyer, but not the labor that will be
paid by the seller.
b) The warranty does not include parts showing damage from misuse or repairs by
non-company personnel. Parts that are damaged by excessive use may be repaired
or replaced at the seller's discretion, at the buyer's expense.
c) Motors and electrical parts are not guaranteed.
d) The buyer is obliged to give the equipment maintenance service periodically
according to the indications that he will receive when the machinery is installed.
Otherwise the guarantee will not proceed.
e) If the customer does not follow the instructions in the technical installation sheet of
the equipment that the seller provides, the buyer will lose the warranty.
f) The company is not responsible for failures in the machinery as a result of
incorrect installations such as: electricity, gas, water, etc.
The timely notification of an abnormal operation of the machine, will guarantee a fast and
efficient service of our technicians, otherwise the company will not be responsible for the
later damages of the machine.
The customer service telephone numbers of each Service Center are found in the written
guarantee and on the website: mexicantortillamachine.com/
NOTICE: The preceding paragraphs are only intended to inform you of the conditions under
which the product warranty will be valid. The Warranty will be provided independently of
this manual.
SYMBOLOGY
The following signal words and their meanings are intended to explain the risk levels
related to the operation of the machine.
DANGER: indicates hazardous situations that will cause serious damage or injury to
you and machinery.
WARNING: indicates situations that could cause serious damage or injury to you or
machinery.
ATTENTION: indicates situations that can cause moderate damage or injury to you
or machinery.
NOTICE: Indicates important information not related to any danger of injury.
The following symbols indicate the security measures that must be taken before
and after starting up the equipment.
DO NOT INTRODUCE YOUR HAND: Do not reach into the moving parts of the
equipment when it is in operation.
HOT DANGER: Some parts of the machine are hot when in operation.
TAKE CARE OF YOUR HANDS: Do not put your hands in when working the
machine.
ELECTRICAL RISK: In which you can suffer electric shocks, if the electrical safety
provisions are not met.

GENERAL SAFETY INSTRUCTIONS
WARNING: to reduce the risk of injury, read all instructions properly. Failure to follow
the instructions listed below can cause electric shock, fire, serious bodily injury, mutilation,
and damage to machinery.
A) SAFETY IN THE WORK AREA
•Keep the work area clean and lit. Crowded or dark areas lead to accidents.
•Do not operate the equipment without first checking all gas connections with soapy water,
to make sure that there are no leaks that could cause an explosion.
•Keep children, customers and non-company personnel away from the electrical or
mechanical operation of the equipment.
•It is recommended to have a minimum space of one meter around the machine for safety
and satisfactory work.
B) ELECTRICAL SAFETY
• The connections of the machinery must be adapted to the connections of the power outlet.
• Do not use adapters for switches; as there is a risk of receiving an electric shock.
• Do not expose the switches and / or electrical connections to rain or humidity. If water enters these
elements, you run the risk of receiving an electric shock.
• Use cable in one piece, if you use bonded cable, it can generate a short circuit.
• Do not expose electrical cables and connections to heat, oil, sharp edges, or moving parts, as
damaged cables can cause electrical shock or short circuit.
C) PERSONAL SAFETY
• Do not operate the equipment if you are tired, under the influence of alcohol or drugs.
• Wear appropriate clothing. Do not wear loose clothing, necklaces, watches, earrings. In
case of long hair, wear a cap to keep it up.
• Do not climb on the structure of the machine for any reason. A fall or major injury such as
fractures or death may occur
• Avoid using headphones, cell phones or other equipment that act as distractions for
operators.
• Make correct use of Personal Protective Equipment if any maintenance activity is to be
carried out on the machine.
• If any model change or replacement of any component of the equipment is carried out, be
it mechanical, electrical or gas, it must be de-energized, cut off the gas supply and stop the
machine completely. To decrease the likelihood of an accident occurring.
• Keep extremities away from all moving parts.
OVERVIEW OF THE MACHINE
This manual applies to the machine models mentioned below:
MLR50 MLR60 MLR70 MLR90 MLR180

L1 L2 L3
T1 T2 T3
PANEL DE
ENCENDIDO
ELECTRÓNICO
CHASSIS
TRANSPORTERLIDS
WITH SIGHT HOLES
Three Phase Line
MLR 30 / MLR 50 / MLR 60 / MLR 70 / MLR 90 / MLR 180
BELL
CLUTCH SUPPORT LEVER
SWING
HEAD
ADJUST
KNOBS
RECEIVER
COMPONENTS
MOTOR VALVE
ELECTRICAL INSTALLATION
a) Conductors shall be No. 12 gauge copper.
b) If the power supply is three-phase, the Switch must be 3 x 30 A.
c) If the power supply is single phase, the Switch must be 2 x 30 A.
d) The Switch must be located at a maximum of 1.5 m from the machine for its prompt
action.
e) The wiring must be in one piece.
f) Connections or terminals must be tight to avoid false contacts.
g) The rotation must be according to that indicated on the machine.
MOTOR
220 V
L1 L2 L3
T1 T2 T3
MOTOR
Two motors Three Phase Line
MLR 90 / MLR 180
220 V
L1 L2 L3
T1 T2 T3
MOTOR
220 V
Two Phase Line
MLR 30 / MLR 50 / MLR 60 / MLR 70 / MLR 90 / MLR 180
MOTOR
220 V
L1 L2 L3
T1 T2 T3

GAS INSTALLATION
A high pressure regulator, model 10-080, with a pressure gauge (0-7 Kg) must be
installed at the outlet of the gas tank in order to verify the correct supply pressure. The
pipe used for the connection is ½ inch in diameter, either type L copper or black ced
tube. 40
The length of the pipe should not exceed 10 meters, from the outlet of the gas tank. A
union nut must be installed between the stopcock and the low pressure regulator.
Before the machine, a low pressure regulator must be installed, changing the spring that
comes from the factory for a higher pressure one. After installation, the pressure
adjustment will be carried out by the Lenin Manufactures technician.
START UP
DANGER: the electrical power must be adequate for the proper functioning of the
tortilla machine, as the case may be, three-phase or single-phase.
WARNING: do not obstruct the muzzle with your hand, this may cause the flute to
explode.
ATTENTION: make sure that the griddles do not have objects on them. Wait 5 to 7
minutes for the comales to heat up.
A
AB
C
D
E
F
G
C
F
G
REGULATOR HIGH 10-080
STOP COCK AT 1.50 m (height)
1 "GALVANIZED PIPE
COPPER PIPE 1 "LP GAS
BLUE WOLF REGULATOR
STOP KEY
220 VOLTS (THREE PHASE OR
SINGLE PHASE AS THE CASE)
10 GAUGE CABLE (PIPE)
A
B
D
E

Check that the cable is taut and that the
stainless steel mold rotates freely
Turn on the machine with the green button
Adjust the thickness of the tortilla by turning the
knobs. Turn to the left for a thinner tortilla and to the
right for a thicker tortilla
Add dough manually
Adhere the dough curtain to the front of the roller
Raise the clutch lever
3 4
6
Verify that the knob is at 0
5
7 8
Check that the cutter is correctly installed
1 2

Heat the comales for 3 minutes
Continue feeding
Raise the clutch lever and advance a tortilla to check the
temperature of the comales
OFF ON
VÁLVULA PILOTO
OFF ON
VÁLVULA DE TRABAJO
Open the gas valve Open the pilot valve
9 10
OFF ON
VÁLVULA PILOTO
OFF ON
VÁLVULA DE TRABAJO
Open the work valve
11
13
ENCENDIDO ELECTRÓNICO
ENCENDIDO ELECTRÓNICO
ENCENDIDO ELECTRÓNICO
ENCENDIDO ELECTRÓNICO
OFF ON
VÁLVULA PILOTO
OFF ON
VÁLVULA DE TRABAJO
Wait 10 seconds, press the electronic ignition button.
Check that the burners are lit. If not, turn off the pilot valve
and repeat step 12
12
18
14
15
17
16
Check the doneness of the tortilla
Pick up the product
Turn off the pilot valve. Leave valve working
OFF ON
VÁLVULA PILOTO
OFF ON
VÁLVULA DE TRABAJO

CLEANING PROCEDURE
WARNING: cleaning both the rollers and the base should be done with the machine
completely stopped to avoid accidents such as bruises.
CLEANING THE FRONT ROLLER
1. Remove the dough residues from the front roller at full stop by hand.
2. Turn the machine on again to rotate the roller, stop the machine and proceed with
cleaning. You must perform this action as many times as necessary to complete the
complete cleaning of the roller.
3. Clean the cable tie grooves with a plastic bristle brush to prevent the wire from breaking
with the drying mass.
4. Wipe the remaining batter off the top of the roller with a damp cloth.
5. After removing the dough residue from the rollers, approximately 200 grams will remain.
6. Spread a little water after removing the remaining dough to complete the cleaning of the
rollers.
7. Clean the rollers with a cloth after spreading water on them to make them completely dry.
CLEANING THE REAR ROLLER
8. Clean the rear roller, pouring in a little water and wiping with the cloth to remove
the dough residues.
NOTICE: you must turn on the machine as many times as necessary to clean the rear
roller
9. After you have cleaned the two rollers from the front and back, you should wipe the
upper part of the stainless steel roller with the damp cloth.
10. Use a damp cloth to clean the bench base and remove lumps from the swing screen
with a wire brush.
MAINTENANCE
Clean the machine before and after use.
The duration of the spare parts will depend on the preventive maintenance and care of
the machine. The more frequent maintenance is done, the longer the parts will last.
The tortilla machines require the assistance and continuous revision of a specialized
technician by the supplier.
LUBRICATION
The following table shows the parts, the type of lubricant and the frequency with which
the machine and its parts should be lubricated.
PIECE LUBRICANTPERIOD
Chains Food grade grease 3 times per week
Reductor SAE 250 Oil Every 8 months or1000 hr/work
Packed Bearings Food grade grease Every three days
Griddle hinges Graphite When the machine squeaks
Gears Food grade grease 3 times per week

PROCEDIMIENTO DE LIMPIEZA
The following figures show the schematic location of the parts that require lubrication.
The following table shows the type of lubricant
to be applied to all parts of the machine
Inject the lubricant
into this hole
Lubricate Gears, Chains and Sprockets
with Food Grade Grease
IN CASE OF REQUIRING SPARE PARTS AND SUPPLIES
Please consult the spare parts catalog. First you must identify the model of the
equipment and contact the number 1 866 551 81 46. Or for more information send an
email to [email protected]
LUBRICANT
(A) Food grade grease
(B) SAE 250 Oil
(C) Graphite
It is recommended to change the
oil every six months. The used oil
should be drained and 1L of new
SAE 250 Oil should be poured.
B
A
A
A A
A
A
A
C
A
A
A
A
Table of contents
Other Manufacturas Lenin Commercial Food Equipment manuals
Popular Commercial Food Equipment manuals by other brands

Diamond
Diamond AL1TB/H2-R2 Installation, Operating and Maintenance Instruction

Salva
Salva IVERPAN FC-18 User instructions

Allure
Allure Melanger JR6t Operator's manual

saro
saro FKT 935 operating instructions

Hussmann
Hussmann Rear Roll-in Dairy Installation & operation manual

Cornelius
Cornelius IDC PRO 255 Service manual

Moduline
Moduline HSH E Series Service manual

MINERVA OMEGA
MINERVA OMEGA DERBY 270 operating instructions

Diamond
Diamond OPTIMA 700 Installation, use and maintenance instructions

Diamond
Diamond G9/PLCA4 operating instructions

Cuppone
Cuppone BERNINI BRN 280 Installation

Arneg
Arneg Atlanta Direction for Installation and Use


