1900062 REV.2 Page 3 of 4
Note : Default settings may vary depending on local connection factors, if required recalibration can be
carried see Setting Brew Water Volumes/Water Flow Times section.
OPERATION:
Whenthe machine has enough water to brew coffee and is at the correct
temperature, the ReadyTo Brew LED will glow. A brew can be selectedat this
point.
Place single filterpaperinto brewbasket, use the 2 wire flaps to hold the filter
paperin place.Addthe required weight of coffee.
Slide Brewbasket into the guiderails and pushfully home.
Ensure your Urn is in placeunder the basketand that the hole in the basketis
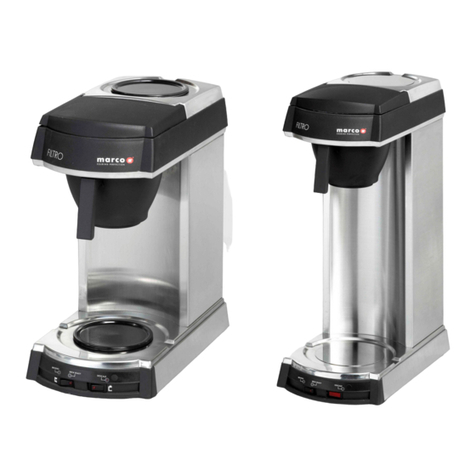
lined up with the centre of the urn’s inlet funnel. The Filtro Shuttle is designed to
accommodate the Marco Urn, Part number “1700174 Insulated Urn 6L Shuttle”
Selectthe correctbrewon the control panel by pressingthe required Brew
Button. Pressthe switch until the yellow LED illuminates. N.B. Ifyou make a
mistake pressthe Power Button to turn the machine off.Wait 3 secondsand
turn back on again. Selectthe correctbrew.
Afterbrewing,remove the filterpaperwith the spentgrinds when the basketcan
freelymove and dripping has stopped.
Once the brew is completed the brewbasket will remain lockedfora further 2
minutes to allow the remaining water in the brew basketto filterthrough. This
basketlock will be an audible click and is linked to the BrewButton LED.
Setting Brew Water Volumes/Water Flow Time
With the Filtro Shuttle you may programme(Calibrate) eachof the Brew Buttons to
have differentWatervolume and Overall Brew time settings or to disablebuttons.
Contact sales@marco.ieformore information.
Pulse brewing mode:
The Filtro Shuttle will operatein a Pulse Brewing mode.Formore details about
Pulse brewing mode contact sales@marco.ieformore information.
Troubleshooting:The PowerLED will indicate failures as follows.
