►Do not place objects on top of the
cannon.
►Do not operate cannon in an enclosed
space.
►Keep re and other sources of heat/
ignition away from the cannon.
►Cannon should be on a stable, horizontal
ground when in use.
►Only use LP Gas (propane) or butane gas.
Keep canister upright. DO NOT place in a
pit.
►Call the proper authorities/emergency
services in case of a re.
►Service cannon after 150kg (330lbs) of
use.
►Replace the gas hose every 2 years.
Contact Margo Supplies to order
replacement.
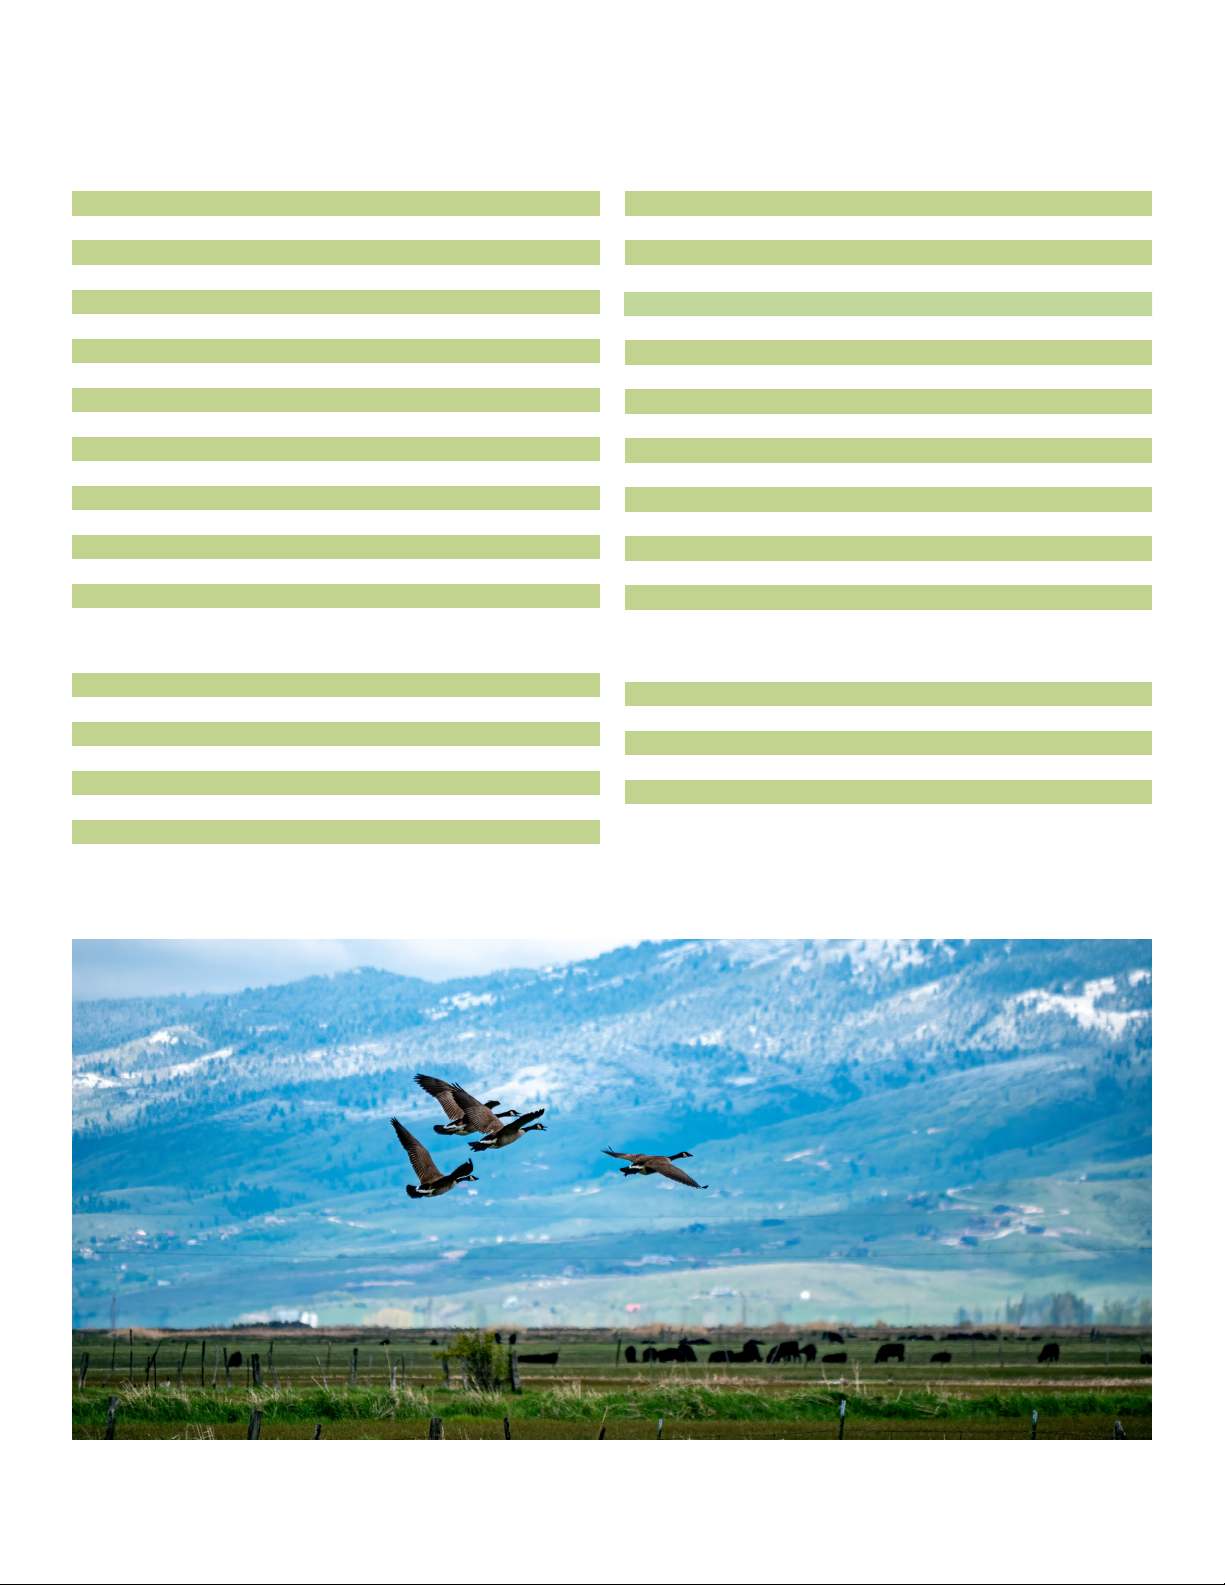
►Clear an area of 5m (15ft) surrounding
the propane tank and cannon. This
means removing any debris and
ammable / combustible materials such
as dried weeds and grass.
►The area directly in front of the
megaphone must be clear of all
obstructions.
►Never place objects or look directly into
the megaphone.
►Never walk in front of or look into the
barrel.
WARNING! ALWAYS WEAR EAR
AND EYE PROTECTION WHEN
OPERATING CANNON!
SAFETY INFORMATION
CAUTION:
After the cannon is turned off, propane will
remain inside the hose and diaphragm. Lift the
hammer to release any gas once disconnected
from the propane tank.
7. When the Precise Valve (#Z4-91806) is
entirely open, the cannon will re in 40-60
second intervals. For longer time intervals,
close the Precise Valve until you reach your
desired timing.
8. Close the Propane Tank Valve to turn o
the cannon.
NOTE:
The first few cycles may have low/no volume
due to air being in the system. Once the air is
cleared, the volume will adjust.
1. Attach Yellow Plastic Lid (#Z4-91606) to
cannon body with the Handle (#Z4-91616).
2. Insert the Plastic End Caps (#Z4-91656)
onto the end of the Metal Legs (#Z4-91636)
and (#Z4-91646) using 4 buttery nuts.
3. Make sure the Gas Regulator(#Z4-91926)
and the Propane Tank both have
connections.
4. Connect the Gas Regulator (#Z4-91926)
to your Propane Tank (not included) snug
with a 24mm (15/16’’) wrench. Do not open
propane valve.
5. Open the valve on the Gas Regulator and
on the Propane Tank by turning them both
counterclockwise.
6. The cannon will begin to re.
INSTALLATION
3