manuals.online logo
Brands
  1. Home
  2. •
  3. Brands
  4. •
  5. Market Forge Industries
  6. •
  7. Commercial Food Equipment
  8. •
  9. Market Forge Industries FTM-L Series Quick start guide

Market Forge Industries FTM-L Series Quick start guide

EFFECTIVE SEPTEMBER 19, 2014
FTM-L SERIES
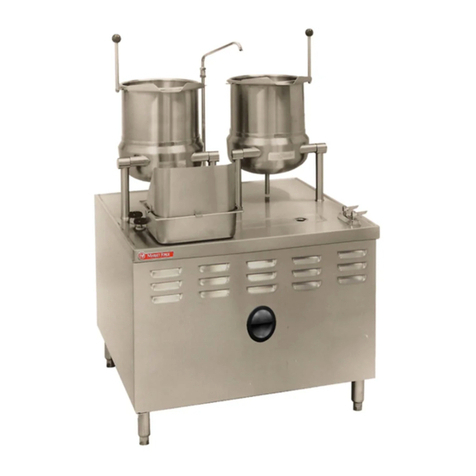
SINGLE OR TWIN DIRECT STEAM MIXER KETTLE
COMPLETE WITH HYDRAULIC POWER TILT BRIDGE
PARTS AND SERVICE MANUAL
MARKET FORGE
Telephone: (802) 658-6600 Fax: (802) 860-3732
www.marketforge.com
P/N 14-0376 Rev A (9/14)
Superseding All Previous Parts Lists.
The Company reserves the right to make substitution in the event that items specied are not available.
ERRORS: Descriptive and/or typographic errors are subject to correction.
SEPTEMBER 19, 2014 2 FTM-L SERIES DIRECT STEAM MIXER KETTLES
TABLE OF CONTENTS
TROUBLESHOOTING..................................................................3
MAINTENANCE & REPAIR .............................................................5
WIRING DIAGRAM.....................................................................7
SEPTEMBER 19, 2014 3 FTM-L SERIES DIRECT STEAM MIXER KETTLES
TROUBLESHOOTING
EXTREMELY SLOW COOKING TIME
If the cooking time is abnormally slow then the difculty
may be due to insufcient steam pressure. First deter-
mine that pressure on incoming stream line at kettle is
with in 15 PSI of rated kettle pressure. Note that pressure
approaching the rated kettle pressure are liable to set off
the safety relief valve. If required pressure is available
to kettle, then possibly volume of steam is not sufcient.
Minimum 3/4” pipe size is required to the kettle but if the
steam generating source is at a great distance from the
kettle, larger pipe will be required. Finally, the core of the
steam ow will require disassembly and inspection.
PUMPS: PUMP MAKES EXCESSIVE NOISE
1. Check for vacuum leaks in the suction line.
2. Check alignment with drive mechanism. Misalign-
ment will cause wear and subsequent high noise
level in operation.
3. Check compatibility of uid being pumped against
manufacturers recommendations.
4. Relief or unloading valve set to high.
5. Aeration of uid in reservoir, return lines above uid
level.
6. Reversed rotation.
7. Plugged reservoir lter breather.
8. Oil viscosity too high or operating temperature too
low.
9. Loose or worn pump parts.
10. Pump being driven in excess of rated speed.
11. Air leak at pump shaft seal.
12. Oil level too low and drawing air in through inlet pipe
opening.
13. Air bubbles in intake oil.
PUMP PARTS INSIDE HOUSING FAIL TO OPERATE
1. Seizure due to lack of oil.
2. Excessive system pressure above maximum pup rat-
ing.
3. Excessive torquing of housing bolts.
4. Solid matter being drawn in from reservoir and
wedged in pump.
EXCESSIVE PUMP WEAR
5. Abrasive dirt in the hydraulic oil being circulated
through the system.
6. Oil viscosity too low.
7. System pressure exceeds pump rating.
8. Pump misalignment.
9. Air being drawn in through inlet of pump.
DIRTY OIL
1. Components not properly cleaned after servicing.
2. Inadequate screening in ll pipe.
3. Air breather left off.
4. Filter dirty or ruptured.
SOLENOID VALVE: FAILS TO OPERATE
1. Is there an electrical signal to the solenoid or oper-
ating device? Is the voltage too low. Check with the
volmeter, test light in an emergency.
2. Has foreign matter jammed the main spool? Remove
en caps and see that main spool is free in its move-
ment. Remember that there will be a quantity of uid
escaping when the cap is removed and provide a
container to catch it.
3. Are solenoids improperly interlocked so that a sig-
nal is provided to both units simultaneously? Put test
light on each solenoid lead in parallel and watch for
simultaneous lighting. Check electrical interlock. this
condition probably burns out more solenoids then
any other factor.
4. Is uid media excessively hot? Check for localized
heating which may indicate an internal leak, Check
reservoir temperature and see if it is within machine
specications.
5. Voltage too low? If voltage will not complete the stroke
of alternating current (AC) solenoid will burn out coil.
6. Signal to both solenoids of a double solenoid valve si-
multaneously. One or both of the solenoids will be un-
able to complete their stroke and will burn out. Make
certain the electrical signal is interlocked so that this
condition cannot exist.
SEPTEMBER 19, 2014 4 FTM-L SERIES DIRECT STEAM MIXER KETTLES
TROUBLESHOOTING
7. Mechanical damage to leads. Short circuit, open con-
nections, etc.
8. Tight spool or other mechanical parts of the valve be-
ing actuated can prevent the solenoid from complet-
ing its stroke and subsequently burning out.
9. Wrong voltage or frequency will either prevent opera-
tion, because of inadequate capacity to handle the
load with the lower voltage or burn out the oil, be-
cause of improper winding and excessive voltage.
OVERHEATING
1. Continuous operation at relief setting.
a. Stalling under load etc.
b. Fluid viscosity too high or too low.
2. Excessive slippage or internal leakage.
a. Fluid viscosity too low.
3. System relief valve set too high.
4. Power unit ambient temperature too high.
MOISTURE IN OIL
1. Cooling coils not below uid level.
2. Moisture in cans used to replace uid in tanks.
3. Extreme temperature differential in certain geograph-
ical locations.
FOAMING OIL
1. Return of tank line not below uid level.
2. Fluid contaminated with incompatible foreign matter.
3. Suction leak to pump aerating oil.
SEPTEMBER 19, 2014 5 FTM-L SERIES DIRECT STEAM MIXER KETTLES
MAINTENANCE & REPAIR
SUGGESTIONS:
4. Set up a lter maintenance schedule and follow it dili-
gently.
5. Inspect lter elements that have been removed from
the system for signs of failure which may indicate that
the service interval should be shortened and of im-
pending system problems.
6. Do not return to the system any uid which has leaked
out.
7. Always keep the supply of fresh uid covered tightly.
8. Use clean containers, hoses and funnels when lling
the reservoir. Use of a lter cart when adding oil is
highly recommended.
9. Use common sense precautions to prevent entry of
dirt into components that have been temporarily re-
moved from the circuit.
10. Make sure that all clean-out holes, ller caps and
breather cap lters on the reservoir are properly fas-
tened.
11. Do not run the system unless all normally provided
ltration devices are in place.
12. Make certain that the uid used in the system is of a
type recommended by the manufactures of the sys-
tem or components.
13. Before changing from one type of uid to another (pe-
troleum base oil to a re resistant uid) consult com-
ponent and lter manufacturers in selection of uid
and the lters that should be used, Also consult the
publication “Recommended Practice fro the use of
Fire Resistant Fluids for Fluid power Systems” pub-
lished by the National Fluid Power Associatetion.
PREVENTIVE MEASURES:
How to keep your equipment’s hydraulic system from run-
ning too hot.
1. Set up regular schedule for checking the oil tempera-
ture, appearance, smell and feel. Change oil as rec-
ommended by the equipment manufacturer.
2. Be prompt about removing, checking and repairing
or replacing valves, pumps or other components that
are running hot.
3. If relief or ow-control valves are running hot, check
and adjust their settings. Follow your equipment own-
er’s manual.
4. Break in new components gradually. New, close-t-
ting parts expand at different rates and are especially
prone to seize when they get too hot.
5. Start a cold pump or motor on hot oil by jogging
just enough to draw the hot oil into the component.
Then wait a few minutes to allow the temperatures
to equalize in all the pumps parts. Repeat until the
temperature on the outside of the pump ios the same
as that on the piping.
6. Keep your equipment clean. A thick layer of dirt acts
as insulation. It will prevent the hydraulic system from
extracting heat.
7. On hot days and in hot climates check and change
the oil more frequently. Be sure to use an oil recom-
mended for hot weather operation by the equipment
manufacturer or oil supplier.
MAINTAINING PROPER OIL TEMPERATURE:
Hot oil in you equipment’s hydraulic system is out of the
primary causes of poor operation, component failure and
down time. Here are come pointers on maintaining proper
oil temperature.
The oil in you hydraulic system was designed for opera-
tion within a specied temperature range. You may be
able to run it at hotter temperatures for short periods of
time, intermittently, without bad effects. If you run continu-
ously with oil that’s too hot, your equipment will operate
poorly and eventually key components will fail and halt
your unit.
When is hot too hot?
“Hot oil” os a relative term. In most cases, 120OF, at the
reservoir is considered an ideal operating temperature.
Always take an oil temperature reading at the reservoir,
not at a component or any of the piping.
Oil that has been running too hot will look darker and feel
thinner than new oil. It will also smell burnt. Chance are
it will contain more contaminants, because hot oil lead to
accelerated wear of component parts.
Measuring oil temperature
A thermometer is mounted on the reservoir. Make it a
habit to check the thermometer periodically, after the unit
had been running for more then an hour.
SEPTEMBER 19, 2014 6 FTM-L SERIES DIRECT STEAM MIXER KETTLES
MAINTENANCE & REPAIR
Determine what is "running hot"
To determine which components are running hot and
overheating the oil, feel the outlet ttings and lines at the
valves, pumps and motors. If the oil is normal going into
a component but hot coming out that could be one of the
trouble spots.
A sticking valve can cause excessive heat. If a spool does
not return promptly to the neutral position, the pump ow
will be dumped continuously. This builds up heat rapidly.
If a relief valve is set too low, part of the oil will be dumped
across the valve every cycle. This too generates exces-
sive heat. Even when all valves are set properly, they may
not be operating well because of worn orices or seals.
Always remove and check the hot components rst be-
fore the others.
ELECTRICAL MOTORS:
Lubricate as recommended by the motor manufacturer.
FILTERS
Change or clean as required or as indicated on lters sup-
plied with visual indicators.
Filers must be maintained. The key to good ltration is
lter maintenance. A machine may be equipped with the
best lters availably and they may be positioned in the
systems when they do the most good; but, if the lters are
not take care of and cleaned when dirty will be a waste
of time and money. A lter which get dirty after one day of
operation and if cleaned 29 day later gives you 29 days
of non-ltered uid.
RESERVOIRS
Maintain oil level at all times. The oil should be checked
after the rst 100 hours and verify that the class of oil
meet the requirements of the pump being used. Change
the oil every 1,000 to 2,000 hours depending on the ap-
plication and operating environment.
RECOMMENDED SPARE PARTS
Spare lter elements should be purchased with the unit,
and be available during the start-up operation, Other
spare parts may be required, and are a function of the
duty cycle of the hydraulic system, operation environment
and the acceptable down time of the unit.
SEPTEMBER 19, 2014 7 FTM-L SERIES DIRECT STEAM MIXER KETTLES
WIRING DIAGRAM
CONSOLE
SEPTEMBER 19, 2014 8 FTM-L SERIES DIRECT STEAM MIXER KETTLES
WIRING DIAGRAM
WATER METER

Other Market Forge Industries Commercial Food Equipment manuals

Market Forge Industries Universe Plus STGL Series Owner's manual

Market Forge Industries

Market Forge Industries Universe Plus STGL Series Owner's manual

Market Forge Industries FT-40GLS User manual

Market Forge Industries

Market Forge Industries FT-40GLS User manual

Market Forge Industries MT6 User manual

Market Forge Industries

Market Forge Industries MT6 User manual

Market Forge Industries MT-25EO User manual

Market Forge Industries

Market Forge Industries MT-25EO User manual

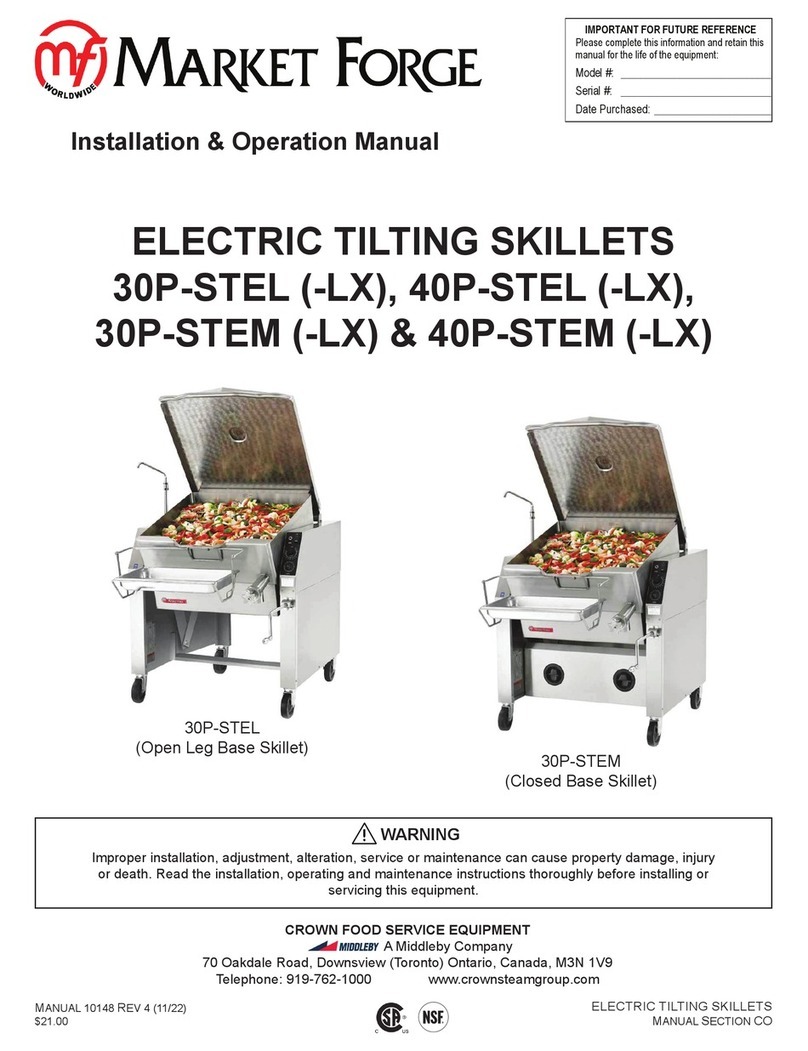
Market Forge Industries 30P-STEL User manual

Market Forge Industries

Market Forge Industries 30P-STEL User manual

Market Forge Industries STEAM-IT ST-E Owner's manual

Market Forge Industries

Market Forge Industries STEAM-IT ST-E Owner's manual

Market Forge Industries UniVerse 30-STEL User manual

Market Forge Industries

Market Forge Industries UniVerse 30-STEL User manual

Market Forge Industries FT-40GLS Owner's manual

Market Forge Industries

Market Forge Industries FT-40GLS Owner's manual

Popular Commercial Food Equipment manuals by other brands

Dover Anthony Complete 101 Series installation manual

Dover

Dover Anthony Complete 101 Series installation manual

Sausage Maker Motorized Stuffer operating manual

Sausage Maker

Sausage Maker Motorized Stuffer operating manual

Canmac DMA EC3R instruction manual

Canmac

Canmac DMA EC3R instruction manual

Univex Silver VE 160 Operation manual

Univex

Univex Silver VE 160 Operation manual

Cambro Camtherm Series owner's manual

Cambro

Cambro Camtherm Series owner's manual

Henny Penny FlexFusion FPG-615 Technical bulletin

Henny Penny

Henny Penny FlexFusion FPG-615 Technical bulletin

GGM gastro WKM160-1 operating manual

GGM gastro

GGM gastro WKM160-1 operating manual

Fimar 7/SN Use and maintenance

Fimar

Fimar 7/SN Use and maintenance

MBM EFT408L operating instructions

MBM

MBM EFT408L operating instructions

Maruzen MAZE-4 user manual

Maruzen

Maruzen MAZE-4 user manual

SnackFood gastro user manual

SnackFood

SnackFood gastro user manual

Salvis AKP1 installation instructions

Salvis

Salvis AKP1 installation instructions

Iarp EIS.3 Use and maintenance

Iarp

Iarp EIS.3 Use and maintenance

Manitowoc LuminIce Installation, operation and maintenance manual

Manitowoc

Manitowoc LuminIce Installation, operation and maintenance manual

Backyard Pro 554BPGST2WLP user manual

Backyard Pro

Backyard Pro 554BPGST2WLP user manual

Skymsen AMP-400 instruction manual

Skymsen

Skymsen AMP-400 instruction manual

Bartscher Deli Series instruction manual

Bartscher

Bartscher Deli Series instruction manual

Heiniger X Series Translation of the original instructions

Heiniger

Heiniger X Series Translation of the original instructions

manuals.online logo
manuals.online logoBrands
  • About & Mission
  • Contact us
  • Privacy Policy
  • Terms and Conditions

Copyright 2025 Manuals.Online. All Rights Reserved.