ALL IN ONE TAN.BOOTH
WARNING & SAFETY
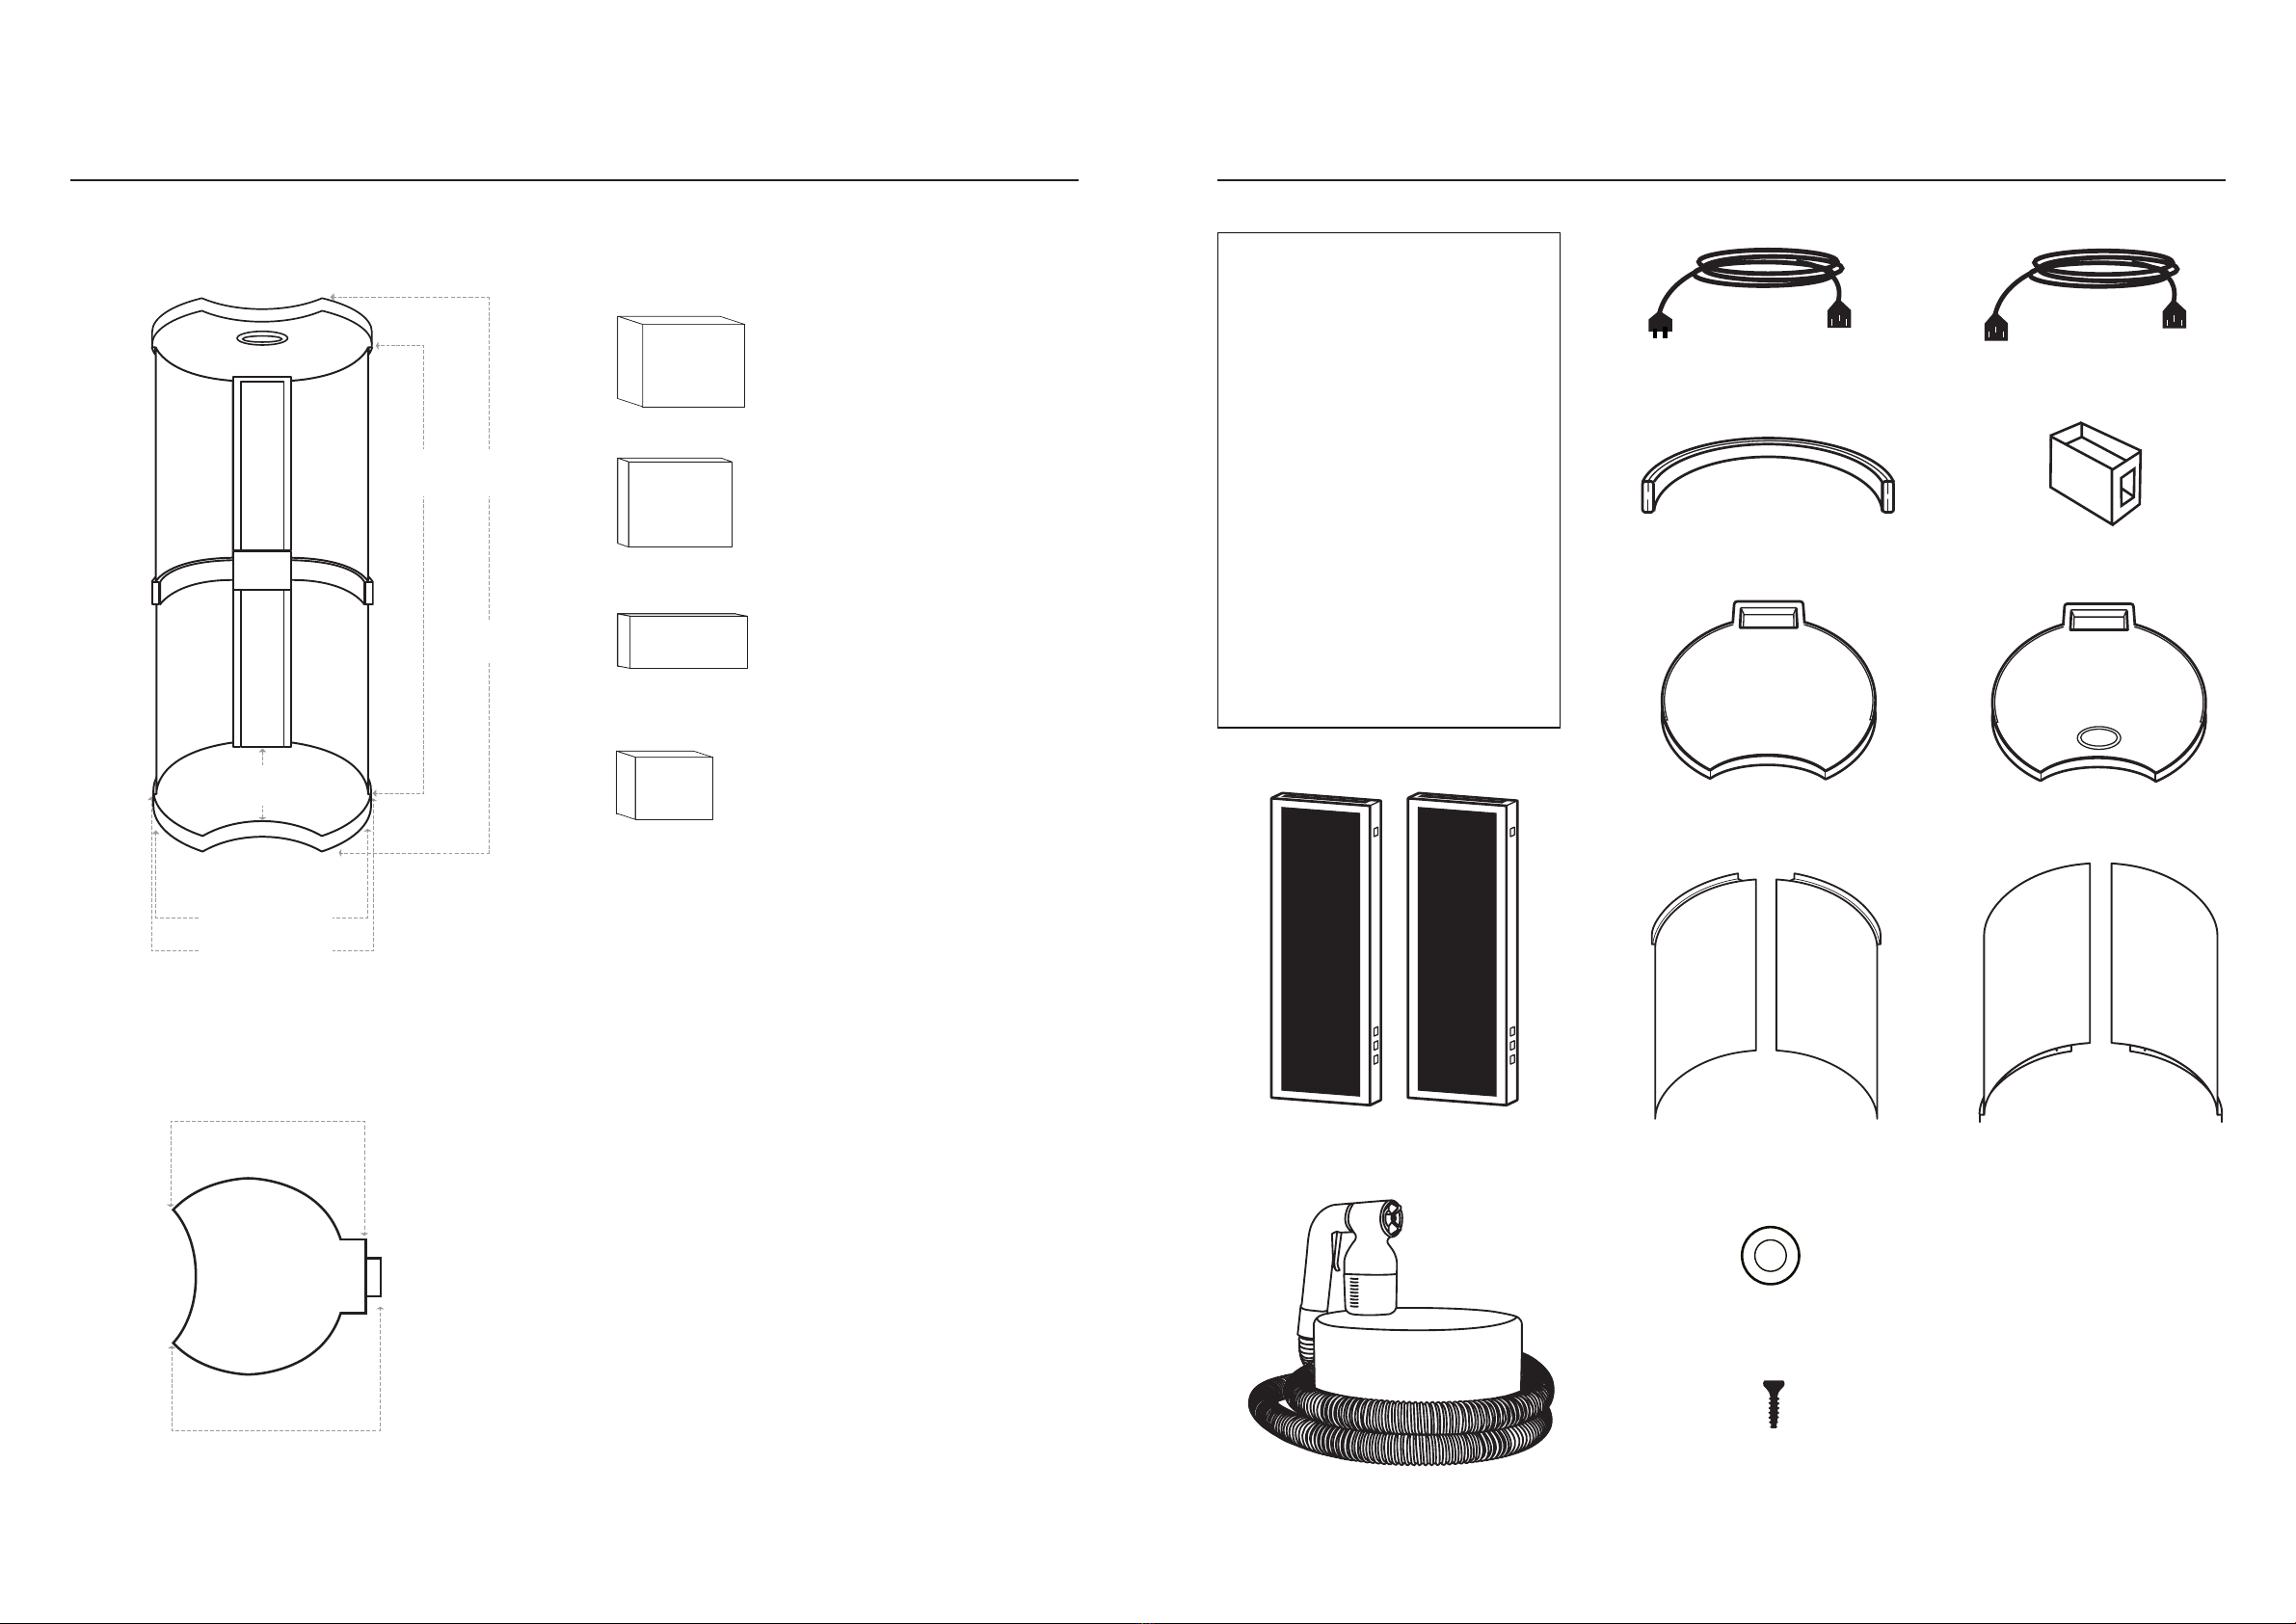
SALON REQUIREMENTS CHECKLIST
Unload Booth Shipment: Appropriate personnel (no less than two) available to unload shipment from freight truck.
Dedicated Room or Appropriate Floorspace: Floor Space must be a minimum of 1.3m/51”. Ceiling height minimum of
2.1m/82.6”. Room must be easily accessible.
Installation Tools and Personnel: Booth is best set up by two people and requires a phillips head screwdriver or drill bit if using a
drill gun.
IMPORTANT SAFETY PRECAUTIONS
Before using the All.in.One Tan.Booth, read all instructions and cautionary markings in this manual and on the device.
When using an electrical appliance, basic precautions should always be followed, including the following:
WARNING
TO REDUCE THE RISK OF FIRE, ELECTRIC SHOCK, OR INJURY:
1. Do not leave product unattended when plugged in. Unplug from outlet when not in use and before servicing.
2. Do not use outdoors or on wet surfaces.
3. Do not allow to be used as a toy. Close attention is necessary when used by or near children.
3. This product is not intended for use by persons (including children) with reduced physical, sensory or mental capabilities, or lack
of experience and knowledge, unless they have been given supervision or instruction concerning use of the appliance by a person
responsible for their safety.
4. Use this device only for its intended function and do not use attachments not recommended by the authorized Marq Labs
manufacturer.
5. Do not use the device if the cord is damaged. In the event of damage discontinue use immediately. If the supply cord is
damaged, it must be replaced by the authorized Marq Labs manufacturer.
6. If device is not working as it should, has been dropped, damaged, le outdoors, or dropped into water, do not use, contact
Marq Labs Customer Care via the website or regional telephone number.
7. Do not pull or carry by cable, use cable as a handle, close a door on cable, or pull cable around sharp edges or corners. Keep
cable away from heated surfaces.
8. Do not unplug by pulling on cable. To unplug, grasp the plug, not the cable.
9. Do not handle plug with wet hands.
10. Do not put any object into openings. Do not use with any opening blocked; keep free of dust, lint, hair, and anything that may
reduce air ow. Switch o and unplug the product before attempting to remove any blockage.
11. Turn o all controls before unplugging.
12. Do not spray ammable or combustible liquids, such as gasoline, or use in areas where they may be present.
13. Do not use without the lter in place.
14. Never look directly into the airow when device is in use.
15. Do not use an extension cord unless the cord complies with local regional electrical safety standards
16. Periodically inspect the power cord for signs of damage
SAVE THESE INSTRUCTIONS
This product is intended for professional use only.
Do not pull
on cable
Do not submerge in
water or get wet
Do not use near
open ames
ALL IN ONE TAN.BOOTH
WARRANTY & GUARANTEE
MARQ LABS GUARANTEE
1 YEAR TROUBLE FREE WARRANTY
Congratulations on your purchase. We trust you will be happy with your purchase as the products are designed to give you many
years of service. To activate your Guarantee, please complete the information within 30 days of purchase. This form has details of our
guarantee terms & conditions so please read it carefully, ll it in and return it to the address at the back of this manual. Alternatively
you can register online at minetanbodyskin.com. Keep this form, with your original proof of purchase for any claim under guarantee. If
you have any queries or require further information on your product please contact your local representative of Marq Labs Pro Tools
Products.
TO REGISTER YOUR EQUIPMENT OR LODGE A WARRANTY CLAIM PLEASE
VISIT MINETANBODYSKIN.COM/WARRANTY/
TERMS & CONDITIONS
If within one (1) year from the date of purchase, the product fails due to a defect in material or workmanship, we will repair if possible
or replace it free of charge with a comparable unit, which may be new or refurbished. This guarantee applies only to the original
purchaser and is not transferable. The goods must be returned to the seller with proof of purchase to be assessed at the purchasers
cost. Prior to making a claim, please ensure you have read all trouble-shooting questions at minetanbodyskin.com. If there is a defect
with the device, it will be replaced free of charge with a comparable unit. Guarantee shall not apply to any defect, failure or damage
caused by improper use or improper or inadequate maintenance and care. The manufacturer shall not be obligated under this
guarantee:
1. To repair damage resulting from attempts by personnel other than authorized representatives to install, repair or service the product.
2. To repair damage, malfunction, or degradation of performance resulting from improper use or incompatible solution.
3. To perform maintenance or cleaning or to repair damage, malfunction, or degradation of performance resulting from failure to
perform user maintenance and cleaning as prescribed.
4. To repair damage, malfunction, or degradation of performance resulting from use of the product in an environment not meeting
the operating specications.