3
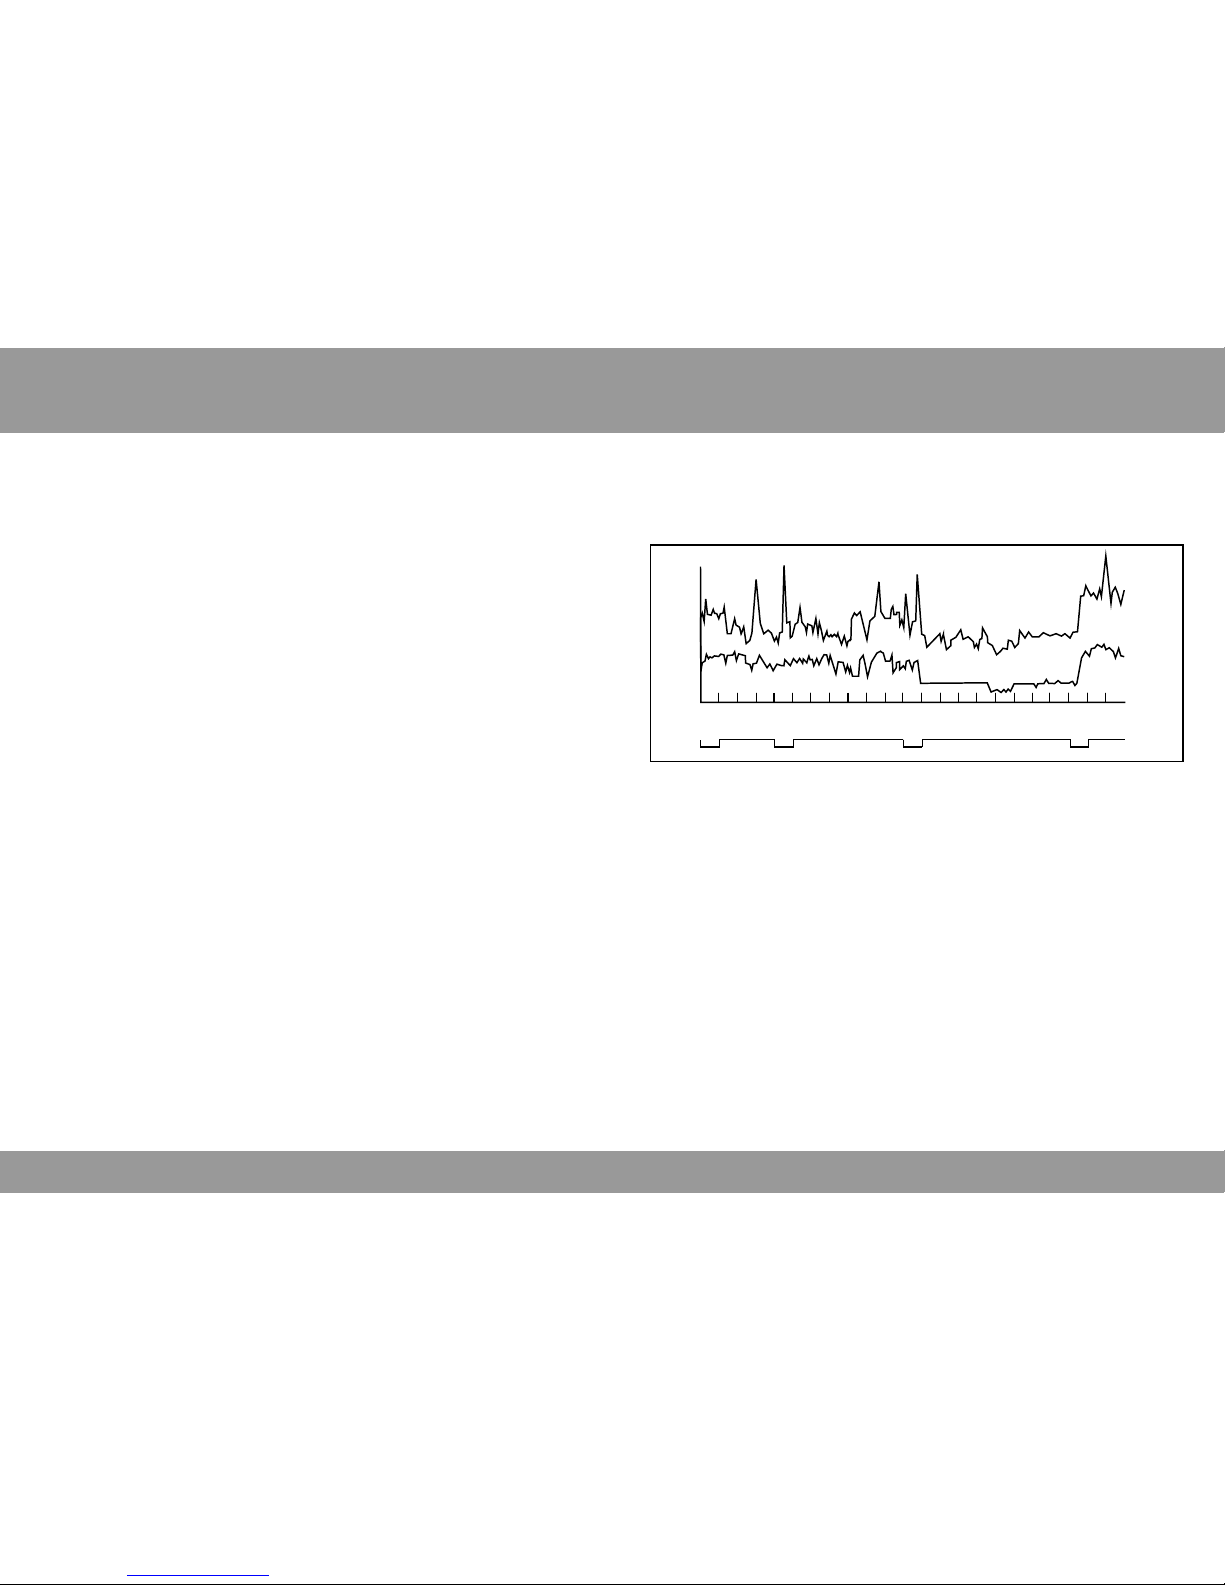
Typical daily blood pressure fluctuations
(Example : 35-year-old male)
What is High Blood Pressure?
Hypertension, or high blood pressure, is a condition where
an individual's blood pressure remains high over a long
period of time. Untreated, hypertension can cause many
serious medical problems including strokes and heart
attacks. To control hypertension, the American Heart
Association recommends that you not smoke, reduce fat
and salt intake, maintain proper weight, exercise and get
regular physical check-ups.
Typical daily blood pressure fluctuations
What is High Blood Pressure?
Sleeping
Family hours Surgery hours
Office hours
Lunch hour Driving home Sexual intercourse Driving to work
systolic
diastolic
Time
160
100
60
2012 15 18 21 24 3 6 9
Blood Pressure (mmHg)
What Is Blood Pressure?
Blood pressure is the force that blood exerts on the
arteries. This force is constantly changing as the heart
beats. When the heart contracts, blood pressure reaches
its highest value. This is called systolic blood pressure.
When the heart relaxes between beats, the value of
blood pressure is lower. This is called the diastolic blood
pressure. The device of measure for blood pressure is
the millimeter of mercury, abbreviated mmHg.
For example, an individual's blood pressure may be mea-
sured as 120 mmHg (systolic) and 80 mmHg (diastolic).
This would be spoken as "120 over 80" and written as
"120/80".
Remember that blood pressure varies throughout the
day. Food intakes, smoking, time of day, stress, level of
exercise and many other factors can affect it.
What Is Blood Pressure?
mmHg
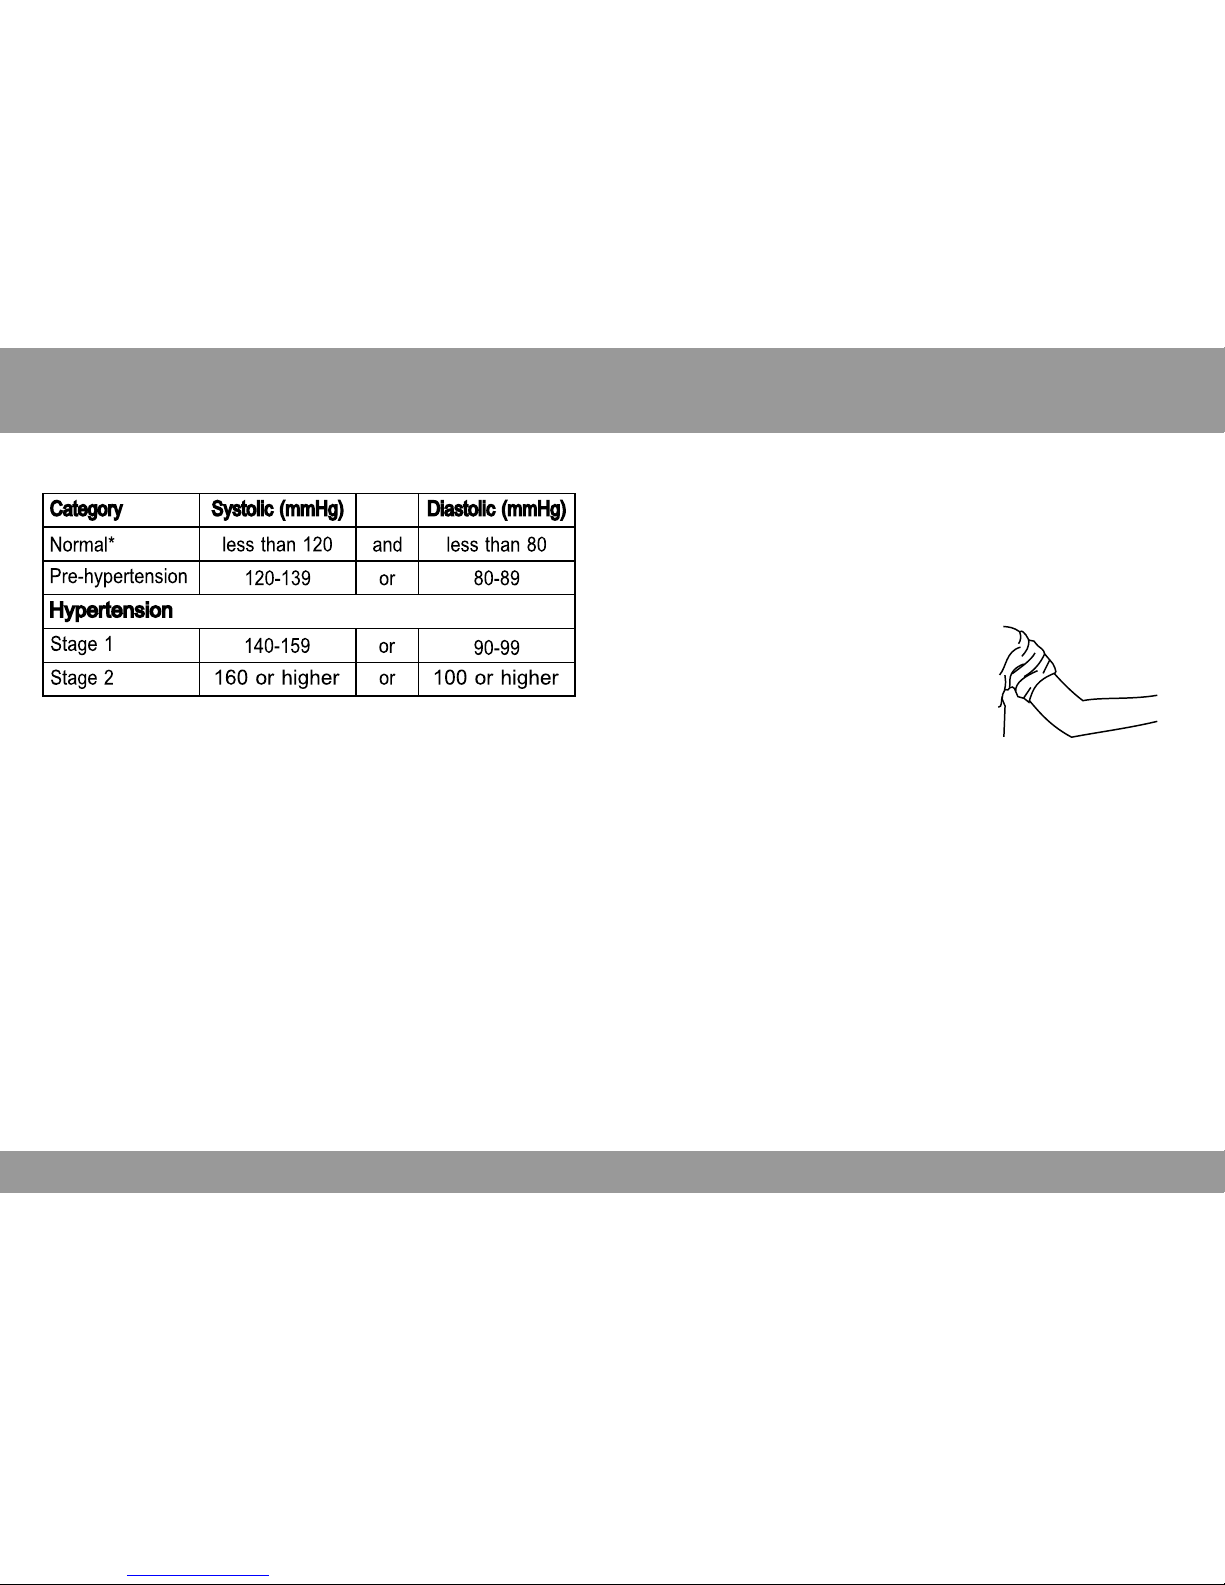
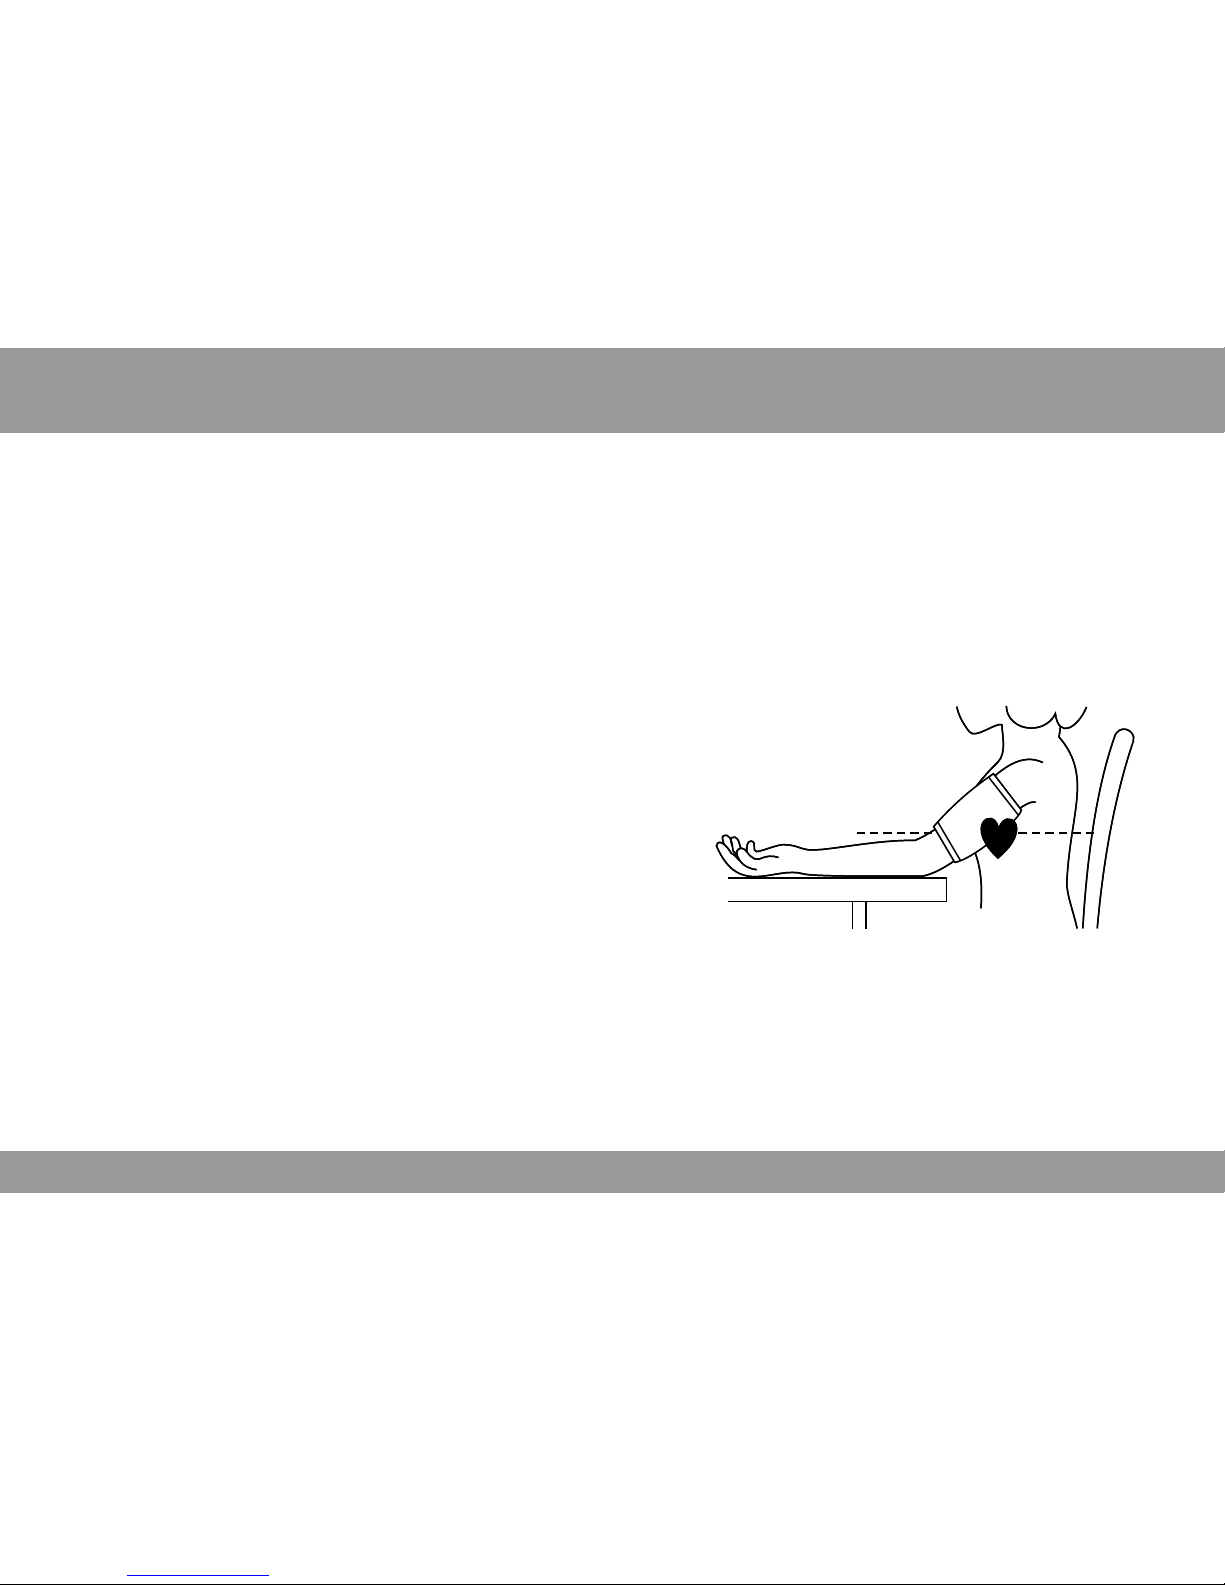
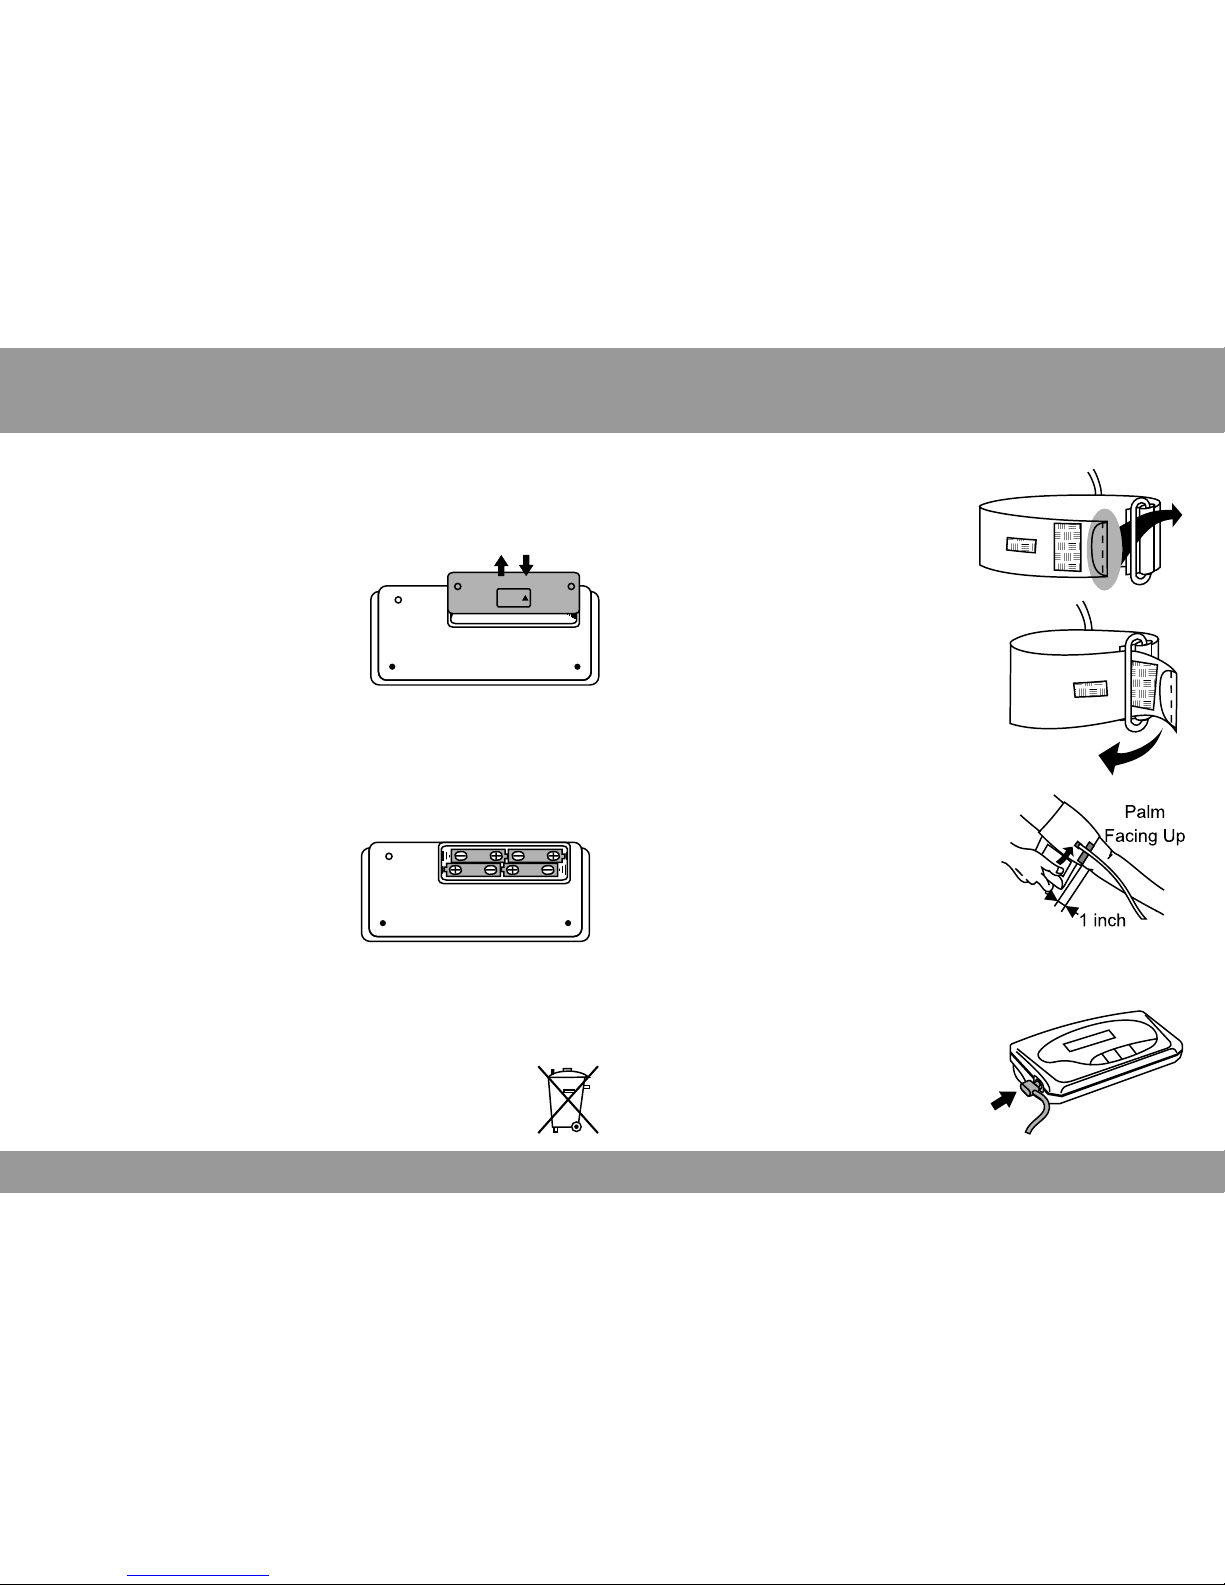
Hints for Accurate MeasurementHints for Accurate Measurement
1.
Relax and try to remain still for 5 to 10 minutes
before a measurement.
2.
Remove any clothing on the upper arm so that the
cuff can be placed directly on the skin.
Constriction of the upper
arm caused by rolling up
a shirt sleeve may cause
an inaccurate reading.
Avoid this condition by completely
removing the garment causing the constriction.
Constriction of the upper
arm caused by rolling up
a shirt sleeve may cause
an inaccurate reading.
3. Refrain from eating, smoking, and drinking
(especially alcoholic beverages) before a
measurement since these activities can affect
your blood pressure.
4. Remember that blood pressure varies continuously
throughout the day. Try to take your blood pres-
sure at the same time each day.
Remember that blood pressure varies continuously
throughout the day. Try to take your blood pres-
sure at the same time each day.
5. Do not be concerned with the results of one meas-
urement. Many measurements, recorded over a
long period of time, will provide a better
indication of your blood pressure.
Excessive
Constriction
Helpful Information
4
Blood Pressure ClassificationsBlood Pressure Classifications
Why Is It Important to Measure Your Blood
Pressure at Home?
Having your blood pressure taken at the doctor's office
may cause you to become nervous, thus artificially rai-
sing your reading. Having the ability to take your blood
pressure at home makes it easy to record a log of
your daily readings.
This will help you gain a greater understanding of your
blood pressure reading and the factors that affect it.
Be sure that you share your information with your
physician.
Why Is It Important to Measure Your Blood
Pressure at Home?
* Unusually low readings should be evaluated for
clinical significance.
(From the Seventh Report of the Joint National
C o m mi t t e e o n D e t e c t i o n , Ev a l u a t i o n , an d
Treatment of High Blood Pressure)