8
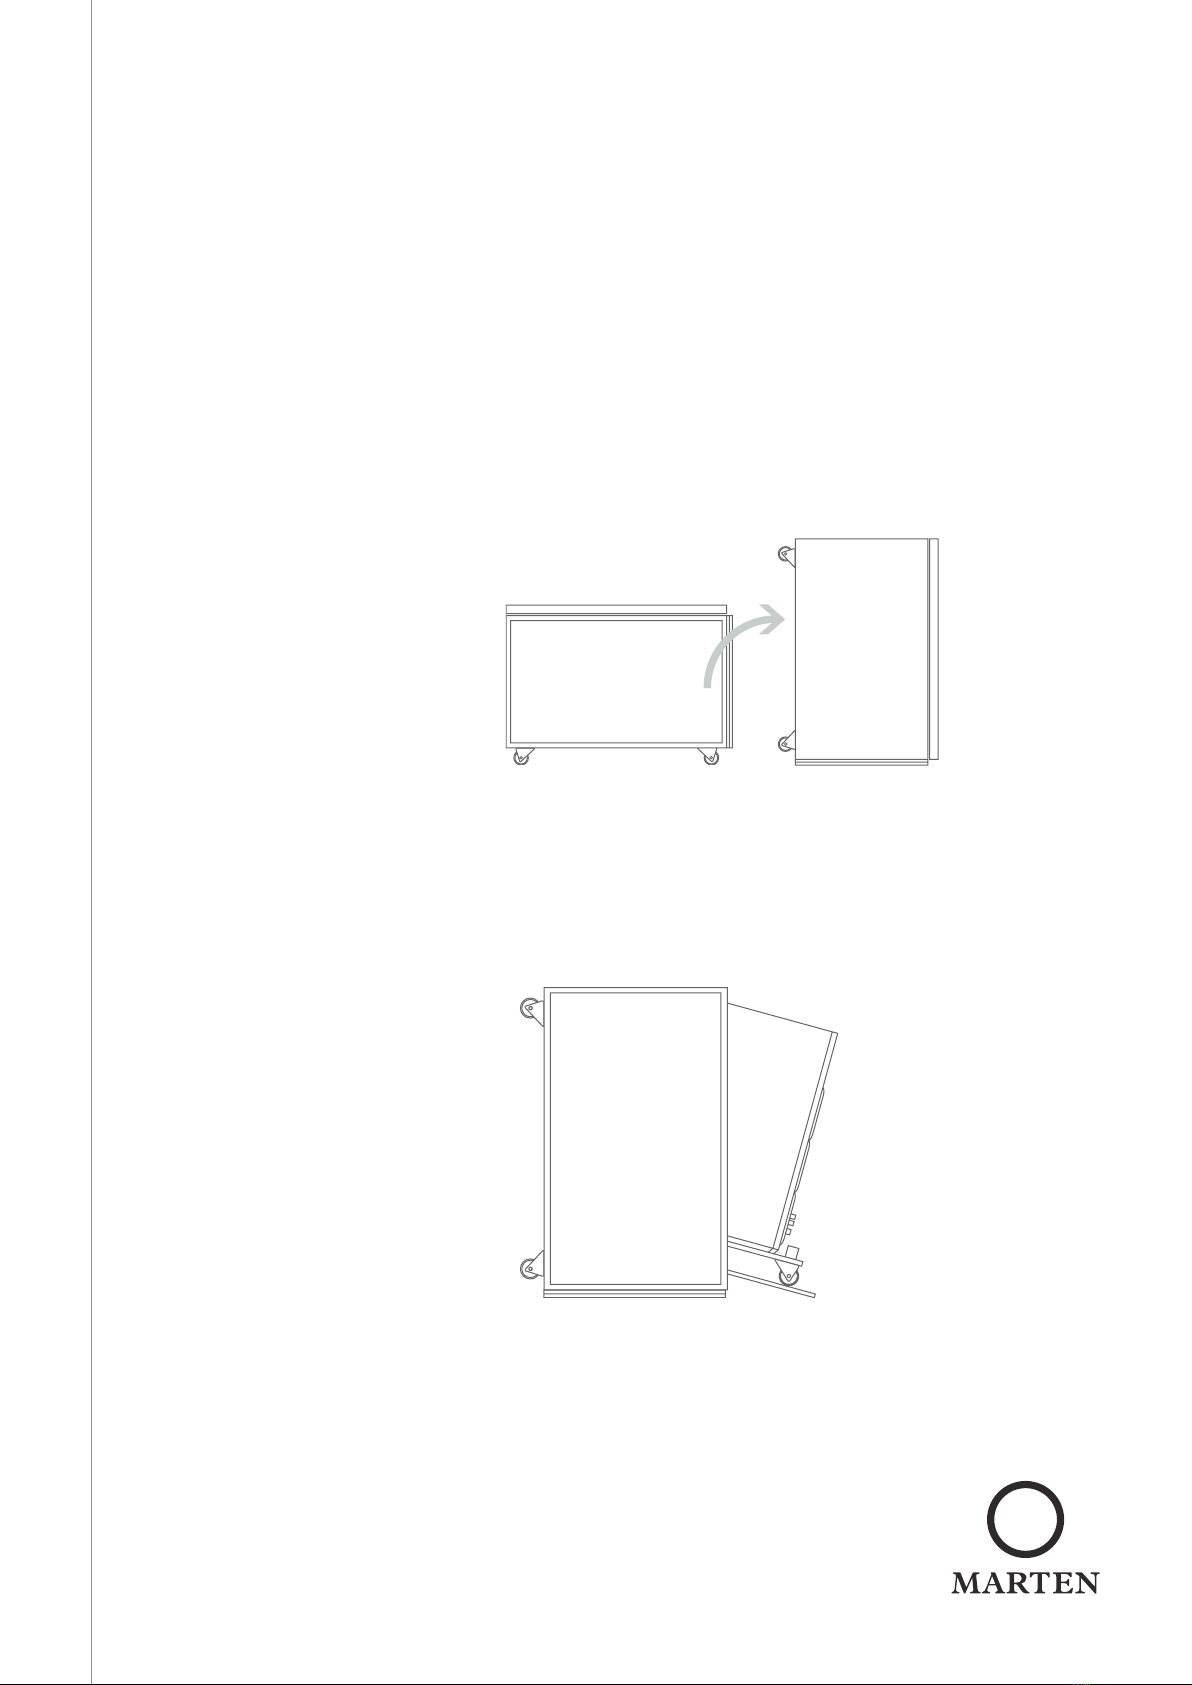
Unpacking 13. Adjust the top unit so that it’s aligned with the base unit and
tighten the bolts inside the top unit
14. Screw the passive driver (accessory crate) for each speaker tower
into place with 8 x black Torx screws per driver
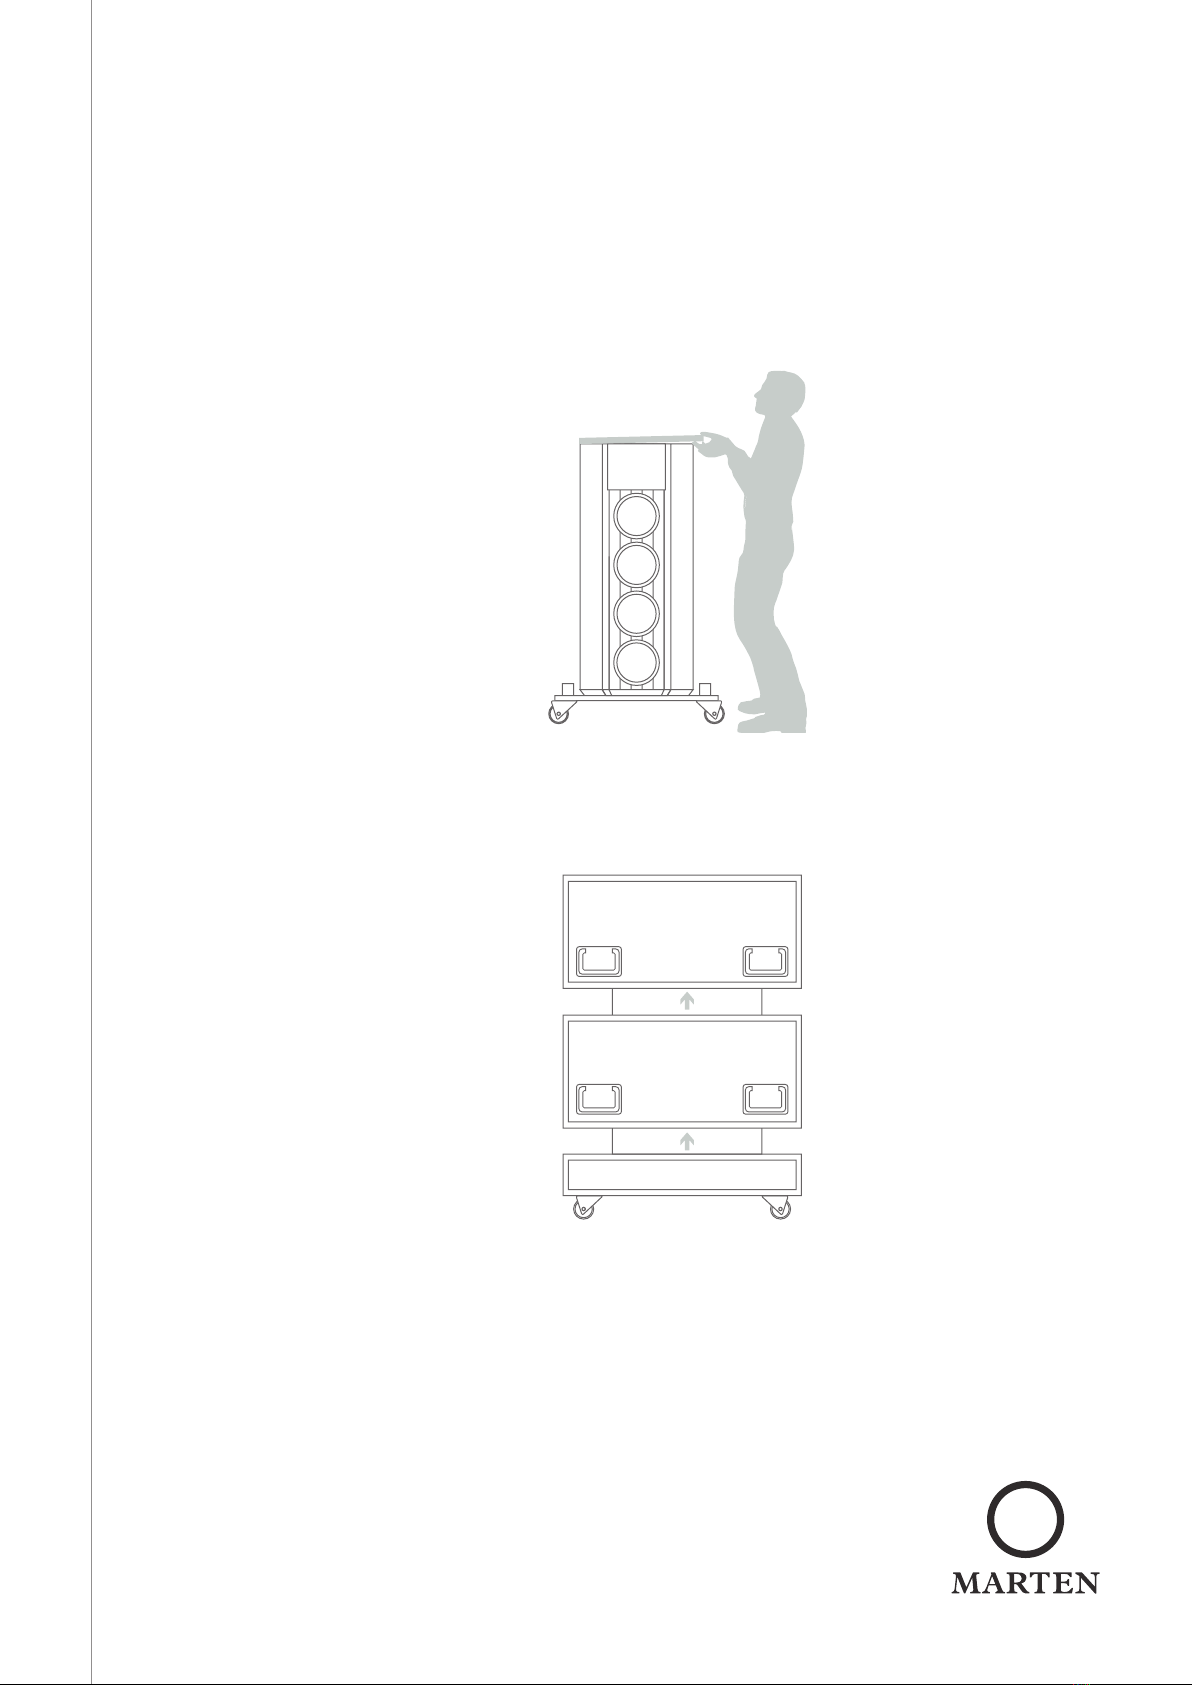
15. Connect the jumpers tightly between the base and top unit. You
will find the terminals inside the hole designed for the mid/high
unit (fig g)
16. Repeat steps 3 - 15 for the le hand cabinet
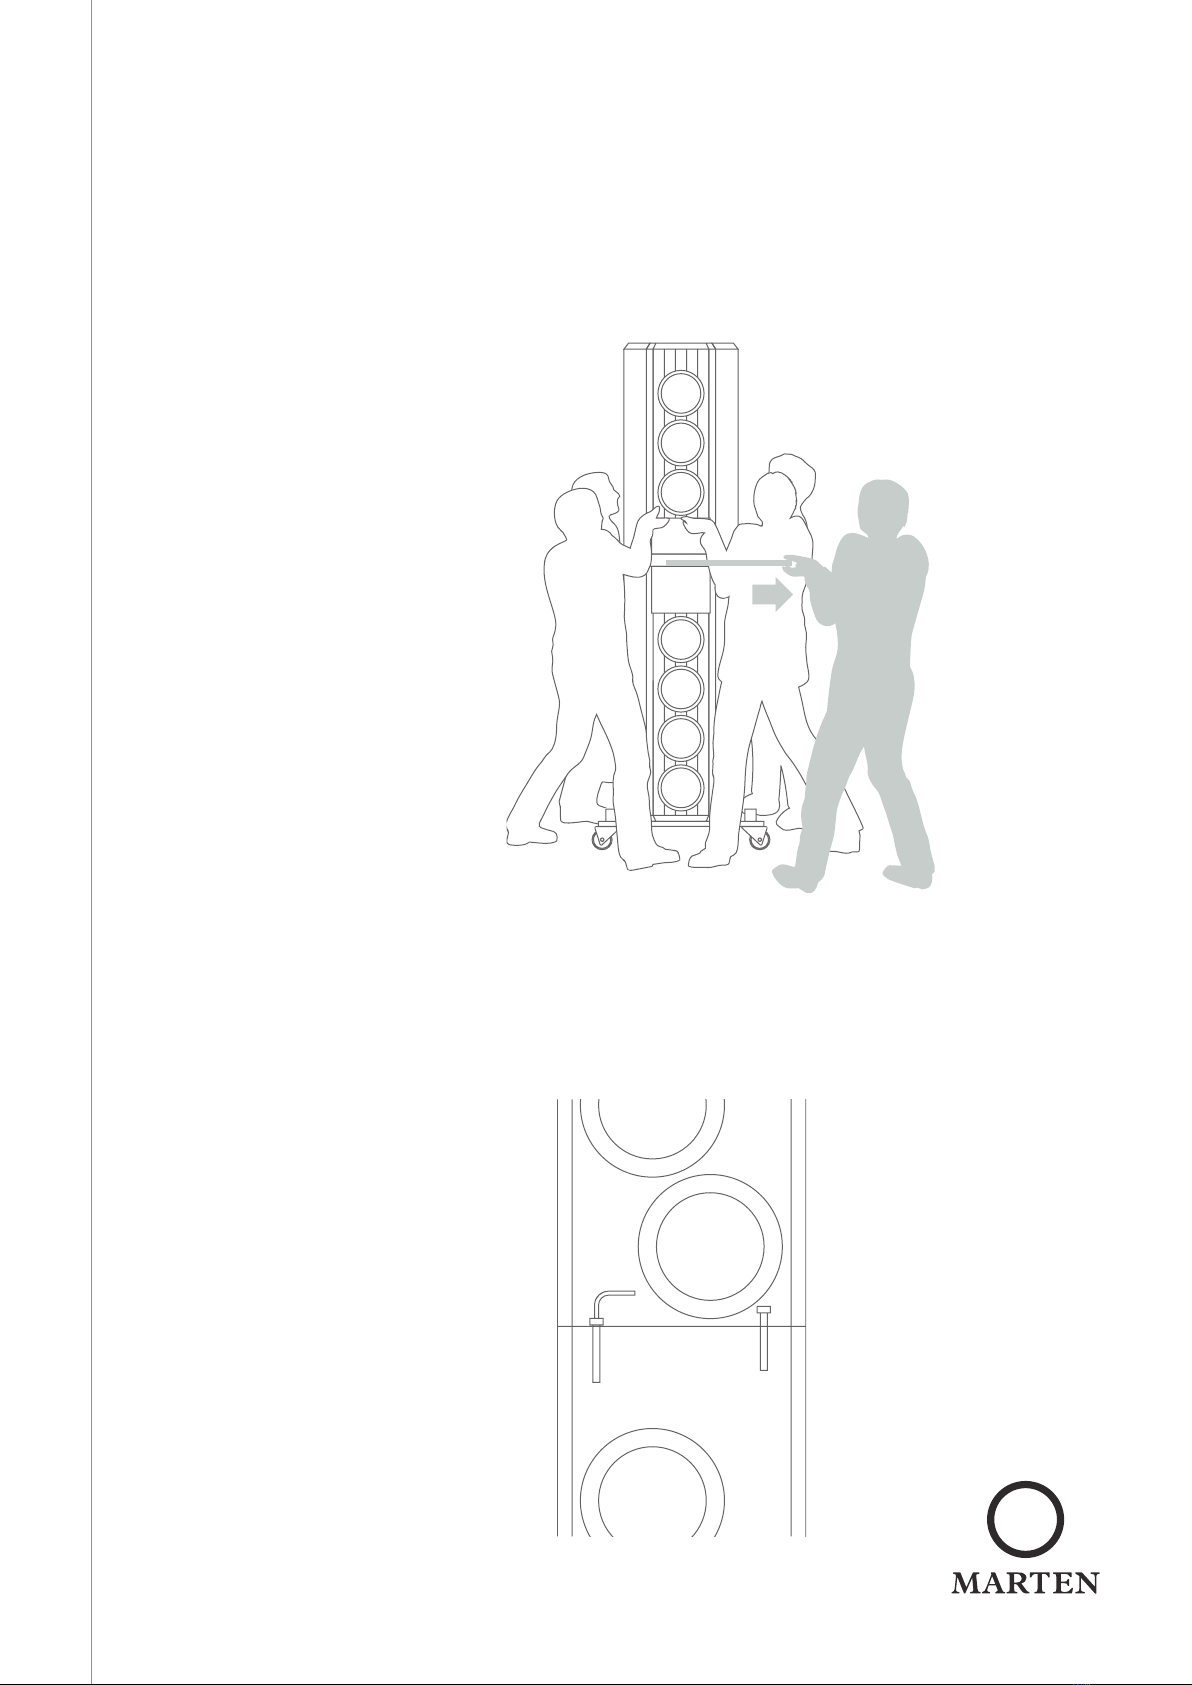
17. Take the metal mid/high units out of their packaging and place
one in front of each loudspeaker tower
18. With one person holding the mid/high unit carefully in front of
the loudspeaker tower connect the six (6) cables to the terminals
of the unit. The cables are marked: Mid-range, Low tweeter and
High tweeter. It’s very important to connect the cables correctly by
using the markings.
19. Slide the mid/high unit carefully into the cavity making sure the
cables are not in the way
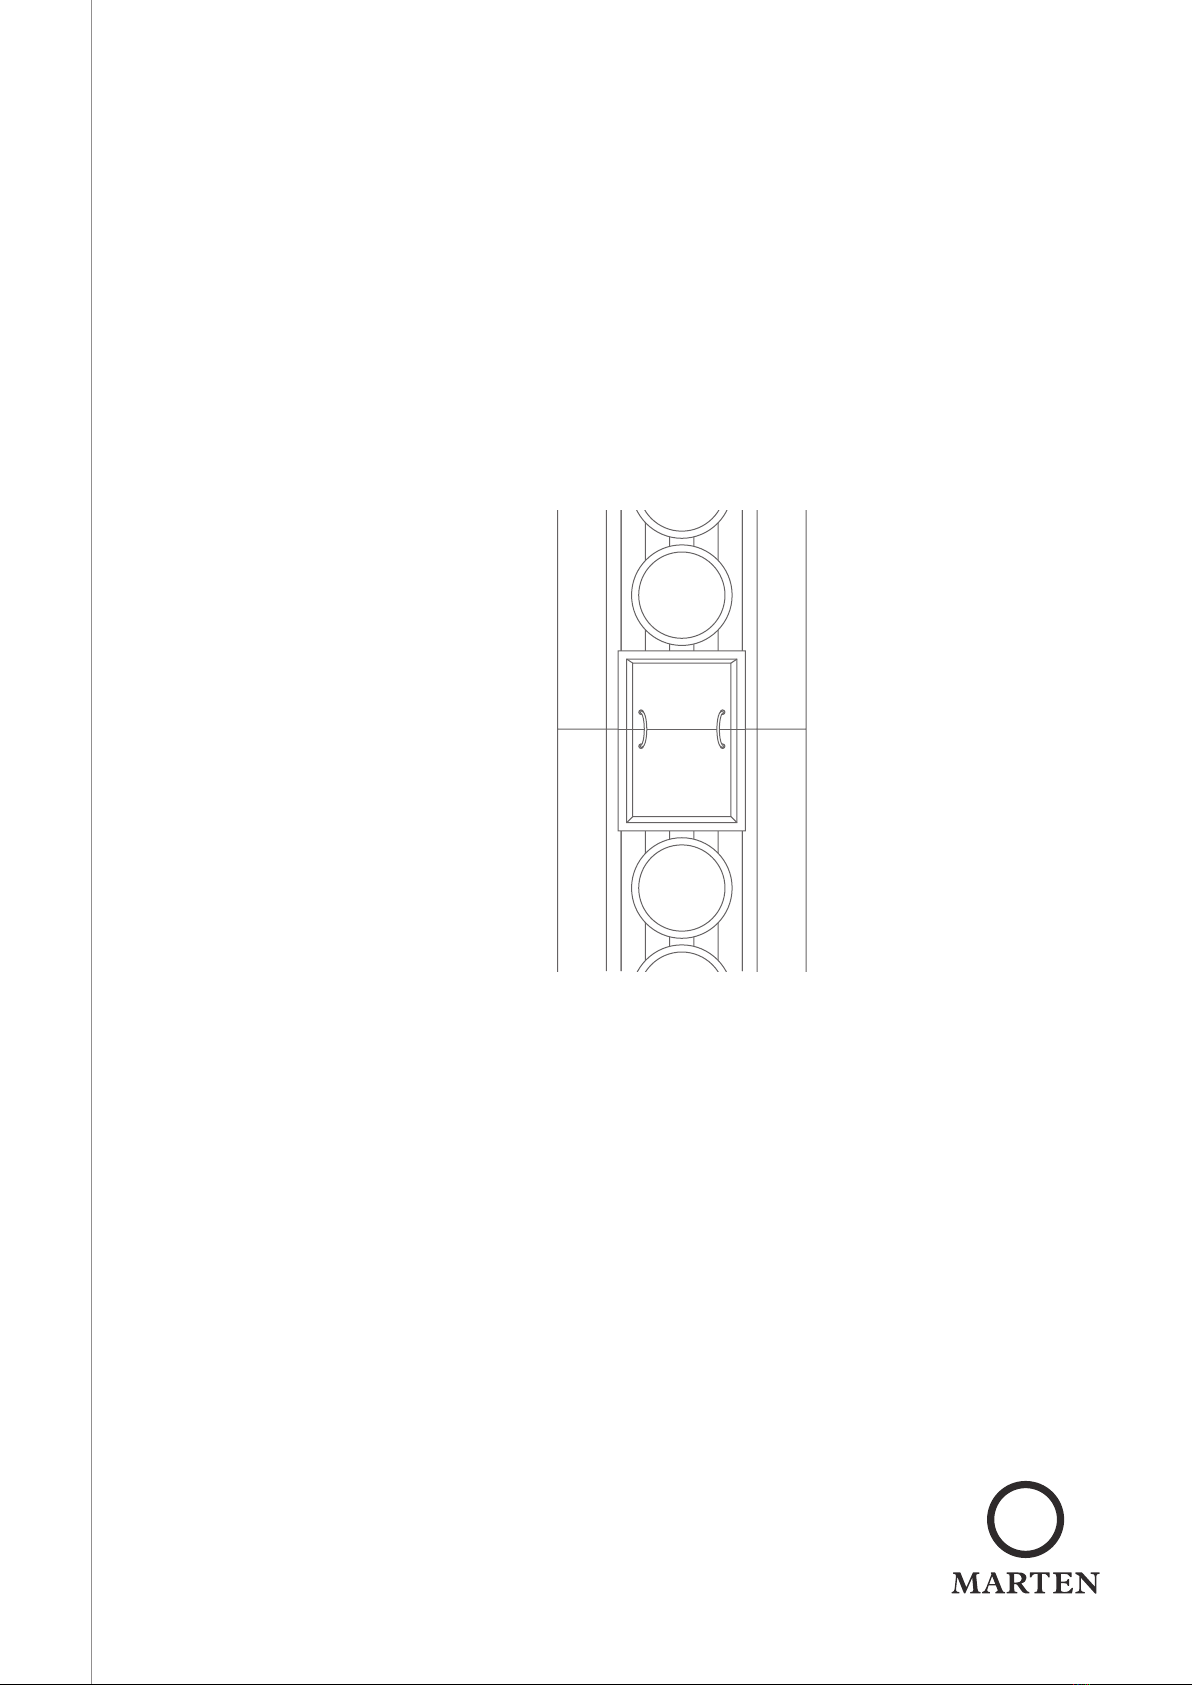
20. If necessary, slide out the mid/high unit for adjustment of the
three base cones for perfect alignment
21. When both loudspeakers are assembled, unlock the wheels so
you can listen and adjust the position for the ideal focus and
imaging
22. When you have reached your ideal position lock the wheels
fig g