manuals.online logo
Brands
  1. Home
  2. •
  3. Brands
  4. •
  5. Martini Instruments
  6. •
  7. Measuring Instrument
  8. •
  9. Martini Instruments MI 806 User manual

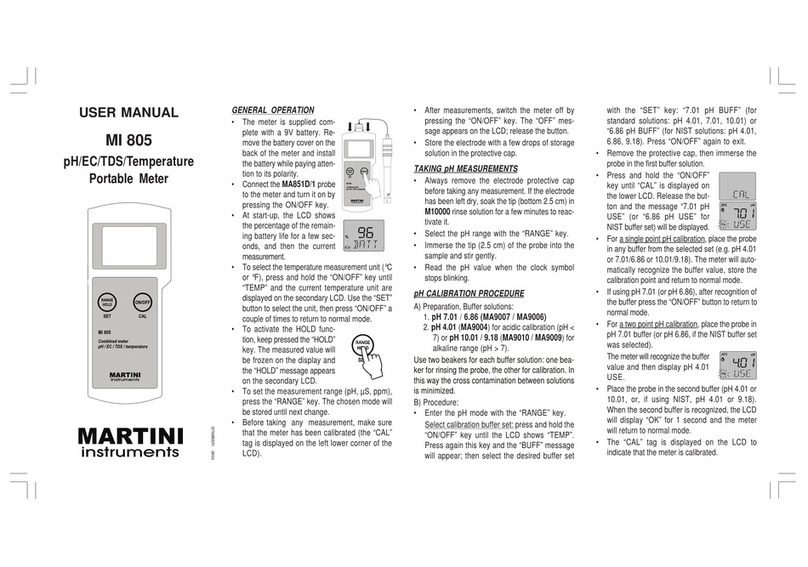
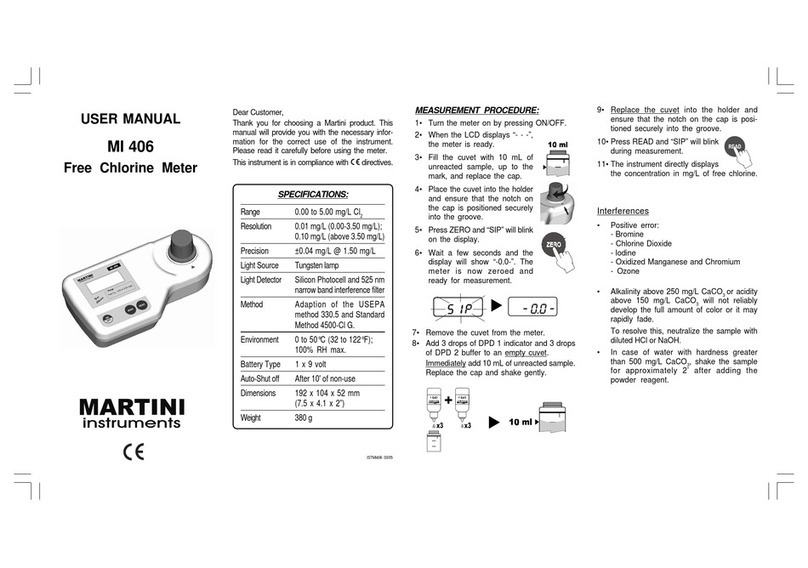
Martini Instruments MI 806 User manual

GENERAL OPERATION
• The meter is supplied com-
plete with a 9V battery. Re-
move the battery cover on
the back of the meter and
install the battery while pay-
ing attention to its polarity.
• Connect the MA851D/1
probe to the meter and turn
it on by pressing ON/OFF.
• At start-up, the LCD shows
the percentage of the re-
mainingbatterylifeforafew
seconds, and then the cur-
rent measurement.
• To select the temperature measurement unit (°C
or °F), press and hold the “ON/OFF” key until
“TEMP” and the current temperature unit are
displayed on the secondary LCD. Use “SET” to
select the unit and then press “ON/OFF” a
couple of times to return to normal mode.
• To activate the HOLD func-
tion, keep pressed the
“HOLD” key. The mea-
sured value will be frozen
on the display and the
“HOLD” message appears
on the secondary LCD.
• To set the measurement range (pH, µS, ppm),
press the “RANGE” key. The chosen mode will
be stored until next change.
• Before taking any measurement, make sure
that the meter has been calibrated (the “CAL”
tag is displayed on the LCD).
• After measurements, switch the meter off by
pressing the “ON/OFF” key. The “OFF” mes-
sage appears on the LCD; release the button.
• Store the electrode with a few drops of storage
solution in the protective cap.
TAKING pH MEASUREMENTS
• Always remove the electrode protective cap
before taking any measurement. If the electrode
has been left dry, soak the tip (bottom 2.5 cm) in
M10000 rinse solution for a few minutes to reac-
tivate it.
• Select the pH range with the “RANGE” key.
• Immerse the tip (2.5 cm) of the probe into the
sample and stir gently.
• Read the pH value when the clock symbol
stops blinking.
pH CALIBRATION PROCEDURE
A) Preparation, Buffer solutions:
1. pH 7.01 /6.86 (MA9007 / MA9006)
2. pH 4.01 (MA9004) for acidic calibration (pH <
7) or pH 10.01 / 9.18 (MA9010 / MA9009) for
alkaline range (pH > 7).
Use two beakers for each buffer solution: one bea-
ker for rinsing the probe, the other for calibration. In
this way the cross contamination between solutions
is minimized.
B) Procedure:
• Enter the pH mode with the “RANGE” key.
•Select calibration buffer set: press and hold the
“ON/OFF” key until the LCD shows “TEMP”.
Press again this key and the “BUFF” message
will appear; then select the desired buffer set
USER MANUAL
MI 806
pH/EC/TDS/Temperature
Portable Meter
with the “SET” key: “7.01 pH BUFF” (for
standard solutions: pH 4.01, 7.01, 10.01) or
“6.86 pH BUFF” (for NIST solutions: pH 4.01,
6.86, 9.18). Press “ON/OFF” again to exit.
• Remove the protective cap, then immerse the
probe in the first buffer solution.
• Press and hold the “ON/OFF”
key until “CAL” is displayed
on the lower LCD. Release the
button and the message “7.01
pH USE” (or “6.86 pH USE”
for NIST buffer set) will be dis-
played.
• For a single point pH calibration, place the probe
in any buffer from the selected set (e.g. pH 4.01
or 7.01/6.86 or 10.01/9.18). The meter will auto-
matically recognize the buffer value, store the
calibration point and return to normal mode.
• If using pH 7.01 (or pH 6.86), after recognition of
the buffer press the “ON/OFF” button to return to
normal mode.
• For a two point pH calibration, place the probe in
pH 7.01 buffer (or pH 6.86, if the NIST buffer set
was selected).
The meter will recognize the
buffer value and then display
pH 4.01 USE.
• Place the probe in the second buffer (pH 4.01 or
10.01, or, if using NIST, pH 4.01 or 9.18).
When the second buffer is recognized, the LCD
will display “OK” for 1 second and the meter
will return to normal mode.
• The “CAL” tag is displayed on the LCD to
indicate that the meter is calibrated.
ISTMI806R1 06/04
NOTES
• If reading is over-range, the display will flash the
closest full scale value.
• To clear a previous calibration, press “ON/
OFF” after entering the calibration mode. The
lower LCD will display ESC for 1 second and
the meter will return to normal mode. The “CAL”
symbol on the LCD will disappear and the meter
is reset to the default calibration.
SPECIFICATIONS
RANGE 0.00 to 14.00 pH
0.00 to 20.00 mS/cm
0.00 to 10.00 ppt
0.0 to 60.0ºC or 32.0 to 140.0°F
RESOLUTION 0.01 pH
0.1 mS/cm
0.01 ppt
0.1°C or 0.1°F
ACCURACY (@25°C) ±0.01pH
±2% FS (EC/TDS)
±0.5°C or ±1°F
TYPICAL EMC DEV. ±0.02 pH
±2% FS (EC/TDS)
±0.5°C or ±1°F
TEMPERATURE Automatic from 0 to 60ºC;
COMPENSATION ß adj. from 0.0 to 2.4%/°C
pH CALIBRATION 1 or 2-point
with automatic buffer recognition
EC CALIBRATION Automatic, 1 point
EC/TDS FACTOR (CONV)Adj. from 0.45 to 1.00
PROBE (included) MA851D/1
amplified pH/EC/TDS/Temperature probe
with DIN connector and 1 m (3.3’) cable.
ENVIRONMENT 0 to 50°C (32 to 122°F);
100% RH max.
BATTERY TYPE 1 x 9V alkaline (included)
BATTERY LIFE approx. 300 hours
AUTO-OFF after 8 minutes
DIMENSIONS 200 x 85 x 50 mm
WEIGHT 260 g (with battery)
EC/TDS OPERATIONS
• The user can select the EC/TDS conversion
factor (CONV), as well as the ß coefficient
(BETA) for automatic temperature compensation.
• Enter the EC or TDS mode with the “RANGE”
key, then press and hold the “ON/OFF” key
until “TEMP” is displayed on the secondary
LCD. Press this key again to
show the current conversion fac-
tor (CONV).
• Press the “SET” button to change
the value, then press again this
key to show the current tempera-
ture coefficient (BETA).
• Press “SET” to change the value, then press
“ON/OFF” key return to normal operation.
• For taking EC or TDS measurements, immerse
the probe in the solution to be tested.
• Select either EC or TDS mode with “RANGE”.
• Stir gently and wait for the reading to stabilize
(the clock symbol stops blinking).
EC/TDS CALIBRATION PROCEDURE
• Clean the probe with M10000 solution.
• Enter the EC mode with the “RANGE” key.
• Immerse the probe in MA9030 (12.88 mS/cm)
calibration solution.
• Press and hold the “ON/OFF” key until “CAL”
is displayed on the LCD. Re-
lease the button and the mes-
sage “12.88 mS USE” appears.
• The meter will perform automatic calibration, and
then display “OK” for 1 second before returning
to normal mode.
• The calibration is now complete and the “CAL”
tag is displayed on the LCD to indicate that the
meter is calibrated.
BATTERY REPLACEMENT
The meter shows the remaining battery percentage
every time it is switched on. When the battery level
is below 5%, the battery symbol on the bottom left
of the LCD lights up to alert the user.
The meter is also provided with BEPS (Battery
Error Prevention System), which automatically
switches the meter off if the battery level is so low
to cause erroneous readings. It is recommended to
replace immediately the battery.
Turn the meter off, remove the
battery compartment cover from
the rear of the meter and replace
the rundown 9V battery with a
new one.
Install the battery while paying
attention to its polarity and reat-
tach the cover.
ACCESSORIES
MA851D/1 Amplified pH/EC/TDS/Temperature
probe with DIN connector and 1 m
(3.3’) cable.
MA9004 pH4.01buffersolution,230mlbottle
MA9006 pH6.86buffersolution,230mlbottle
MA9007 pH7.01buffersolution,230mlbottle
MA9009 pH9.18buffersolution,230mlbottle
MA9010 pH 10.01 buffer solution, 230 ml
MA9030 12.88 mS/cm solution, 230 ml
MA9015 Probestoragesolution,230mlbottle
MA9016 General cleaning solution, 230 ml
M10000B Rinse solution, 20 ml (25 pcs.)
WARRANTY
This instrument is warranted against defects in mate-
rials and manufacturing for a period of two years
from the date of purchase. Probe is warranted for 6
months.
If during this period the repair or replacement of parts
is required, where the damage is not due to negli-
gence or erroneous operation by the user, please
return the parts to either distributor or our office and
the repair will be effected free of charge.
Damages due to accidents, misuse, tampering or
lack of prescribed maintenance are not covered.
Other Martini Instruments Measuring Instrument manuals

Martini Instruments MI 411 User manual

Martini Instruments

Martini Instruments MI 411 User manual

Martini Instruments MI 415 User manual

Martini Instruments

Martini Instruments MI 415 User manual

Martini Instruments MI 415 User manual

Martini Instruments

Martini Instruments MI 415 User manual

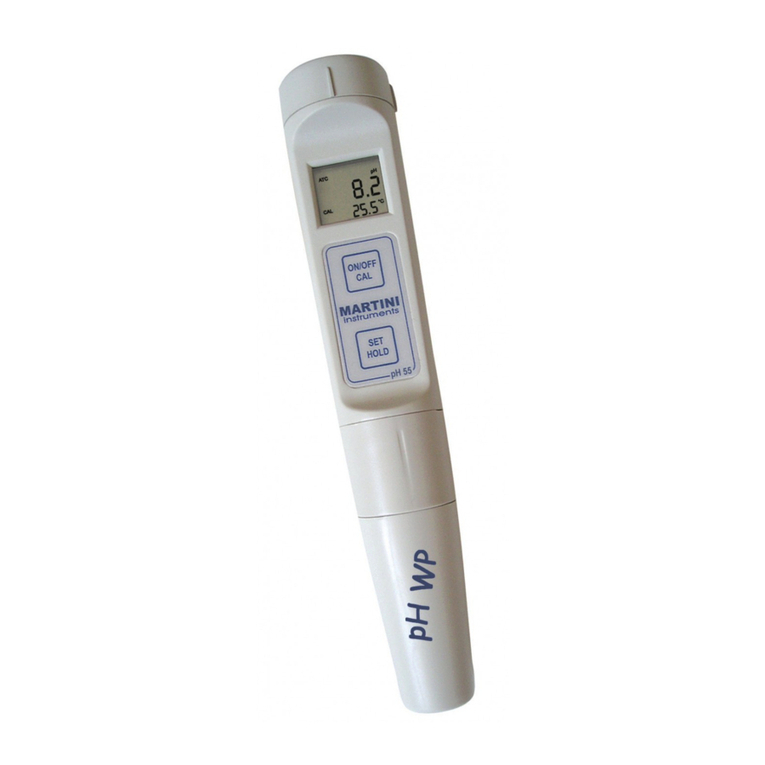
Martini Instruments pH 55 User manual

Martini Instruments

Martini Instruments pH 55 User manual

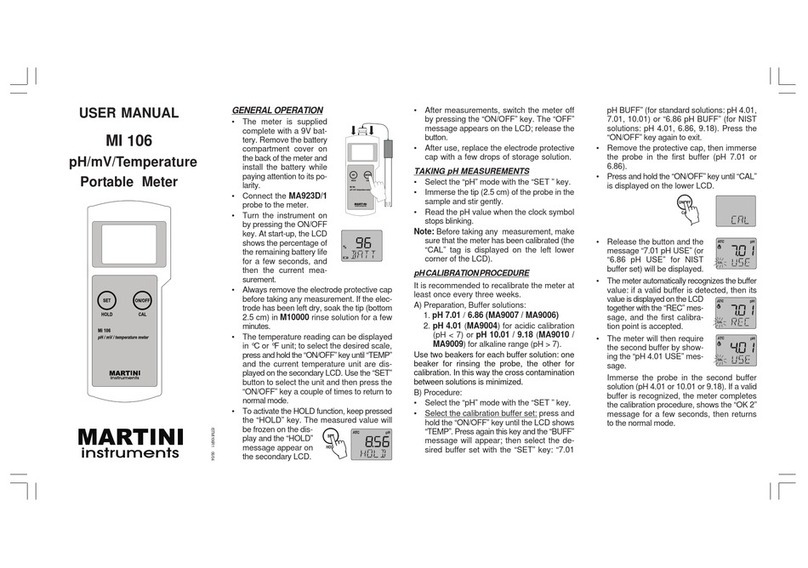
Martini Instruments Mi 106 User manual

Martini Instruments

Martini Instruments Mi 106 User manual

Martini Instruments Mi 160 User manual

Martini Instruments

Martini Instruments Mi 160 User manual

Martini Instruments MI 605 User manual

Martini Instruments

Martini Instruments MI 605 User manual

Martini Instruments MI 404 User manual

Martini Instruments

Martini Instruments MI 404 User manual

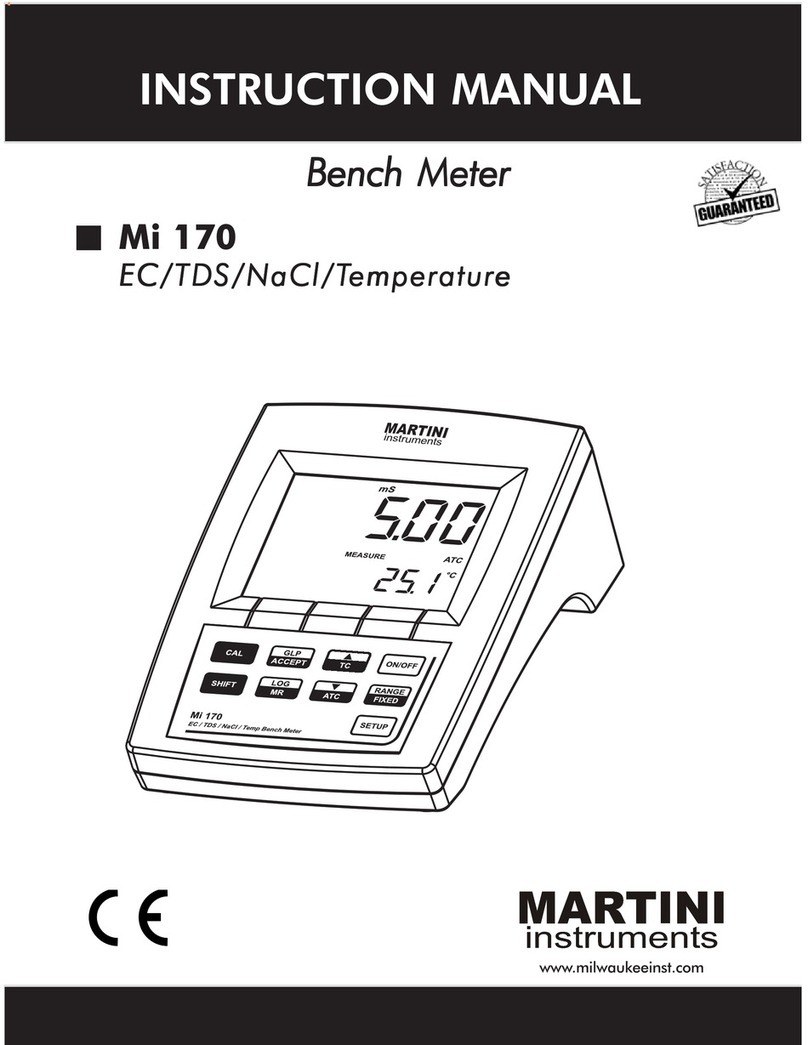
Martini Instruments MI 170 User manual

Martini Instruments

Martini Instruments MI 170 User manual

Martini Instruments Mi 105 User manual

Martini Instruments

Martini Instruments Mi 105 User manual

Martini Instruments MI 406 User manual

Martini Instruments

Martini Instruments MI 406 User manual

Martini Instruments MI 306 User manual

Martini Instruments

Martini Instruments MI 306 User manual

Martini Instruments pH 58 User manual

Martini Instruments

Martini Instruments pH 58 User manual

Martini Instruments MI 405 User manual

Martini Instruments

Martini Instruments MI 405 User manual

Martini Instruments pH 56 User manual

Martini Instruments

Martini Instruments pH 56 User manual

Martini Instruments MI 805 User manual

Martini Instruments

Martini Instruments MI 805 User manual

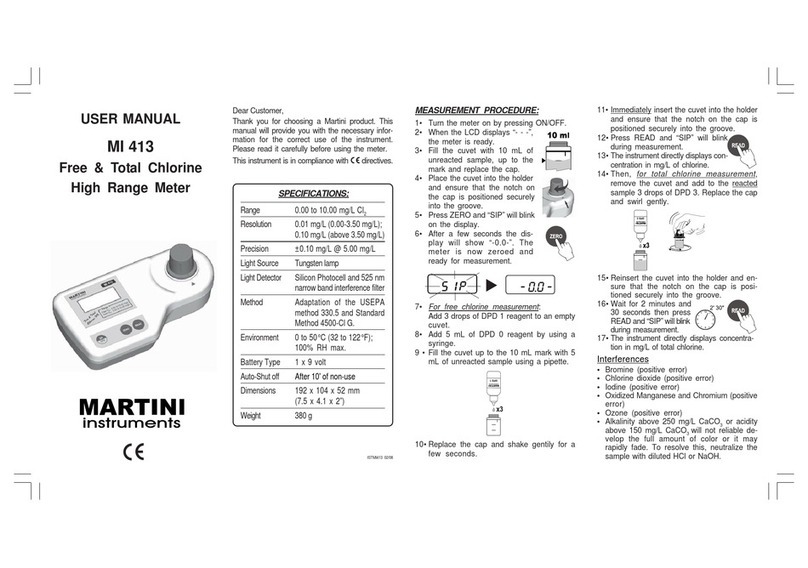
Martini Instruments MI 413 User manual

Martini Instruments

Martini Instruments MI 413 User manual

Martini Instruments MI 408 User manual

Martini Instruments

Martini Instruments MI 408 User manual

Popular Measuring Instrument manuals by other brands

Siemens Sitrans F Series operating instructions

Siemens

Siemens Sitrans F Series operating instructions

Endress+Hauser PROline promag 53 operating instructions

Endress+Hauser

Endress+Hauser PROline promag 53 operating instructions

DISAG RM IV operating instructions

DISAG

DISAG RM IV operating instructions

Roche Cobas C111 manual

Roche

Roche Cobas C111 manual

Konica Minolta CA-410 Series instruction manual

Konica Minolta

Konica Minolta CA-410 Series instruction manual

Ankom A2000 Service Procedure

Ankom

Ankom A2000 Service Procedure

Bender ISOMETER isoNAV685-D manual

Bender

Bender ISOMETER isoNAV685-D manual

Omega DP3001 user guide

Omega

Omega DP3001 user guide

STONEX R2W PLUS 500 instruction manual

STONEX

STONEX R2W PLUS 500 instruction manual

Essilor Instruments ALM 800 user manual

Essilor Instruments

Essilor Instruments ALM 800 user manual

Industrial physics sheen DV2300 operating instructions

Industrial physics

Industrial physics sheen DV2300 operating instructions

Citec LOOP420 instruction manual

Citec

Citec LOOP420 instruction manual

ROOTECH ACCURA 3700 Series user guide

ROOTECH

ROOTECH ACCURA 3700 Series user guide

Dwyer Instruments 250-AF Series Installation and operating instructions

Dwyer Instruments

Dwyer Instruments 250-AF Series Installation and operating instructions

Kobold DAH operating instructions

Kobold

Kobold DAH operating instructions

Union Instruments INCA4003 Translation of the original operating instructions

Union Instruments

Union Instruments INCA4003 Translation of the original operating instructions

GTCO CalComp Roll-Up III user guide

GTCO CalComp

GTCO CalComp Roll-Up III user guide

Hioki PQ3100-91 instruction manual

Hioki

Hioki PQ3100-91 instruction manual

manuals.online logo
manuals.online logoBrands
  • About & Mission
  • Contact us
  • Privacy Policy
  • Terms and Conditions

Copyright 2025 Manuals.Online. All Rights Reserved.