Master Water Conditioning PURO PRO 1800 SC Series User manual

OPERATION MANUAL
PURO PRO 1800 SC Series
Modular Reverse Osmosis
System
MASTER
Water Conditioning Corp.
www.masterwater.com
September 2012 Version

Table of Contents
Model Number......................................................................................................................1
Shipping Description / Unit............................................................................................... 1
System Description .........................................................................................1
Feed Water Requirements..............................................................................2
Electrical Requirements.....................................................................................................2
Typical Installation…………………………………………………………………..3
PURO PRO Membrane Installation..............................................................4-7
PURO PRO Positioning................................................................................7-8
PURO PRO Hydraulic Connections .............................................................8-9
PURO PRO Electrical Connections............................................................9-10
PURO PRO Power Switch Operation.......................................................10-11
PURO PRO Float Switch Operation.........................................................11-12
Filling the PURO PRO with Water and Start-Up ……………………………..13
PURO PRO Operation and Maintenance.................................................13-14
Production Data Record Sheet…………………………………………………...15
Troubleshooting .......................................................................................16-17
PURO PRO Parts List...................................................................................17
Warranty........................................................................................................18
Figures
1 – Typical PURO PRO Installation.................................................................3
2 – Manifold.....................................................................................................6
3 – Housings ................................................................................................ 6
4 – Tightening the Housings............................................................................7
5 – Front of Unit ..............................................................................................9
6 – Electrical Connections………………………………………………………...10
Tables
Production Data record .................................................................................15
Repair and Replacement Parts.....................................................................17

1
Installation and Operating Instructions for
PURO PRO SC Series Modular
Reverse Osmosis Unit
Model #:
_______ PURO PRO 1800 SC 1800 GPD RO System
Shipping Carton Description / unit:
# of
cartons
Contents Description
1
PURO PRO
Module Frame
Modular RO Assembly
1
Filter Elements
(6) RO Membranes
1
Installation
Accessories
Inlet Solenoid, (1) Float Control,
Check Valve, Rubber Gloves,
Silicone Packets
System Description:
The PURO PRO is a modular reverse osmosis filtration system for
the reduction of Total Dissolved Solids (TDS) from water. The
system consists in six (6) high-performance reverse osmosis
membranes. The system is designed to operate with a pressurized
(40 to 90 psi) feed and a vented storage tank for collection of the
product water. An inlet normally-closed solenoid allows pressurized
water to enter the system whenever it is activated by the level float
which is installed in a water collection tank. See Figure 1. The
modular assembly is constructed of non-corrosive Noryl,
polypropylene, and FRP materials. The reverse osmosis system is
rated at a maximum working water pressure of 90 psi. The system
has a fixed inlet flow control, and an adjustable drain restrictor control
for achieving maximum efficiency.

2
Feed Water Requirements:
1. The feed water for the PURO PRO must meet the following
requirements:
2. A feed water source which does not meet these requirements
must be treated prior to the PURO PRO system.
Electrical Requirements:
1. Provide an 115v/60Hz properly grounded dedicated electrical
outlet. (It’s very important that the polarity be correct)
Avoid using outlets that are switch controlled.
2. Maximum amperage required is 5 amps.
3. Make sure the electrical service provides power 24 hours per day.
We recommend installing a surge protector to protect unit from
power surges, which are not covered by warranty.
Feed Water Condition
Requirement
Pressure
40 psi to 90 psi
Temperature
40 to 100 degrees Fahrenheit
Total Dissolved Solids
50 to 2000 mg/l
Hardness
Less than 4 GPG
Iron
Less than 0.1 mg/l
Manganese
Less than 0.05 mg/l
Chlorine
Maximum 1.0 mg/l
pH
4.0 to 10.0

3
Figure 1. Typical PURO PRO Installation

4
PURO PRO Membrane Installation:
1. Rotate the Puro Pro so that the side where the membranes are
to be installed is facing up, and resting on a flat surface.
2. The membranes must be installed inside cartridge housings.
3. The six membranes are installed in the manifolds with the
single ring. Figure 2.
4. Use the plastic gloves (provided) when handling the
membranes in order to prevent exposure to the membrane
preservative.
5. Ensure that the O-Ring’s on each housing and membrane has
Silicone (only) Lubricant. Do not use petroleum lubricants.
6. Install two of the membranes in the top row.
7. To install the membranes, unwrap the membrane and place the
nipple with the two o’rings into the manifold, making sure to
align the nipple of the membrane with the center opening of the
manifold. While supporting the membrane, slide the housing
over the membrane and into the manifold opening. Screw the
housing into the manifold using a strap wrench. Screw the
housing all the way until the housing ring meets the manifold.
See Figure 4.

5
Membrane Placing Membrane In Manifold
Inserting Membrane
Housing Into Manifold
8. Repeat with the second membrane in the middle row.
9. Install the remaining membranes using the procedure from
steps 7 and 8 above.

6
Figure 2. Manifold
Figure 3. Housings
Pre Filter
Manifold
Post Filter
Manifold
(4)
Membrane
Manifolds
Housing O-
Ring

7
Figure 4. Tightening the Housings
PURO PRO Positioning:
1. Wall mount the PURO PRO. There are holes drilled into the
plastic housing to be used for wall mounting. If using the PURO
PRO on the ground, make sure to place a support under the
bottom sumps.
Properly
installed
Housing is
Flush

8
2. Place the PURO PRO in desired position, immediately following
any prescribed pretreatment, and far enough from walls and other
obstructions to allow for servicing the unit. Note that 14 inches of
horizontal clearance are required on the open end for changing
the filters.
3. Place the PURO PRO within reasonable access to a grounded
115V/60 HZ circuit and a legal drain line connection.
4. This system will weigh about 70 pounds when full of water.
NOTE: When changing membranes, water will spill on the floor, so
installing near a floor drain or unfinished floor area is preferred.
PURO PRO Hydraulic Connections (Figure 5):
1. Pipe Puro Pro into the service lines, the inlet is ½ ” NPT and the
outlet is ½” OD tube compression. We recommend using an
inlet, outlet, and bypass valve in installation piping for future
servicing of unit. Always follow local plumbing codes when
installing our water treatment equipment. When using PVC
make sure to follow the proper primer and solvent instructions.
2. Connect a pressurized feed water source to the inlet solenoid.
The solenoid has a ½ -inch NPT connection. This water source
should be consistently pressurized, either from a well pump
pressure (bladder) tank or from a municipal water source.
3. Install ½” OD tube from the Puro Pro check valve to the inlet of
your atmospheric tank.
4. Install a ½ ” drain line from the ½ ” NPT drain connection to a
legal air gap. Follow local plumbing codes.

9
Figure 5: Front of Unit
PURO PRO Electrical Connections:
1. Attach the float switch to the vented storage tank so that the
float raises to the horizontal position when the storage tank is
full of water. The float switch will provide an open circuit (i.e.,
no power) to the solenoid when in a vertical (unfloating)
position; the float switch will provide a closed circuit (i.e.,
powered) to the solenoid when in the horizontal (floating)
position. See Figure 1.
2. Connect the float switch to the power box with the electrical
connector provided. See Figure 6.
3. The inlet solenoid is already connected to the power box. The
inlet solenoid is normally closed: When the circuit is open the
inlet solenoid will be closed and no water will flow into the
PURO PRO unit. When the circuit is closed the inlet solenoid
will open and water will flow into the PURO PRO unit.
Treated Water
(Check Valve)
Untreated Water
Inlet (Inlet Solenoid)
Drain
(Needle Valve)
Untreated Water
Pressure Gauge
Power Box
On/Off Switch

10
Figure 6. Electrical Connections
4. For the inlet solenoid to open, two conditions must be met: The
power box switch must be in the ON position, and the float
switch must be in the vertical (tank not filled) position. If either
of these conditions is not met, the inlet solenoid will remain
closed.
5. The normal operating condition is for the power box switch to
be in the ON position. In this condition, the solenoid will open
and allow the PURO PRO to treat inlet water only when the
storage tank is not full (the float switch is in the vertical
position). Whenever the storage tank is full (the float switch is
in the horizontal floating position), the solenoid will be closed.
PURO PRO Power Switch Operation:
1. The power switch has an ON and OFF switch position to
indicate whether 120 VAC power is being applied to the PURO
PRO system.
2. In the OFF position, no power is being applied to the N/C
solenoid, and the system will not operate. In the ON position,
power is being applied to the PURO PRO system. However,
the N/C solenoid will only open, and the PURO PRO system
will only produce treated water when the float switch is in the
vertical (Tank-not-full) position.
Float Switch
Connection
120V Power Cord
Float Switch
Connection

11
3. The Power Switch Light (red) will be lit whenever the N/C
solenoid is open and the PURO PRO system is producing
treated water for the storage tank. At all other times, the
Power Switch Light will be off.
Float Switch Operation:
1. The float switch operates by the orientation of the float. In the
up and vertical or near-vertical position, the electrical circuit is
open, no power is passed, and the inlet solenoid is closed. As
the float is lowered by the water level and reaches just below
the horizontal position, the electrical circuit is closed, power is
passed and the solenoid valve is opened, allowing the Modular
Pro to produce treated water.
2. This function can be tested by holding the float, adjusting the
orientation, and listening for the switch to open and close.
3. For proper functioning, the float requires a stationary axis for
rotation. This can be accomplished by a weight in the float
cable, or by anchoring the float cable just below the intended
fill level for the storage tank.
4. The arc created between the float and the stationary point
determines the range of operation for the Modular Pro from the
ON to the OFF position.
5. Install the float switch so that the OFF position corresponds to
the intended fill level for the storage tank.
Switch in ON
position

12
Low Water; Switch On High Water; Switch Off
WEIGHT METHOD
Low Water; Switch On High Water; Switch Off
ANCHOR POINT METHOD
WEIGHT DEVICE

13
Filling the PURO PRO with Water and Start-Up:
1. Once all hydraulic and electrical connections are completed
and the power box is plugged into a 120V power source, close
a feed water inlet valve, and crack it open about ¼.
2. Switch the power box switch to ON, and water will enter the
PURO PRO. Let the water continue to fill all of the housings at
this reduced flow rate until water flows freely out the drain.
3. Open the feed water inlet valve until the feed water pressure
gauge is about ½ open.
4. The membranes are packaged in preservative material. This
fluid should be flushed to drain for at least one hour before
connection to the storage tank.
5. Once this is completed, the system should be connected to the
storage tank for pure water production.
6. Observe the operation of the float switch to ensure that the
water level is as required. Adjust the float rotation point as
necessary.
PURO PRO Operation and Maintenance:
1. To ensure proper maintenance it is recommended that a
production data sheet be established for each system. A
Baseline Performance should be established at the initial
installation. This Baseline is then compared to subsequent
production performance at each six-month interval thereafter.
Significant variances are cause for maintenance activity.
2. See page 15 for a recommended production data sheet. If
production specifications change more than 20 percent, then
some action is normally suggested.
3. Normal maintenance activities include replacing the
membranes.
4. The membranes (6) may require replacement every two years.
This frequency may vary based upon feed water quality and
upon changes to the production rate of treated water.
5. Each time a membrane module is removed, the housing should
be rinsed with a dilute bleach solution and then fresh water
before being replaced.

14
6. If the module frame structure becomes loose, tighten the FRP
Bolts located at the frame corners.

15
PRODUCTION DATA RECORD
DATE
Primary
Pressure
Product Rate
Measurement*
Product
Quality
Action Taken
•Product measurement criteria is selected based upon the configuration of the system. For
example, an appropriate criteria may be gallons per hour or inches (of tank height) per
hour. Use whatever production rate measurement is easiest to routinely measure.

16
Troubleshooting
Symptom: PURO PURE fails to make any pure water.
Possible Cause
Solution
Power supply to PURO PRO has
been interrupted.
Determine reason for power
interruption and correct.
Water pressure lost.
Restore water pressure.
Drain control is closed.
Review and repeat Start-Up
procedure.
Storage Tank is full.
Recheck when water level decreases.
Filters and/or membranes have
become severely fouled.
Replace and re-start.
Symptom: PURO PRO has greatly reduced production.
Possible Cause
Solution
Water pressure is decreased below
60 psi.
Restore water pressure.
Drain control is improperly set.
Review and repeat Start-Up
procedure.
Filters and/or membranes have
become severely fouled.
Check and replace prefilter, post filter
and then membranes until production
resumes.
Feed water temperature has
decreased to below 45 degrees F.
Raise feed water temperature.
Feed water TDS has increased to
over 2000 ppm.
Consider high-pressure reverse
osmosis system.

17
Symptom: Continuous water to drain.
Possible Cause
Solution
Inlet solenoid has failed.
Replace inlet solenoid.
Symptom: Storage Tank Overflows
Possible Cause
Solution
Float Switch has failed.
Replace float switch.
Inlet Solenoid has failed
Replace the inlet solenoid.
PURO PRO PARTS
Membrane
(Each)
1238342
Inlet Solenoid
3020434
Float Switch
3020439

18
Table of Contents
Master Water Conditioning warrantsits Commercial R.O. Drinking Water System to be free of defects in
materials and workmanship for a period ofone year from the date of purchase when installed and operated within
recommended parameters.
Master Water Conditioning will repair or r
eplace at its discretion any defective component. This warranty does not
cover the disposable sedimentand carbon filterswhose service life depends on feed water conditions. The
reverse osmosis membrane is warranted for one year. If the required pre-filter conditions to the
membrane are not followed, the membrane will not be warranted.
CONDITIONS OF WARRANTY
The above warranty shall not apply to any part of the Master Water Conditioning Commercial R.O. Drinking Water
System that is damaged because of occurrences including but not limited to neglect, misuse, alteration, accident,
misapplication, physical damage, or damage caused by fire, acts of God, freezing or hot water.
All replacement filters and membranes must be Master Water Conditioning filters and membranes or the warranty
is void. If the unit is altered by anyone other than Master Water Conditioning the warranty is void.
To obtain warranty service: (A) contact your local dealer who supplied the unit, or ( B) contact the factory for the
dealer nearest you. It is the obligation of the owner to pay for shipping or travelcharges to return the defective
part.
This is the sole warranty made by MasterWater Conditioning with respect to the R.O. Drinking WaterSystem. No
other warranties, expressed or implied, are given including merchantability or fitness for a particular purpose,
incidental or consequential damages, or other losses.
This exclusion applies to the extent exclusion is permitted by law.
No person orrepresentative is autho
rized to assume for Master Water Conditioning any liability on itsbehalf, or in
its name, except to refer the purchaser to this warranty.
This warranty gives you specific legal rights, you may also have other rights which vary fromstate to state.
WHOLE HOUSE R.O. DRINKING WATER SYSTEM
ONE YEAR LIMITED WARRANTY
Table of contents
Other Master Water Conditioning Water Filtration System manuals
Master Water Conditioning
Master Water Conditioning MP-MCA Series User manual

Master Water Conditioning
Master Water Conditioning Alliance MP-MCA Series User manual

Master Water Conditioning
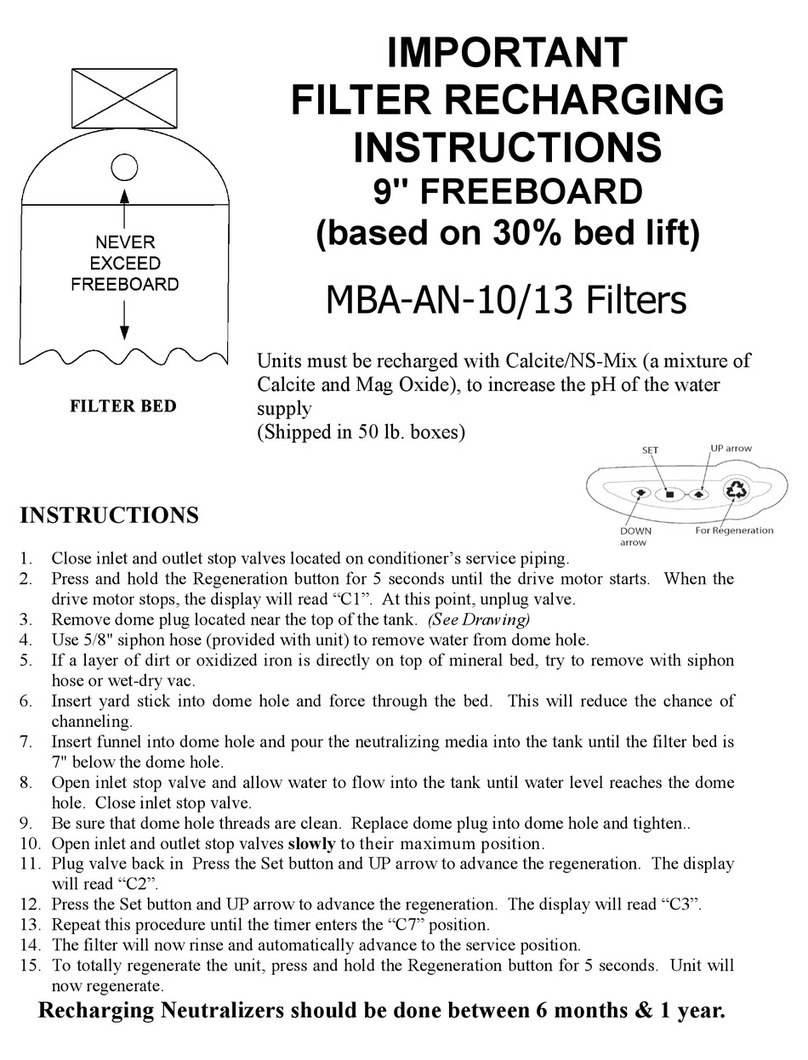
Master Water Conditioning MBA-AN-10/13 User manual

Master Water Conditioning
Master Water Conditioning Clarifier MCA Series User manual
Master Water Conditioning
Master Water Conditioning MBA Series User manual

Master Water Conditioning
Master Water Conditioning MP-NS-30T User manual

Master Water Conditioning
Master Water Conditioning SIMPLUS 744 User manual

Master Water Conditioning
Master Water Conditioning FES-30T User manual