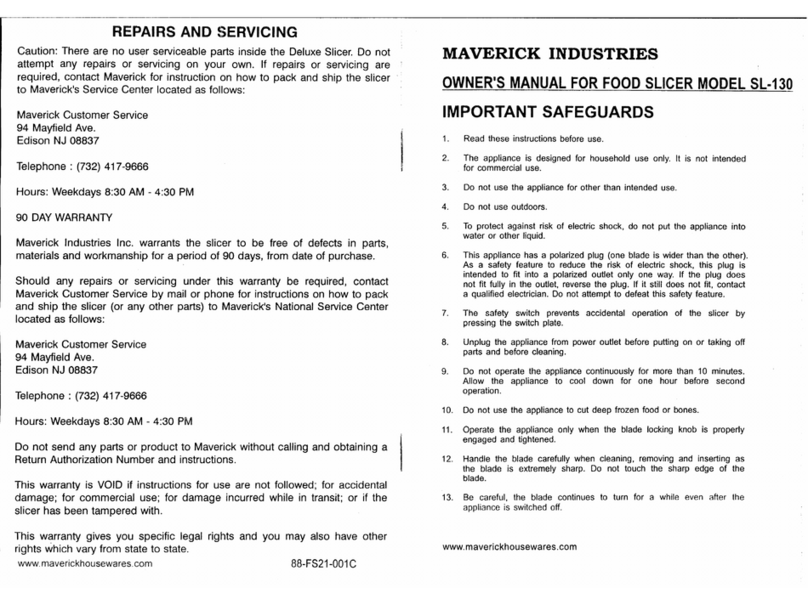
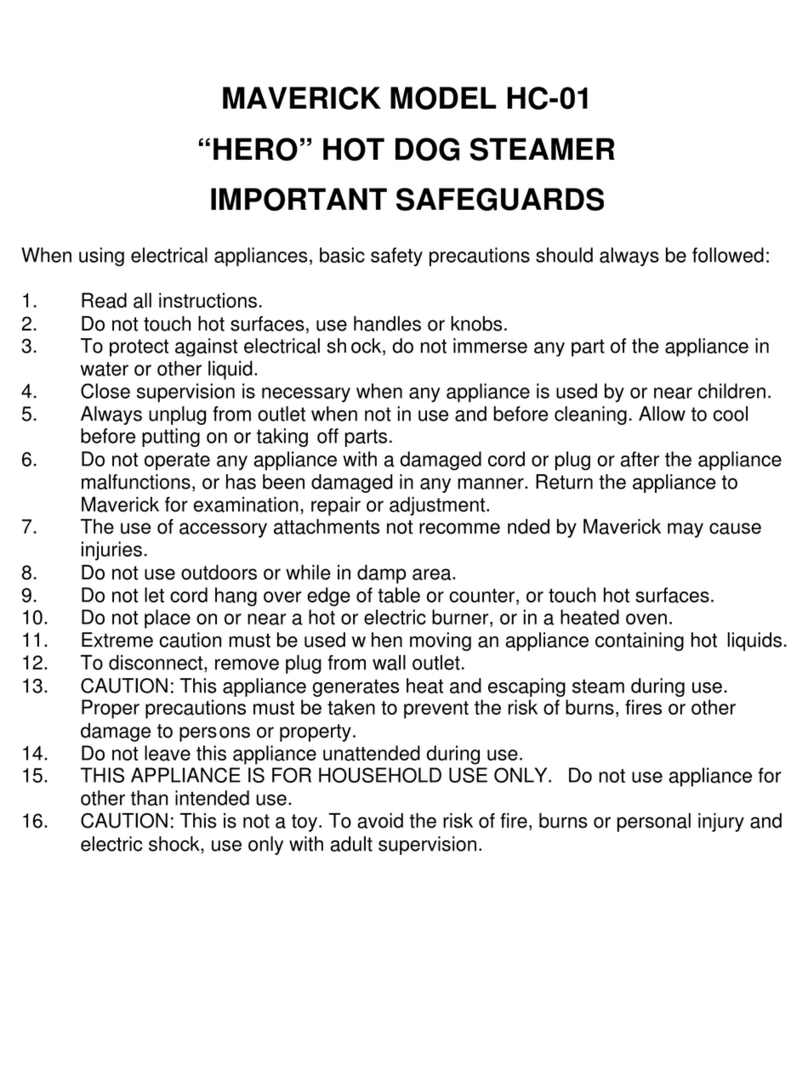
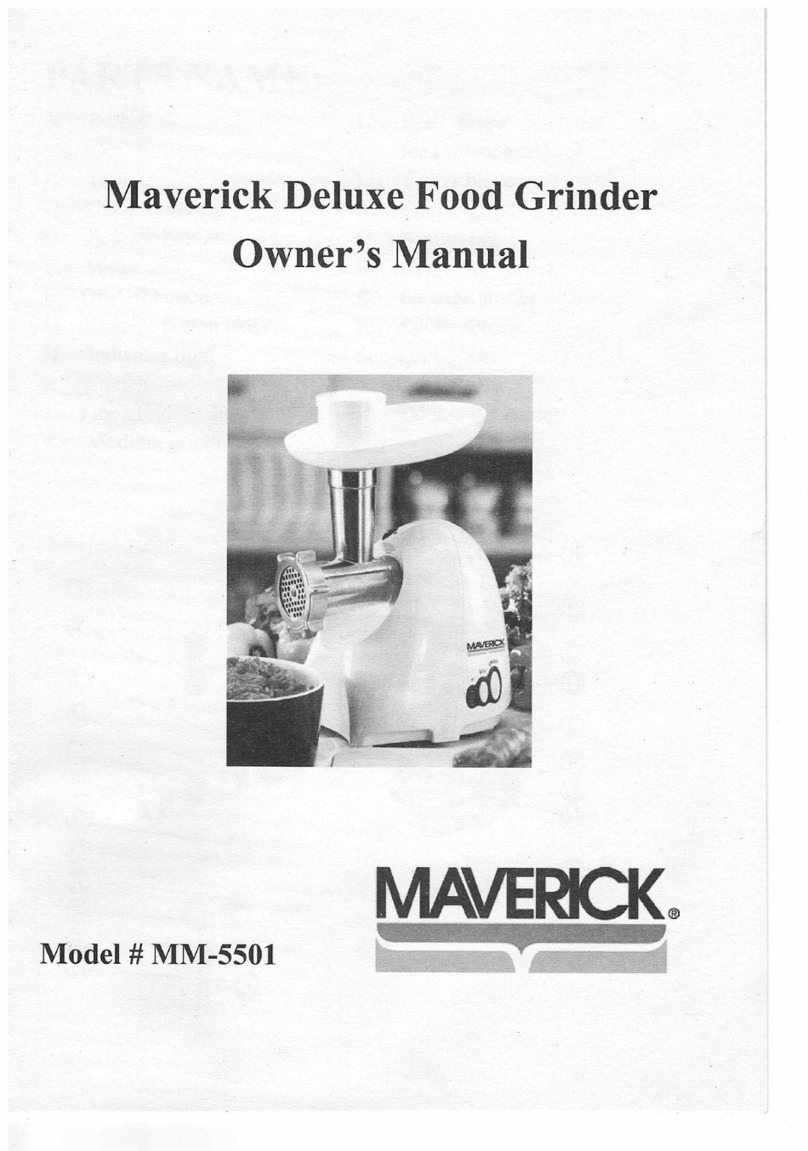
Maverick HERO HC-01 User manual

ffHEROtt
Hot Dog Gooker
Model HG-O{
MS';'r'l'
,s
" iit';i:
MA/ERICK"
G
kg*x';r::€:ffi*ffi,fr

IMPORTANT SAFEGUARDS
When using electrical applimes, basic safety precautions should always be followed:
I . Read all instructions.
2. Do not touch hot surfaces, me hmdles or knobs.
3 Toprotectagainstelectricalshock,donotimmerseanypaftoftheapprimceinwaterorotherliquid.
4. Close superuision is nrcssaqr when my appliance is used by or neu children.
5 Always mplug from outlet when not in use and before cleaning. Allow to cool before putting on or takrng off
parts.
6' Do not opemte any appliace with a dmaged cord or plug or alier the appliance malfunctions, or has been
dmaged in any mamer' Rehm the appliance to Maverick for examination, repair or adlust-"nt.
7. The use of accessory attachments not recomended by Maverick may cause mjuies.
8. Do not use outdoors or while in damp area.
9. Do not let cord hang over edge oftable or counter, or touch hot surfbces.
10. Do not place on or netr a hot or electric bumer, or in a heated oven.
I l. Extreme caution must be used when moving an appliance containing hot liquids.
12. To disconnect, remove plug from wall outlet.
13' cAUTIoN: This applimce generates heat and escaping steam during use. proper precautions must be taken
to prevent the risk ofbums, fres or other damage to persons or property.
14. Do not leave this appliance mattended during use.
15 THIS APPLIANCE IS FoR HousEHoLD usE oNLy. Do not use appliance for other than intended use.
I 6 CAUTION: This is not a toy. To avoid the risk of fire, bums or personar injury and electric shock, use only
with adult supenision.
17. Not Intended for Use by persons ages 12 and Under
SAVE THESE INSTRUCTIONS
"HERO" ModetHC-O1
KNOW YOUR HOT DOG COOKER,
LID (USE TAIL AS HANDLE)
with steam vents on top
HOT DOG COOKING TRAY
with fat md water collector areas and I
with lift "hook" at front
BASE with cord storage area
located in cord end ofbase
HEATING PLATE area
located in center olbase
INDICATOR LIGFN 3&4&5

BEFORE FTRST USF
o Wash the lid and the cooking tray in^hot soapy water, md rinse thoroughly.
Wipe the inside of the Base in the areas where the water be poued with a mildly soapy damp cloth or
sponge, then wipe with rinsed cloth. DO NOT IMMERSE BASE IN WATER OR OTHER LIQUD.
PRb('AUl IONS
. Prior to operating hot dog cooker, make sue all hot dog cooker parts ae secuely in place.
. As with my cooking appliance, this is not a toy, adult supetrision is required duhg use.
. Avoidcontactwithsteamwhileunitis"on". SteamwillexitoutthetopoftheLlDtbrouehthevent
holes.
. Duing cooking cycle, all hot dog cooker pafts become hot. Do not touch or move BASE, COOKING
TRAY or LID while mit is "on". (Note: the mderside olthe base will get hot, but the feet make it safe
. for my kitchen coutertop or similar tabletop surface-)
TO COOK I
2.
Place the base on a dry, level suface- Do not use on a tablecloth.
Pour appropdate mount of cool water into the base. Use measming cup provided:
40 ml (1.35 oz.) for up to 4 hot dogs, and 50 ml (1.7 oz.) for 5 or 6 hot dogs. You
will see that the 40 ml amomt of water completely fills up the lowest level inside the
Base, coverhg the stailless steel heater plate.
Place the cooking h-ay on the base. The 1ift "hooK' goes towtrds the ftonl
Place hot dogs on the ftay. Up to fou will fit if tumed on mgle on hay. For five or six, place
at cross angle on top. Then cover with lid.
Insertplug into a 120 volt electrical outlet- Power comes on as soon as plugged in.
The indicator light will glow, indicating power is on and the hot dogs are cooking.
It takes about 60 seconds for initial boiling to begin, which can be heard as it starts.
Then steam will start to build up. Steam will continue to boil away for six to seven
minutes for 40 ml ofwater, or 7 to 9lminutes for 50 ml ofwater.
Once all the water has evaporated an intemal themostat contuolling the heater plate will cycle
"OFF ' and the appliance will audio signal with continuous "barking", telling you the hot dogs
are heated. The indicator light will go out.
To stop the signal, unplug from outlet. This will discomect ftom power. Don't leave plugged
in as otheruise, themostat in heater plate will cycle back "on" once it has cooled.
Using tail as hmdle, lift off LID and place on neaby countertop. Using tongs, remove hot
dogs directly from ftay, seme md enjoy!
CAUTION: After cooking cycle is complete, BASE and COOKING TRAY will be very hot,
use caution when handing. COOKING TRAY will contain water and fats liom cooking and it
is best to Ieave it in place until cooled.
When cooled, carefully lift out COOKING TRAY usirg lift handles (ltrge "hook" on front
end, small "nub" on other end). Water and fat will be in the tray, so carry it carefully md
empty in sink.
3.
^
CARE AND CLEANING
Wash lid and cooking tray in warm soapy water, or in a dishwasher (cooking tray only). Rinse thoroughly and
dry. Let Jhe base cool and wipe it with a damp cloth or sponge. DO NOT IMMERSE BASE IN WATER OR
OTHER LIQfnD. Place cooking tray and lid into the base. Power supply cord can be pushed into the base for
storaqe.
1l

IMPORTANT NOTES
Cooking times ue slightly affected by factors such as:
More hot dogs cooked at one time increases cooking time. Larger
hot dogs increase cooking time Very Cold hot dogs require longer cooking time thm room
temperatue hot dogs. Ifhot dogs were flozen, thaw firlly before cooking.
i Very Cold water increases cooking time by approx. I mhute.
More waterused increases cooking time.
o lcnqth of time hot doss remain in hot dog cooker lollowing cooking cvcle: After the hot dog cooker
cycles olfmd is "bmking ", there is still steam and heat from the heater plate imide, so cooking
continues for several minutes.
A short supply cord is provided to reduce the hazmds ofbecoming entangled in or trippirg over a longer cord.
Because this is a heating applimce containing hot water and steam, extension cords are not adyised. However,
Extension cords ae available and may be used ifcae is exercised in their use. Ifan extension cord is used, the
marked electrical rating ofthe extension cord should be at least as great as the electical rating ofthe apphance
(350 watts at 120 Volts AO.
This appliance has a polarized plug (one blade is wider thm the other) to reduce the risk ofelectric shock. This
plug is intended to fit into a polarized outlet in only one way- If the plug does not fit fiily into the outlet, reverse
the plug. Ilit still does not fit, contact a qualified electrician. Do not attempt to modifu the plug in my way.
MAVERICKLIMITED 90 DAY WARRANTY
MAVERICK INDUSTRIES, INC. watrants this MAVERICK product to be free ftom defects in material and
workmanship for a period of 90 days. Should any defects -be discovered within 90 days of purchase,
MA\aERICK INDUSTRIES, INC. will repair the defective product or parts thereofat no charge for labor or
materials, provided:
o Said mit is retumed postage paid to the factory for sewicing
o Proofoldate ofpurchase is included with the product.
. A letter accompanies the product md indicates the complaint or defect to be remedied.
o In the event the defect may be remedied without retuming th€ unit, contact MAVERICK by phone or
mail ftrst md every effort will be made to supply replacement pafts quickly and at no charge.
This wmmty does not apply to any unit that has been tampered with, abused, accidentally dmaged or to
dmage incmed through improper packing or mishandling in rrmsir to or lrom the lactory.
This wanmty gives you specific legal rights, and you may also have other rights which vary from state to state.
Send my product or letten to: Attention: Customer Seryice Department
Phorc (732) 417-9666 Weekdays: 8:30A.M.-5:00 P.M. Eastem Standard Time
on the web: w.maverickiousewares.com
MAVERICK INDUSTRIES INC.
94 MAYFIELD AVENUE, EDISON, NJ 08837
Table of contents
Other Maverick Kitchen Appliance manuals
Popular Kitchen Appliance manuals by other brands

Vinotemp
Vinotemp element EL-155SDWS owner's manual

Zojirushi
Zojirushi Gourmet d'Expert EP-RAC50 operating instructions

CDA
CDA HCG450 for Manual for installation, use and maintenance

SodaStream
SodaStream PLAY quick start guide

Guzzanti
Guzzanti GZ-550 instruction manual

U-Line
U-Line Modular 3024RGL User guide & service manual