manuals.online logo
Brands
  1. Home
  2. •
  3. Brands
  4. •
  5. Max-Thrust
  6. •
  7. Toy
  8. •
  9. Max-Thrust APPRENTICE User manual

Max-Thrust APPRENTICE User manual

All instructions, warranties and specications are subject to change at the sole discretion of Century UK
Ltd. For up to date product information go to www.centuryuk.com
The following terms are used throughout the product literature to indicate various levels of potential harm when operating this product.
NOTICE: Procedures, which if not properly followed create a possibility of physical property damage AND little or not possibility of harm.
CAUTION: Procedures, which if not properly followed create the probability of physical property damage AND a possibility of serious harm.
WARNING: Procedures, which if not properly followed create the probability of property damage, collateral damage, serious injury OR
create a high probability of injury.
WARNING: Read the entire instruction manual to become familiar with the features of the product before operating. Failure to operate
the product correctly can result in damage to the product, personal property and cause serious injury.
This is a sophisticated hobby product. It must be operated with caution and common sense and requires some basic mechanical ability.
Failure to operate this product in a safe and responsible manner could result in injury or damage to the product or property. This product
is not intended for use by children without direct adult supervision. Do not attempt disassembly, use with incompatible components
or augment product in any way without the approval of Century UK LTD. This manual contains instructions for safety, operation and
maintenance. It is essential to read and follow all the instructions and warnings in the manual prior to assembly, setup or use in order to
operate correctly and avoid damage or serious injury.
As the user of this product you are solely responsible for
operating in a manner that does not endanger yourself and
others or result in damage to the product or the property of
others.
• Always keep a safe distance in all direction around
your model to avoid collisions or injury. This model is
controlled by a radio signal subject to interference from
many sources outside your control. Interference can
cause momentary loss of control.
• Always operate your model in open spaces away from
trafc, people and full size aircraft.
• Always carefully follow the directions and warnings for
this and any optional support equipment (chargers,
rechargeable battery packs, etc)
• Always keep all chemicals, small parts and anything
electrical out of the reach of children
• Always avoid water exposure to all equipment not
specically designed and protected for this purpose.
Moisture causes damage to electronics.
• Never place any portion of the model in your mouth as it
could cause serious injury.
• Never operate your model with low transmitter batteries.
• Always keep aircraft in sight and under control.
• Always use fully charged batteries.
• Always keep transmitter powered on whilst the aircraft is
powered
• Always remove batteries before disassembly of model.
• Always keep moving parts clean
• Always keep parts dry.
• Always let parts cool after use before touching.
• Always remove batteries after each ight and before
charging.
• Never operate model with damaged wiring.
• Never touch moving parts.
Age recommendation: Not for children under the age
of 14 unless supervised by an adult. This is not a Toy.
Safety Precautions and Warnings
Thank you for purchasing this model. You are about to learn to y with one of the best trainer models ever
designed. The Apprentice is the ideal plane for the beginner. Before you take to the sky though you must read
this instruction manual fully. If you have any questions or do not understand any part then please contact
your place of purchase or Century UK who will be pleased to assist.
1. Please install the tail plane as shown in the diagram below using an appropriate glue. Try not to use
too much glue as this can effect the balance of the model. (UHU Por, 2 Part Epoxy or Cyno)
2. Install the plastic control horns to the control surface using the supplied screws. You will need to
use 2 screws per control horn. The screws are put through the horn from the connector side. There are
four holes in each horn, be sure to put one screw at the front and the other at the back diagonally as per
the picture below.
3. The plastic snap connectors on the end of the control rods can now be adjusted for length and
connected to the control horns. At this stage try to make sure the control surfaces are straight and in
alignment.
4. The wing has the aileron servo pre installed, you will need to connect the aileron servos wire to the
receiver in the fuselage. Please make sure that the plug is inserted in the correct way, the colours should
line up with the other leads already installed.
5. Place the wing on to the fuselage slightly forward of its nal position and then slide it backwards
into position, when aligned you can hold it in place with the 2 supplied wing bolts.
6. The tricycle undercarriage pushes in to place as per the diagram below. Please be sure to install
the front wheel the correct way.
7. It is a good idea at this stage to remove the battery hatch which is located between the wheels and
held in place with magnets.
8. Install the battery in to the battery compartment all
the way towards the front on the aircraft and hold in place
using the Velcro straps.
9. It is easiest to balance the aircraft with it inverted.
The model should balance around 40mm back from the
leading edge of the wing. If it does not then the battery
can be moved forward or backwards to adjust the balance.
In some instances you may need to use a small amount
of additional weight xed in to the cowling to achieve the
correct C of G.
10. Battery Charging.
a. Connect the charger to a 12 volt power source.
b. Connect the battery to the charger using the short lead. Insure this is connected the correct way
around.
c. The light on the charger will ash red whilst the battery is charging and then change to a solid light
when the battery is fully charged.
d. The charge time will vary dependant on the amount of charge left in the battery but will not exceed
2 hours.
Do not leave the battery unattended at any time when charging, we recommend using a Li-Po safe bag
whilst charging as charging a battery incorrectly or charging a damaged battery can cause it to explode or
catch re.
NEVER LEAVE THE BATTERY CHARGING FOR MORE THAN TWO HOURS.
Keep the battery and charger out of the reach of children.
Only charge the battery with the supplied charger.
Do not charge the battery if there is any noticeable swelling of the battery or the battery is hot to touch.
Do not damage or dismantle the battery.
Do not short circuit the battery.
Do not put the battery into water.
Improper use of the battery may cause re or an explosion!
Always put the battery in a re proof container or charge bag when it is being charged or not in use.
Your model comes pre bound and tested but it is very important for you to check the controls move in
the correct direction, if you are at all uncertain please contact your place of purchase or Century UK
before ying your model. If the control surface goes in the wrong direction in relation to the input from the
transmitter you can reverse the channel using the switches on the front of the handset.
Century UK highly recommend that you seek advice and assistance when learning to y. Most shops and
clubs offer this service. To nd a local club in the UK log onto www.bmfa.org where you will nd information
about clubs local to you.
These are the control surfaces attached to the main wing. They are operated when the right hand stick on
the transmitter is moved from side to side. When the right hand stick is moved to the right the right hand
aileron moves up and the left down, this makes the model roll to the right and is known as “banking the
model”. Moving the right hand stick to the left will create the opposite effect.
With maximum stick movement you want to have 5mm of aileron movement. The movement can be
increased of decreased by moving the snap connector on the control horn. If you move the snap connector
to a hole nearer the surface it will increase the amount of surface movement.
This is the horizontal control surface that is attached to the tail plane. This is operated by moving the right
hand stick forwards and backwards. When you pull the stick towards you the back edge of the elevator
will move upwards, this action raises the nose of the model to gain height and is known as “pulling the
nose up”. In ight too much prolonged pulling up of the nose will slow the aircraft and induce a stall so be
careful. Pushing the right hand stick forward has the opposite effect and will push the nose of the aircraft
down which increases the air speed and induces a dive.
With maximum stick movement you want to have 6mm of elevator movement each way.
The rudder is the vertical control surface on the tail n and is mostly used on take-off or landing as it
works very well at low speed. The control surface is activated using the left hand stick on the transmitter
side ways. In ight when you push the stick to the right it will cause the model to yaw to the right rather
than rolling. Pushing the stick to the left will create the opposite effect.
On the ground use of the rudder will help to keep the model travelling in a straight line. If you push the
stick to the right it will cause the nose of the model to turn to the right.
With maximum stick movement you want to have 15mm of rudder movement each way.
This is the control for the amount of power available from the motor. Pushing the left hand stick forward
will increase the power and pulling the stick back will reduce the power. The stick is on a ratchet so you
can set a cruise power and the motor will stay at this setting. Be very careful of rotating parts as they can
be very dangerous, electric models make very little noise so the effect of the propeller catching something
is often more damaging than expected.
Throttle control in ight is very important and often ignored. The altitude (height) of the aircraft is
controlled as much with the throttle as it is with the elevator. By increasing the throttle the model will climb
and gain altitude, by decreasing the throttle the model will descend. With experiment and practice you will
be able to set the throttle stick at a position that will give you a straight and level ight.
The throttle stick should always be in the fully closed position before plugging the battery in.
Never leave the model unattended when the battery is plugged in.
1. Make sure your ight battery is fully charged and your transmitter batteries are also in a good state
of charge.
2. Make sure your control surfaces move the correct amount and in the correct direction.
3. Do a ground range check. Your model should work at least 300 metres from the transmitter. If not
do not y. The range is increased whilst the model is airborne.
4. Check the wind speed, for learning the less wind the better and under 5mph is best. To gauge the
wind throw some grass in the air and watch is fall, if under 45 degrees from you this is under 5mph.
5. Make sure there is plenty of room for take-off and landing. We recommend and area at least the
size of a football pitch for your ying area.
6. Get someone experienced to help teach you if possible.
1. Position the model into wind either on the ground or for a hand launch. Hand launching is the best
way for a beginner to get into the air. The model will only take off from very short grass or hard surfaces.
2. Have someone hold the model by the rear of the fuselage whilst you open the throttle to full power.
3. When you are ready get your helper to release the model, it will accelerate away from you and when
travelling at around 15mph apply a small amount of up elevator to help the model lift off. If you are hand
launching the model ask you assistant to throw the model with enough force to simulate the 15mph speed
and with the nose pointing slightly up.
4. Once the model is airborne it is important to pick up the ying speed so the model will not stall so
do not try to climb to fast.
5. The rst turn is always the hardest so be careful, many people nd it easier to ick the right hand
stick in the direction they want to go rather than holding the command on.
6. When you have gained enough height you can relax a little as height is your friend whilst learning.
7. Try to keep the model upwind, this make getting the model back to you much easier and also the
ight controls remain consistent, Flying directly towards yourself is much harder than ying away or past
yourself.
8. Practice turning the model and making circuits in the air as you will need this practice so that you
can land.
9. If the model will not y straight and level with a medium amount of throttle you will need to trim the
model using the trims tabs on the transmitter.
1. Getting the aircraft down to earth is easy, landing it safely where you want it is a little harder so pre
plan you landing.
2. Most people want to land where they took-off from so practice a circuit that ys straight over your
take-off area.
3. Gradually lower the height of the circuit as you become more condent.
4. Make sure the approach and landing area are safe to land in.
5. Commit to landing, lower the throttle to virtually no power and the aircraft will become a glider
(remember you have power if you need it)
6. Keep the model straight and level and allow the model to glide towards the landing area gradually
losing height.
7. At around one metre you can start to apply up elevator which will slow the decent and slow the
model down even more. This is known as the air.
8. Let the model gradually slow and descend until it touches the oor as slow as possible avoiding the
stall. A big mistake is to force the model down, you do not normally need down elevator to land.
9. Breathe a sigh of relief as you have just own a model aircraft and successfully landed it. From now
on practice will get you better and better, ready for the next Max-Thrust model.
Landing the aircraft:

Other Max-Thrust Toy manuals

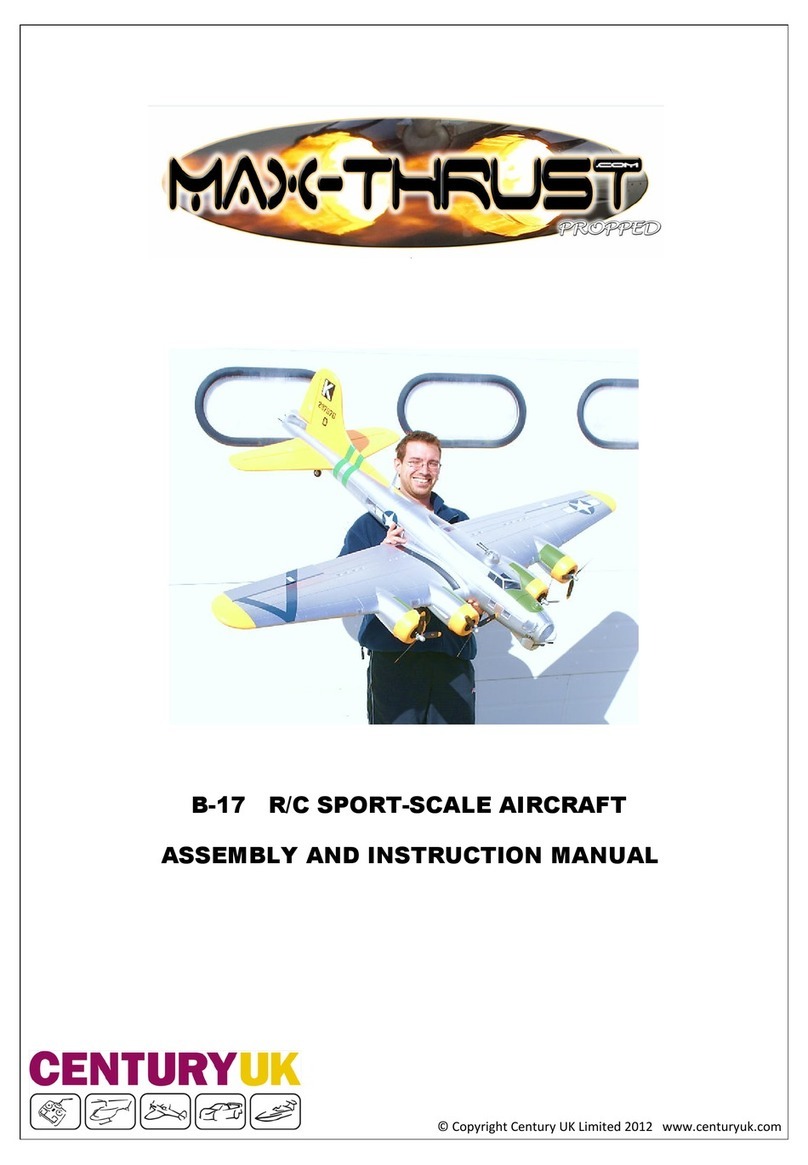
Max-Thrust RIOT User guide

Max-Thrust

Max-Thrust RIOT User guide

Max-Thrust B-17 User guide

Max-Thrust

Max-Thrust B-17 User guide

Max-Thrust Douglas A1 Skyraider User guide

Max-Thrust

Max-Thrust Douglas A1 Skyraider User guide

Max-Thrust Ryan STA User guide

Max-Thrust

Max-Thrust Ryan STA User guide

Max-Thrust P-51D Mustang User guide

Max-Thrust

Max-Thrust P-51D Mustang User guide

Max-Thrust Mini Viper Jet User instructions

Max-Thrust

Max-Thrust Mini Viper Jet User instructions

Max-Thrust Ruckus Balsa Pro-Build Series User manual

Max-Thrust

Max-Thrust Ruckus Balsa Pro-Build Series User manual

Max-Thrust Double Trouble Balsa Pro-Built Series User manual

Max-Thrust

Max-Thrust Double Trouble Balsa Pro-Built Series User manual

Max-Thrust MAX TRAINER Balsa Pro-Built Series User manual

Max-Thrust

Max-Thrust MAX TRAINER Balsa Pro-Built Series User manual

Max-Thrust P-47 Thunderbolt User guide

Max-Thrust

Max-Thrust P-47 Thunderbolt User guide

Max-Thrust MX2 User guide

Max-Thrust

Max-Thrust MX2 User guide

Max-Thrust PITTS 12 User guide

Max-Thrust

Max-Thrust PITTS 12 User guide

Max-Thrust YAK 54 User guide

Max-Thrust

Max-Thrust YAK 54 User guide

Popular Toy manuals by other brands

4M Electric Plane Launcher Assembly instructions

4M

4M Electric Plane Launcher Assembly instructions

HYPE ASW-17 instruction manual

HYPE

HYPE ASW-17 instruction manual

Smoby 330116 quick start guide

Smoby

Smoby 330116 quick start guide

marklin Ce 6/8 III Krokodil Series user manual

marklin

marklin Ce 6/8 III Krokodil Series user manual

Canon Paper Craft Tower Bridge England Assembly instructions

Canon

Canon Paper Craft Tower Bridge England Assembly instructions

Fisher-Price Little People K0104 manual

Fisher-Price

Fisher-Price Little People K0104 manual

Seagull Models PILATUS B4 Assembly manual

Seagull Models

Seagull Models PILATUS B4 Assembly manual

Fisher-Price Classical Chorus Stacker instructions

Fisher-Price

Fisher-Price Classical Chorus Stacker instructions

Hobbico Avistar Assembly instructions

Hobbico

Hobbico Avistar Assembly instructions

Lionel American Flyer 2-8-8-2 Steam Locomotive owner's manual

Lionel

Lionel American Flyer 2-8-8-2 Steam Locomotive owner's manual

Mattel Barbie instructions

Mattel

Mattel Barbie instructions

Chicco SINGING ANIMALS PLAYMAT manual

Chicco

Chicco SINGING ANIMALS PLAYMAT manual

SIG Kadet Senior Sport Assembly manual

SIG

SIG Kadet Senior Sport Assembly manual

Lionel 4-8-2 Mohawk owner's manual

Lionel

Lionel 4-8-2 Mohawk owner's manual

goliath Space Rocker manual

goliath

goliath Space Rocker manual

LGB 21761 instruction manual

LGB

LGB 21761 instruction manual

RC Factory Clik 4 NG Assembly instructions

RC Factory

RC Factory Clik 4 NG Assembly instructions

Eduard 48 612 manual

Eduard

Eduard 48 612 manual

manuals.online logo
manuals.online logoBrands
  • About & Mission
  • Contact us
  • Privacy Policy
  • Terms and Conditions

Copyright 2025 Manuals.Online. All Rights Reserved.