MAXSA 44311 Quick reference guide

Model #: 44311
solar-powered
LED SECURITY SPOTLIGHT
ASSEMBLY & OPERATING INSTRUCTIONS
ABOUT YOUR SOLAR POWERED LED SECURITY SPOTLIGHT
During the day, the solar panel included with this MAXSA Solar Security Spotlight converts sunlight into
electricity, recharging the pre-installed batteries. Using this stored energy, the two, super-bright LEDs turn
on automatically at night when motion is detected. These LEDs have an estimated life of 30,000 hours so
they should not need to be changed.
This Solar Powered LED Security Spotlight has an adjustable TIME dial that allows light duration of up to 60
seconds. When the batteries are fully charged, this Solar Security Light can light up for up to 120 minutes,
which is equivalent to 120 one-minute cycles when the TIME dial is set to the maximum (+) position.
The Solar Powered LED Security Spotlight has a built-in motion sensor, which automatically turns on the
light when movement of a heat source (such as people, animals, or cars) is detected in the area. The light
remains on while motion continues to be detected in the area.
The Solar Powered LED Security Spotlight has a LUX setting which can be adjusted to control the functioning
of the built-in photosensor so that the light only turns on at night.
The batteries included in this unit are 3 AA rechargeable batteries and will need to be replaced when the
charging ability is decreased. The batteries should last for approximately 3 years before they will need to be
replaced. The shorter the time period used, the longer the battery will last. The Solar Powered LED Security
Spotlight may function irregularly or not at all at temperatures near or below freezing (32˚ F/0˚ C) due to
the functionality of Ni-MH rechargeable batteries. Normal operation will return when the temperature rises.

2
INCLUDED PARTS:
Carefully remove and identify all the parts from their protective packaging and lay them out in front of you.
Adjustment dials are located on the underside of the main body. They are denoted by TIME and LUX stamps.
CHOOSING A LOCATION FOR YOUR SOLAR SECURITY LIGHT:
This Solar Security Light comes complete with a solar panel attached to a 10 foot power cord. For optimum
sun exposure and longer light output, place the solar panel in a position that receives at least 6-8 hours of
direct sunlight per day. Placing the solar panel in a shaded location or even behind a window will not allow
the batteries to charge fully, reducing the number of hours the light will operate per evening. Ensure that the
solar panel is not placed near night time light sources such as porch lighting or street lighting.
This Solar Security Light is ideal for lighting up areas where electricity is not available — including porches,
driveways, carports outside, garages and entrance areas – for safety and security around your home.
When deciding where to mount the light, keep in mind that the motion sensor has a eld of vision of 120º
(horizontal) at a distance of up to 26 feet when the surrounding temperature is 75F. The outside temperature
will impact the detection distance
HOW TO INSTALL YOUR SOLAR SECURITY LIGHT:
TOOLS REQUIRED FOR INSTALL
You only need a Phillips head screwdriver, however if you want to mount into harder surfaces like cement,
concrete, or brick, you will want to pre-drill holes.
Mount the Security Light onto a solid surface, using the two (2) wood/sheet metal screws supplied. You may
mount the Security Light either vertically or horizontally.
3 screws and
anchors for
mounting solar panel
2 screws and
anchors for
mounting solar panel

3
TO INSTALL THE MOUNTING BRACKET
1. Remove the mounting bracket from the back of the light.
2. Align the mounting bracket on the wall and mark the locations of the two holes to be drilled with a
pencil. Remove the mounting bracket from the wall.
3. Drill pilot holes for screws if needed. Screw anchors should be used for cement, brick, or similar
surfaces.
4. Align the mounting bracket on the wall and install the two screws using a screwdriver.
5. Slide the mounting bracket back on the unit..
Use the three (3) wood/sheet metal screws supplied to mount the solar panel onto a solid surface. You
can adjust the angle of the solar panel by gently rotating the solar panel to a different locking position.
Remember to face the panel south for direct sunlight exposure.
BEFORE FIRST USE OF YOUR SOLAR SECURITY LIGHT:
The purpose of the following steps is to ensure the battery in the light is fully charged.
1. Mount the light using the Steps listed in “How to Install Your Solar Security Light” on Page 2.
2. Check to make sure the solar panel power cable is tightly connected to the light power cable.
3. Ensure the power switch on the main body of your Security Light is in the OFF position. In this
position, the solar panel will charge the battery without activating the unit.
4. Leave the switch in the OFF position for 3 days with the solar panel placed in direct sunlight.

4
OPERATING YOUR SOLAR SECURITY LIGHT
After the initial 3 day charge of your Solar Security Light, move the switch on the main body to the ON
position. Your Solar Security Light is now ready for use.
Underneath the motion sensor, there are 2 adjustment dials: TIME and LUX.
The light has been factory preset as follows:
TIME - Set at 30 seconds.
LUX - Set for your Security Light to activate at dusk when motion is detected.
If the above settings are not suitable for your application, then these may be
adjusted using a athead screwdriver and the steps below.
TIME PERIOD ADJUSTMENT
The time period control dial sets the duration that the Solar Security Light will remain illuminated after the last
detected motion. The time period has an adjustable range of 10 seconds to 1 minute.
To decrease the time period, move the dial toward the ( – ) symbol.
To increase the time period, move the dial toward the ( + ) symbol.
Test the time period by triggering the motion sensor and measure the time period the light stays on. Adjust
the TI ME control until the desired illumination duration is reached.
A shorter TIME setting will conserve battery life. For best results, use the shortest TIME setting for your
location as possible.
LIGHT LEVEL ADJUSTMENT
The LUX dial controls the natural light level that triggers the Dual Head LED Security Spotlight and prevents
it from operating during daylight hours. Your Dual Head LED Security Spotlight comes preset for activation
at dusk.
To adjust for activation before dusk, move the dial toward bright ().
To adjust for activation after dusk, move the dial toward dark ( ).
MAINTENANCE TIPS:
The LED lights in your Solar Powered LED Security Spotlight will last up to 30,000 hours and should never
need replacement.
To keep your Solar Security Light looking best, keep the lens and solar panel free of dust and deposits by
wiping occasionally with a dry cloth or with warm soapy water.
It is important that the solar panel is kept free of dirt and debris at all times. A dirty solar panel will not
allow the batteries to be fully charged. This will shorten the life of the batteries and may cause the light to
malfunction.
COLD WEATHER FUNCTIONALITY
In temperatures below 20ºF, performance of Ni-MH batteries may be reduced. Normal performance will
return when the temperature rises.
SAFETY TIPS
Do not immerse the Solar Powered LED Security Spotlight in water or other liquid.
STORAGE
If you wish to store your light indoors for more than two or three days, turn the power switch to the OFF
position and remove the batteries to prevent damage to the batteries. Battery capacity may be reduced or
damaged during prolonged storage.

5
TROUBLESHOOTING:
PROBLEM POSSIBLE SOLUTIONS
Light will not switch
on when there is
movement in the
detection area.
• Ensure that the power button on the main body is in the ON position.
• Ensure that the Solar Security Light has been positioned so the motion
sensor faces oncoming movement.
• Ensure that the battery has been fully charged in direct sunlight for 3 sunny
days. Refer to the “Before First Use of Your Solar Security Light” section on
page 3.
• Check to see that the solar panel is facing south so that it receives direct
sunlight for most of the day, enabling the battery to fully charge.
• Check to see that the LUX control has not been set too far towards the moon
symbol. Setting the LUX control too far towards dark ( ) will cause the Solar
Security Light to turn on only in complete darkness.
• Check to see that the motion sensor is not near night time light sources such
as street lights.
• If the Lights works initially and then stops working, it may be that the battery
is run down and just needs to be recharged by the sun. You may want to
use a shorter time setting.
Light switches on
during the day
• The LUX control may be set too far towards the light () position.
• Reposition the Solar Security Light so the motion sensor faces a different
direction.
Light switches on for
no apparent reason
• Moving trees, trafc, pets or birds may be getting in the area of detection.
This may be unavoidable; however the sensor could be redirected to a
height where this is less likely to occur.
• If there are reective objects in the detection area such as windows, water,
or white walls, you may need to redirect or possibly reposition the motion
sensor.
• Test the motion sensor by covering it completely with cardboard and waiting
several minutes to make sure it does not detect motion. If the light still
switches on, please contact MAXSA for further assistance.
Light quickly ashes
on and off.
• Battery charge may be low. Turn the power switch to the OFF position and
charge the batteries for three (3) sunny days with the solar panel placed in
direct sunlight.
• Move the LUX control more to the dark ( ) position.
• Lower the time the lights stay on for to use less battery power.
Light is not as bright
as normal
• Battery charge may be low. Turn the power switch to the OFF position and
charge the batteries for three (3) sunny days with the solar panel placed in
direct sunlight.

MADE IN CHINA
6
v13.1
©2013 MAXSA Innovations, LLC
MAXSA Innovations, LLC
8412 Cathedral Forest Drive
Fairfax Station, Va 22039
Tel: 703-495-0661
www.maxsainnovations.com
Please save these instructions for future reference.
REPLACING THE BATTERIES:
When the charging ability of the batteries decreases, you can replace the batteries with 3 new AA
rechargeable batteries. Follow the steps below when replacing the battery.
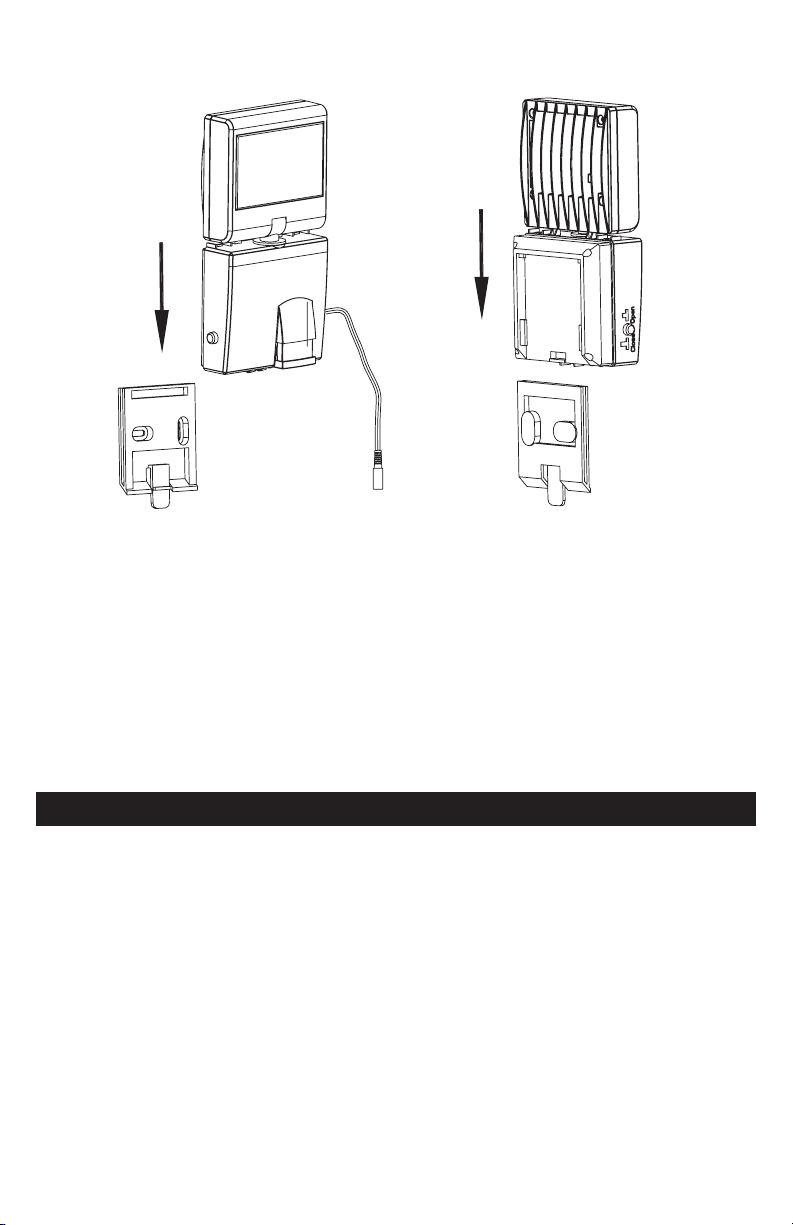
1. First push the power button to turn the light off.
2. Remove the Solar Powered LED Security Spotlight from its mounted back.
3. Remove the four screws at the back of the Security Spotlight and remove the back cover
4. Carefully remove the old batteries from the battery tray by hand and replace with three (3) new
AA Ni-MH 1.2V rechargeable batteries. Ensure that the new batteries are inserted in the correct
+/- polarity orientation as indicated in the battery compartment. (WARNING: Installing the batteries
in the opposite direction could damage the unit.)
5. Replace the back cover onto the Security Spotlight using the four screws.
6. Slide the light back into the mounted back.
7. Repeat the steps in the “Before rst time use of your Solar Security Light” section on page 3 to
ensure your new batteries are fully charged.
NOTE: DO NOT DISPOSE OF BATTERIES IN GENERAL HOUSEHOLD TRASH OR INTO A
FIRE SINCE THE BATTERIES MAY EXPLODE. CONSULT YOUR LOCAL REGULATIONS FOR
CORRECT DISPOSAL OF BATTERIES. THE BATTERIES MAY ALSO BE RETURNED TO MAXSA
INNOVATIONS AT 8412 CATHEDRAL FOREST DR., FAIRFAX STATION, VA 22039. DO NOT TAKE
APART THE BATTERIES SINCE THEY CONTAIN CORROSIVE CHEMICALS.
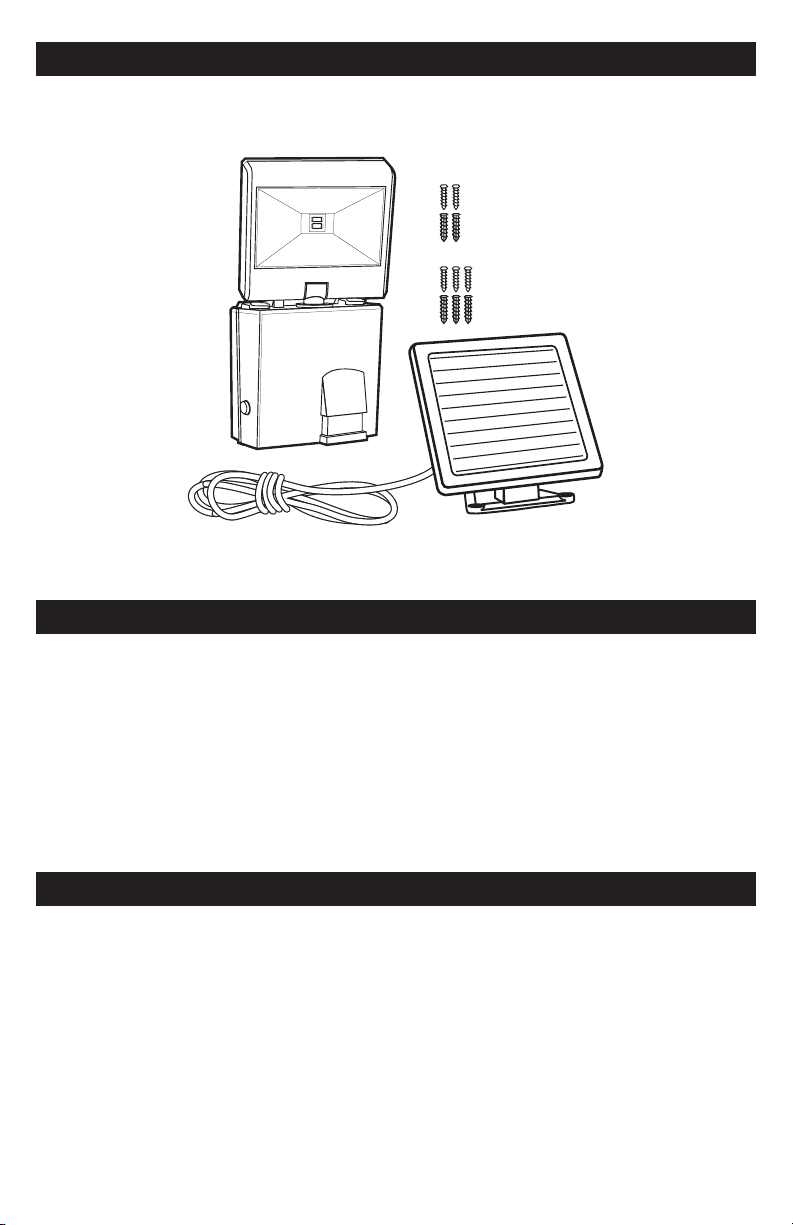
EXTENSION CORDS:
A 15-foot extension cord is available for this product for $14.95 (includes shipping and handling). This
extension cord allows the solar panel to be placed higher or further away from the security light to ensure
maximum direct sunlight exposure. For more information, please call 703-495-0661.
ONE YEAR LIMITED WARRANTY
MAXSA Innovations, LLC warrants to the original consumer/purchaser that this product shall be free of defects in material and
workmanship under normal use and circumstances for a period of one (1) year from the date of original purchase for use. When the
original consumer/purchaser returns the product pre-paid (consumer pays return shipping) to MAXSA Innovations, LLC, 8412 Cathedral
Forest Dr; Fairfax Station, VA 22039; USA within the warranty period, and if the product is defective, MAXSA Innovations, LLC will at its
option repair or replace such. This warranty shall constitute the sole liability of MAXSA Innovations, LLC concerning the product. MAXSA
Innovations, LLC expressly disclaims all other warranties INCLUDING, WITHOUT LIMITATION, THE WARRANTIES OF MERCHANT
ABILITY AND FITNESS FOR A PARTICULAR PURPOSE. NO PERSON, FIRM, OR COPORATION IS AUTHORIZED TO ASSUME
FOR MAXSA Innovations, LLC ANY OTHER LIABILITY IN CONNECTION WITH THE SALE AND USE OF THE PRODUCT. MAXSA
Innovations, LLC and agents and distributors will bear no liability whatsoever for incidental or consequential damages or charges of any
kind. Some states do not allow the reclusion or limitation of incidental or consequential damages, so the above disclaimer regarding
incidental or consequential damages may not apply to you. This warranty is void if the product has been damaged or tampered with
or if the product or any such parts have been opened. In all cases of damage during shipment, a claim must be led with the shipping
carrier and not with MAXSA Innovations, LLC. This warranty gives you specic legal rights; you may also have other rights which vary
from state to state.
Table of contents
Other MAXSA Spotlight manuals