manuals.online logo
Brands
  1. Home
  2. •
  3. Brands
  4. •
  5. McCrometer
  6. •
  7. Media Converter
  8. •
  9. McCrometer ProComm GO User manual

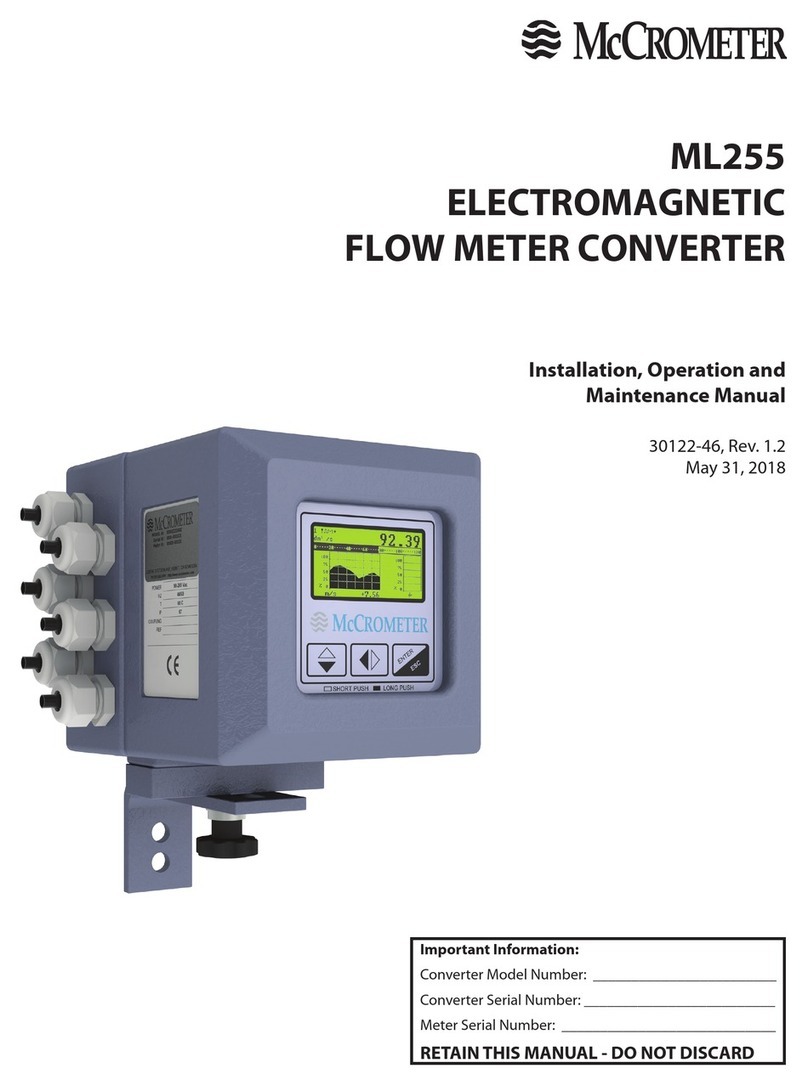
McCrometer ProComm GO User manual

30125-57 Rev. 1.0 | 04OCT2021
Page 1
ProComm GO Battery Installation and Replacement
2. Remove screws holding
the lid to the housing
using a 5/32” Allen driver.
Lift the lid up and place
the lid upside hanging by
the green ground wire.
1. Cut o the tamper-proof seal and remove the wire
from the security screw.
NOTE: This step is not required for battery installation
in new meters.
I. Removing the cover
If you are replacing batteries with fresh batteries,
continue to step 3.
If you are installing batteries in a new meter
that does not have batteries already installed,
go to step 9.
Before you begin:
Check materials and tools to ensure you have everything you need.
Cut wire
Security screw
Battery Installation and Replacement Procedure
for the ProComm GO Converter
This procedure applies to Dura Mag and McMag3000 ow meters with the ProComm GO
converter. It describes how to install batteries in a new meter and how to replace batteries using
the replacement battery kit PGK01.
Materials Provided (shown in order of use)
Dry pack
Zip ties:
• 2 large
• 1 small
Tamper proof
wire seal
One triple D battery pack One double A battery pack
Replacement
cover gasket
Molykote
lubricant
Tool Required
Wire cutters
Phillips screwdriver
5/32” Allen driver
D
URA
M
AG
®
Mag3000
30125-57 Rev. 1.0 | 04OCT2021
Page 2
ProComm GO Battery Installation and Replacement
II. Removing the batteries
3. Unplug tall connectors to sensor, outputs, and
power.
5. Unplug the batteries. 6. Cut the two zip ties securing the batteries.
4. Loosen the captive screws opposite of the hinge and
lift the battery cover.
Zip ties
Connectors
Hinge
Large
battery
pack
Small
battery
pack
Hinge
screws
7. Remove the large battery pack. 8. Remove the small battery pack located underneath.
Pull the wires carefully from underneath the battery
tray.
30125-57 Rev. 1.0 | 04OCT2021
Page 3
ProComm GO Battery Installation and Replacement
13. Place the small battery pack in
the center pocket, making sure
the wire leads go out through
the opening.
15. Secure the battery packs to the internal tray with the
two large zip ties. Cut o the excess of each of the zip
ties.
10. Pass the new zip tie through the
slots in the internal hinge.
12. Pass the two large zip ties
through the slots in the internal
tray holder.
III. Installing the batteries and restoring the power
9. Cut the zip tie holding the
dry pack to the hinge on the
converter base.
11. Wrap the new zip tie around the
new dry pack and cut o the
excess.
14. Place the large battery pack on the
the internal tray with wire leads
passing through the slot.
16. Plug the batteries into the circuit board.
• The large battery pack goes to connector B1.
• The small battery pack goes to connector B2.
B1B2
30125-57 Rev. 1.0 | 04OCT2021
Page 4
ProComm GO Battery Installation and Replacement
3255 WEST STETSON AVENUE • HEMET, CALIFORNIA 92545 USA
TEL: 951-652-6811 • 800-220-2279 • FAX: 951-652-3078
www.mccrometer.com
Copyright © 2021 McCrometer, Inc. All printed material should not be changed or altered without permission of McCrometer. Any published pricing, technical
data, and instructions are subject to change without notice. Contact your McCrometer representative for current pricing, technical data, and instructions.
Page 4
V. Replacing the cover
IV. Replacing the gasket
17. Set the hinged LCD/internal battery cover back in place to see the display. The unit
will start to power up. Plug in all of the connectors to the board. Ensure that the
unit is powered normally and there are no alarms.
18. Replace the two screws that
hold the LCD/battery cover
in place.
If you installed replacement batteries, we recommend that you replace the gasket.
If you installed new batteries, you must set the gasket in place before replacing the cover and closing up the unit.
19. If your unit has a gasket,
remove it.
20. Apply a light coating of Molykote to
the replacement gasket.
21. Place the gasket in the
groove and press it in.
22. Place the converter lid onto the
housing. Tighten the screws
rmly. Be careful not to pinch
any wires between the lid and
the base.
23. Fasten the tamper proof seal as follows:
a. Guide the wire through the hole in
the screw.
b. Thread the wire through the body of
the tamper proof seal.
24. Rotate the blue part on the
tamper proof seal to bring
in the wire and secure the
seal close to the screw.
Bottom Top

This manual suits for next models

2

Other McCrometer Media Converter manuals

McCrometer ML255 User manual

McCrometer

McCrometer ML255 User manual

McCrometer ProComm HL User manual

McCrometer

McCrometer ProComm HL User manual

Popular Media Converter manuals by other brands

Kiloview DC230 quick start guide

Kiloview

Kiloview DC230 quick start guide

Sealey TL95 instructions

Sealey

Sealey TL95 instructions

Eaton DX-SPL-RJ45-3SL Instruction leaflet

Eaton

Eaton DX-SPL-RJ45-3SL Instruction leaflet

Yuan nT19AX02 Operation manual

Yuan

Yuan nT19AX02 Operation manual

M-system M8PT instruction manual

M-system

M-system M8PT instruction manual

Spirax Sarco IPC6 Installation and maintenance instructions

Spirax Sarco

Spirax Sarco IPC6 Installation and maintenance instructions

Hirschmann OZDV 2471 P Technical description and operating instructions

Hirschmann

Hirschmann OZDV 2471 P Technical description and operating instructions

Vela Argus 2000-1500 Developer's guide

Vela

Vela Argus 2000-1500 Developer's guide

Saftronics VM10 instruction manual

Saftronics

Saftronics VM10 instruction manual

CYP DCT-2 Operation manual

CYP

CYP DCT-2 Operation manual

Peachtree Audio DAC iT manual

Peachtree Audio

Peachtree Audio DAC iT manual

Crestron DM-NVX-E20-2G quick start

Crestron

Crestron DM-NVX-E20-2G quick start

KEYKING C2100 user manual

KEYKING

KEYKING C2100 user manual

Baumer HMG 10 PROFINET Installation and operating instructions

Baumer

Baumer HMG 10 PROFINET Installation and operating instructions

MRC AD332 quick start guide

MRC

MRC AD332 quick start guide

Kübler Ants LES01 manual

Kübler

Kübler Ants LES01 manual

Icy Box IB-SPL1027-C manual

Icy Box

Icy Box IB-SPL1027-C manual

Harman Kardon DAL 150 owner's manual

Harman Kardon

Harman Kardon DAL 150 owner's manual

manuals.online logo
manuals.online logoBrands
  • About & Mission
  • Contact us
  • Privacy Policy
  • Terms and Conditions

Copyright 2025 Manuals.Online. All Rights Reserved.