Opening Procedures (continued)
©McDonald’s Corporation · Planned Maintenance Manual · Revised January, 2021 Page 3 of 4
Taylor Company milkshake and soft
-serve machine model C602
SS 3 D1
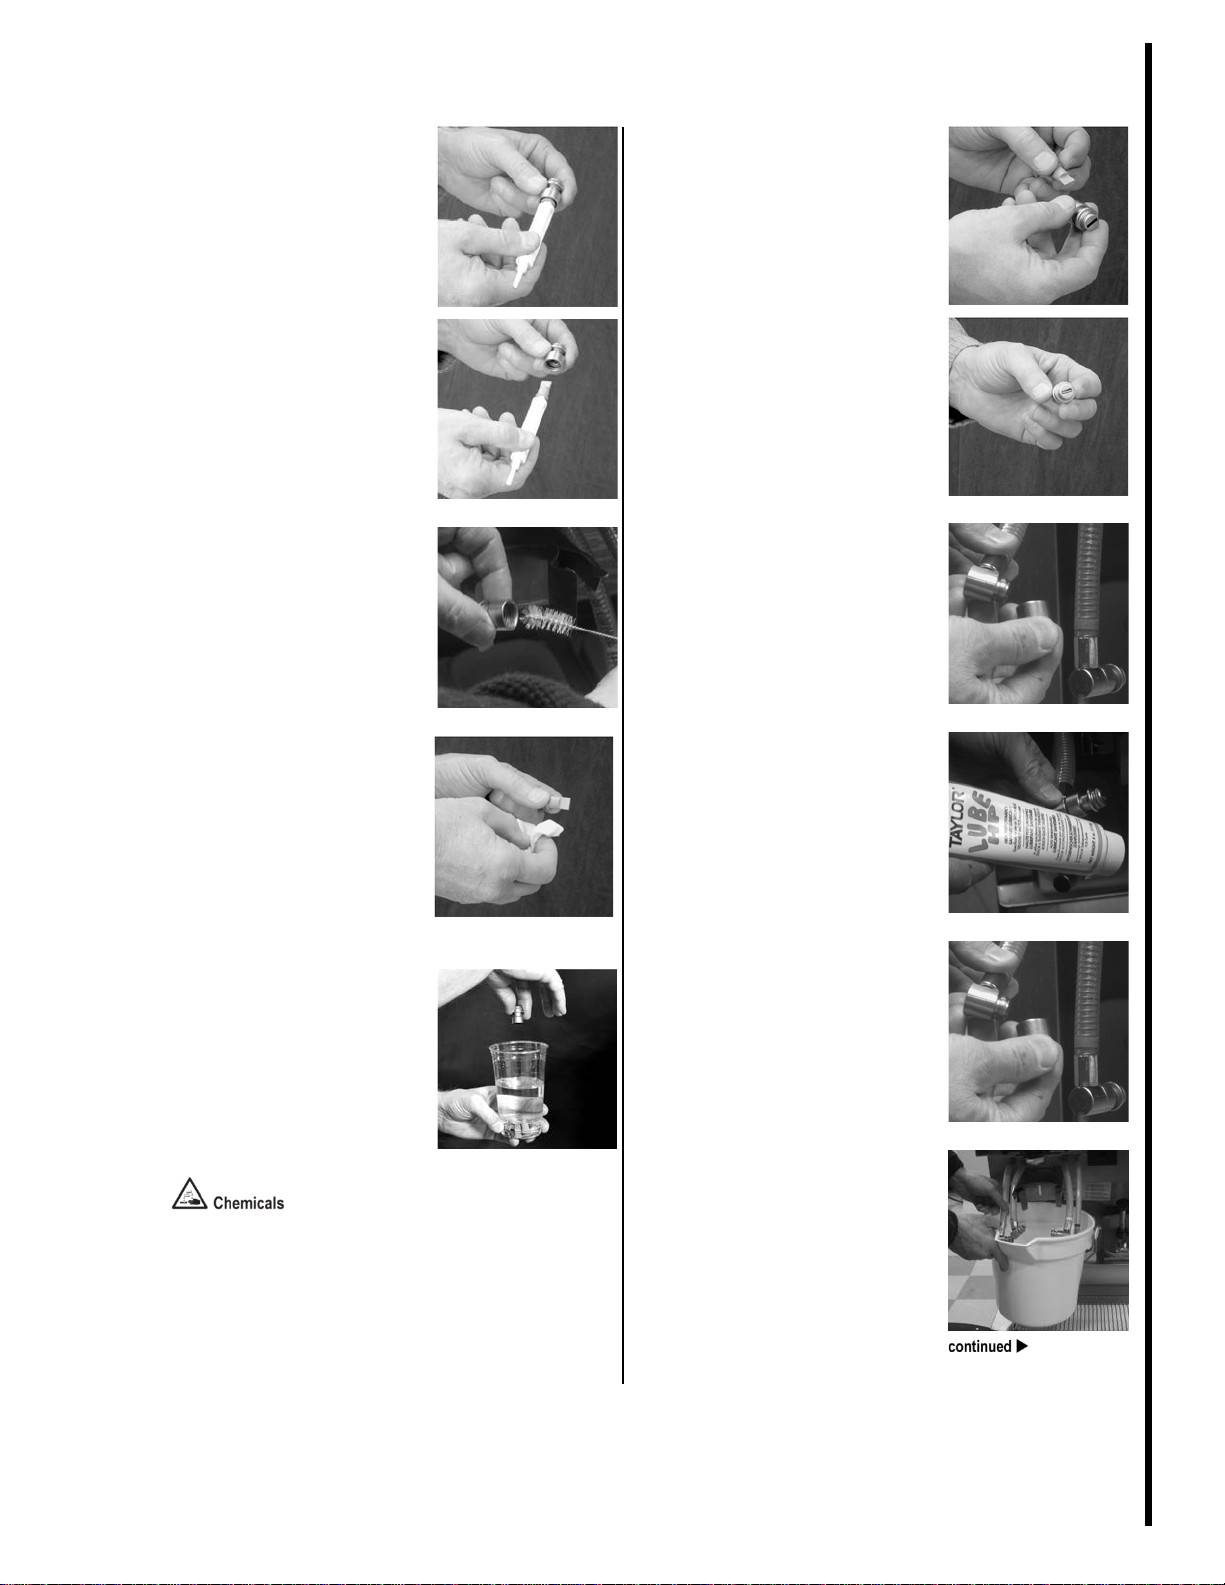
Remove the duckbill valve
and the o-ring from each
syrup nose fitting, by using
the seal removal tool.
Clean syrup nose fitting.
Using a brush and the
sanitizing solution, brush
clean the inside of each syrup
nose fitting until there is no
remaining syrup or mix inside
the fitting.
Sanitize syrup nose fittings
and duckbill valve.
Using a clean, sanitized
towel, gently wipe any syrup
and mix from each duckbill
valve.
Use a milkshake cup filled
with sanitizing solution to
thoroughly rinse the nose
fittings and duckbill valve.
Install duckbill valve into syrup
nose fitting and install syrup
nose fitting onto syrup line
fitting.
Install the duckbill valve into
the syrup nose fitting with the
flat end aligned with the open
slot in the fitting.
Install the syrup nose fitting
onto the syrup line fitting.
Tighten by hand (clockwise)
until snug.
Install and lubricate the o-ring
on the syrup nose fitting.
Raise the syrup valve retainer
and install the syrup valve.
Push the retainer down to
hold the valve in place.
Repeat for each syrup valve.
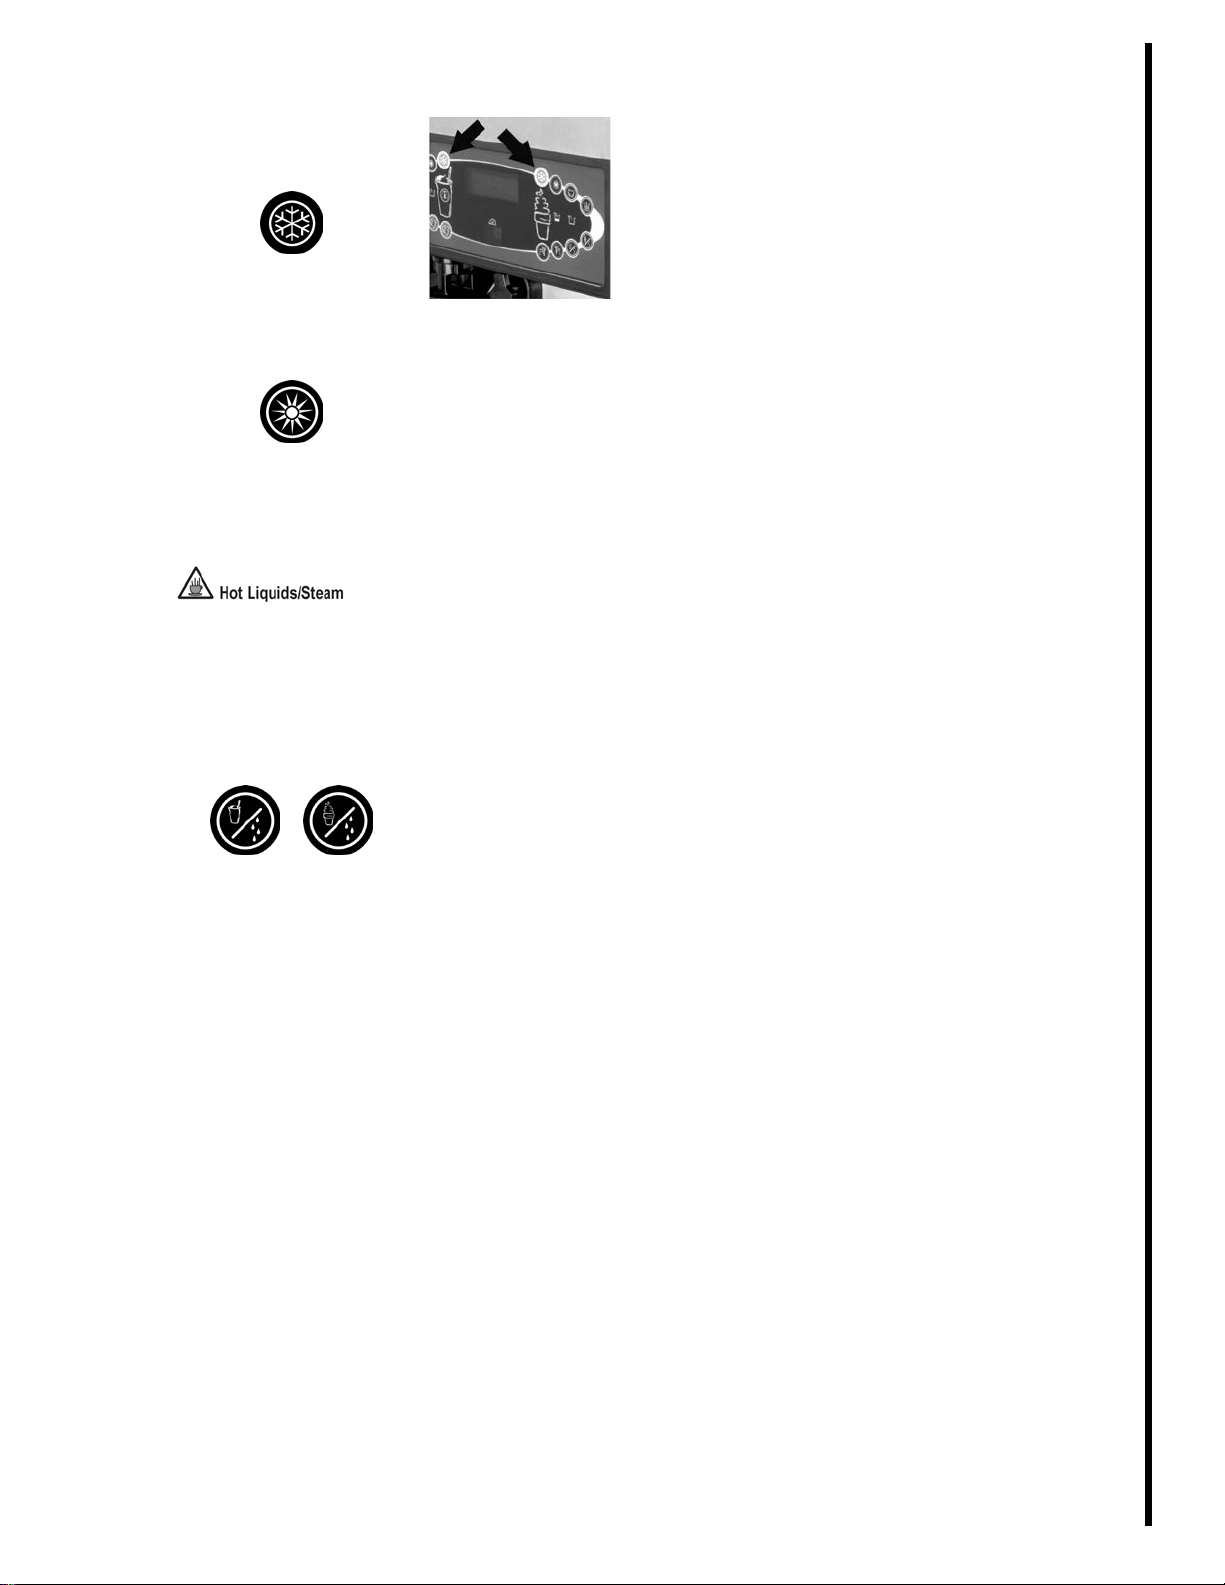
Check syrup lines for air
pockets in the line.
If air pockets are present,
prime the syrup lines. (See
Operator Manual for priming
syrup lines.)
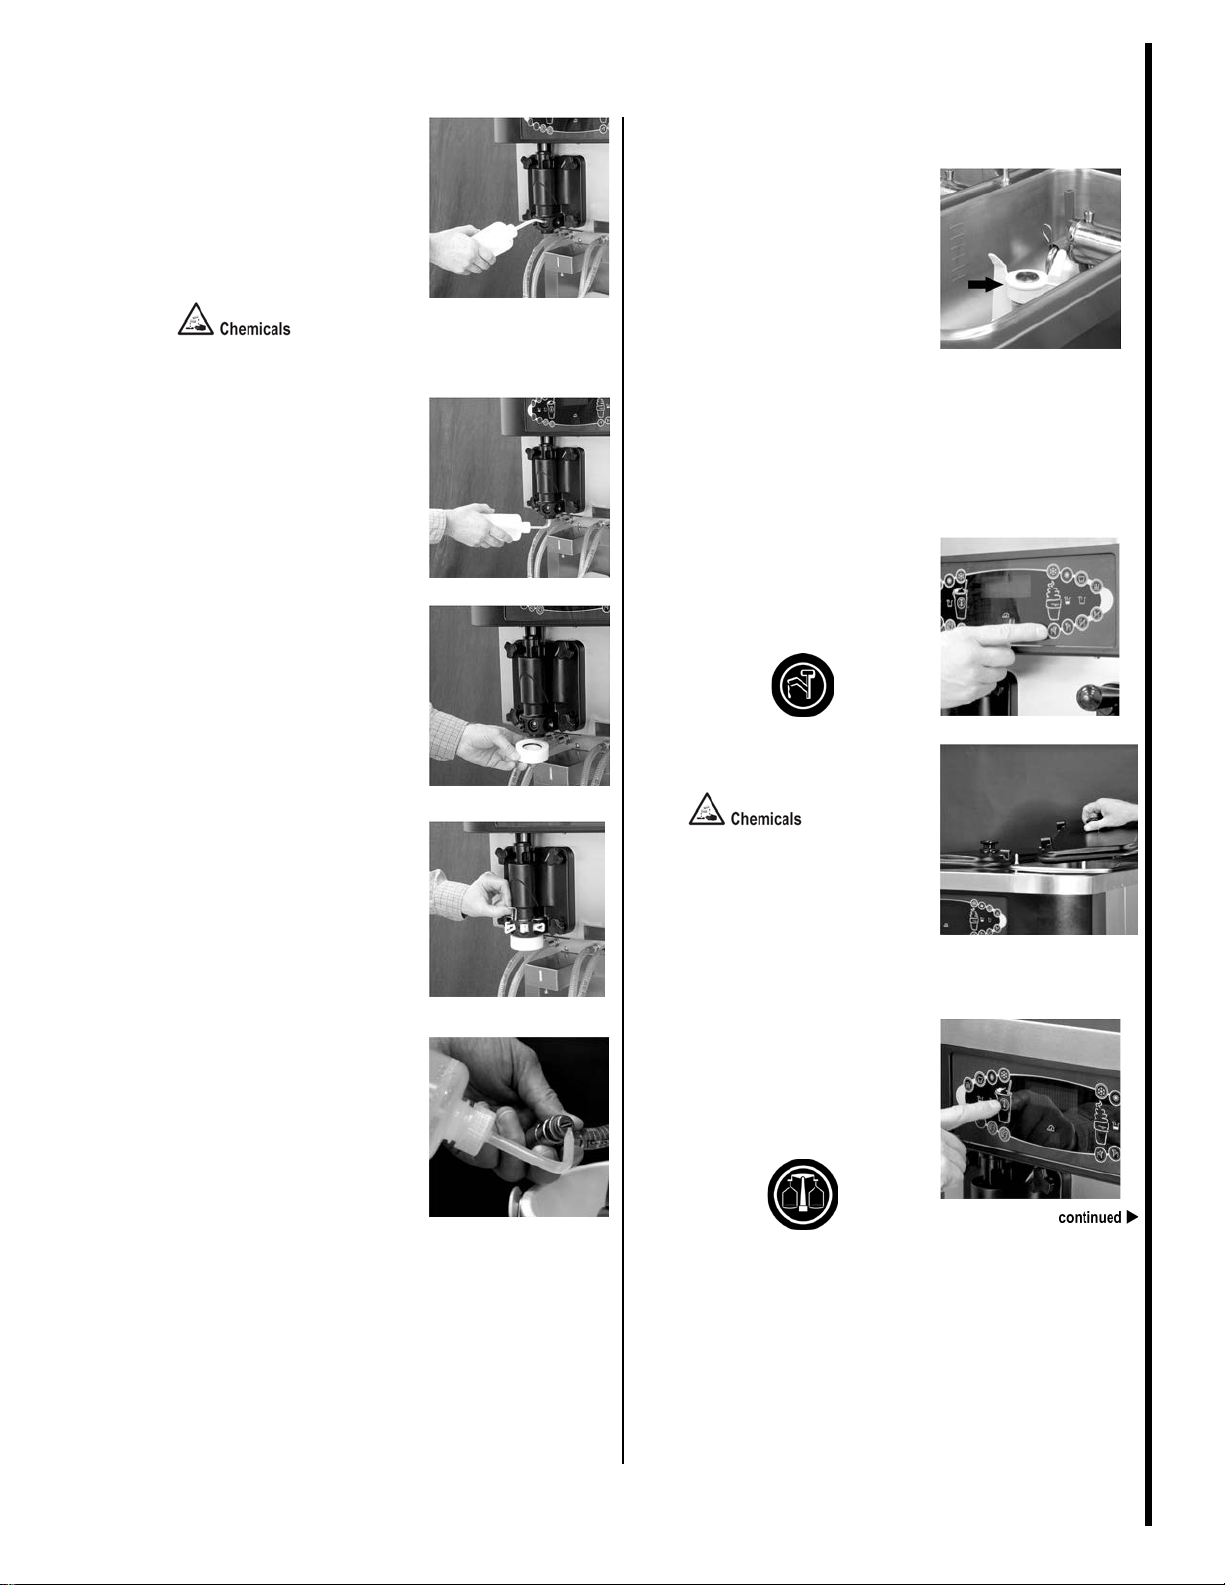
Install syrup plugs for unused
syrup lines.
Install a syrup hole plug into
the syrup port in the door
whenever a syrup line is not
in use. (Example: When the
optional flavor shake is not
being served.)
Do not install an empty syrup
line into the syrup port of an
unused syrup line.
Note: The syrup system
must be flushed and
sanitized weekly.
Wipe exterior of machine.
Using a clean, sanitized
towel, wipe down the freezer
door, front panel, and other
areas that have a build up of
moisture or food substance.