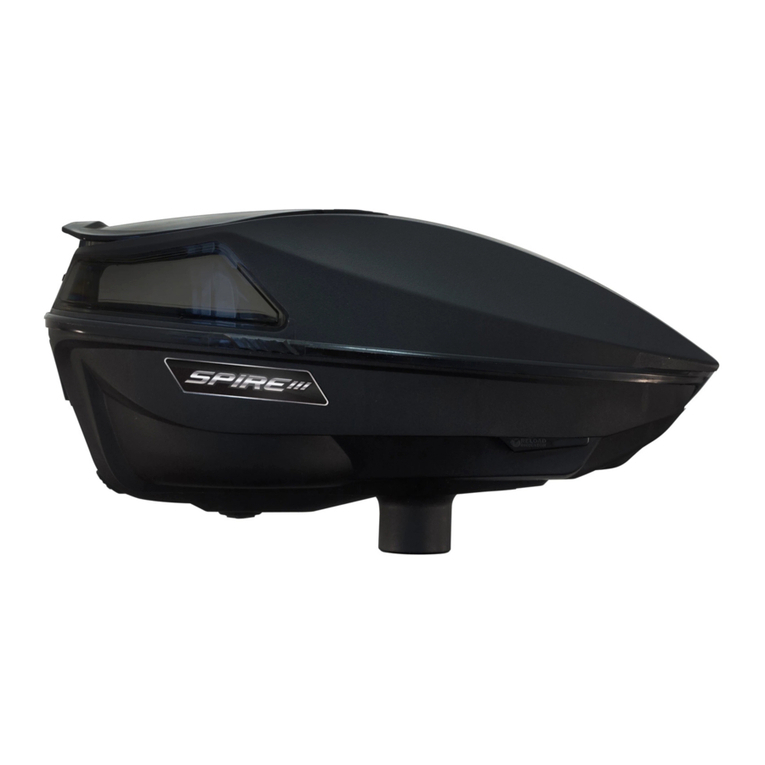
MCS BOX DRIVE User manual


1. Rules for Safe Marker Handling
Treat every marker as if it were loaded.
Never look down the barrel of a paintball marker.
Keep your finger off the trigger until ready to shoot.
Never point the marker at anything you don’t wish to shoot.
Keep the marker on “SAFE” until ready to shoot.
Keep the barrel-blocking device in/on the marker’s muzzle when not shooting.
Always remove paintballs and propellant source before disassembly.
After removing propellant source, point marker in safe direction and discharge
until marker is degassed.
Store the marker unloaded and degassed in a secure place.
Follow warnings listed on propellant source for handling and storage.
Do not shoot at fragile objects such as windows.
Every person within range must wear eye, face, and ear protection designed
specifically to stop paintballs and meeting ASTM standard F1776.
Always measure your marker’s velocity before playing paintball and never
shoot at velocities in excess of 91.44 meters (300 feet-per-second).
NOTE: Eye protective devices designed specifically for paintball use must
be worn by the operator and anyone within range.
2. Specifications
Power Requirements: 4AA batteries (not
included)
Capacity: 140+ paintballs
Feed Rate: 15bps+
Construction: Composite
3. Features
Adjustable Speed
Auto-Off 1 Hour
Adjustable Sound Sensitivity
Low Battery Indicator
1

4. Battery Installation
Using a Phillipshead screwdriver, remove the
screw on top of battery door and lift off door.
Install (4) AA alkaline batteries following the
polarity markings
Reinstall the door and battery door screw.
NOTE: For best results, only use quality name-brand
alkaline batteries. When replacing batteries, used
batteries should be recycled.
5. Activating the Box Drive
Locate the power button on the rear of the Box Drive. Tap
the power button once to turn the Box Drive. The motor
will spin for a second and the Box Drive is now ready to
use.
The green LED will flash repeatedly while the unit is on
to show it is ready. If the LED flashing changes to red,
then the batteries are low and need to be replaced.
To turn off the Box Drive, press and hold the power
button until the LED changes to Red. Release the
button and the Box Drive will turn off. If the Box Drive
is left on, it will shut off after 1 hour of inactivity.
Wheel Drive
The Wheel Drive is the thumbwheel located under the Box
Drive and has several uses.
2

Manually load up to 6 paintballs into your paintball gun for every
revolution of the thumbwheel. This can be done to chronograph your
marker without the need to turn on the Box Drive, or to feed
paintballs if your batteries should happen to die during a game.
Clear a ball jam in your Box Drive during a game by rotating the Wheel
Drive backwards and clearing the jam, then forwards again to load the
ball stack.
6. General Maintenance
Emptying the Box Drive for Storage
With the Box Drive turned off, turn it upside down to dump the paintballs out. While upside down,
rotate the Wheel Drive backwards from the feeding direction to release paintballs. Do not store your
Box Drive with any paintballs left inside.
NOTE: When storing the Box Drive for an extended period of time, remove the batteries and store it
in a dry place.
Cleaning The Box Drive:
To clean the Box Drive, use only a clean, dry cloth, or apply a small amount of goggle lens cleaner to
a clean, dry cloth and wipe clean. Do not apply goggle lens cleaner directly to Box Drive surfaces, as
too much contact will deteriorate plastic and cause damage.
If any paintballs break inside the Box Drive; do not use any liquids or chemicals to rinse out the Box
Drive, doing so will cause severe damage to the Box Drive electronics.
3

7. Board Functions
Programming
There are two functions which can be adjusted in programming mode.
The default settings should be good for your marker.
Motor Speed–3 levels of adjustment, level (1) being the slowest motor speed and level (3) being
the fastest.
Note: It is recommended that you do not set the speed higher than needed. Using higher speeds
than needed will only shorten the life of your batteries.
Sound Sensitivity–3 levels of adjustment, level (1) being the least sensitive and level (3) being
the most sensitive. This setting is only used in sound activation mode.
Preloading the Drive Carrier Spring
If you remove the drive carrier for cleaning it will be necessary to preload the drive carrier spring.
Follow the instructions below.
If any paintballs break inside the box drive; do not use any liquids or chemicals to rinse out the box
drive; doing so will cause severe damage to the box drive electronics.
Install the spring cup, drive spring, and drive carrier onto the drive shaft. Make sure the spring
sits in the spring cup correctly.
Rotate the drive carrier clockwise until its tab hits the spring housing tab. You should now have
both spring tabs pressed together.
Lift the drive cone slightly and rotate it clockwise up and over the spring cup’s tab, taking the
upper spring tab with it.
Snap the drive carrier down with the drive spring tab on the right side of the drive cup’s tab.
The drive cone spring is now pre-loaded and will snap back properly when wound up.
4
Table of contents