Proto SWITCH EL User manual

OWNER’SMANUAL
EL,& FS MODELS
CE Certified by: CERTOTTICS Scarl,
Zo a I dustriale Villa ova, 32013 Lo garo e (BL), Italy
Notified Body Number: 0530

WARNING: No goggle can prevent fogg ng
under all cond t ons. If your goggle does fog up,
do not remove them wh le n a pa ntball area.
If your goggle comes off for any reason while in a paintball area:
¥ stop
¥ cover your eyes with your hands, and
¥ yell for help.
BLINDNESS IS A LIFE-ALTERING INJURY. DON'T RISK IT!
Even if you are an experienced player, we urge you to take the time to
read this manual. It includes important safety information and describes
techniques that can help you extend the useful life of your PROTO¤
Switch“ goggle system.
WARNING: Do not mod fy the lens, goggle, goggle frame,
mask, strap or any other part of the goggle system.
Mod fy ng the goggle system may vo d the warranty and
can lead to ser ous njury.
The PROTO¤ Switch“ goggle system is intended to function with all
genuine PROTO¤ components in place — lens, goggle, goggle frame,
mask, ear pieces and strap.
¥ Do not add anything to the system.
¥ Do not put stickers on the goggle, goggle frame,
mask, lens or strap.
¥ Many adhesives can weaken the lens and goggle.
¥ Do not attach anything to the system.
¥ Do not take anything off of the system.
¥ Do not cut, trim or reshape any component of the system.
¥ You may use the system without the visor. Do not use
the system without any of the other components.
2
WARNING: Fly ng pa ntballs can result
n ser ous eye njury or bl ndness.
Never lift the goggle or take them off when within range of flying
paintballs.
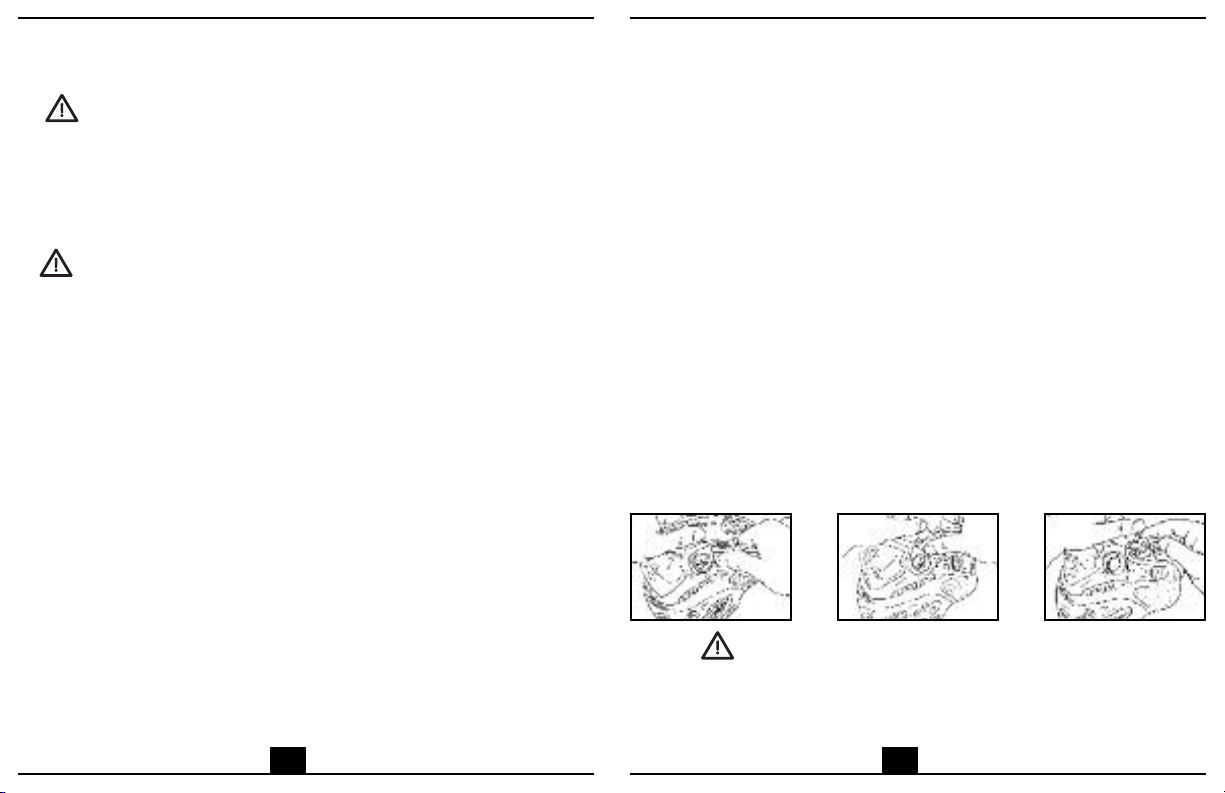
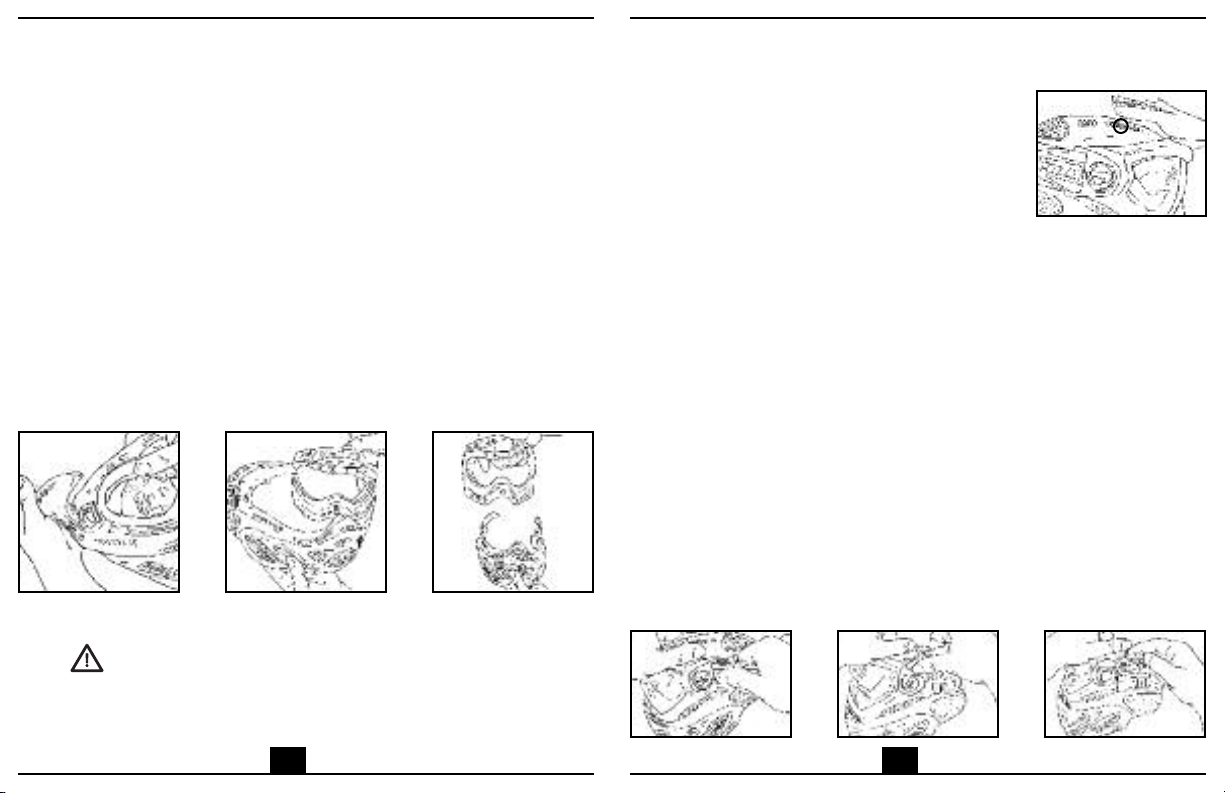
Make sure the lens is securely locked in the goggle frame.
Inspect the lens for cracks before each use.
Make sure there are no gaps between the goggle
and your face.
Adjust the goggle strap snugly so that it won’t fall off.
Do not play paintball unless all markers are limited to 300 feet per
second (92 meters per second) or less.
Thoroughly clean paint off lens using only cool, clear water.
Store in a cool, dry place with no chemical fumes.
Immediately replace any lens that has taken a direct hit from ten feet
(three meters) or closer.
Do not use this goggle until you have read, understood and followed all
instructions and safety precautions in the owner’s manual.
If the owner’s manual is unavailable or lost, get another copy by calling
DYE Precision, Inc. at (858) 536-5183
or visit www.protopaintball.com
1
WARNING

WARNING: Wear the PROTO® Sw tch™ Goggle System
w th the mask and strap assembly properly attached.
The goggle strap s not an ear protector.
WARNING: Check the lens before and after each use, and
replace the lens mmed ately f you observe any cracks.
Replace the lens mmed ately f t s d rectly h t w th a
pa ntball from a d stance of ten feet (three meters) or less.
WARNING: Replace the lens after t has been
n use for one year.
WARNING: Each PROTO® Sw tch™ Goggle lens s factory
treated w th a coat ng to retard fogg ng. Do not apply
ant -fog treatments to any PROTO® Sw tch™ Goggle lens.
No treatment can prevent fogg ng under all cond t ons.
Fogg ng may occur.
WARNING: Use only genu ne PROTO® Sw tch™ Goggle
lenses n the PROTO® Sw tch™ Goggle system.
4
WARNING: Some states have laws about pa ntball play.
It s your respons b l ty to know and follow
the laws of the state where you play.
WARNING: Fa lure to follow all nstruct ons
and heed all warn ngs may result n
ser ous and permanent njury.
WARNING: Never remove the PROTO® Sw tch™ Goggle
System wh le on the play ng f eld.
WARNING: Wear the PROTO® Sw tch™ Goggle System
whenever shoot ng a pa ntball marker or n or
near an area where pa ntball markers are be ng shot.
WARNING: All pa ntball markers must be
chronographed. Do not play where pa ntball
veloc t es exceed 300 feet per second
(92 meters per second).
WARNING: Observe the rules of safe play and the
rules of safe pa ntball marker handl ng at all t mes.
3

2
4
5
6
1
3
What’s In the Box
THIS BOX CONTAINS:
¥ One PROTO Switch“ Goggle System
¥ Owners Manual
¥ Goggle Bag
1 Visor
2 Lens
3 Lens Frame
4 Strap Assembly
5 Mask
6 Hard Gogg
6
Safety Information 1-4
Table of Contents 5
What’s in the Box 6
Getting Started 7
Safety Check 8-9
Fitting 10
Cleaning 11-12
Storage 13
Removing the Lens 14-15
Installing the Lens 16-17
Changing the Stra 18
Adjusting the Chin Stra 19
Warranty 20-21
5
CONTENTS

Safety Check
WARNING: The PROTO® Sw tch™ Goggle
System suffers wear and stress even n normal use.
Scratches, cracks and d scolorat on are s gns
of stress-caused fat gue and nd cate that
a part s at the end of ts useful l fe and
needs to be replaced.
Here’s a simple, sixty-second safety check. Get in the habit of making
this safety check every time you’re about to play paintball.
Before each use, perform a safety check.
Look for scratches on the lens and goggle frame.
2Look for cracks on the lens and goggle frame.
3Look for discoloration on the lens and goggle frame.
4Do not use a lens that is scratched, cracked or discolored.
Replace the lens immediately.
8
Gett ng Started
Paintball is an adventure sport. Even when paintball is played as
intended you can get hurt. No goggle system can prevent serious injury
in all situations.
The PROTO¤ Switch“ Goggle system is intended for use by paintball
players participating in a supervised game of paintball with competent
referees at a paintball facility where each paintball marker is
chronographed before each game and paintball velocity is limited to
300 feet per second (92 meters per second) or less.
If any portion of this manual is unclear, or if you are unable to obtain
satisfactory answers to any question from your dealer, contact DYE¤ at
(858) 536-5183 or visit www.protopaintball.com
¥ Remove the owners manual and read it.
¥ Remove protective film from the lens.
¥ Perform a safety check on the entire system (page 9,10).
¥ Remove eyeglasses or sunglasses.
¥ Put the goggle on.
¥ Adjust to fit snugly (page 11).
WARNING TO LAW ENFORCEMENT, MILITARY
AND GO ERNMENT CUSTOMERS: Do not use
the PROTO® Sw tch™ Goggle system w th
s mun t ons. Contact PROTO® techn cal
support to d scuss spec al appl cat ons.
7

F tt ng
WARNING: If your goggle system does not f t
properly, t may fall off. Do not use a goggle
system that does not f t snugly.
The PROTO¤ Switch“ Goggle System is not intended for use
with eyeglasses.
¥ After you have performed the safety check of the
entire goggle system, put it on.
¥ The goggle must fit firmly on your face so that it
will not move.
¥ Check for gaps between the foam on the goggle frame
and your face. The goggle must create a seal with your face.
¥ If there are any gaps, the strap is too loose.
¥ Remove the system from your head and shorten the strap
by moving the two slides evenly apart. The two slides on the
goggle strap have teeth to retard slipping. These teeth
prevent
proper adjustment while the system is snugly on your head.
¥ Put the system on and again check for gaps.
¥ If there are no gaps but the system feels too tight,
remove the system from your head and move the
two clips evenly together.
10
5Make sure that the lens is seated properly within the lens
frame and the hard goggle frame and that both Switch“
lock tabs are flush to the goggle frame.
6Make sure that the strap is securely attached to the frame
(right and left).
7Make sure the sliding adjustment clips on the strap are
not cracked or broken.
8Make sure that the mask is securely attached
to the goggle frame.
9If you use the visor, make sure that the visor is securely
attached to the goggle frame and mask.
WARNING: If you have any doubt about
the cond t on of the PROTO® Sw tch™ Goggle System,
don’t use t. Take t to your local dealer
for a thorough check or send t to DYE® for nspect on.
9
Safety Check Continued

Reminders
¥ Don’t use cleaning solutions other than clear water.
Windex, 409, or other household cleaners
may damage the lens.
¥ Don’t use paper towels. They scratch the lens.
¥ Dont immerse the goggle frame in water.
¥ Dont immerse the inner lens of a double lens in water.
¥ Dont rub the lens too hard. Both sides of the lens have
a protective coating that can be rubbed off.
¥ If paint or debris remain on the goggle after cleaning,
you may have to remove the lens for thorough cleaning.
Follow the instructions for lens removal(pages 15,16) and
installation(page 17).
Mask Care
The mask may be rinsed with a hose or immersed in water, but only
AFTER removing the mask from the goggle frame. Dry the mask with a
soft cotton cloth. Do not dry the mask in direct sunlight.
Strap Care
Wipe paint off the strap with a damp cotton cloth. Do not wash the strap
in a washing machine. If the strap is severely stained, replace it.
12
C eaning Continued
Clean ng
WARNING: Clean only w th pla n water.
Chem cal cleaners (W ndex, 409, S mple
Green, etc.) conta n alcohol and detergents
wh ch can weaken the lens and goggle.
Lens Clean ng
Clean your goggle immediately (same day) after each use or whenever
they are dirty or covered with paint. Please follow the lens cleaning
instructions carefully to preserve the life of you lens.
Remove the lens from the goggle frame for proper cleaning.
Fog Resistant Single Lens
Gently clean both sides of the lens with clear water and a cotton cloth.
Dry the lens with a clean soft cotton cloth. Do not excessivly rub the
inner lens surface, it will remove the fog resistant coating.
Thermal Double Lens
Gently clean the outside of the lens with clear water and a cotton cloth.
Gently dry the outside of the lens with a clean cotton cloth.
Dab the inner lens with a damp cotton cloth. Do not rub the inner lens
surface. The inner lens surface scratches very easily.
11

Remov ng the Lens
[Lens replacement is easier if the visor is first removed from the goggle frame.]
Tip: Replace your lens at least once each year. Factory applied protective coatings
on each lens surface will wear off even with gentle cleaning.
Remove the Visor
Remove the center posts from the goggle frame by pulling up on the
visor. Lift center portion of visor up and away from the goggle frame.
Remove the two side posts by carefully pulling on the visor and pushing
one post at a time up from the inside.
[The lens may be removed from the goggle frame with the visor still attached to the
mask at the two side posts.]
Remove the Mask
Remove strap from mask strap retainer.[See figure 1]
2Grasp strap behind Switch“ lock tabs and pivot upward
until they have stopped.[See figure 2]
3Using finger, push Switch“ lock tabs from inside
and pop out tabs.[See figure 3]
WARNING: Use only your hands when
chang ng PROTO® lenses. Use of tools s l kely
to scratch or damage the lens.
14
123
Storage
WARNING: Never store the PROTO® Sw tch™
Goggle system n areas that may have
chem cal fumes. Gasol ne, kerosene, alcohol
and other chem cals and fumes w ll
weaken the lens and goggle.
WARNING: Never store your PROTO® Sw tch™
Goggle system n areas of extreme heat
or cold. Temperature extremes w ll damage
the lens and the goggle. Store your goggle
n a cool well-vent lated place.
• Store your goggle n a cool, well-vent lated place free from any
k nd of ndustr al or household fumes.
• Do not store your goggle w th d rty lenses or frames.
• Do not allow d rty goggle to set overn ght w thout clean ng.
• Do not expose your goggle frame or lens to harmful household
or ndustr al fumes.
• Do not store your goggle n plast c garbage cans, garbage bags,
or any plast c conta ner.
• Do not store your goggle n the trunk of your car.
• Do not store your goggle n d rect sunl ght or near heaters,
stoves or other heat sources.
13

Install ng the Lens
Tip: PROTO¤ replacement lenses come with a protective film on the inside of the
thermal lens. Leave the protective film on during installation. Remove the
protective film before use.
Install the lens in the goggle frame.
Insert new lens into lens frame.
2Make sure lens is fully seated and logo block is placed firmly
into frame receiver.[See figure 1]
3Make sure bottom edge of lens is fully seated within
lens retention ribs.
4While holding the lens and frame firmly at top logo area,
insert frame hook into large hole at top of nose on mask.
[See figure 2]
5Once hook is in place, roll lens/frame towards
mask and push down.
6Make sure frame is flush with mask and fully seated
at nose area.
7Align Switch“ lock holes and replace Switch“ locks in
opposite manner removed.[See figure 3]
8Replace strap under retainer clips.
WARNING: If the lens s not completely
seated n hard goggle frame, the lens
may separate dur ng use and cause njury.
16
213
Remove the Lens from Goggle Frame
1W th both Sw tch™ lock tabs fully removed, place f nger between frame
and hard goggle at top center, and p vot frame forward at nose.
2After p vot ng forward, l ft lens and frame out of mask.
3Pop lens out of frame.
15
Removing Lens Continued

Attach ng the V sor
Moisten the ends of the visor posts.
2Push the left visor post into the round
hole on the left side of the mask.
[See figure 1]
3Push the right visor post into the hole on
the right side of the mask.
4Push the center posts of the visor
between the frame and the hard goggle.
5Make sure center posts are locked into hard goggle.
Note: The gap between the visor and the top of the goggle frame is normal.
Chang ng the Strap
The strap is easily removed from the goggle frame. In ordinary use
and maintenance, it is necessary to remove the strap from the
goggle frame. The lens can not be changed with the strap still
attached to the goggle frame. The goggle frame may be cleaned
with the strap attached to the goggle.
Remove the Strap
Remove strap from mask strap retainer.[See figure 1]
2Grasp strap behind Switch“ lock tabs and pivot upward
until they have stopped.[See figure 2]
3Using finger, push Switch“ lock tabs from inside
and pop out tabs.[See figure 3]
18
1
123
Remov ng the Mask from Hard Goggle
To remove the mask from the goggle frame:
Hold the hard goggle in one hand.[See figure 1]
2Beginning at top corners, pull mask up and away
from hard goggle until removed from
end retention tabs.[See figure 2]
3Repeat on opposite side.
To install the mask on the goggle frame:
Hold the hard goggle in one hand.
2Beginning at top corners, insert mask into retention tabs
on each end of hard goggle.
3Repeat on opposite side.
4Grab hard goggle and align tabs into mask holes.
5Mask should fit snuggly to hard goggle.
Inspect the mask attachment carefully. Make sure that there are no gaps between
the mask and the goggle frame.
WARNING: Never use the goggle w thout
the mask and ear p eces securely attached.
Improper attachment of mask can lead to ser ous njury.
17
123

PROTO L m ted Warranty
DYE Prec s on, Inc. warrants that your PROTO®Sw tch™ goggle system w ll be
free from defects n mater als and workmansh p for one (1) year from the date of
or g nal reta l purchase.
Any product determ ned by DYE®to be defect ve n mater als or workmansh p n
accordance w th the above warranty w ll be repa red or replaced, at the opt on of
DYE®, free of charge when rece ved at the factory fre ght prepa d, together w th
proof of purchase.
Th s warranty s expressly n l eu of all other warrant es. Any mpl ed warrant es of
merchantab l ty or f tness for a part cular purpose are l m ted to the same durat on
as th s express warranty.
Th s warranty does not cover nc dental or consequent al damages. DYE®shall not
be l able for any nc dental or consequent al damages. Some states do not allow the
exclus on or l m tat on of mpl ed warrant es, nc dental or consequent al
damages, so the above l m tat ons and exclus ons may not apply to you.
20
Attach ng the Ch n Strap
To connect the strap, hold each end of the buckle and
line them up so that the forks are pointing toward the
opening of the other buckle. Insert the fork part of the
buckle into the other one until you hear a little snap noise;
that noise will indicate that your chin strap is locked. Once
you have heard that click, your Proto Chin strap is now
ready for use.[See figure 1]
2To release the strap simply pinch the two rounded bumps
on the buckle until they are lower then the side wall of the
buckle. Once the bumps are lower, pull one end of the strap
away from the other until the buckle is completely separated,
then your strap will be released.[See figure 2]
3To adjust the size of the strap simply pinch the side locker
from end to end and rock the locker back and forth until
the strap becomes looser. To tighten it grab one part of the
strap and then slide the locker down toward the mask. This
will cause the strap to get tighter.[See figure 3]
19
1 2 3

Th s warranty does not cover any problem result ng from m suse, abuse, neglect,
alterat on, fa lure to perform ma ntenance as nstructed, unauthor zed repa r or
serv ce, or damage caused by contam nants.
Th s warranty does not cover any representat on or warranty made by Dealers
beyond the prov s ons of th s warranty.
Th s warranty does not cover costs ncurred for normal repa r, nspect on and
prevent ve ma ntenance.
You must establ sh proof of purchase to obta n warranty serv ce or replacement.
You may establ sh proof of purchase by complet ng the Warranty Reg strat on Card
and ma l ng t to DYE®.
Th s warranty g ves you spec f c legal r ghts, and you also have other r ghts wh ch
vary from state to state.
If you have any quest ons about your PROTO®product, please call
DYE Prec s on, Inc. at (
858) 536-5183
or v s t www.protopa ntball.com
21
This manual suits for next models
1
Table of contents
Other Proto Paintball Equipment manuals