Measy A5A User manual

1
A5AUser User User User
’’’’
ssssManual Manual Manual Manual
INDEX
Declaration……………………………………………………………………………………………………………….....2
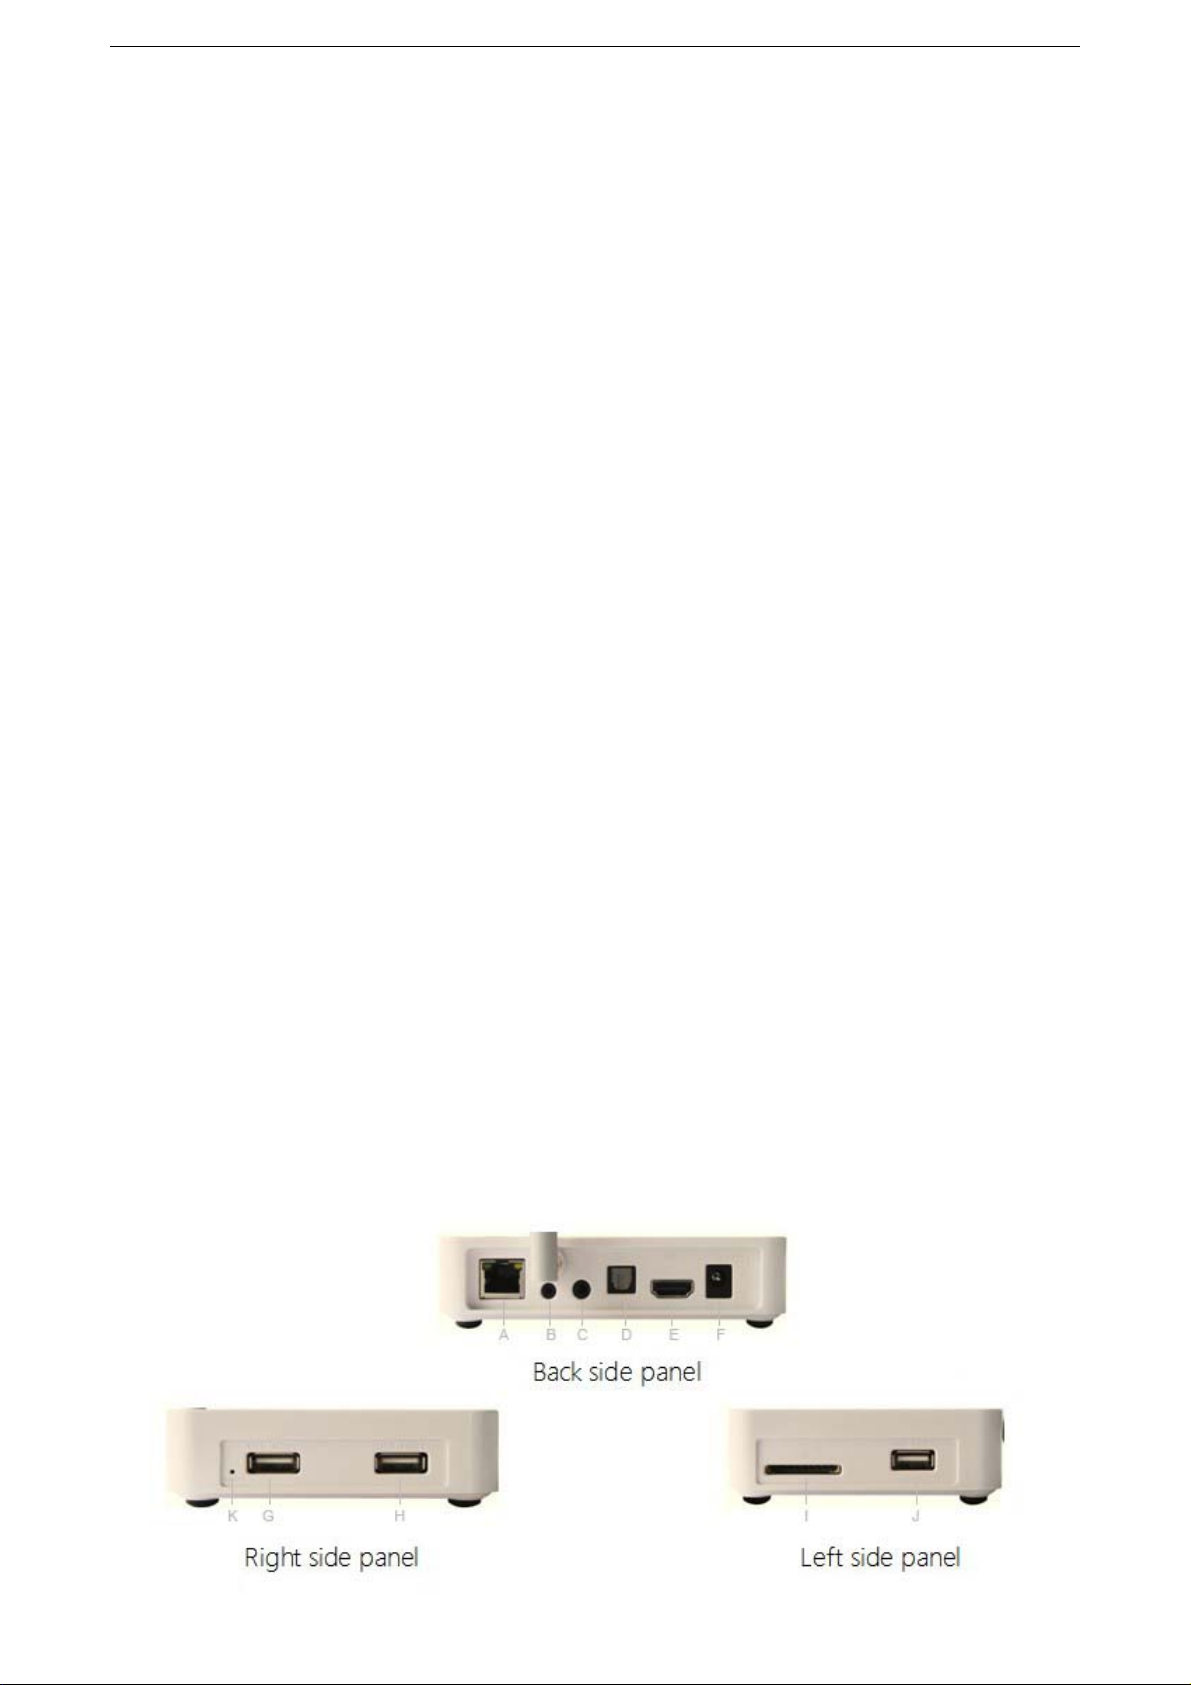
A. A. A. A.Appearance Appearance Appearance AppearanceIntroduction Introduction Introduction Introduction…………….………………………………………………………………………2
B. B. B. B.Initial Initial Initial InitialOperation Operation Operation Operation……...……………………………………………………………………………………….…..3
1.HARDWARECONNECTINGINSTRUCTION……..………………………………………..….......4
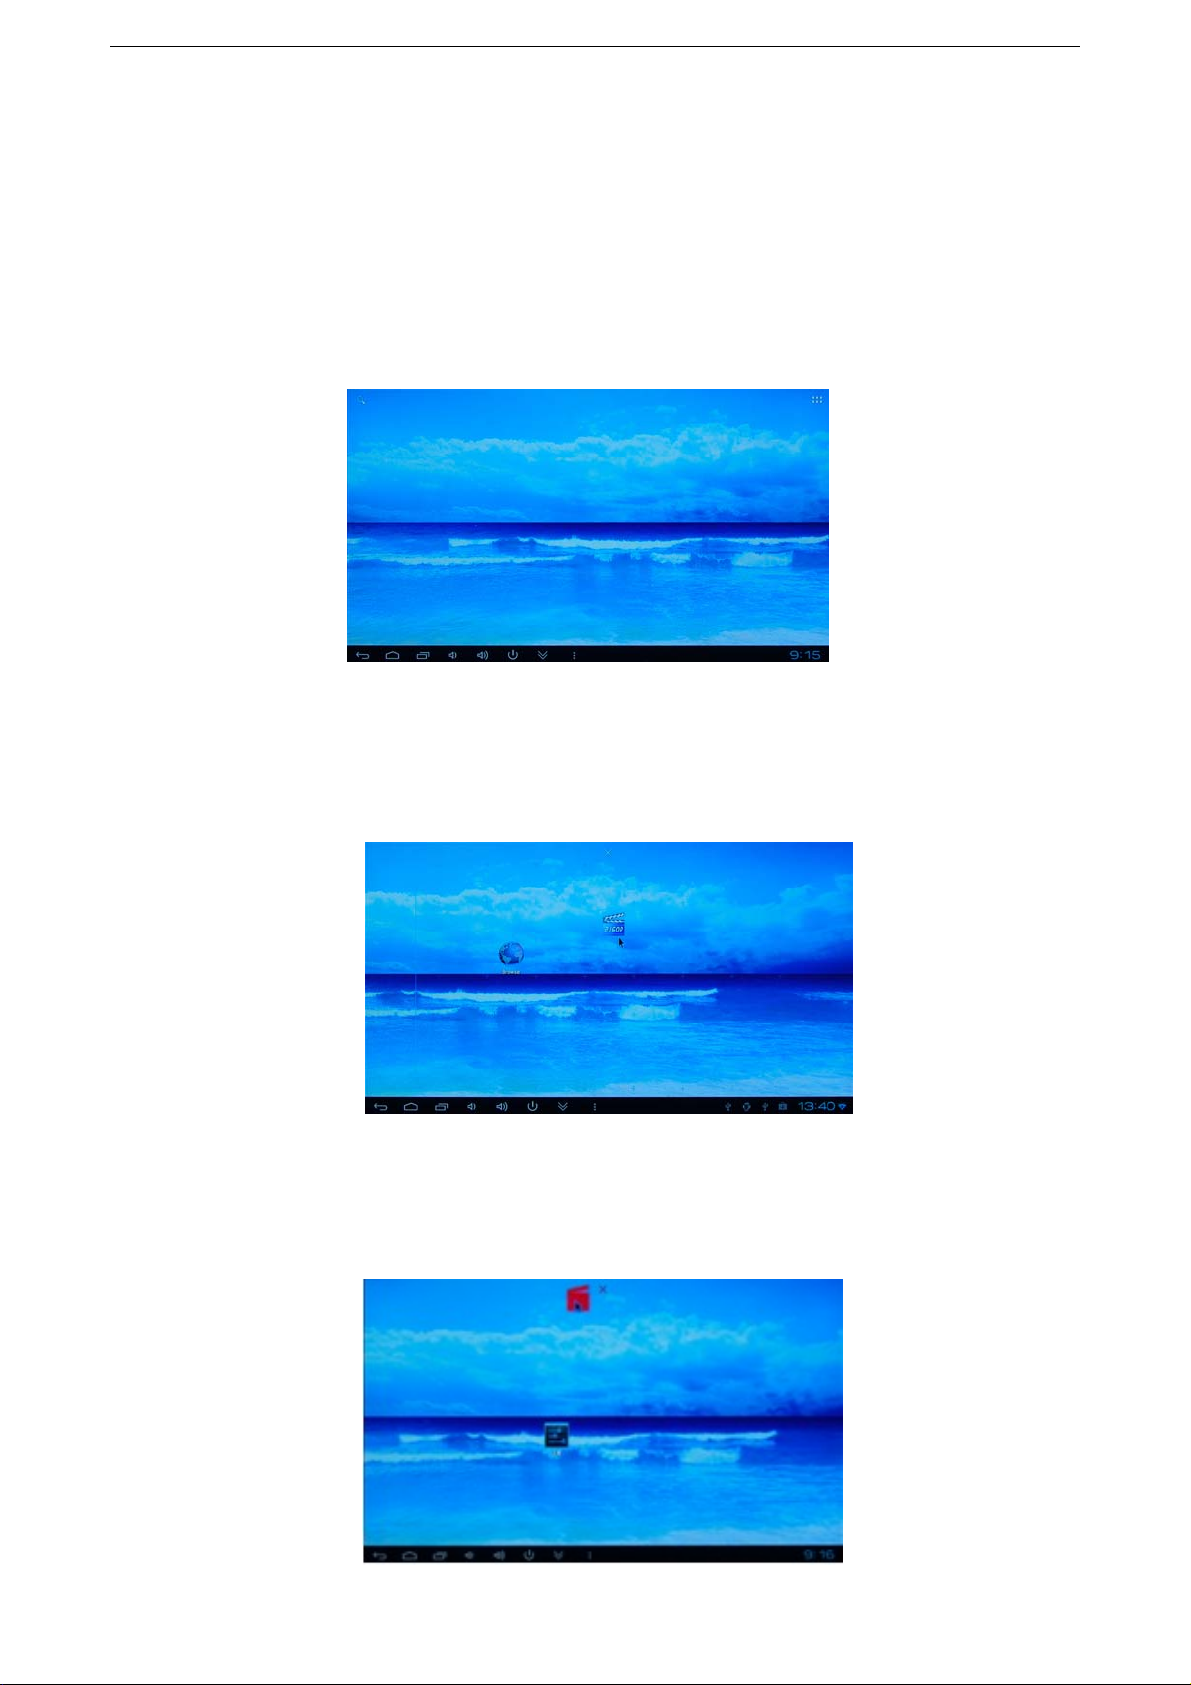
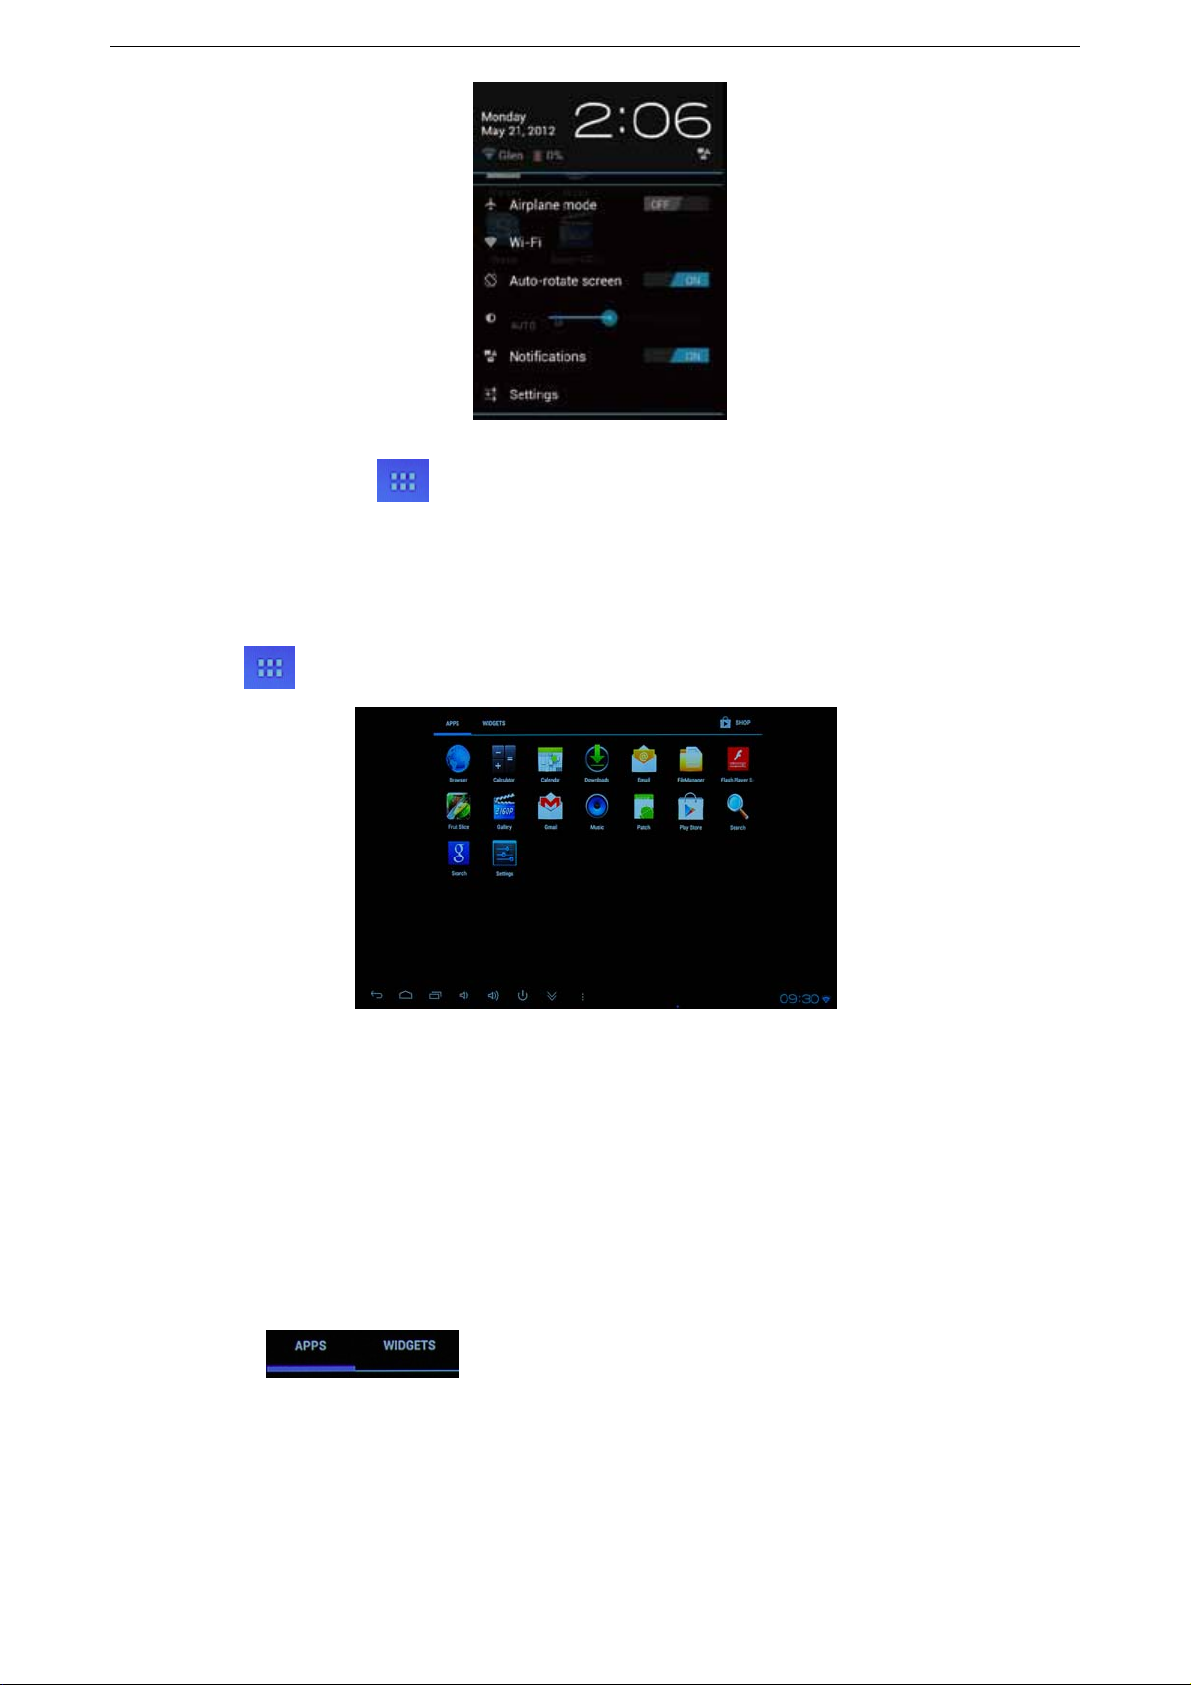
2.OSINTERFACE......................................................................................................................4
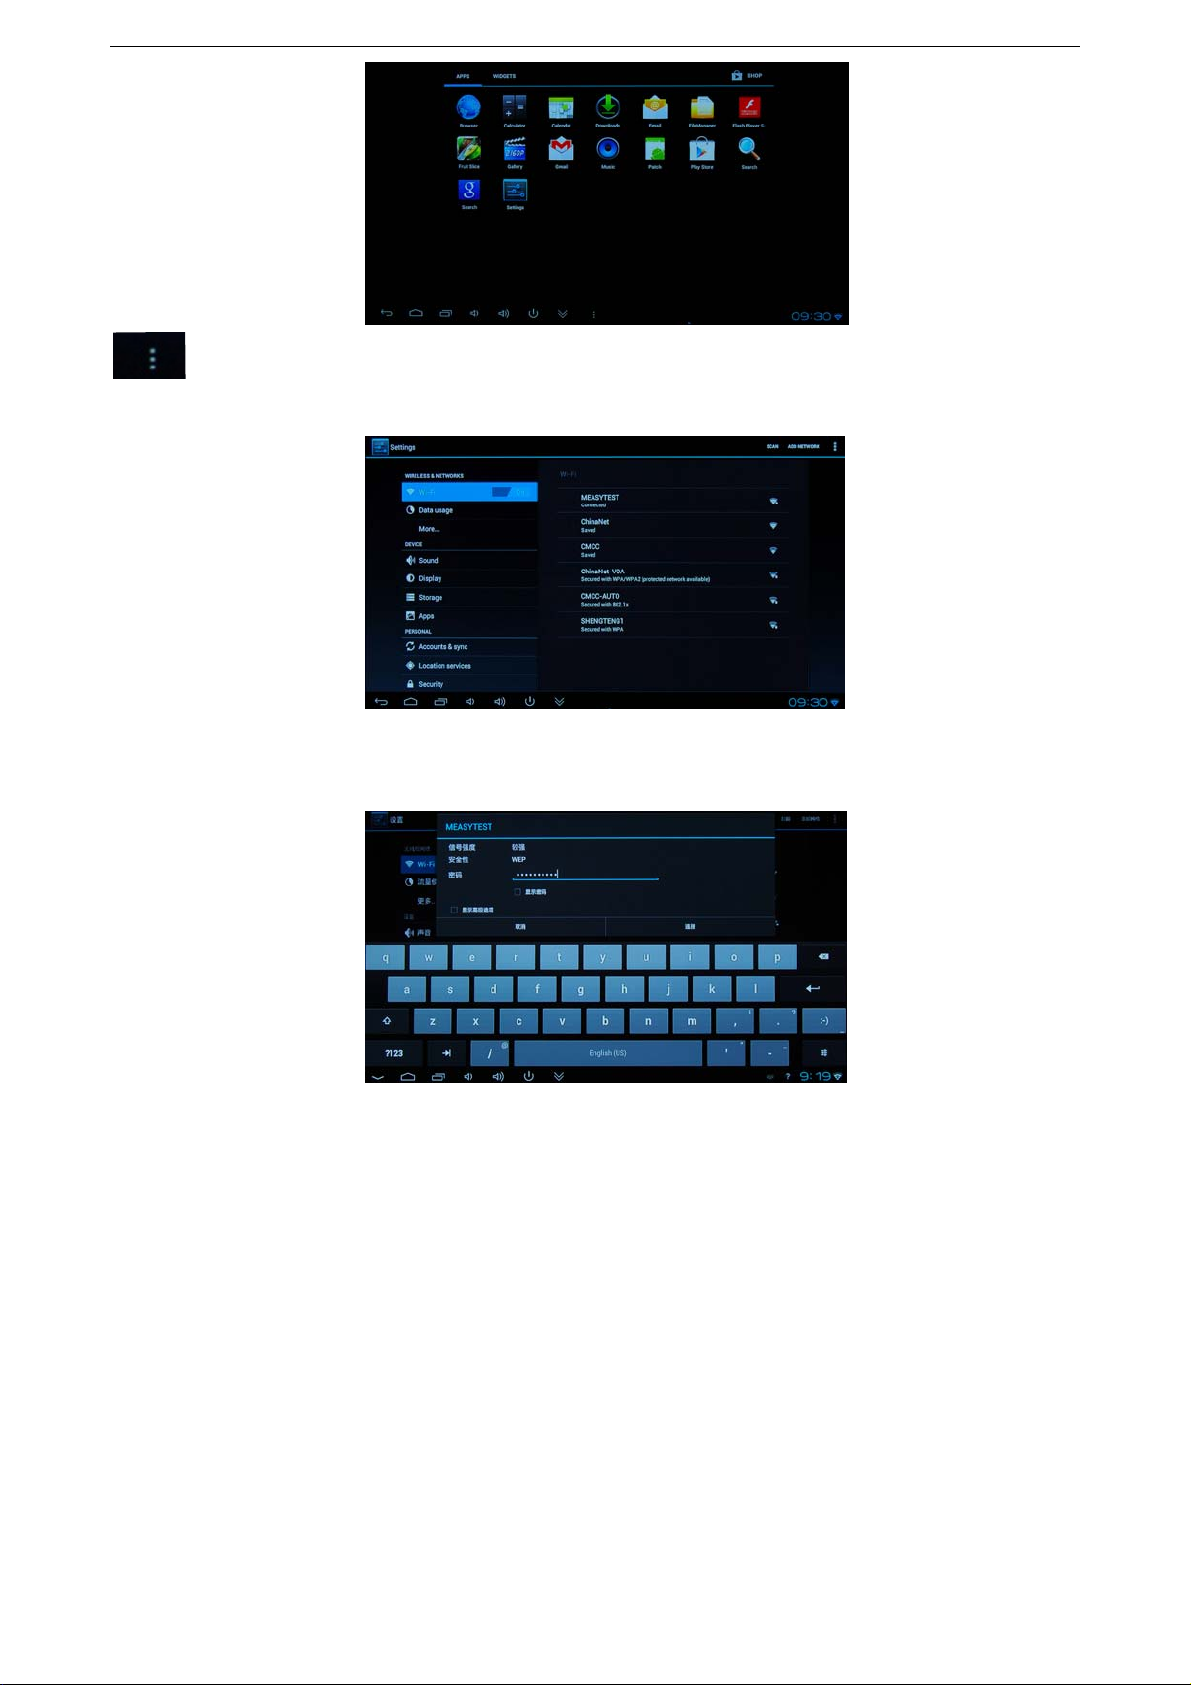
3.MANAGEMENTSOFTWAREICON.................................................................................4
4.DELETEICON.......................................................................................................................4
5.DRAG
TO
THEDESKTOP..................................................................................................5
6.RETURN,HOMEP AGE,PROGRAM,PROPERTIES………………………………………………...5
7.
STATUS
BAR..........................................................................................................................5
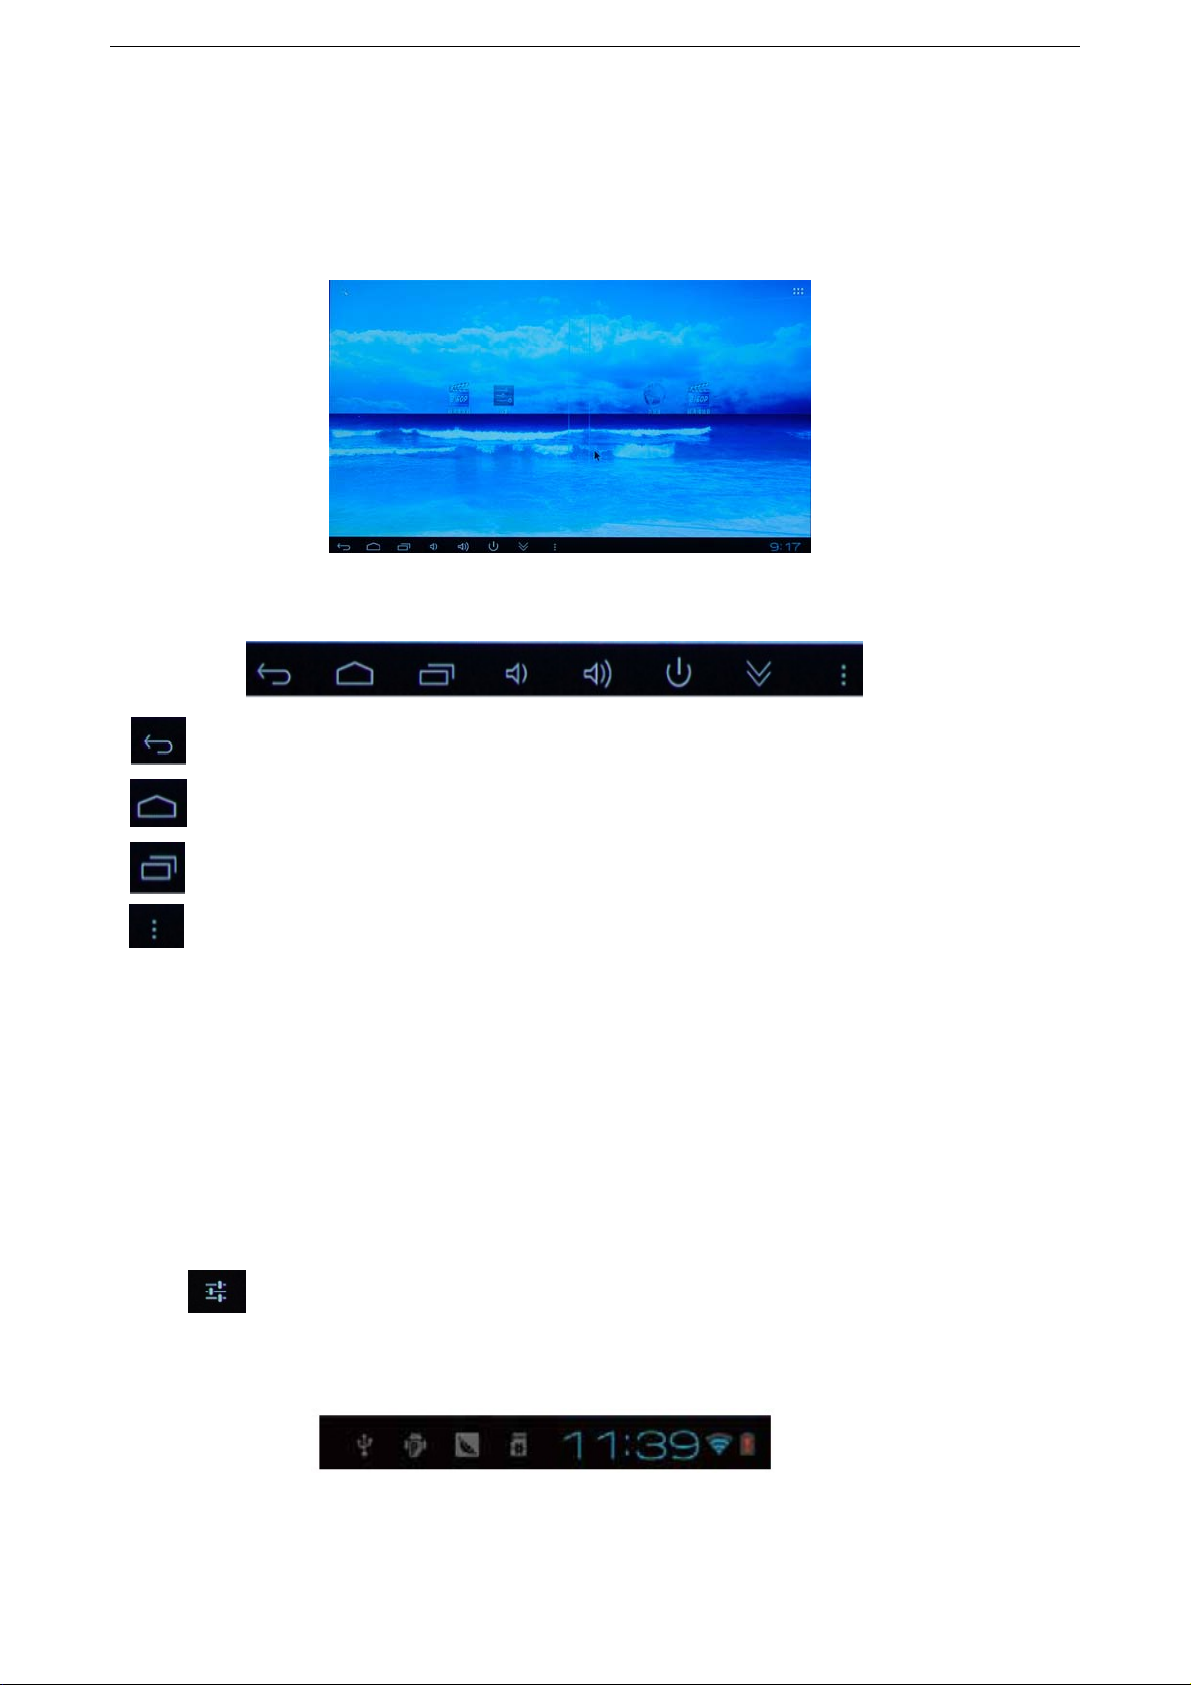
8.PROGRAMMETOOLBUTTOM.........................................................................................6
C. C. C. C.Programmer, Programmer , Programmer , Programmer,
Tools T ools Tools Tools
Icon Icon Icon IconManagement Management Management Management………………………………………………………...........7
D. D. D. D.
Setting Setting Setting Setting..................................................................................................................................7
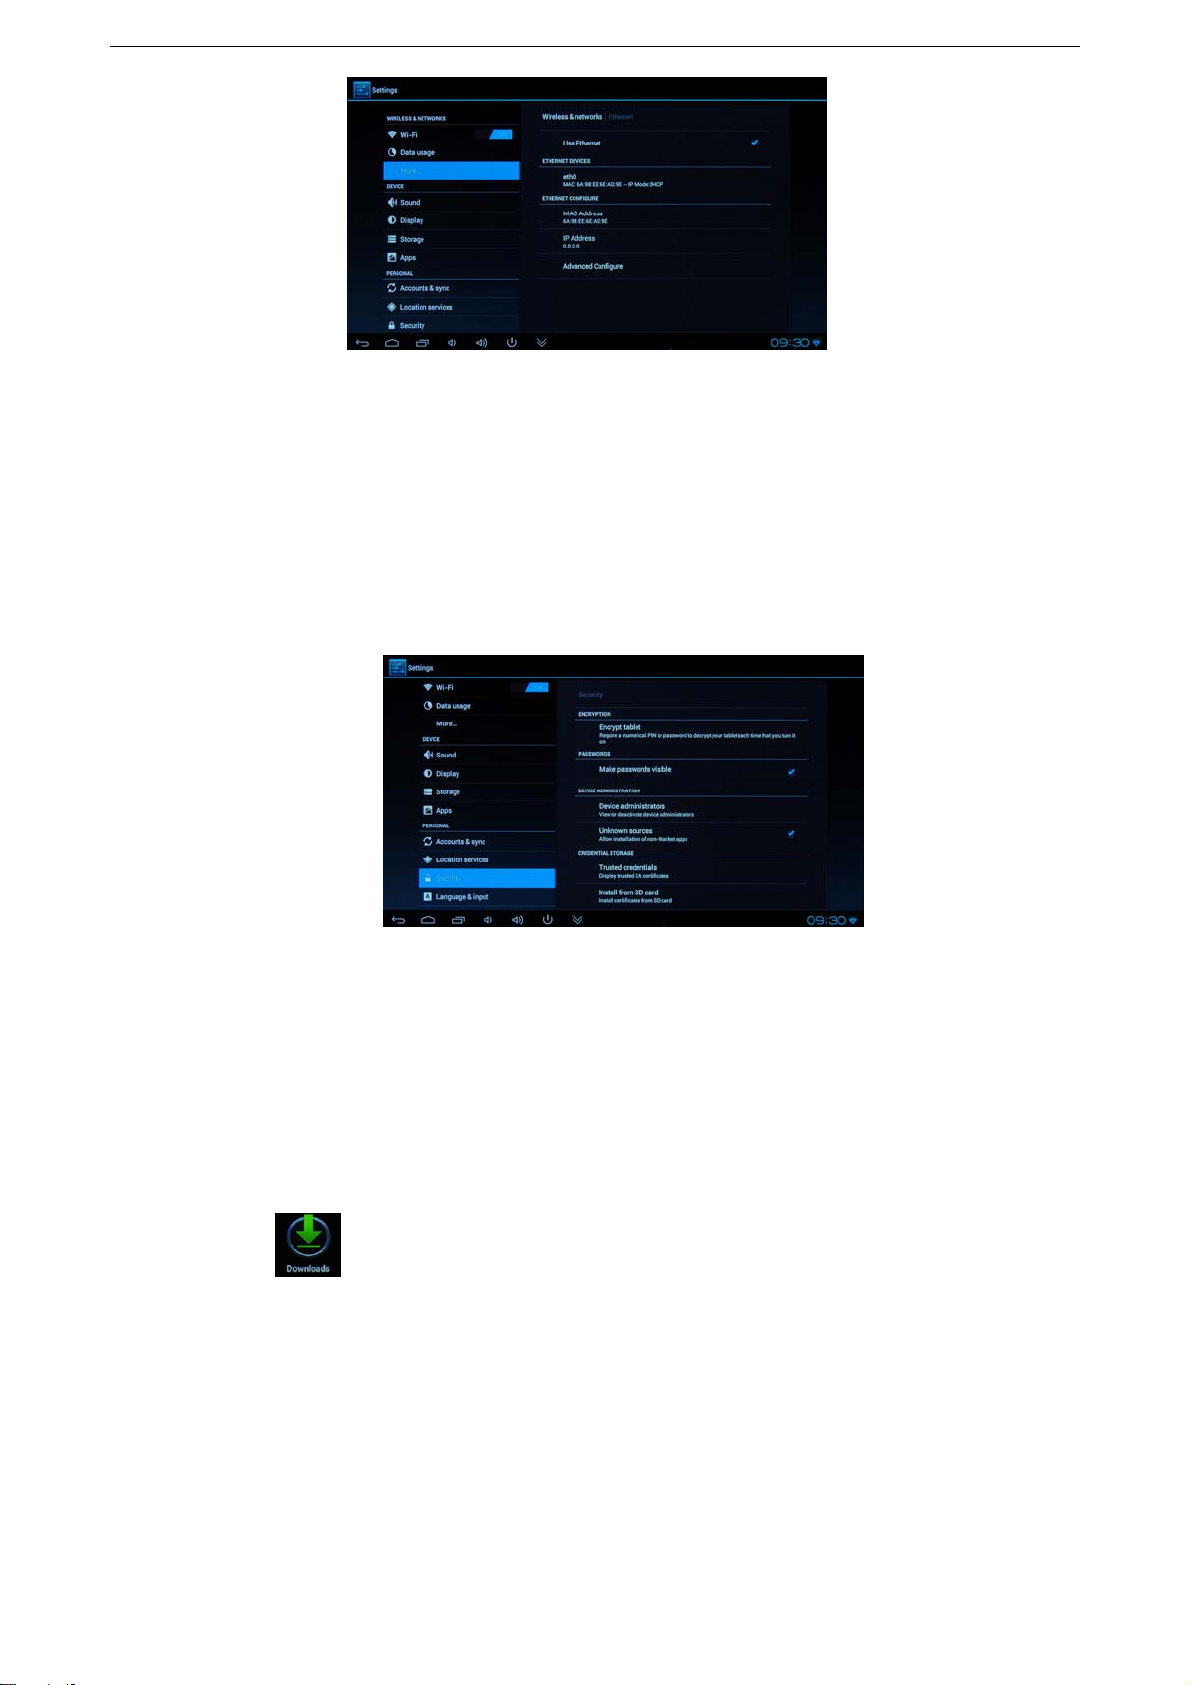
1.WIFISETTING................................................................................................................…...…7
2.USB
TO
RJ45LANADAPTERSETTING...........................................................................7
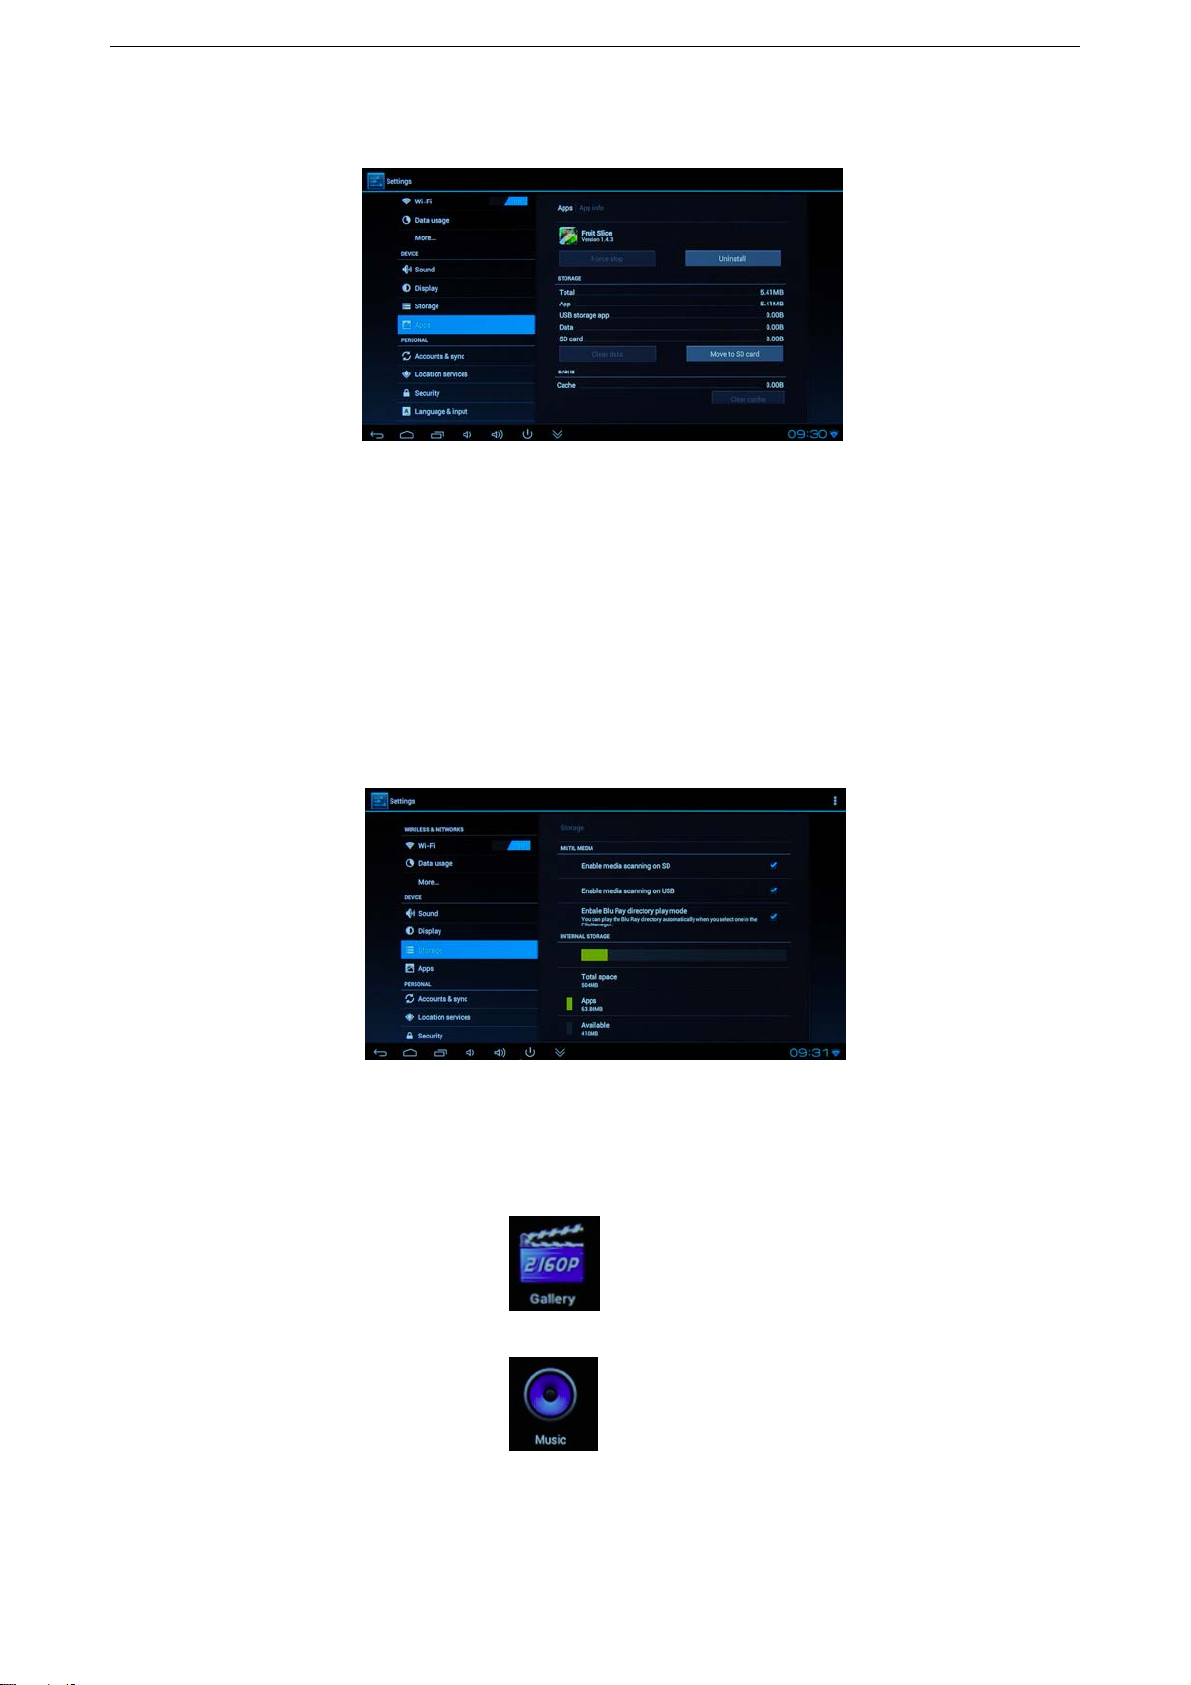
E. E. E. E.Install/delete Install/delete Install/delete Install/deleteAPK APK APK APK(Program) (Program) (Program) (Program)..........................................................................................8
1.UnknownSourceAPK(Program)SetUp…………………...................................................8
2.INSTALLAPK(PROGRAM)..................................................................................................8
3.DELETEAPK(PROGRAM)……………………………...................................................................8
F. F. F. F.
Picture, Picture, Picture, Picture,Video, Video, Video, Video,Filing Filing Filing FilingManagement, Management, Management, Management,Webpage Webpage Webpage Webpage................................................................9
1.SETUPMEDIAFILESEARCHINGFUNCTION…………......................................................9
2.HOW
TO
PLAYHIGHDEFINITIONMEDIAPLAYER......................................................9
3.FILEINGMANAGEMENT .
COPY,
CUT,DELETE,RENAME………………………………......…9
4.MUSICPLAYER.........……………………….……….......................................................................10
5.VISITTHEWEBSITE......................................................……………………………………………….10
G. G. G. G.Language Language Language Languageand and and andInput Input Input Input…….……………....................................................................................11
1.SELECTLANGUAGEANDUSUALINPUTMETHOD....................................................11
2.KEYBOARDANDMOUSE..................................................................................................11
3.SWITCHINPUTMETHOD……………………………..….............................................................11
H. H. H. H.Question& Question& Question& Question&Answer Answer Answer Answer…..........................................................................................................12
I. I. I. I.Specifications Specifications Specifications Specifications……...................................................................................................................12
A5A A5A A5A A5A

2
Declaration
zThe user manual includes all the information of safe and correct operation
instruction. To avoid accident and product damaged, please make sure go
through all the content carefully before using the product.
zPlease keep the product away from high temperature, humid and dusty
environment.
zDo not drop or crash the product.
zDo not cut off power of the device when it is formatting or upgrading.
Otherwise it will cause operation system error.
zDo not dismantle the device. Do not clean it by alcohol, thinner and
Benzene.
1. We keep the right to upgrade and modify the product.
2. Disclaimer: We only take the responsibility to provide the product warranty
and after service. The users have to take care of their data in the device by
themselves. We do not responsible for any data lost or related lost.
3. The product is not water-proof.
4. All the pictures in the instruction are just for reference.
A. Appearance Introduction

3
Back side panel: From left to right:
A:LANNetworkPort.
B: External IR Jack
C: AV Output
D: Optical SPDIF
E: HDMI 1.4 output
F: DC-IN: 12V
Right side Panel:
K: Reset Key: Factory default setting, When power on, press it for 10 seconds.
G/H: 2 X USB Host: play movies, pictures and music in USB Disk and USB
portable HD, connectAir Mouse;
Right side Panel:
A: SD Card Slot: Play Media file in micro SD
B: USB Host
B. Initial operation
Connection instruction for Hardware
1. Connect to the TV set or LCD monitor .Set up the TV data receive mode to
HDMI port , (Refer to TV set user manual)
2. Suggest using Air mouse or 2.4G wireless mouse and keyboard. Plug 2.4G
receiver on USB Host connector. Or Plug on USB OTG port by port converter.
If only mouse plugged, the device will provide soft keyboard in operation
system. If the device detected the physical keyboard, the soft keyboard will be
hiding by OS automatically.

4
3. Mouse left button for "OK", right button for "return", rolling for page up and
down. Hold left button to pull icon or copy & paste file. Hold middle button for
Properties.
1. OS interface
Connect power supply and devices, the booting information will show up
within 1min.
2. Management Software Icon
Hold any icon and pull it could move it to any position you like
3. Delete Icon
Hold the icon and throw it into the red mark "X"- it will be removed

5
4. Drag to the desktop
Hold the arrow on any blanket space of the desktop, move it to left or right
could move to next desktop. Rolling the mouse is same operation.
5. Return, Homepage, program, properties
Return button: click to return to the upper level directory
Homepage button: Click it anytime to return to homepage
Program button: Click to check the entire running program
Properties button: Click it will show up different in different software. It
is similar functions with Windows properties button
6. Status bar
The right bottom comer is status bar. It shows the status of T-Flash Card, USB
Connection, Time, WiFi and Download ... and so on.
Click status bar, the hide menu will bound up
Click this icon, it will be show up more options

6
7. Program Tool button
It shows up right top comer of desktop
C. Program, Tools icon management
9Click to show up all the installed program and setup tools icon
9If the first desktop page files with icon, then pull or rolling mouse move it to
second desktop page.
9You could launch these programs or set up directly, or hold this and throw
them to desktop to make shortcut.
9Click it then hold any button to make shortcut on
desktop

7
D. Setting
It is in Tool bar. Click to show it up.
1. Wi-Fi Setting
2. USB to RJ45 LAN adapter setting
If there is no Wi-Fi and have to use cable to access Internet. Please buy
USB2.0 LAN Adapter. And plug it on USB Host or OTG ports. Connect RJ45
LAN Cable; click *setting"->'More -> "Ethernet> tick 'Use Ethernet"

8
E. Install/delete program
1. Set up "Unknown sources"
Please install Google market program as priority, If have to install Google,
un-define program, Please click setting 一>security 一>"Unknown sources"
2. Install APK (Program)
Please download different application software from APK. After program
downloaded, just click it to install. You could also install Android program from
other storage device. (Downloaded program will show up on status bar.
Please click to find downloaded software package. hen Click to install.
3. Delete APK (Program)
a. Click "setting"-> "Apps', it will show up all the installed program list
b. Click "Uninstall" icon need to delete

9
c. Click uninstall button will be OK.
F. Picture, Video, Filing management, Webpage
1. Set up media file searching function.
The device has the media searching function, but running this function will
slow down the system speed. Setting SD card and USB device searching
function, please referring to following picture
2. How to play High definition media player
Click below Icon, the tool will display Video and Audio file as category
3. Music Player
Click "Setting" -> "Music"

10
4. Visit the website
Please set up Wi-Fi to access to internet. There is Android default browser or
other browser is also available to download. Click "Setting ->"browser'
Android display all the web pages label on the top of browser. Click“+,to add
new page. Click "X' to close page.
G. Language and Input
1. Select language and usual input method.
The devices are including 54 different languages. Please Click 'setting
->"Language and input"
Different area users please select the suitable input software according. And
make some setting under this Item

11
2. Keyboard and Mouse
Device will show up the soft keyboard if it is only connected with mouse. And
the soft keyboard will be hiding once the hardware keyboard is detected by the
device.
3. Switch input method
Please click below icon to select input method:
It will display all the options as below picture. Please select the suitable one
H. Question & Answer
Screen flicker or unstable working: please check if the HDMI connector has
been connected tightly
.Can not start device: please download OS file from official website to refresh
the device OS. Make sure all the important data has been back up before
process it. If the issue still can not be solved, please contact the distributor

12
which you bought from
.Keep restarting system automatically: Please check if the device gets enough
shortage supply. Sometimes, external HDD cause power. Please plug
additional power supply for external HDD or other external devices
.Can not find file in SD card or pen drive: Please check all the connection of
the device. And make sure you have tick the item of SD and USB Host in
"Setting' Refer to 6.1
I. Specifications:
Model No. A5A
CPU Allwinner A10 1.2GHz Cortex-A8
GPU 2D/ 3D/ OpenGL ES2.0(AMD
Z430)/OpenVG1.1(AMD
Z160)@27M TRI/sec
Operation system Android 4.0
DDR RAM 1GB
Nand Flash 4GB( 8GB/16GB optional)
Network device Wireless 802.11 b/g/n, 10/100M LAN( RJ45)
Storage device Support External storage via USB host /Support
External storage via SD card
Android APP YouTube, Twitter, Angry Bird, Office, Gmail,
Browser, Skype, Youku, Tudou, QQ..……
Language Multi-languages
USB Interface USB 2.0 host*3
Video Video Decoding:

13
MPEG1/2/4,H.264,VC-1,DIvx. Xvid.RM6/9110,VP6
Video Formats:
MKV,TS,TP, M2TS.RM/RMVB.BD-ISO,AVI, MPG,
VOB. DAT,
ASF,TRP. FLV etc full formats
Video Formats WMV/ASF/MP4/3GP/3G2M4V/AVI/MJPEG/RV
10/DIvX/VC-1/MPEG-2/
MPEG-4/H.263/H.264/1280*720P HD 30
fps.1080P/720*480 D1 30fps
Audio Formats AAC, AAC+, eAAC+, AMR-NB, AMR-WB, QCP,
MP3, WMA, WAV,MIDI,M4A
Video Output 1920.1080P,720P,576P,480P,Super HD 2160P,3D
Film
Interfaces Video: HDMI1.4
Storage: USB-HOST*3, SD Card*1
Picture Formats JPG, BMP. GIF, TIFF, PNG
Subtitle supported SRT,SUB,IDX,SSA,SMI
Power Adapter Power adapter 12V~2A

14
《Warranty Card 》
Dear users, first of all, thank you very much for choosing Measy products. In
order to give you more satisfaction, please read this warranty card, fill out and
keep the card after you purchase our products.
User Name
Address ZIP Code
Contact TEL
Product Item
Purchasing Date
Dealer Name
Dealer Address
Sales Department(Stamp):
《Warranty Instruction 》
Consumers purchase our products lawful, If you find some performance fault
which caused by non-artificial damage, can enjoy the following commitments
which provided by our company
1. The warranty products must include warranty card, the purchasing invoice
labeled the product model and other documents.
2. The warranty card only can be effective after made seal by the sales.
Warranty cards are kept by the user, we will not make up if lost. The altered
card and expired card are not invalid.
3. From the purchasing date, if you find any performance fault which caused
by non-artificial damage, you can enjoy free warranty service.
The following circumstances can not enjoy free warranty services;
1. Damage caused by negligence or accident.
2. Damage caused by failing to note the requirements, proper use,
maintenance of the manual.
3. Damage cause by using, such as shell breakage.
4. The machine barcode torn up or destroyed, then we hard to recognize the
goods.
5. Damage caused by force majeure, such as dismantling the machine
without agreement.
6. Burn the software from third part secretly.
7. Our company or our authorized centers will get more materials cost and
maintenance costs from you if your device can not meet the conditions of the
warranty card.

15
FCC Statement
This device complies with Part 15 of the FCC Rules.
Operation is subject to the following two conditions:
(1) this device may not cause harmful interference, and
(2) this device must accept any interference received, including interference that may
cause undesired operation.
Note: This equipment has been tested and found to comply with the limits for a Class B
digital device, pursuant to Part 15 of the FCC Rules. These limits are designed to provide
reasonable protection against harmful interference in a residential installation. This
equipment generates, uses and can radiate radio frequency energy and, if not installed and
used in accordance with the instructions, may cause harmful interference to radio
communications.
However, there is no guarantee that interference will not occur in a particular installation. If
this equipment does cause harmful interference to radio or television reception, which can
be determined by turning the equipment off and on, the user is encouraged to try to correct
the interference by one or more of the following measures:
Reorient or relocate the receiving antenna.
Increase the separation between the equipment and receiver.
Connect the equipment into an outlet on a circuit different from that to which the
receiver is connected.
Consult the dealer or an experienced radio/TV technician for help.
Warning: Changes or modifications to this unit not expressly approved by the part
responsible for compliance could void the user’s authority to operate the equipment.
FCC Exposure Statement:
This equipment complies with fcc radiation exposure limits set forth for an uncontrolled
environment. This equipment should be installed and operated with minimum distance
20cm between the radiator & your body.
Table of contents