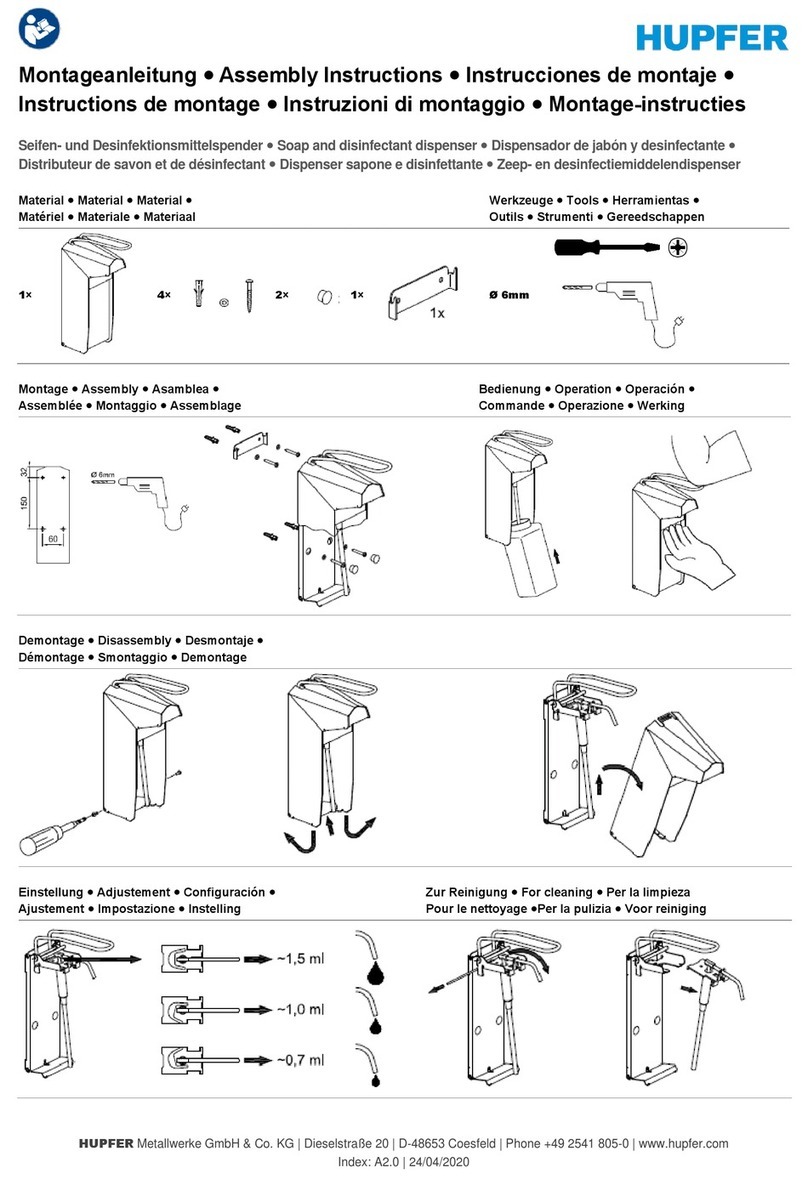
3.When the soap dispenser shell open, by pressing the "liquid volume adjustment button" to adjust the
liquid volume, (the amount of liquid measurement: 1ml - 2ml), each press increase 0.5m1.
cSensing distance
adjustment Factory default liquid outlet below about Bcm,
can be changed according to different situation
@lndicator light Shows indications related lo fluid level adjustment
@Liquid volume
adjustment button
'1 gear (liquid volume: 1ml) the indicator light flashes 1 time.
2 gears (liquid output: '1.5m1) the indicator flashes 2 times.
3rd gear (liquid volume: 2ml) blinks 3 times.
@Open the shell: power disconnected, close the shell
the machine is turned on.
4. The first time you use the soap dispenser, please
order to discharge the air inside the pump.
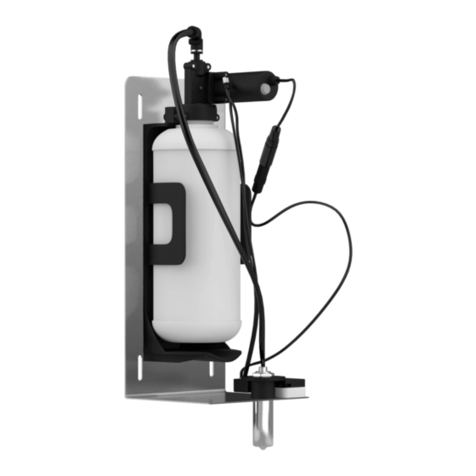
5. Evacuation function use steps:A. According
to (Figure 5) 1.2 shown, use the supplied key to
open the shell. B. Follow (Fig. 5)3 to sense
the inductor head at the bottom of the machine.
(Please keep the induction action before closing
the case). C.Follow (Fig. 5)4 to close the
housing and complete the emptying function (the
machine continues to dispense liquid for 15-20
seconds) and then stop automatically.
repeat using for several times (emptying function), in
6. lnduction use
When you need to use the hand placed below the liquid outlet
about 8cm, the liquid comes out once after induction.
7. Power connection
This product can be used with optional power adapter, it is
recommended that lnstallation location near the reserved
socket.
With the power adapter parameters: 22OY - I 50Hz
lnput voltage: DC6V
Output power: > 30VA
}) Technical parameters
Use voltage: L16 1.5V X 4
Capacity: 1100m1
}) Cautions
1. To prevent misuse, leave at least 40cm of space under the soap dispenser. Do not install it in a place
exposed to strong sunlight or above strong reflective objects.
2. Be sure to add the correct type of liquid for each function of the product, otherwise it will cause blockage.
3. Prevent any object from blocking the liquid outlet.
4. Keep the fluid clean and free of other streaks or lumps of impurities.
5. Avoid direct exposure of the machine to water.
}} Packing list
'l Dispenser
1 copy of instruction manual
Accessory package: 4 installation screws, 4 adhesive plugs, 1 key
Sensing distance: about Bcm
Discharge volume: adjustable about 1 -2mlltime
2
OKev
@ Front shell
@ Back shell
@ DC power plug (optional)
(9) Sensor
(Figure 5)


