Cleaning, hygiene and troubleshooting
Cleaning the pump set at home
Caution!
Only use drinking-quality water for cleaning. Take
apart and wash all parts that come in contact with
the breast and breastmilk immediately after use to
avoid dry up of milk residues and to prevent growth
of bacteria.
Before rst use and after each use
lDisassemble and handwash all parts of the pump set
that have come into contact with the breast and
breastmilk. Rinse in cold, clear water. Clean parts with
plenty of warm water and basic dishwasher agent.
Rinse parts with cold, clear water for 10 – 15 seconds.
Dry parts with a clean cloth or leave to dry on a clean
cloth.
lAlternatively, the disassembled parts can be cleaned
in the dishwasher, placing them on the top rack or in
the cutlery section.
Before rst use and once a day
lDisassemble, wash and rinse those parts which have
come into contact with the breast and breastmilk. Be
careful when separating the valve membrane, valve
head and breastshield from each other.
lPut the parts in a saucepan and ll it with cold water
until the parts are well covered. Heat it up and allow
to boil for 5 minutes.
lPour the water off and dry the parts with a clean cloth.
lAlternatively, use our Quick-Clean bags in the micro-
wave in accordance with the instructions.
Hygiene
lWash hands thoroughly (at least one minute) with soap
and water before touching the breast, clean pump
parts and clean pump set. Avoid touching the inside
of bottles and lids.
lWash the breast with water.
Care of tubing and troubleshooting
Tubing care
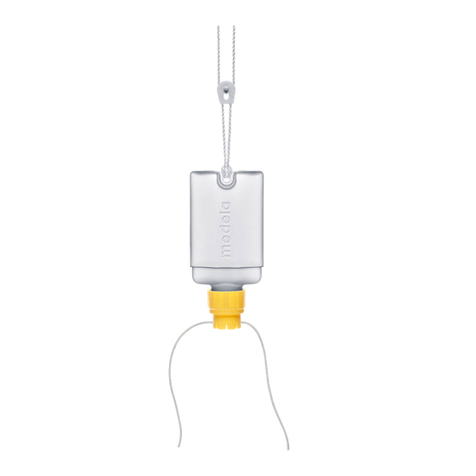
If condensation has appeared in the tubing
lLet the breastpump run with the tubing attached for
approximately 1 – 2 minutes after you have completed
pumping or until it is dry.
If milk has come into the tubing
lTurn off the breastpump and unplug from power
source.
lUse a damp (not wet) cloth to wipe the pump and
membrane area.
lRemove and clean the tubing according to the
instructions «Before rst use and once a day».
lShake out any drops of water from the tubing and
hang up to dry the tubing.
lFor faster drying, attach the tubing to the breastpump
and run for 1 – 2 minutes or until the tubing is dry.
lWhen components are completely dry, reassemble
breastpump and accessories set.
Troubleshooting
If the motor is not running
lCheck whether mains power/battery is available.
lCheck that the device is switched on.
lCheck whether program card is inserted correctly
on back of the breastpump.
If there is poor suction or no suction at all,
make sure that
lThe breastshield forms a complete seal around the
breast and is the right size.
lAll connections of the pump set and breastpump
are secure.
lThe white valve membrane lies at against the yellow
valve head.
lThe valve head and membrane are clean and not
damaged.
lThe ends of the tubing are rmly connected to the
connector and the opening in the membrane cap.
lThe protective membrane and membrane cap are
correctly assembled and the membrane cap is rmly
tted to the breastpump membrane to form a seal.
lThe protective membrane is intact.
lAll components are completely dry.
lThe tubing is not kinked or trapped during expression.
Please visit www.medela.se where you can read more
about Medela’s wide range of breastfeeding and breast-
care products.
© Medela AG/633.0127/MSESE/2014-10/Cc
Local contact:
Medela Medical AB
Box 7266, 187 14 Täby
Phone 08-588 03 203
Fax 08-588 03 299
www.medela.se
Medela AG
Lättichstrasse 4b
6341 Baar, Switzerland
www.medela.com
