manuals.online logo
Brands
  1. Home
  2. •
  3. Brands
  4. •
  5. Medeli
  6. •
  7. Drum
  8. •
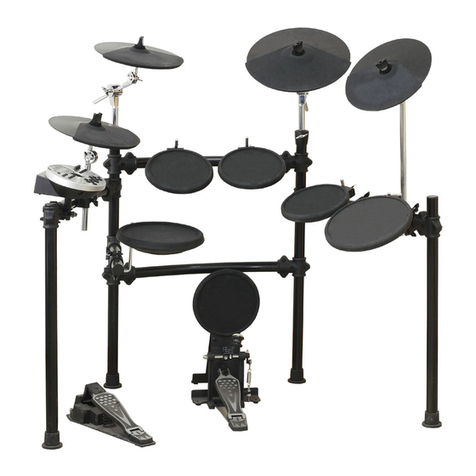
  9. Medeli DD508DX User manual

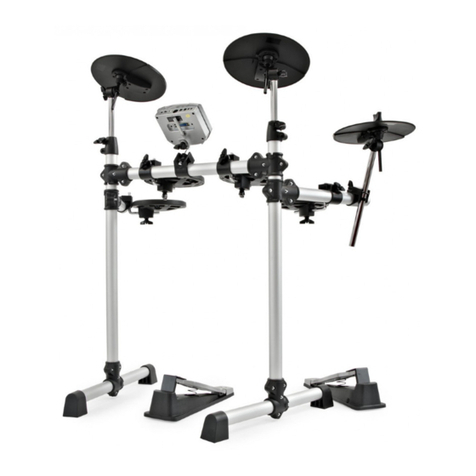
Medeli DD508DX User manual

Other manuals for DD508DX

1

Other Medeli Drum manuals

Medeli DD402 User manual

Medeli

Medeli DD402 User manual

Medeli DIGITAL DRUM User manual

Medeli

Medeli DIGITAL DRUM User manual

Medeli DD620 User manual

Medeli

Medeli DD620 User manual

Medeli DD630 User guide

Medeli

Medeli DD630 User guide

Medeli DD302 User manual

Medeli

Medeli DD302 User manual

Medeli DD401 User manual

Medeli

Medeli DD401 User manual

Medeli DD-306 User manual

Medeli

Medeli DD-306 User manual

Medeli DD506 User manual

Medeli

Medeli DD506 User manual

Medeli AP40 User manual

Medeli

Medeli AP40 User manual

Medeli DD506 User manual

Medeli

Medeli DD506 User manual

Medeli DD403 User manual

Medeli

Medeli DD403 User manual

Medeli DD516 User manual

Medeli

Medeli DD516 User manual

Medeli DD610S User manual

Medeli

Medeli DD610S User manual

Medeli DD602 User manual

Medeli

Medeli DD602 User manual

Medeli DD516 User manual

Medeli

Medeli DD516 User manual

Medeli DD504 User manual

Medeli

Medeli DD504 User manual

Medeli DD610 User guide

Medeli

Medeli DD610 User guide

Medeli DD508DX User manual

Medeli

Medeli DD508DX User manual

Medeli MZ528 User manual

Medeli

Medeli MZ528 User manual

Medeli DD620 User manual

Medeli

Medeli DD620 User manual

Medeli MZ528 User manual

Medeli

Medeli MZ528 User manual

Medeli DD638 User manual

Medeli

Medeli DD638 User manual

Medeli DD600 User manual

Medeli

Medeli DD600 User manual

Medeli DD315 User manual

Medeli

Medeli DD315 User manual

Popular Drum manuals by other brands

Audiothingies DoubleDrummer user manual

Audiothingies

Audiothingies DoubleDrummer user manual

Yamaha RX-21 owner's manual

Yamaha

Yamaha RX-21 owner's manual

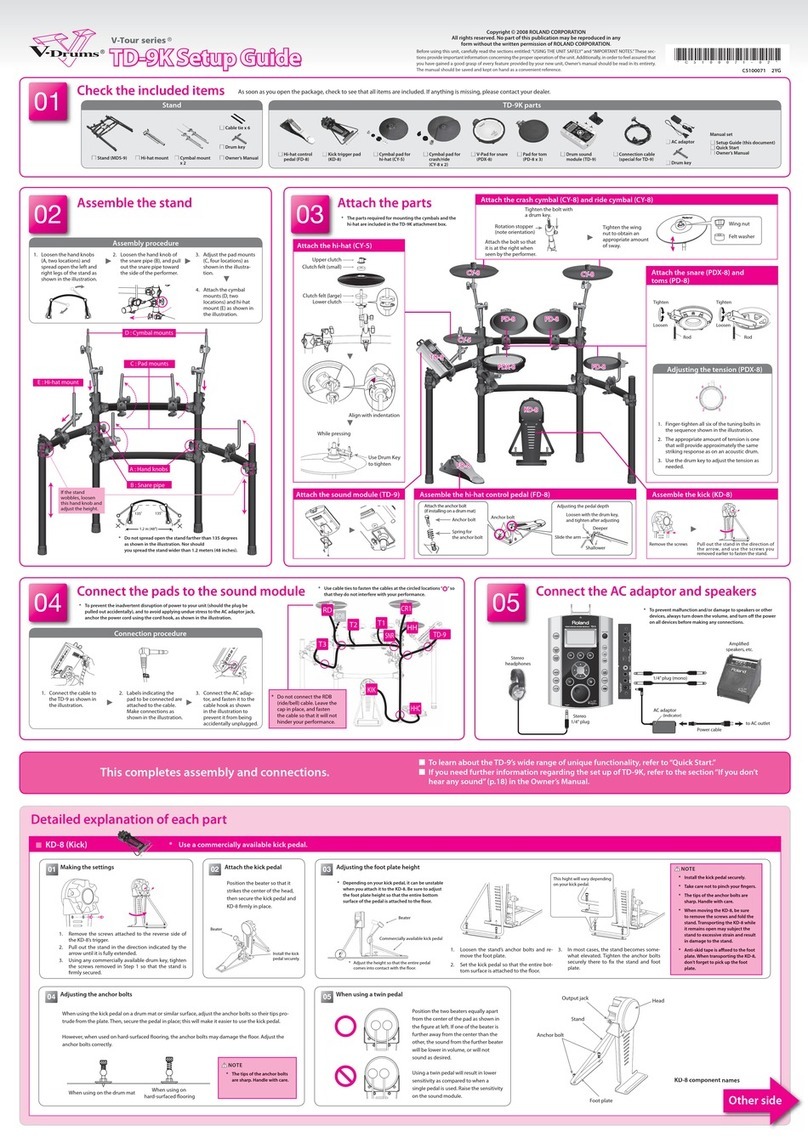
Roland TD-9K Setup guide

Roland

Roland TD-9K Setup guide

Sudoku LEXUS owner's manual

Sudoku

Sudoku LEXUS owner's manual

Cherub WRW-206 owner's manual

Cherub

Cherub WRW-206 owner's manual

Roland CR-80 owner's manual

Roland

Roland CR-80 owner's manual

V-Drums V-Tour TD-9KX2 Setup guide

V-Drums

V-Drums V-Tour TD-9KX2 Setup guide

Yamaha DTXPLORER manual

Yamaha

Yamaha DTXPLORER manual

Yamaha DD65 YDD-60 null

Yamaha

Yamaha DD65 YDD-60 null

Roland CR-80 owner's manual

Roland

Roland CR-80 owner's manual

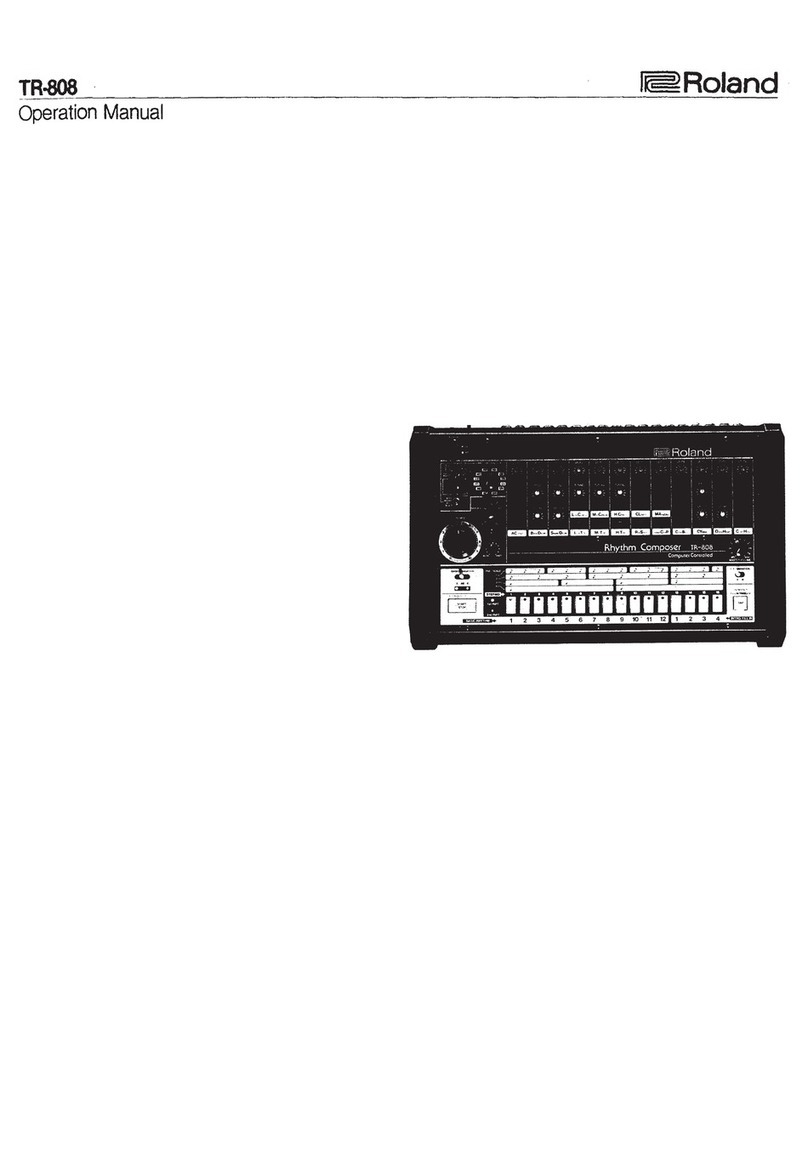
Roland TR-808 Operation manual

Roland

Roland TR-808 Operation manual

Koma Elektronik RH 301 user manual

Koma Elektronik

Koma Elektronik RH 301 user manual

Roland TR-8 Operation guide

Roland

Roland TR-8 Operation guide

Casio RZ-1 manual

Casio

Casio RZ-1 manual

Yamaha DD-7 owner's guide

Yamaha

Yamaha DD-7 owner's guide

Pintech E-Gig Care and instruction guide

Pintech

Pintech E-Gig Care and instruction guide

Krüger & Matz Warrior KM0764 quick start guide

Krüger & Matz

Krüger & Matz Warrior KM0764 quick start guide

Alesis DM10 MKII Pro Assembly guide

Alesis

Alesis DM10 MKII Pro Assembly guide

manuals.online logo
manuals.online logoBrands
  • About & Mission
  • Contact us
  • Privacy Policy
  • Terms and Conditions

Copyright 2025 Manuals.Online. All Rights Reserved.

Watch your fingers when adjusting clamps. They may become pinched resulting in injury.
Be careful around pipe ends, inside the pipe and screw ends. Metal shavings, etc. May injure your fingers.
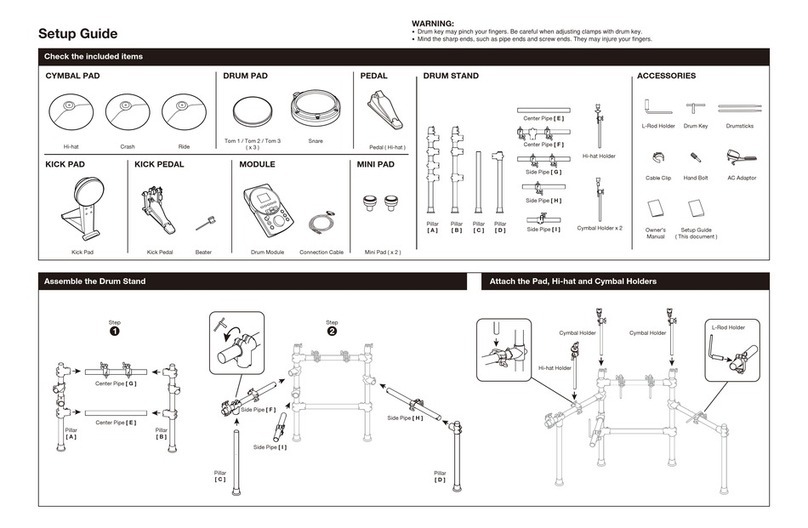
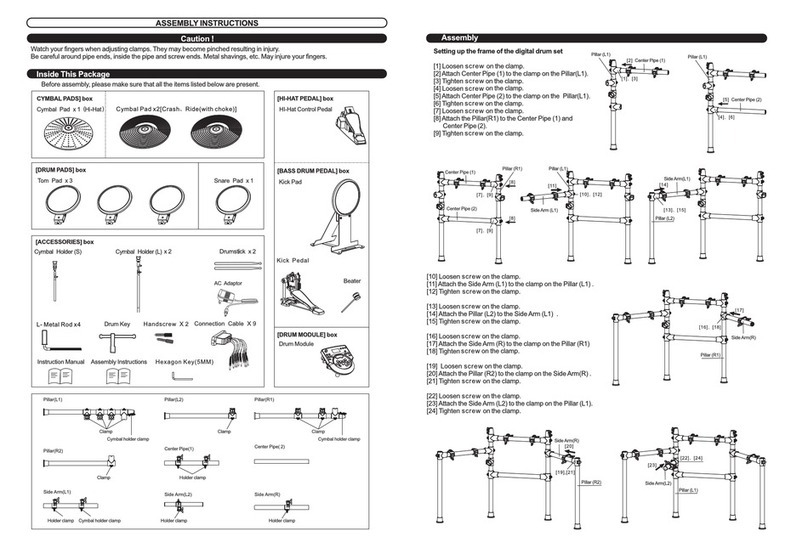
Before assembly, please make sure that all the items listed below are present.
ASSEMBLY INSTRUCTIONS
Caution !
Inside This Package
[9" DRUM PADS AND KICK PAD] BOX[11" & DRUM PADS] BOX10"
ACCESSORY BOX
[14" CYMBAL PAD] BOX [12" CYMBAL PADS] BOX [HI-HAT PEDAL] BOX
L-Rods of Pads X 5 Drumsticks X 2
Cymbal Holder (Short)
Cymbal Holder (Long)
Boom Cymbal Arms X 2
Drum Key
AC Adapter
Instruction Manual
Connection Cables X 11
Pillar(L1) Pillar(R1)
Pillar(L2) Pillar(R2)
9" Tom Pads x 3 Kick Pad
11" Drum Pad x 1
12" Cymbal Pads x 314" Cymbal Pad Hi-Hat Control Pedal
DRUM RACK
[DRUM MODULE] BOX
Hexagon Key (M5)
Setting up the frame of the digital drum set
[1] Attach the Center Pipe(1) to the clamp on the pillar(L1)
[2] Attach the Center Pipe(2) to the clamp on the pillar(L1)
[3] Attach the Center Pipe(1)(2) to the clamp on the pillar(R1)
[4] Using the drum key tighten the screws on the clamp.
[5] Attach the side arm (L1) to the clamp on the pillar(L2)
[6] Tighten the screws on the clamp.
[7] Attach the side arm (R) to the clamp on the pillar(R2)
[8] Tighten the screws on the clamp.
[9] Attach the side arm(L1) to the clamp on the pillar (L1)
[10] Tighten the screws on the clamp.
[11] Attach the side arm(R) to the clamp on the pillar(R1)
[12] Tighten the screws on the clamp.
[13] Attach the side arm(L2) to the clamp on the pillar(L1)
[14] Tighten the screws on the clamp.
Pillar(L1) Center Pipe(1)
Pillar(R1)
Center Pipe(1)
Tighten the screw
Pillar(L2)
Side Arm(R)
Side Arm(L2)
Tighten the screw
Tighten
the screw
Tighten the
screw
Center Pipe(2)
Center Pipe(2)
Tighten the
screw
Tighten the
screw
Tighten the screw
Pillar(L2)
Side Arm(L1) Side Arm(R)
Pillar(R2)
Side Arm(L1)
Pillar(L1)
Pillar(R1) Pillar(L1)
Center Pipe(1)
Center Pipe(2)
Side Arm(L1)
Side Arm(R)
Side Arm(L2)
10 Drum Pad x 1"
Assembly
[1]
[2]
[3]
[3]
[4]
[4]
[4]
[4]
[5]

[6]
[7]
[8] [9]
[10]
[11]
[12]
[13]
[14]
[Kick Trigger] BOX
3
side arm(L1) Insert the drum module
Tighten the wing screw
Loosen the wing screw
[1]
[2] Insert textured plastic end of L-rod into tom clamp and tighten wing nuts.
Repeat for each tom clamp.
[3] Loosen wing nut on pad.
[4] Attach pads to L-rods and tighten wing nuts. Repeat for each pad.
Loosen L-rod wing nuts on tom clamps.
Attaching pads to rack Attaching module
Attaching cymbals Bass drum and Hi-Hat pedal
[1] the clamp.
[2] Insert the drum module to the clamp.
[3] Tighten the wing screw on the clamp.
Loosen the wing screw on
[1]
Attach your bass drum pedal to the bass drum pad.
[2] Place the Hi-Hat pedal on the floor on your left side.
[3] Please connect the clearly marked cables from the pads to the correct inputs on the drum module, and you are ready to play!
Place the bass drum pad on the floor in the center of rack.
[1]
[2] Insert cymbal holder(short) on the left side-arm cymbal clamp.
[3] Insert cymbal holder(long) on the right side-arm cymbal clamp.
[4] Remove wing nut and felt washer from cymbal tilter.
Place cymbal pad on tilter assembly.
[5] Re-attach the felt washer and wing nut. Tighten wing nut.

Note: Cymbals are arranged as follows: 12" Hi-Hat on left-side
short arm, 12" crash on left-side boom arm, 14" ride on right-side
boom arm, 12" crash on right-side long arm.
Insert each boom cymbal arm into pillar(L1) and pillar(R1).
DD508DX _Setup_G01
14" Cymbal Pad12" Cymbal Pads
12" Cymbal Pads 12" Cymbal Pads
Drum module
10 Drum Pad "
11" Drum Pad
9" Tom Pads
Hi-Hat Control
Pedal
Kick pad
[2]
[1]
[2]
[3]
[4]
[1]
[2]
[3]
12"
12" 12"
14"
[1] [1]
[2]
[3]
Wing Nut
Felt Washer
Wing Nut
Felt Washer
[4]
[5]