8
OPERATOR'S MANUAL
Step 1. Insert a test strip into the meter with the contact points facing up.
Make sure to firmly and completely insert the test strip into the meter.
The meter will turn on automatically.
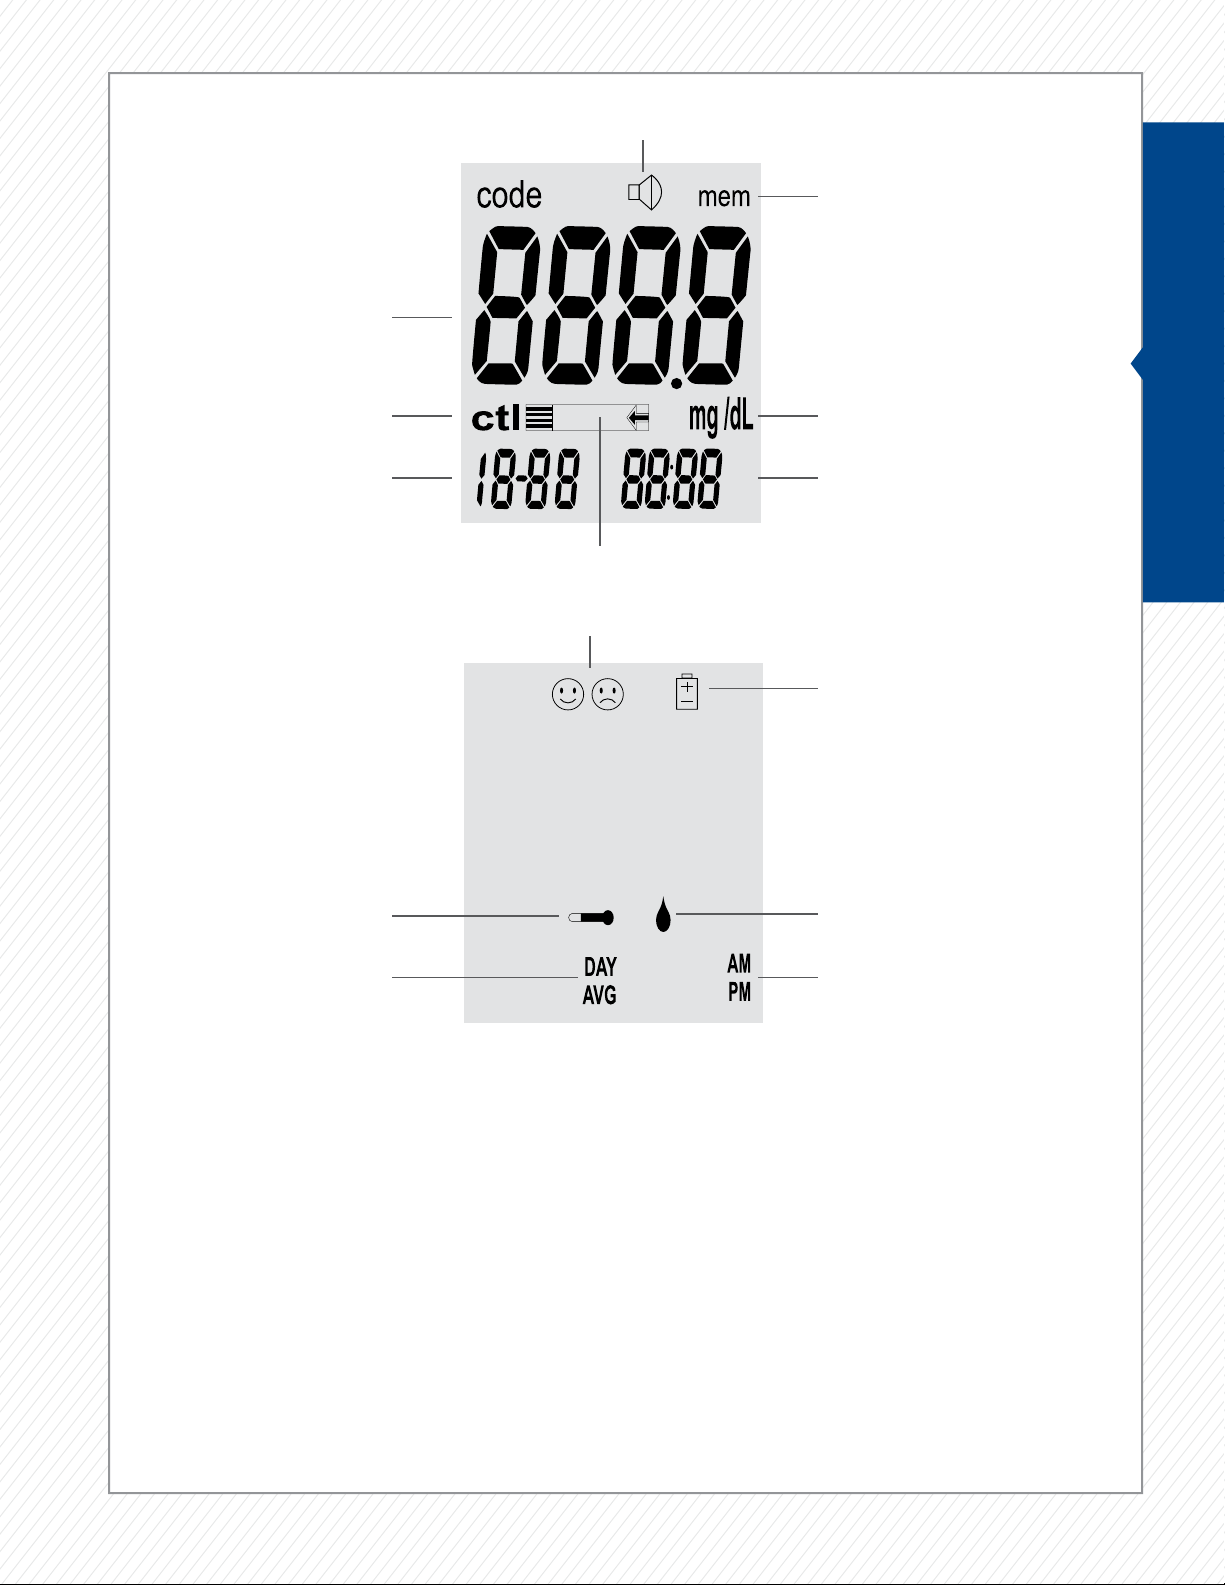
Step 2. The meter will run a series of self-tests. The happy face icon will
appear on the screen when all tests are complete. If the sad face icon or
other error messages (Err 2, Err 3, etc.) appear, see Troubleshooting.
NOTE: The message “QC” flashes when the QC mode is turned on and control
tests have not been performed within the past 24 hours. Control tests must
be completed before the meter will perform a blood glucose test.
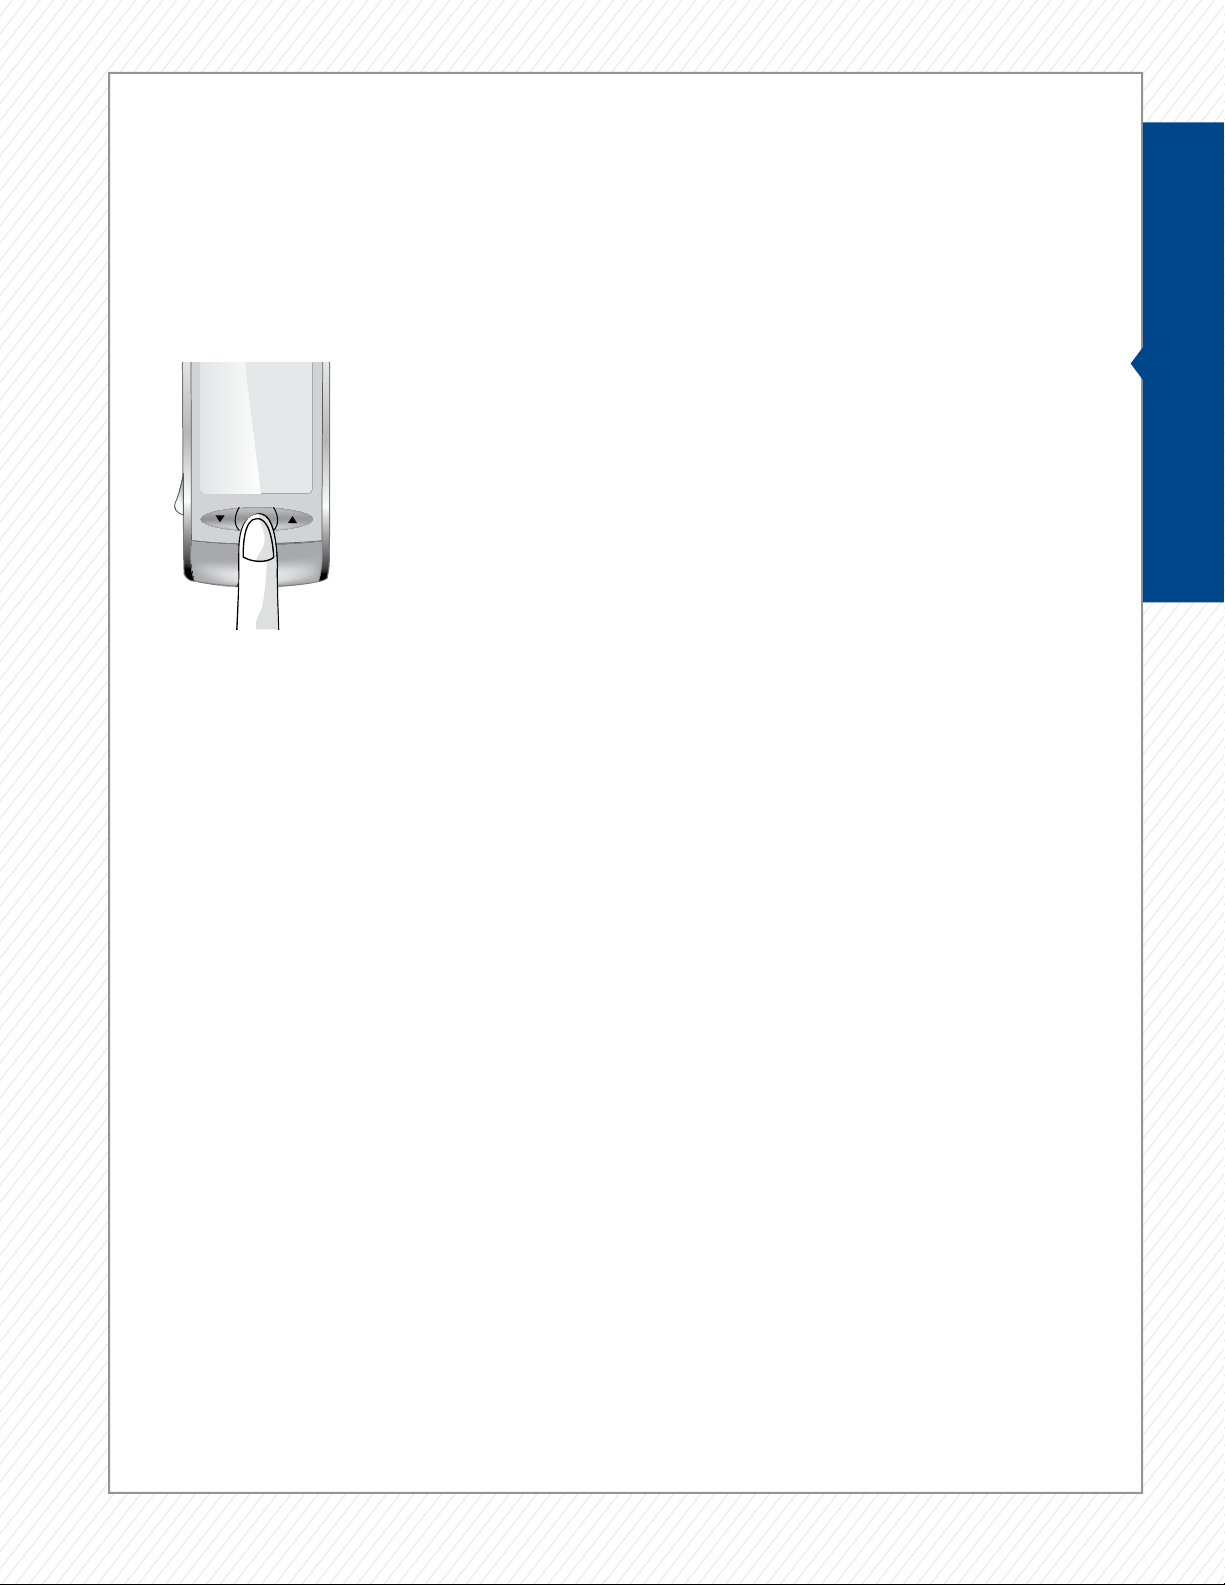
Step 3. Wait until the flashing blood drop and arrow icons appear next to the test
strip icon on the meter display screen, press the down button ▼ or up button ▲
to enter control solution testing mode. The “ctl” icon will appear next to the test
strip icon on the meter display screen, indicating that the meter is in control
solution testing mode. Press the down button ▼ or the up button ▲ to
exit control solution test mode.
Step 4. When the blood drop appears on the screen, squeeze a drop
of the control solution onto a clean, dry, non-absorbent surface such as
table top. Bring the test strip gently to the drop of control solution so
the sampling end of the test strip touches the control solution. The drop
of control solution will be drawn in automatically by the test strip.
Step 5. The screen will display count down bars ----. After 6 seconds,
the control solution test result will appear on the screen.
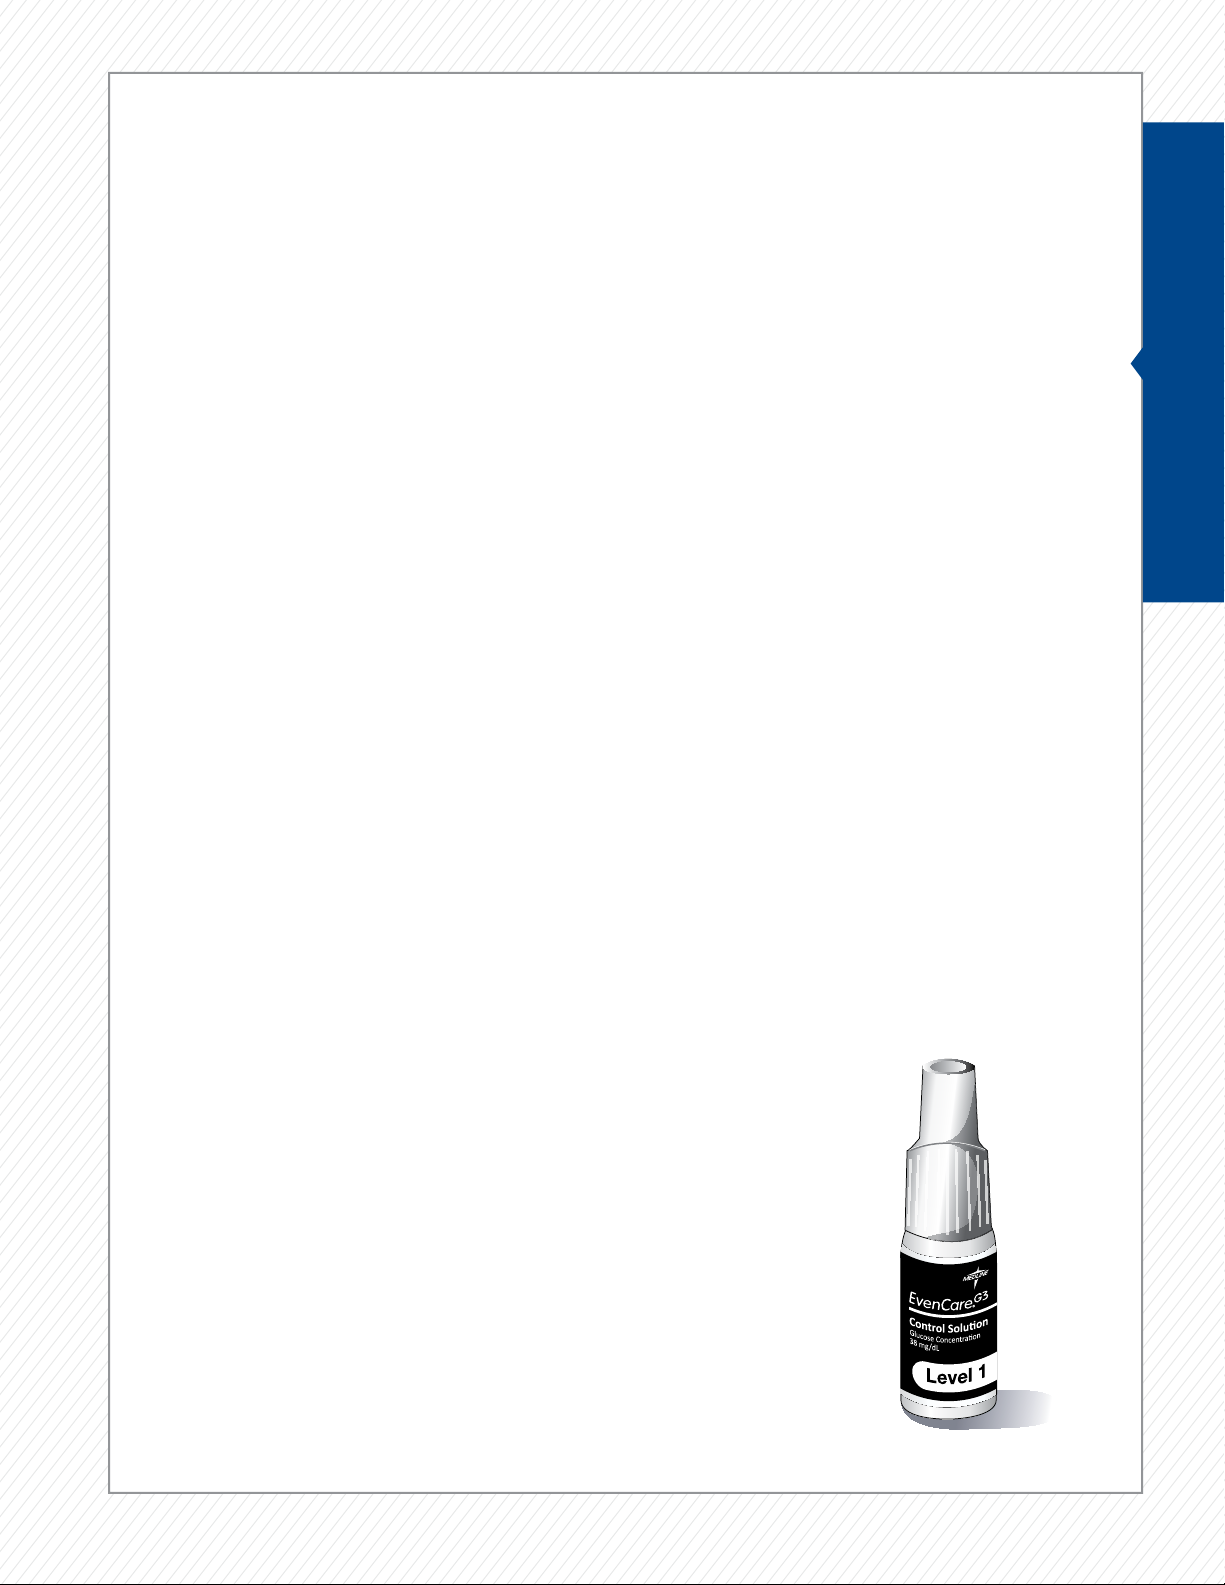
Step 6. For vial test strips, compare the reading on the screen to the control solution
range printed on the test strip bottle. For foil-wrapped test strips, compare
the reading on the screen to the control solution range printed on the box.
Step 7. Eject the test strip into a proper waste container.
IMPORTANT
»Use only EVENCARE G3 Glucose Control Solutions with the EVENCARE G3 Blood Glucose Test Strips.
Other brands of control solutions will produce inaccurate results.
»Always check the expiration date of the control solution and the test strips.
DO NOT use expired control solution or test strips.
»Record the date on the bottle when opening a new bottle of control solution.
Discard any unused control solution three months after the opening date.
»Control solutions are good three months after opening date or until the expiration date
on the bottle, whichever comes first.
»DO NOT FREEZE. Store the control solutions at room temperature of 59˚F–86˚F.
»For foil-wrapped test strips, use each test strip immediately after removing it from the foil.
»For vial test strips, use each test strip immediately after removing it from the bottle.
Close the cap of the bottle immediately after removing a test strip.
»Do not use wet, bent, scratched, or visibly damaged test strips.
»Keep the test strips away from direct sunlight and heat. Store the test strip bottle in a dry, cool place.
»For vial test strips, record the date on the bottle when you open a new bottle of test strips.
Discard any unused test strips six months after opening.
»Vial test strips are good six months after opening or until the expiration date on the vial, whichever comes first.
»Foil-wrapped test strips are good until the expiration date on the packaging.