476001-5180 V1.0
3. Installation
3.1 Pump & Mattress Installation
1. Place the mattress or pad on top of the bed frame. Fasten the Nylon Straps to secure the
mattress to bed frame if available.
NOTE: Please cover the mattress with a cotton sheet to avoid direct skin contact and
for patient’s comfort.
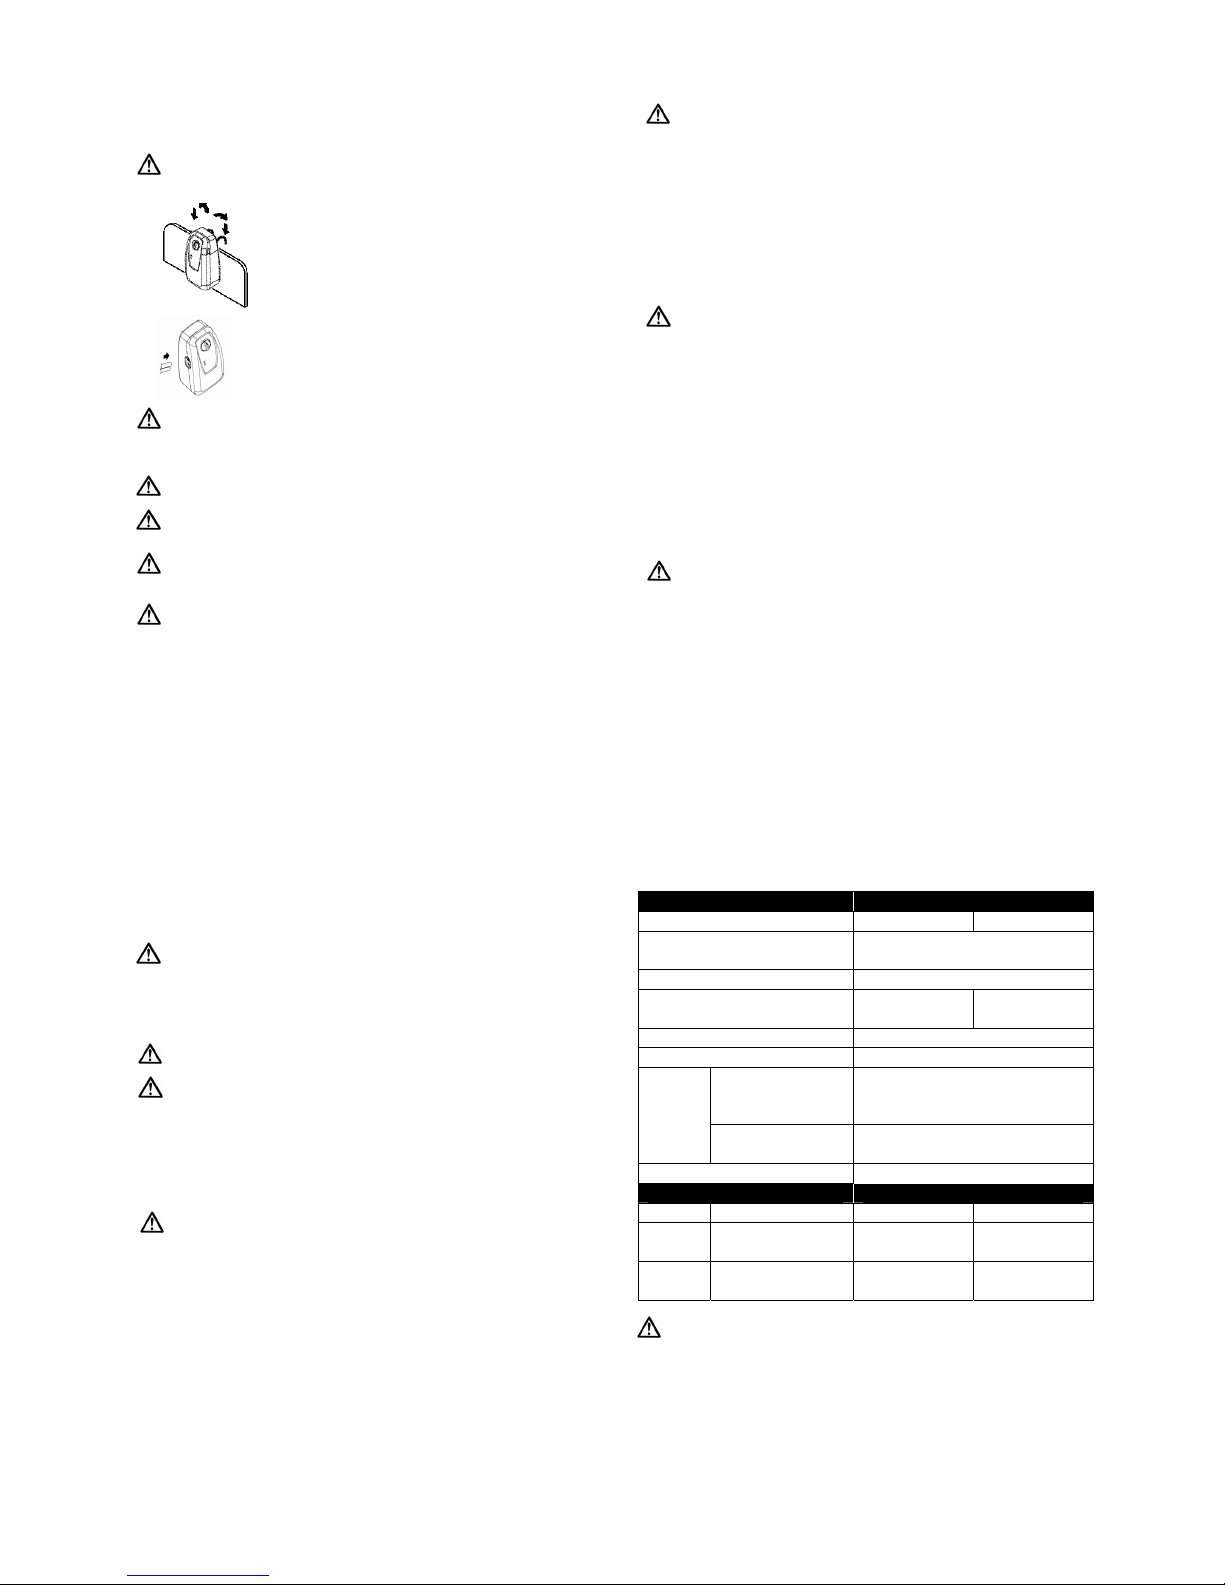
2. Hang the pump onto bed rail (foot-end) or place the pump on a
flat surface.
NOTE: Check and ensure the air hoses are not kinked or tucked under mattress.
4. Plug the power cord into electrical outlet.
NOTE: 1. Make sure the pump unit is suitable for the local power voltage.
2. The plug is also served as the disconnect device.
NOTE : 1. S’assurer que la pompe est compatible au voltage local ou disponible.
2. L’appareil est également muni d’une fiche de connexion à l’électricité.
CAUTION: The pump can only be applied to the mattress recommended by the
manufacturer. Do not use it for any other purpose. (applied part: air
mattress)
AVERTISSEMENT : La pompe ne peut être utilisée qu’avec le matelas designé ou
recommandé par le manufacturier. Ne peut servir d’usage
autre que celui auquel elle a été conçu.
5. Then turn the main power switch to ON position which located on the right side of the pump.
Several installation tips are listed below:
After installation, the extra length of the power cord, if any, should be neatly arranged to avoid
any tripping accidents. The EQUIPMENT should be firmly placed at position where
users/doctors can easily access.
4. Operation
NOTE: Always read the operating instruction before use.
4.1 General operation
1. Switch on the main power switch on right side of the pump.
2. The pump unit is beginning to deliver air into mattress. Turn the comfort knob clock-wise to
increase firmness. (i.e. pressure)
3. The low pressure indicator (yellow LED) will light up when the mattress is not yet fully inflated.
(only available on some models)
4. When the appropriate pressure is reached, the low pressure indicator (yellow LED) will go off
and normal pressure indicator (green LED) will light up automatically. (Only available on
some models)
NOTE: Each time when mattress is firstly inflated, it is recommended that the
pressure knob be set to “Firm” for the quickest inflation. User can then
adjust air mattress to the desired softness afterward.
4.2 CPR
When there is an emergency to perform CPR on the patient, quickly pull the CPR valves to
release air from mattress. The CPR valves are located at the head-end, right-hand-side of
the mattress. (Only available for air cell types mattress) The quick connector on the pump
unit can be disconnected for even faster deflation.
4.3 Low Pressure Function (for some models)
When an abnormal low pressure is occurred, the Low Pressure indicator (yellow LED) will
light up. Check that connections are correctly made and that they are correctly installed as
per installation instructions.
NOTE: If the pressure level is consistently low, check for any leakage (tubes or
connecting hoses). If necessary, replace any damaged tubes or hoses. Or
contact local qualified dealer for repair.
5. Cleaning
It is important to follow the cleaning procedures before using the equipment on human
bodies; otherwise, patients and/or doctors may have the possibility of getting infection.
Wipe the pump unit with a damp cloth and a mild detergent, and keep it away from dust. If
other detergent is used, choose one that will have no chemical effects on the surface of the
plastic case of the pump unit.
CAUTION: Do not immerse or soak pump unit.
Wipe down the mattress with warm water containing a mild detergent. The cover may also
be cleaned by using sodium hypochlorite diluted in water. All parts should be air dried
thoroughly before use.
CAUTION: Do not use phenolic based product for cleaning.
CAUTION: Dry the mattress on SUNLESS capitalized area after cleaning.
6. Storage
1. To store the mattress, lay the mattress out flat and upsides down.
2. Roll from the head end towards the foot end with CPR valve open.
3. Foot-end strap can then be stretched around the rolled mattress to prevent unrolling.
NOTE: Do not fold, crease or stack the mattresses.
Avoid direct sunshine.
7. Maintenance
7.1 General
1. Check main power cord and plug if there is abrasions or excessive wear.
2. Check mattress cover for signs of wear or damage. Ensure mattress cover and tubes
are stubbed together correctly.
3. Check airflow from the quick connector. The airflow should alternate between each
connector every half-cycle time if it=s in alternating mode.
4. Check the air hoses if there is kink or breaks. For replacement, please contact our local
dealers.
8. Technical Description
The system is designed and manufactured to meet the most demanding environment. Its
specifications are list below:
Specifications:
Item Specification
Model 9P-047000 9P-047020
Power Supply AC120V, 60Hz, 0.1A (for 120V system)
AC230V, 50Hz, 0.05A (for 230V system)
Fuse Rating T1A, 250V
Cycle Time 5 min / 60Hz
6 min / 50Hz
8 min / 60Hz
9.6 min / 50Hz
Dimension(L x W x H) 25 x 12.5 x 8.5 cm or 9.8” x 4.9” x 3.3”
Weight 1.4kg or 3.08lb
Temperature
Operation: 10°C to 40°C (50°F to 104°F)
Storage: -15°C to 50°C (5°F to 122°F)
Shipping: -15°C to 70°C (5°F to 158°F)
Environm
ent
Humidity Operation: 10% to 90% non-condensing
Storage: 10% to 90% non-condensing
Classification Class II, Type BF, IPX0
Mattress Specification
Model Dimension (L x W x H) Weight Pressure Range
5”
Mattress
200x90x20.3(cm)
or 78.7”x35.4”x8” 5.6kg or 12.4lb 40-90 mmHg
Bubble
Pad
198x86x6.4(cm)
or 80”x33.9”x2.5” 2.4kg or 5.3lb 50-105 mmHg
NOTE:
1. The specification is also suitable for other areas operating with same power supply.
2. Consult the distributor or EU representative for other technical documents.
3. Please follow national requirements to dispose the unit properly.
MEDLINE INDUSTRIES, INC
One Medline Place
Mundelein, IL60060.4486
TEL:847-643-3361 FAX:847-643-4419
3. Connect air hose from air mattress to the pump unit.