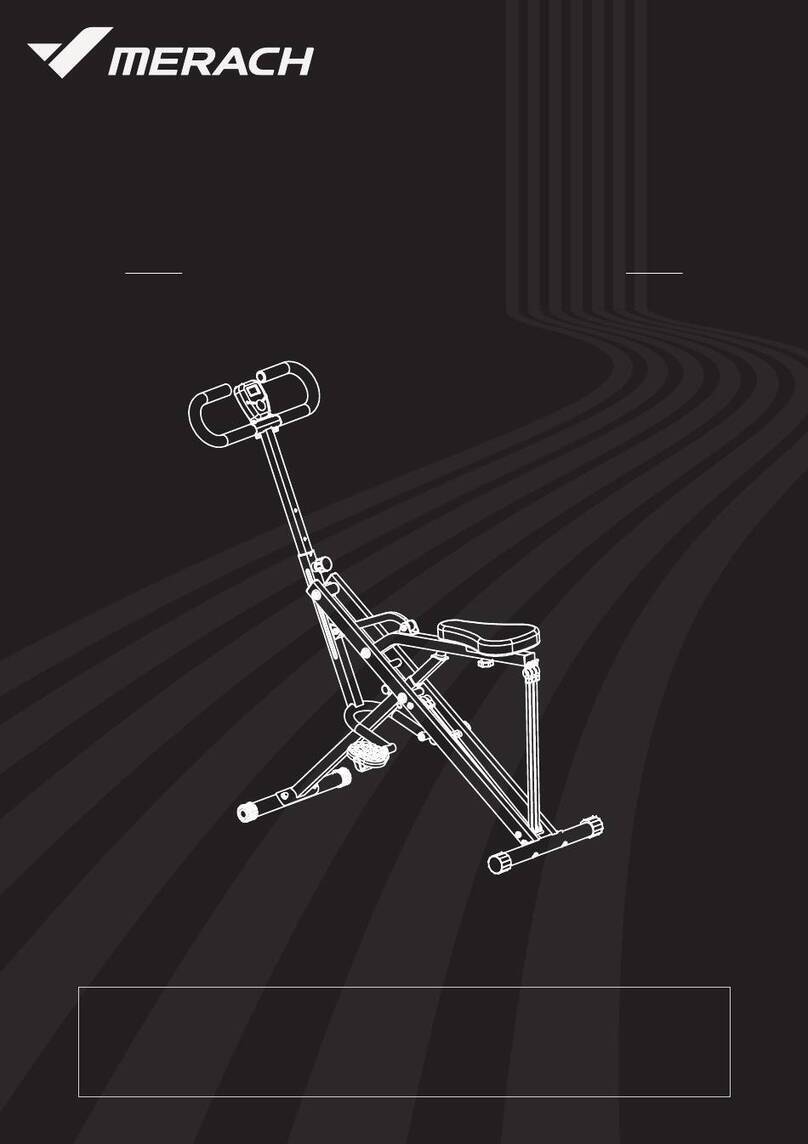
Merach MR-R06 User manual

USER MANUAL
Questions or Concerns?
IMPORTANT!
Please read all details before use, and keep this user manual for future reference.
PLEASE CONTACT US BEFORE THE RETURN: Mon-Fri,9:00 am-5:00 pm PST/PDT
WATER & ELECTROMAGNETIC ROWER MR-R06
POWEREDBY

WHO
WE ARE
Our customers aren’t just important; their health, fitness, and pure enjoyment for live
is at the core of everything we do at MERACH. From innovative fitness research and
cutting-edge product development, to our exceptional purchasing & after-sales service,
we are our customers’ life-long partner in crafting a better fitness future.
Through quality fat-burning & muscle-building fitness equipment such as our quality
rowing machines and exercise bikes, plus our innovative MERACH APP, and digital
courses, we give the opportunity and support to all to pursue their health and fitness
goals and discover a new way of healthy living.
Welcome to MERACH

This device contains a radio transmitter module with type approval
code FCC ID ENTIFIER: 2A6QWMR-BLE001.
Please read the entire manual carefully
before installing and using the bike, and
save for further use.
Safety Instruction .......................................................................................01
Parts List ....................................................................................................03
Parts Tool List..............................................................................................04
Assembly Instructions ...............................................................................05
Instructions for Product Use.......................................................................10
MERACH APP Setup..................................................................................17
KINOMAP APP Setup.................................................................................18
Warm-up.......................................................................................................19
Instructions for Using the Rower ................................................................20
Troubleshooting ..........................................................................................21
Warranty Information....................................................................................22
Contents

01
Please keep this manual in a safe place for future reference.
It is very important to read the entire manual thoroughly before installing and using the
machine. Safe and effective training can only be achieved if the machine is properly
assembled, properly maintained and used. Make sure all users are familiar with all warnings
and precautions of this machine.
Please consult your physician to determine if you have any medical or physical conditions
that could put your health and safety at risk or prevent you from using the equipment properly.
Your physician's advice is essential if you are taking medication that affects your heart rate,
blood pressure, or cholesterol level.
Please always pay attention to your body signals, improper use of the machine may affect
your health. If you experience any symptoms (including headache, chest pain, irregular
heartbeat, shortness of breath, dizziness, or any discomfort), stop exercising immediately
and consult your physician, get the permission before training again.
Always keep children and pets away from the machine. The machine is for adult use only.
Please use this machine on stable and horizontal ground level, and put a protective layer on
the floor or carpet to prevent a floor from damaging. Make sure the distance between the
machine and each obstacle is at least 1.6 ft (0.5m).
Please check all screws and nuts are properly tightened before using the machine.
The safe use of the machine can only be guaranteed if the regular maintenance and repairs
of undertaken, and worn out and broken parts are changed.
Please follow the instructions in this manual to use this machine. Please stop using and
operating immediately when you find any defective parts or hear any abnormal sound.
Make sure all issues are resolved before using it again.
Please wear sports clothes, sports shoes, or other proper clothes. Loose-fitting clothing is
not recommended, as loose clothing may get caught in the machine, hindering operation
and possibly causing an injury.
This machine is only for home use. The Maximum user weight is 350lbs.
Safety Instructions

02
This machine is not for professional medical treatment.
This product is only for family use.
The overall performance of the machine and all moving parts must be checked
regularly to ensure the safety of the machine.
If the moving parts are damaged, please do not use the machine until the parts
are repaired.
Keep the children away from the machine. The equipment is not for children to use
or play with. They can injure themselves accidentally.
Care & Maintenance
Do not store the machine in a place exposed to direct sunlight, wind and rain,
or with high humidity. If needed, please pack the machine to keep children away
from touching or playing with it.
Please check if there’s rust or cracks after long-term storage.
Please understand that for the consumable parts, the wear and tear may also occur
even with proper maintenance.
For long-term use of this machine, please wipe the dust regularly. Do not water it
directly, or wipe with gasoline, abrasive powder, etc. Otherwise, it might cause
cracks on the parts or main body, electric shock or fire. Please use Dilute neutral
detergent for maintenance.
Before starting any training, please consult your physician,
especially for those who are over 35 years old or with
pre-existing health conditions. Please read all
instructions before using the machine.
Safety Instructions

A1Mainframeassemblyx1
A2Railbarassemblyx1 A3Frontlegassemblyx1
A4Rearlegassemblyx1 A5Limitframeassemblyx1
A6Monitorframe
assemblyx1
A7Seatcushion
assemblyx1 A8Leftpedalx1 A9Rightpedalx1
A10Reartailcoverx1 T4Electricpumpingsetx1 A13Screwkitx1
A11Instructionmanualx1
03
Adapterx1
Parts List

Step1
Step2
Step4
Step5
(T2)L-shapedwrenchx1
(48)Flatwasherd8x3
(52)Springwasherd8x3
(29)BoltM8*20x3
(T2)L-shapedwrenchx1
(48)Flatwasherd8x3
(52)Springwasherd8x3
(29)BoltM8*20x3
(38)BoltM5*15x2
(T2)L-shapedwrenchx1
(48)Flatwasherd8x3
(52)Springwasherd8x7
(29)BoltM8*20x7
(50)ARCwasherd8x4
(T1)Multi-functionwrenchx1
(28)BoltM12*145x2
(33)BoltM6*15x2
04
Parts Tool List

Step 1
Lockthefrontlegassembly(A3)onthemainframeassembly(A1)with
theL-shapedwrench(T2),bolts(29),springwashers(52),flatwashers(48).
05
Assembly Instructions

Step 2
1.Installtherearlegassembly(A4)totherailbarassembly(A2)withtheL-shaped
wrench(T2),bolts(29),springwashers(52),flatwashers(48),andtighten.
2.Installthereartailcover(A10)totherailbarassembly(A2)
withtheL-shapedwrench(T2),bolts(38),andtighten.
06
Assembly Instructions

Step 3
Puttheseatcushionassembly(A7)intotherailbarassembly(A2).(Theinstallation
oftheseatcushionassembly(A7)hasdirectionalrequirements,pleaseinstallit
correctlyaccordingtothedirectionshown.
07
Assembly Instructions

Step 4
1.Attachtheinstalledrailbarassembly(A2)tothemainframeassembly(A1),
makingsureitisinplace.
Note:Payattentiontotheseatcushionassembly(A7)slidingduringinstallation
topreventpinching.
2.Fixtherailbarassembly(A2)onthemainframeassembly(A1)andthenlockit
withtheL-shapedwrench(T2),bolts(29),springwashers(52),ARCwashers(50).
3.Fixthelimitframeassembly(A5)onthemainframeassembly(A1)andthen
lockitwiththeL-shapedwrench(T2),bolts(29),springwashers(52),
ARCwashers(50).
08
Assembly Instructions

Step 5
1.Installtheleftpedal(A8)andrightpedal(A9)onthemainframeassembly(A1)
andthenlockthemwiththemulti-functionwrench(T1)andbolts(28).
2.Installthemonitorframeassembly(A6)onthemainframeassembly(A1)and
thenlockitwiththeL-shapedwrench(T2)andbolts(33).
09
Assembly Instructions

Adjustment of foot pad on the rear leg assembly
Pleaseadjustthefootpadsontherearlegassembly
accordingtoyourneedstomakethemachinestable
withoutshaking.
Grasptherearlegassembly(A4)withbothhands,
liftthemachineinthedirectionofthearrow,so
thattheleftcornerguard(68),rightcornerguard(69)
andfootpad(54)canlandatthesametime.
Machine storage
10
Note:Whenplacedvertically,besuretoplacethemachineagainsta
wallorafixedplane,andbesuretoplaceitinasafelocationaway
fromchildrentopreventinjuries.
Instructions for Product Use

Machine movement
Grabtherearlegassembly(A4)withbothhands,liftthe
machineinthedirectionofthearrow,sothattheleft
cornerguard(68)andtherightcornerguard(69)
insidethehandlingwheelsontheground,then
youcanmovethemachine.
11
Instructions for Product Use

Electric pumping set usage instructions
1.Theelectricpumpingset(T4)contains:anelectricwaterpump(T4-1),outlet
pipe(T4-2),inletpipe(T4-3),andUSBchargingcable(T4-4).
2.Installtheoutletpipe(T4-2)andinletpipe(T4-3)intothecorresponding
holesintheelectricwaterpump(T4-1)asshowninthefigure.
3.Presstheswitchbuttontopumpwaterfromtheinletpipe(T4-3)
totheoutletpipe(T4-2).
4.Afterthepowerisusedup,youcanusea5V/1AadapterandUSBcharging
cable(T4-4)tochargeinthecorrespondingchargingport.
Note:Beforeuse,pleasereadthemanualthatcomeswiththeelectricwater
pumpcarefully.
12
ChargingPort
SwitchButton
Instructions for Product Use

Water tank filling and pumping
1.Pullupthewaterinletplug(63).
2.Waterfilling:Watercanbefilledintothetankwithanelectricwaterpump(T4).
3.Waterpumping:Watercanbepumpedoutofthetankwithanelectricwater
pump(T4).
4.Plugthewaterinletplug(63)backinaftercompletingfillingorpumping.
Resistance Adjustment
1.Theresistancedependsontheamountofwaterinthetank.Thelowestwater
levelrepresentstheminimumresistanceandthehighestwaterlevelrepresents
themaximumresistance.
2.Thewaterlevelshownreflectsthehighestandlowestwaterlevel.Pleasedo
notexceedthemaximumwaterlevelwhenaddingwater,theresultingdamage
totheproductisnotcoveredbythewarranty.
13
Instructions for Product Use

Instructions for console
Theimagethatallthecentral
controlknobsareon
Whenthemachineisnotpoweredon,thescreenofthecentralcontrol
knobisblank.(Figure1)
Whentheknobispoweredon,thereisaBUZZER,thescreenisfullydisplayed
(Figure2),andafter2seconds,itentersthestandbystate.Noactionfor6
secondsduringoperation,thesystemissuspended.Noactionwithin6
minutesafterstandbyorpause,enterthehibernationstate,thescreen
showsalloff(Figure1).
A.Mainoperationinstruction:
Whenstandbyandrunning,themainwindowisinrotationmodebydefault,
switchingthefunctiondisplayevery6seconds:distance(Figure3),time
(Figure4),counts(Figure5),totaltimes(Figure6),resistancelevel(Figure7),
calories(Figure8),500mpace(Figure9).Shortpresstotogglelockingthe
desireddisplay.longpresstoclearalldata(exceptdataofTotalcount)and
returntostandbymode.poweroffwillclearalldata.
12
543
14
Instructions for Product Use

Instructions for console
Duringtheexercise,theresistancelevelcanbeadjustedbyrotatingthedirection
ofthecentralcontrolknob,clockwiserotationistoincreasetheresistancelevel,
themaximumcanbeadjustedto16level,counterclockwiserotationistoreduce
theresistancelevel,theminimumcanbeadjustedto1level(Figure10).
6 7 8 9
Afterthecentralcontrolknobispoweredonandusednormally,youcanopen
yourcellphonetoscantheQRcodeonthemachinetodownloadtheAPP,and
opentheAPPtoconnecttothemachineviaBluetooththroughtheoperation
oftheAPP,whichcansynchronizethesportsdataonthecentralcontrolknob
withtheapp,andthenthereisaBluetoothicononthescreen.
10
Caution:Thismachineisapowereddevice,pleasepayattentiontothecorrect
useofpower.Incaseofnon-use,thepowerplugmustbeunplugged.When
usedbyminors,aguardianmustaccompanytheusetoavoiddamagetothe
machineoraccidentalinjurycausedbymisuse.
Thefirmwareversionoftheoperatinginstructionswillbeupgraded
subsequentlyandmaybedifferent,pleaserefertotheactualproduct。
15
Instructions for Product Use

Instructions for console
B.Instructionsfordatadisplay
No. Project DisplayWindow DisplayInstruction
1
2
3
4
5
6
7
8
9
Distance
Time
Count
Totalcount
Resistance
level
Calorie
500MPace
SpeedUnit
Bluetooth
00.00~99.99
00:00~99:59
0000~9999
0000~9999
1-16
000.0~999.9
00:00~99:59
MilesPerHour
Display:Bluetoothhas
beenconnected
Non-display:Bluetoothis
notconnected
16
Instructions for Product Use

MERACH APP Setup
17
MERACH APP Setup
Download and use of MERACH
1.TodownloadtheMERACHapp,scantheQRcodeorsearch"MERACH"intheApple
AppStore®orGooglePlayStore.
Ourcustomercangeta180-dayMERACHmembership.Pleasecontactusthrough
support@merach.comafterreceivingtheproducttogetanexclusiveredemption
code.PleaseincludeyourorderIDandMERACHappUsername.
*
2.OpentheMERACHapp.LogInorSignUp.
3.Followthein-appinstructionstosetupyourdevice.
MERACH APP Download APP Connection Guide
Note:
1.UsingtheMERACHappallowsyoutogetfreeworkoutcoursesandaccessadditional
functionsandfeatures.
2.CoachingcoursesareonlyavailableinEnglish.
USINGYOURSMARTDUALRESISTANCEROWER
Table of contents
Other Merach Fitness Equipment manuals
Popular Fitness Equipment manuals by other brands

Fit4Home
Fit4Home TF-7102A user manual

Crivit
Crivit 277977 Instructions for use

Skandika Fitness
Skandika Fitness Home Vibration Plate 500 Assembly instructions and user guide

STAR TRAC FITNESS
STAR TRAC FITNESS PVS installation manual

UltraFit
UltraFit lady swing Directions for use

K-SPORT
K-SPORT KSH022 Assembly instruction