Merkava CobraSK User manual

CobraSK
User
Manual

CobraSK
QUICK
START
GUIDE:
1.
Carefully
remove
contents
of
box
out of the
packaging.
You
will find:
• 1 x
CobraSK
• 1 x
110V
Charger
• 1 xTool
Kit
• 2 x
Keys
2.
Lift riser/stem to the upright position
and
lock
it
into
place
by
tightening the 4 allen
(hex)
screws
located at the bottom
of
the
riser.
When
facing
the
CobraSK
these
will
be
visible to
you.
There
are
two
screws
on
each
side
of the
riser.
3.
Insert the left
and
right part
of
the
handle
bar
into their
respective
slots
at the top
of
the
riser, position
brake
levers
to
desired
height
and
tighten the two
hex
screws
per
side.
4.
Place
your
CobraSK
on
a
raised
surface
for
easy
inspection while
securing
one
of
the wheels
so
it
stays
in
place
then
proceed
to visually
check
the
CobraSK
components
and
ensure
that
all
screws
and
bolts
are
tightened
and
that tires
are
correctly inflated.
The
CobraSK
uses
tubeless tires.
This
check
is
usually
already
done
once
at the factory
and
once
before
shipping but
as
a precautionary
measure
we
recommend
you
do
this
as
well before riding.
5.
Charge
your
CobraSK
in
a
clean
environment at ambient temperature until light
on
the
charger turns from
red
to
green
6.
On
the top left
hand
side
of the
riser
you
will find a "Sport" button.
Depressing
it
will unlock
the motor's full power output.
We
recommend
only
using
this feature after
several
hours
of
practice
on
the regular
mode.
7.
On
the top right
hand
side
of
the
riser
you
will find a switch which will activate your Front
and
Rear
LED
lights. If riding during the
day
we
suggest
leaving
these
off to
conserve
power.
8.
The
CobraSK
utilizes powerful
203mm
hydraulic
disc
brakes.
Please
use
them mildly until
your
accustomed
to their braking power.
The
pressure
applied to the front/rear
brake
lever
should
be
70/30 respectively
in
order to maintain proper
balance.
9.
To
turn your
CobraSK
on
simply insert
key
and
turn
once
clockwise.
Once
you've familiarized yourself with the
CobraSK
you
will
be
ready
to
ride.
Please
ride
carefully!

IMPORTANT
NOTE:
TO
AVOID
DAMAGING
YOUR
BATTERY
PACK
WE
STRONGLY
RECOMMEND
USER
SHUTS
DOWN
AND
RECHARGE
THE
COBRASK
ONCE
BATTERY
LEVEL
REACHES
10%.
YOU
WILL
ENTER
THIS
CRITICAL
LEVEL
SHORTLY
AFTER
YOUR
DISPLAY
REACHES
40V
IN
THE
VOLTAGE
METER.
Maintaining
your
battery
pack:
Before
shipping,
each
and
every
transporter
is
checked
for
overall
quality control
and
condition of
battery
pack.
Battery
is
tested
and
fully
charged
before
shipping
.
The
lithium
ion
technology
is
intended to
last
for
several
years
while
being
charged
and
discharged
many
times.
However,
the battery's life
span
will
depend
on
your
care
of the battery.
Battery life will
depend
on
your
maintenance
and
care
of the battery.
CobraSK
uses
advanced
Lithium-
Ion
batteries
made
with
SAMSUNG
cells
and
they
should
be
charged
at
least
once
a month
(when
not
in
use)
to
ensure
the longevity of your battery.
Make
sure
to only
use
our
supplied
48V
charger
on
your
48V
battery.
Allow your battery to rest for
10
minutes after
charging
before riding
and
for
10
min
after riding before
charging.
Unplug your battery
charger
after the light turns
green
indicating your battery
is
fully
charged.
Always
unplug the charger from the
wall
outlet before
plugging
or
unplugging
the other
end
into your
CobraSK.
Typical
charging time after the battery
has
reached
the
10%
critical low
level
(40V)
is
between
1.5
to 5
hours depending
on
whether
you
have
the
regular
SAh
or the lSAh
Fast
charger
offered
as
an
optional
add
on
.
Caution:
Do
not
expose
your battery to extremely low or
high
temperatures
to
avoid
potential
damage
to your
battery.»
IMPORTANT
NOTE:
TO
AVOID
DAMAGING
YOUR
BATTERY
PACK
WE
STRONGLY
RECOMMEND
USER
SHUTS
DOWN
AND
RECHARGE
THE
COBRASK
ONCE
BATTERY
LEVEL
REACHES
10%.
YOU
WILL
ENTER
THIS
CRITICAL
LEVEL
SHORTLY
AFTER
YOUR
DISPLAY
REACHES
40V
IN
THE
VOLTAGE
METER.

Warranty information:
Merkava stands behind its products. All
our
transporters benefit from a 2 year limited
warranty.
The
COMP
ANY
warrants that the frame will be free from defects in the materials and
workmanship for a period
of
2 years.
The
COMP
ANY
warrants that the motor and battery pack will be free from defects in the
materials and workmanship for a period
of
1 year*.
The
COMP
ANY
warrants that the electrical components including the controller and
charger
will be free from defects in the materials and workmanship for a period
of
6 months.
Before shipping,
we
conduct spot checks on our transporters to validate overall quality and
condition
of
electrical components including motor and battery pack. These checked units have
their battery tested and fully charged before shipping.
The
lithium ion technology we use is intended to last for several years while being charged and
discharged many times. However, the battery's life span will depend on your care
of
the battery.
If
the
PRODUCT
proves defective AND a claim is filled during the warranty period, the
COMP
ANY
at its option, will:
Repair the
PRODUCT
by
means
of
telephone support, email support,
or
by
providing the
necessary parts at no charge.
Warranty claims
must
be filed with Merkava by email: [email protected]
*Warranty
on
battery will be limited to 6 months
if
it is determined that our guidelines for proper
battery care have not been followed.
The
following are
not
covered
by
the warranty:
• .Wear and tear
on
frame, grip tape, levers, tubes, tires, brake discs, brake pads, cables,
seats, plastic fairings and any other component which wears out naturally during usage.
• Minor scratches and stress marks that may occur during shipping and handling.
• Water damage caused
by
exposing sensitive electrical parts to water such as washing
transporter with hose
or
pressure washer.
• Accidents, misuse, abuse, human errors
or
lack
of
maintenance.
• Acts-of-god such as fire, flood, earthquake, freezing, etc

Warranty information
continued:
The
following will void the warranty:
•
The
modification
of
your transporter
or
use
outside those specified
on
this site.
• The serial number
of
the product has been altered or removed.
• The product has been dismantled
and
repaired/reassembled with aftermarket parts.
• Overloading your transporter.
• Storing your transporter outdoors.
IMPORTANT
NOTE:
TO
AVOID
DAMAGING
YOUR
BATTERY
PACK
WE
STRONGLY
RECOMMEND
USER
SHUTS
DOWN
AND
RECHARGE
THE
COBRASK
ONCE
BATTERY
LEVEL
REACHES
10%.
YOU
WILL
ENTER
THIS
CRITICAL
LEVEL
SHORnY
AFTER
YOUR
DISPLAY
REACHES
40V
IN
THE
VOLTAGE
METER.

Safe
Operation:
•
Always
wear a Helmet
•
Always
Start
in
the
slow
speed
mode
• Grip both hand grips
• Stand
with
one
foot
on
the
deck and one
foot
on
the
ground
• Check brake level
for
positive braking action
• Insert key and
turn
once clockwise
•
Push
the ground
with
one
foot
while turning
the
throttle
slightly
to
accelerate
Steering
Steering your CobraSK
is
achieved by slightly turning the handlebar and shifting your body
weight
from
side
to
side. Try
out
these different riding styles
to
find what suits you best.
1-
Ride
Snowboard
Style
with
one
foot
forward and one
foot
back, shift your weight
from
heel
to
toe. Regular riders will have
their
left
foot
forward and goofy
foot
riders will have
their
right
foot
forward
2- Ride
Ski
Style
with
feet
side by side, drop your hip and push handlebars
to
the
side you are
steering towards
3- Ride
Tail
Style
with
one
foot
forward in the center
of
the deck and one
foot
on
the
tail -this
style centers your weight
for
quicker direction changes. This
is
an
advanced riding style
for
experienced riders
Braking
Pull hand brake lever toward
the
hand grips when you need
to
slow down
or
stop. When
braking at higher speeds, lean back
so
that
your weight
is
over the back wheel
to
decrease
your
stopping distance and maintain board control.
Helmet
Always wear
an
ASTM
and
CPSC
certified helmet when riding. Make sure
that
chin strap
is
attached before your ride and
follow
the
helmet manufactures instructions
for
proper user and
fit.
Footwear
Make sure
to
always wear shoes
that
have good traction on
the
board and will stay on your
feet.
Brakes
Squeeze
the
hand brake lever
to
ensure there
is
positive braking action before starting your
ride.
Board
Control
Make sure you are standing on your board
with
your hands on
the
hand grips before engaging
the
throttle
and keep hands on hand grips when riding.
Table of contents
Other Merkava Scooter manuals
Merkava
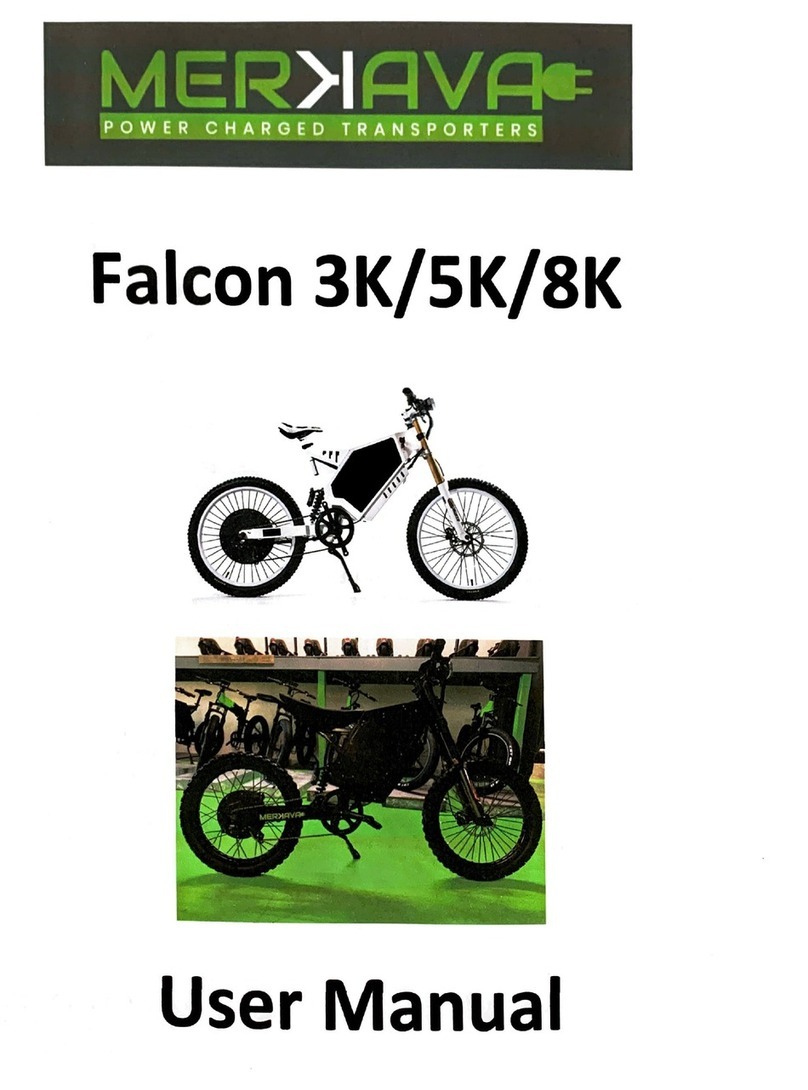
Merkava Falcon 3K User manual

Merkava
Merkava Cruiser500 User manual

Merkava
Merkava eFold Fatty500 User manual
Merkava
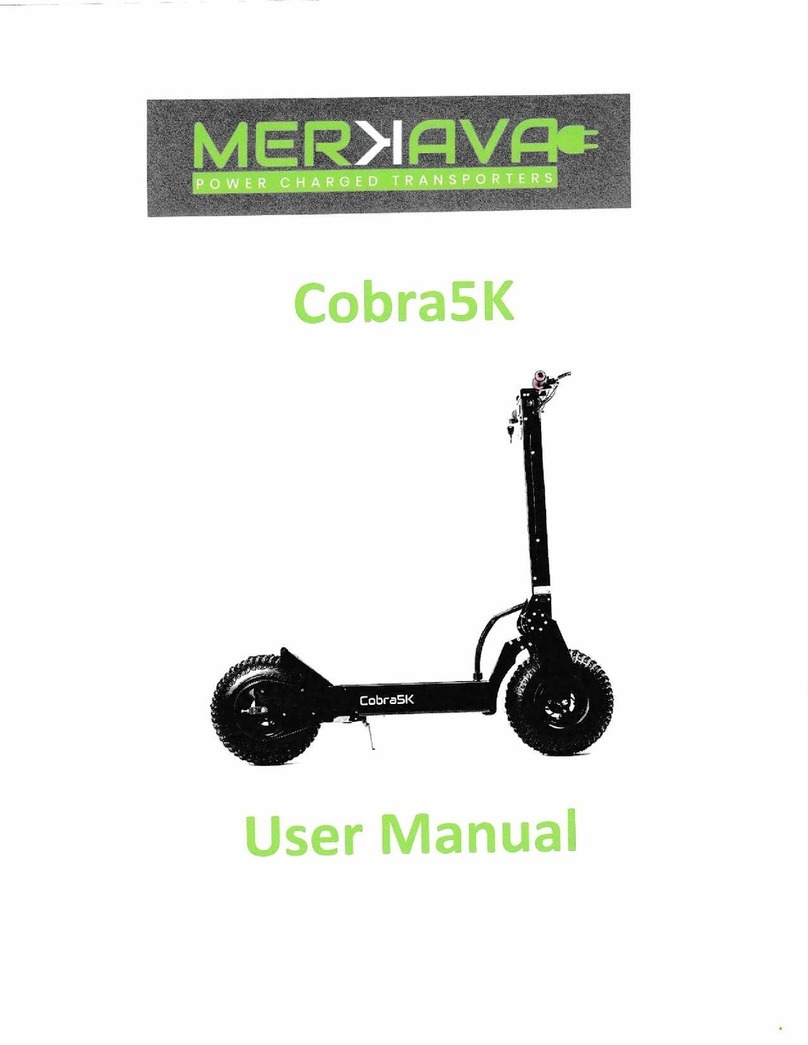
Merkava Cobra5K User manual

Merkava
Merkava TriboardS00 Standard User manual
Merkava
Merkava Falcon 5/8K User manual
Merkava
Merkava RF350 User manual
Merkava
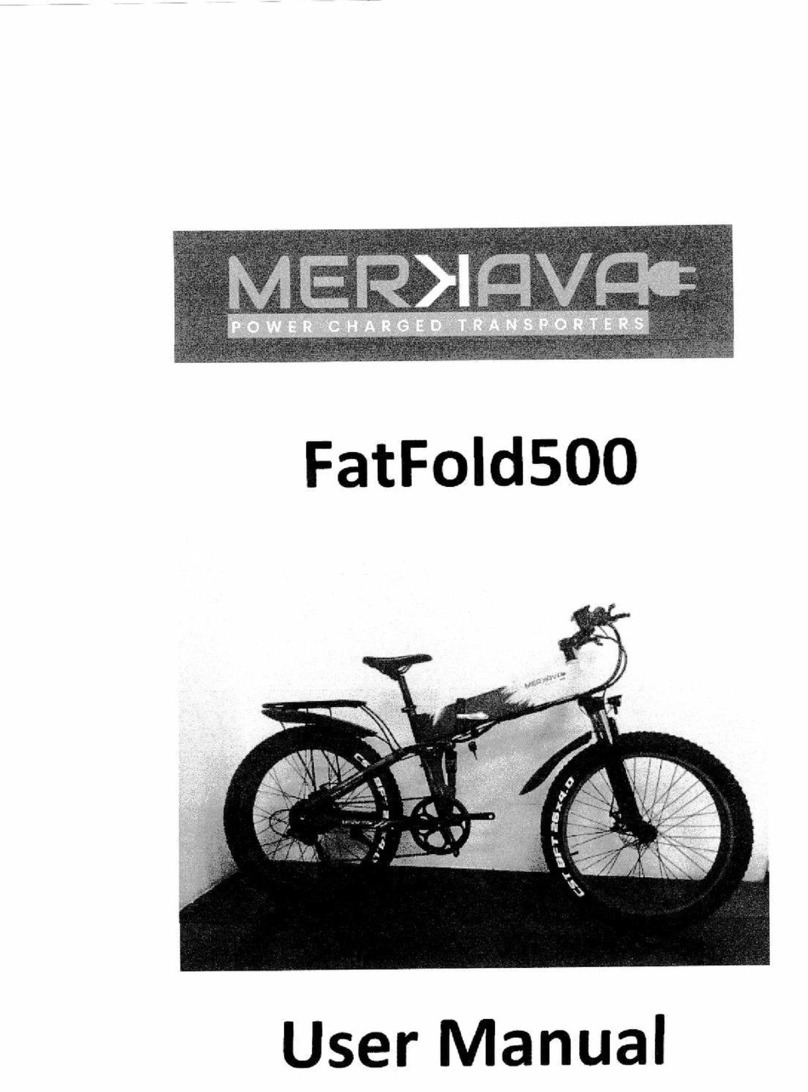
Merkava FatFold500 User manual
