4
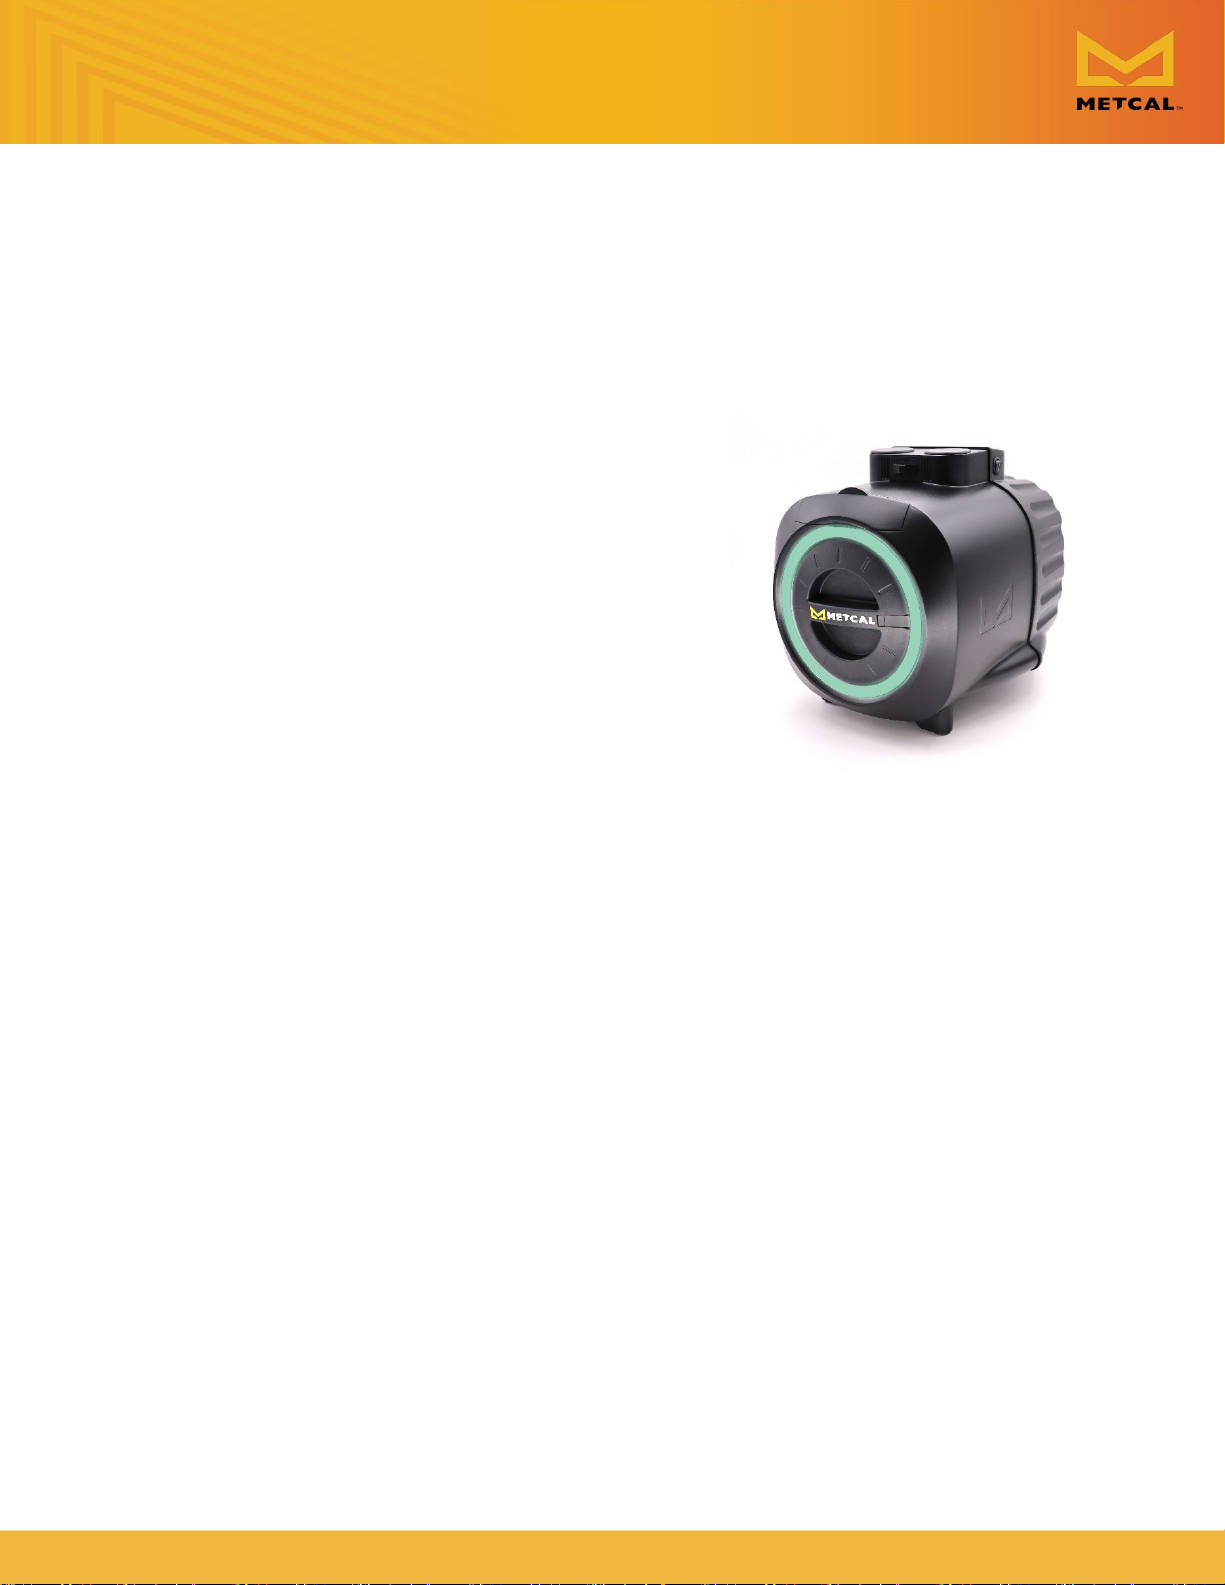
BVX-250 Series Fume Extraction System
2. Unpacking and Inspection
Carefully unpack the Fume Extraction System and examine the items contained in
the carton. Inspect the Unit for any damage that might have occurred in transit. If
such damage is present, notify the carrier immediately. Claims for damage must be
made by the consignee to the carrier and should be reported to the manufacturer.
2.1. Items Supplied
2 Filters (Pre and Main) are installed in the unit
1 Remote start/stop switch
1 Power Cord
1 Operating Manual
2.2. Features
•Change filters without removing the hoses
•Color-coded LED status ring
•HEPA 13 Efficiency at 99.97%
•Optional Deep-bed gas filter (sold separately)
•Connects to 50 mm (2”) hoses and arms
•On/Off switch with “soft-start” feature
•Adjustable air flow – Three airflow options (High, Medium, & Low)
•Powerful airflow and suction capacity
•Light-weight, portable, and compact design
•ESD-safe housing
•UL & CSA, UKCA, KC, PSE, NOM, CE (ISO-14644)
•RoHS/REACH
•Suitable for indoor use only
•May be used in temperatures between 0 °C and 40 °C
•Suitable for use at altitudes between 0 m and 2,000 m
•Pollution Degree 2
2.3. Usage
The Fume Extraction System is a portable, two-station filtration system for the
removal of fumes, light dust, or vapors at the workplace. The filter set supplied with
the filter unit depends on the model ordered.