IN THE OFFICE BEFORE A TEST
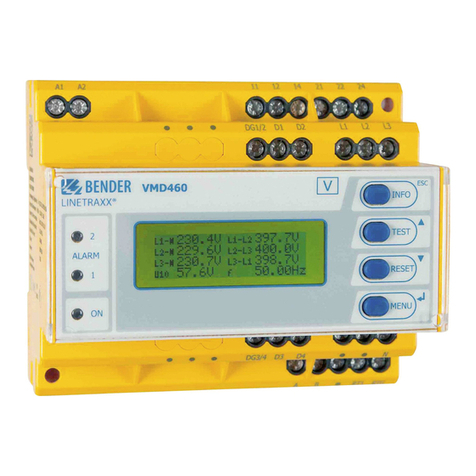
1. Verify That MM100 Rocker Switch Is OFF.
2. Confirm Battery Charge And Memory
Available. Connect the MM100 to computer
and enter the Model 100 Program. Confirm
connection to the MM100. If “Meter-Master is
not connected” appears on the computer
screen, see Section 5, “Troubleshooting”, in
the MM100 Operating Instructions. The
MM100 Interface Screen displays the
remaining battery charge and data storage
capacity of the connected instrument.
Batteries last approximately 3 months with a
full charge. Click on either “Change MM100
Settings” or “Clear MM100 Data” to clear
MM100 memory of prior records.
3. If Desired, Change Meter Type and Data
Storage Interval. The meter type is used
only for testing the sensor’s location on the
meter, not for recording data. Reinitialize the
MM100 by clicking on “Change MM100
Settings”.
TO BEGIN A TEST
1. Connect The Flux Sensor Or Pulse Input
Cable To The MM100 Sensor Receptacle.
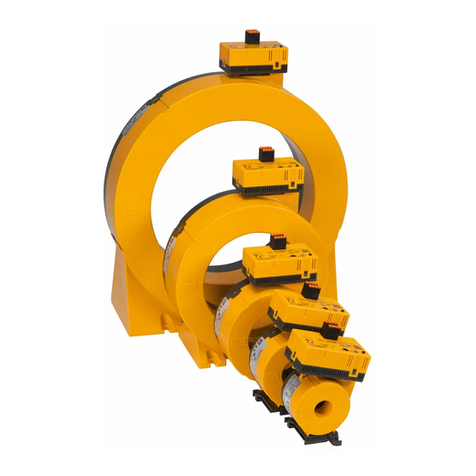
2. Secure The Sensor To The Meter (see
diagrams). Refer to sensor locations given in
Appendix A of the MM100 Operating
Instructions. Be sure that you have tightened
the velcro strap(s) as much as possible in
order to prevent sensor movement.
3. Turn MM100 Recording On. Press and
release the side of the rocker switch with the
LED (the switch will return to its middle
position). The LED will light for 3 seconds,
and the recording session will begin.
4. Verify Sensor Position. After the 3-second
signal, the signal light will flash 30 times in
unison with the meter dial movement. When
the MM100 is initialized for a small meter and
some turbines, each flash represents 1/20 of
a dial revolution (e.g., with a 100 gallon dial,
the signal light flashes every 5 gallons).
When initialized for a turbine meter preceded
by an asterisk in Appendix A, each flash
represents one magnetic pulse. You may
press the rocker switch ON again (side with
light) as often as desired in order to verify the
sensor location. Whenever you change the
sensor location, wait 10 seconds to allow the
electronics to settle before initiating a sensor
test.
5. Fill Out Test Data Sheet. Note beginning
meter reading and the date/time. Ensure that
all meter readings include at least all digits to
the decimal place, including the exact
position of the sweep hand on the dial face.
Do not ignore digits normally ignored for
billing purposes. A digit must be read for
each rotating dial position, black and white,
and each painted-on zero. Appendix B is a
sample test data sheet.
TO END A TEST
1. If Desired, Confirm Recording Accuracy.
Before ending the recording session, you
may press the rocker switch ON to check if
the MM100 is currently recording accurately
(see “Verify Sensor Position” above).
Alternating long-short flashes for 6 seconds
indicates that the MM100 has powered-down
due to low battery.
2. Turn Meter-Master Recording Off. Push
rocker switch to OFF position.
3. Fill Out Test Data Sheet. Note the ending
meter reading and the date/time.
4. Remove Equipment.
TO DOWNLOAD DATA AND
CREATE GRAPHS/REPORTS
1. Connect MM100 To Computer And, If
Possible, To Battery Charger; Enter The
Model 100 Program. Connect the MM100 to
computer, enter the Model 100 program, and
confirm connection to the Meter-Master. Also
charge the batteries if possible; batteries
function best if they are charged often and
stored attached to the charger.
2. Download Data And Add Customer
Information. Click on the “Download Data”
button and follow the prompts. For software
instructions, see on-screen “Help” or the
MM100 Operating Instructions.
3. Create Graphs/Reports. Change to the
Graphs/Reports Screen by clicking the
middle button at the top of the screen. Click
the “Create Graphs/Reports” button and
select the desired, downloaded Meter-Master
database (*.mdb) file. When the Display
Options Screen appears, choose the desired
graph or report format and click OK. (For
more information, see on-screen “Help” or
the MM100 Operating Instructions.)
STORAGE
1. Between Tests. Keep the Meter-Master fully
charged. If possible, leave the Meter-Master
connected to the charger while in storage. If
the MM100 cannot be plugged in, recharge
the unit at least once every two months.
Battery life is the same whether or not the
instrument is recording.


