manuals.online logo
Brands
  1. Home
  2. •
  3. Brands
  4. •
  5. Metos
  6. •
  7. Coffee Maker
  8. •
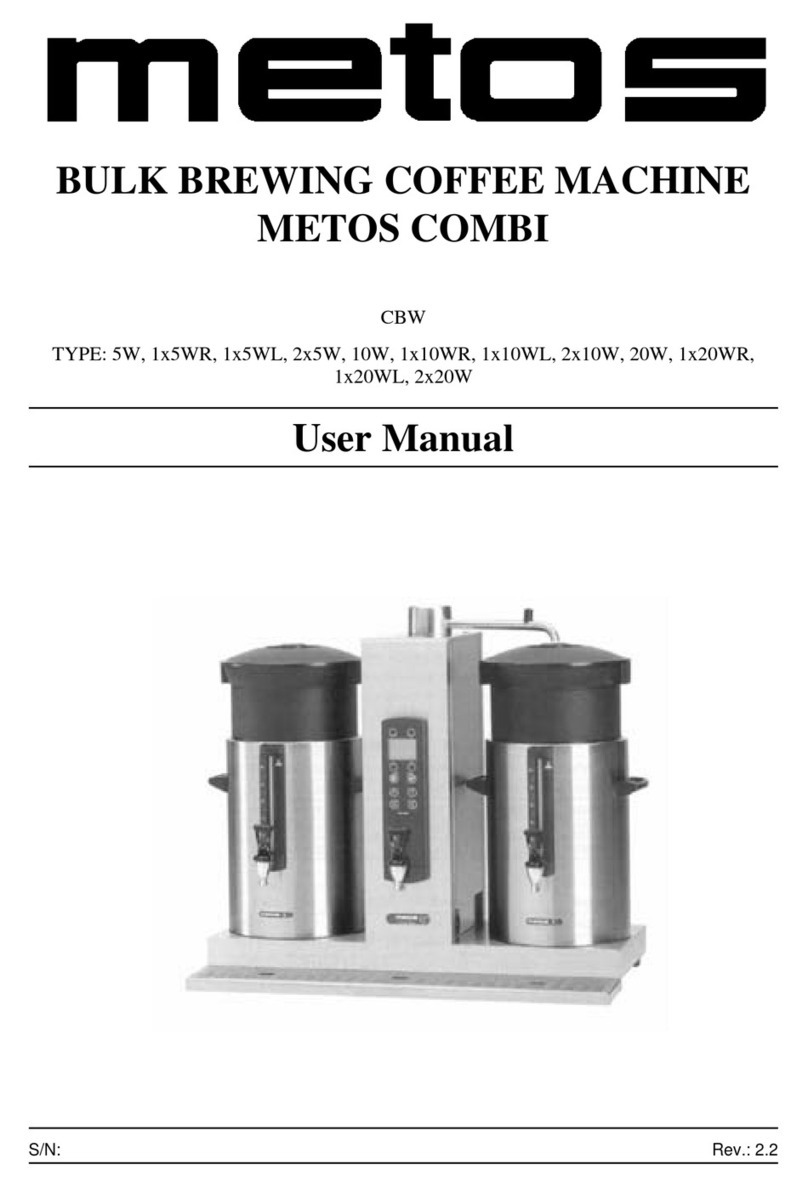
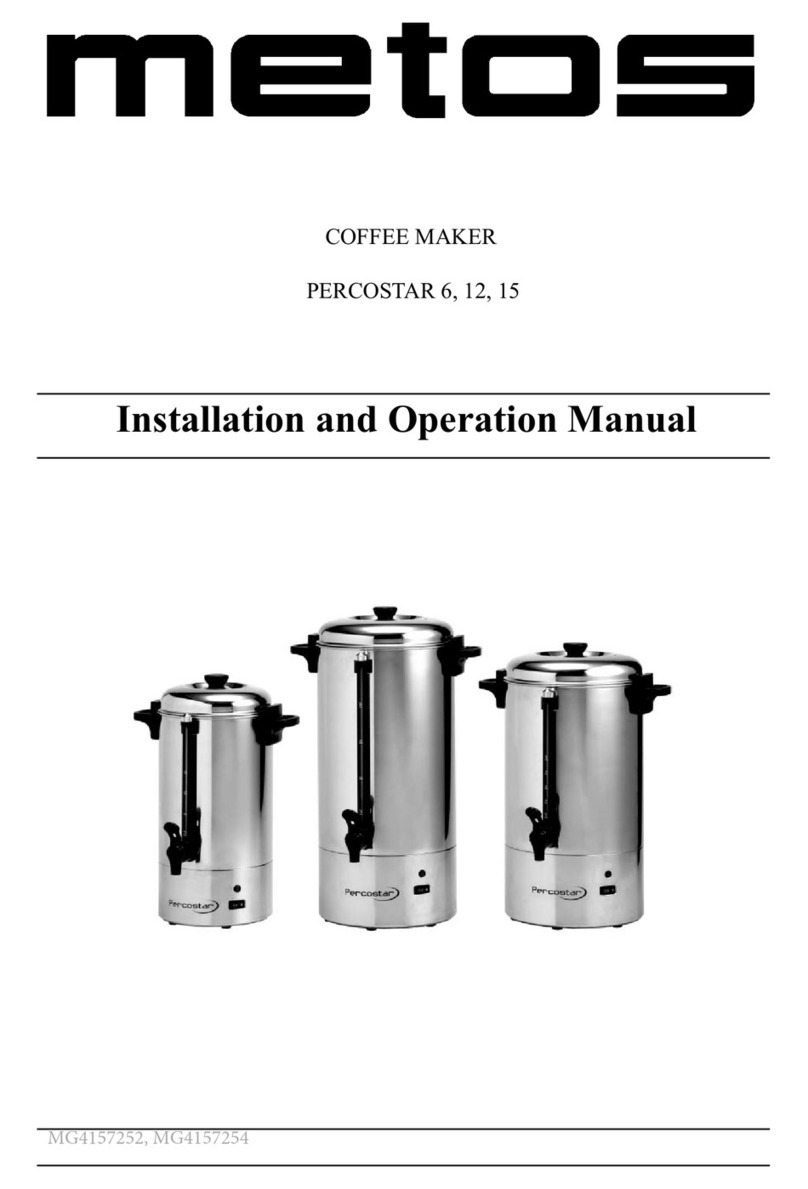
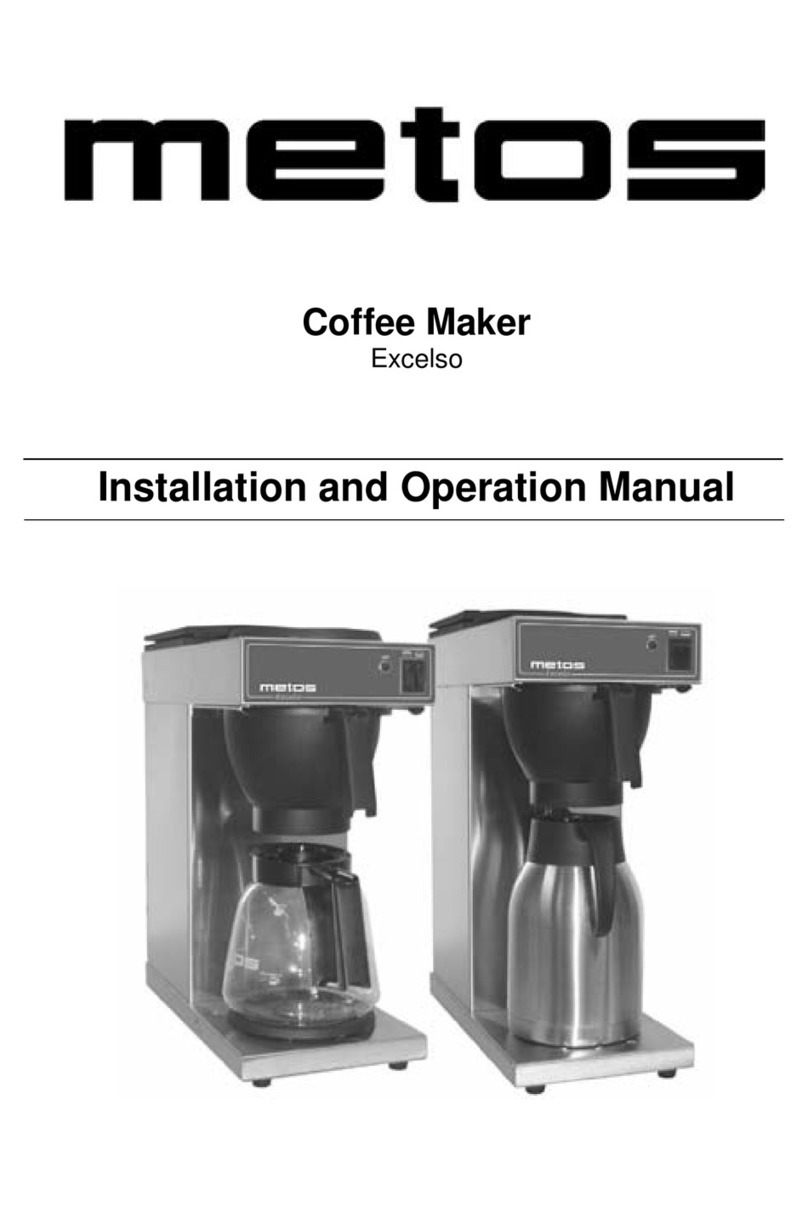
  9. Metos DT1 User manual

Metos DT1 User manual

(635(6620$&+,1(
Metos Mini Control
TYPE: DT1, DT2
,QVWDOODWLRQDQG2SHUDWLRQ0DQXDO
S/N: Rev.: 2.0
 5HY
Dear Customer,
Congratulations on deciding to choose a Metos appliance for your kitchen activities. You
made an excellent choice. We will do our best to make you a satisfied Metos customer
like thousands of customers we have around the world.
Please read this manual carefully. You will learn correct, safe and efficient working meth-
ods in order to get the best possible benefit from the appliance. The instructions and hints
in this manual will give you a quick and easy start, and you will soon note how nice it is
to use the Metos equipment.
All rights are reserved for technical changes.
You will find the main technical dataon the rating plate fixed to the equipment. When you
need service or technical help, please let us know the serial number shown on the rating
plate. This will make it easier to provide you with correct service.
For your convenience, space is provided below for you to record your local Metos service
contact information.
METOS TEAM
Metos service phone number:...............................................................................................
Contact person:....................................................................................................................
 5HY
 5HY
*HQHUDO  
1.1 Symbols used in the manual .......................................................................................... 1
1.2 Symbols used on the appliance ...................................................................................... 1
1.3 Checking the relation of the appliance and the manual ................................................. 1
6DIHW\ 
2.1 General .......................................................................................................................... 2
2.2 Usage ............................................................................................................................. 2
2.2.1 Cup-warming plate ................................................................................................ 2
2.2.2 Machine close-down .............................................................................................. 2
2.2.3 Danger of burns ..................................................................................................... 2
2.3 Maintenance and repair ................................................................................................. 3
)XQFWLRQDOGHVFULSWLRQ 
3.1 Description of parts ....................................................................................................... 4
2SHUDWLRQLQVWUXFWLRQV  
4.1 Before first time use ...................................................................................................... 5
4.2 Operation procedures ..................................................................................................... 6
4.2.1 Daily Switch-on ..................................................................................................... 6
4.2.2 Heating phase ......................................................................................................... 6
4.2.3 Delivery of the coffee ............................................................................................ 6
4.2.4 Other hot beverages ............................................................................................... 7
4.2.5 Cappuccinatore (option) ........................................................................................ 7
4.2.6 Water level in the boiler ......................................................................................... 8
4.3 Cleaning and maintenance ............................................................................................. 9
4.3.1 Cleaning the dispenser units .................................................................................. 9
4.3.2 Cleaning the filter holders ...................................................................................... 9
4.3.3 Grids and drip tray ................................................................................................. 9
4.3.4 Bodywork ............................................................................................................... 9
4.3.5 Cappuccinatore (Option) ...................................................................................... 10
4.3.6 Regeneration of the water softener (Option) ....................................................... 10
4.3.7 Programming ....................................................................................................... 11
,QVWDOODWLRQ 
5.1 General ........................................................................................................................ 12
5.2 Positioning of the appliance ........................................................................................ 12
5.3 Hydraulic connection ................................................................................................... 13
5.4 Electrical connections .................................................................................................. 14
5.4.1 General ................................................................................................................. 14
 5HY
7URXEOHVKRRWLQJ 
7HFKQLFDOVSHFLILFDWLRQV 
 5HY
*HQHUDO
1
 *HQHUDO
Carefully read the instructions in this manual as they contain important information re-
garding proper, efficient and safe installation, use and maintenance of the appliance.
Keep this manual in a safe place for eventual use by other operators of the appliance.
The installation of this appliance must be carried out in accordance with the manufactur-
er’s instructions and following local regulations. The connection of the appliance to the
electric and water supply must be carried out by qualified persons only.
Persons using this appliance should be specifically trained in its operation.
Switch off the appliance in the case of failure or malfunction. The periodical function
checks requested in the manual must be carried out according to the instructions. Have the
appliance serviced by a technically qualified person authorized by the manufacturer and
using original spare parts.
Not complying with the above may put the safety of the appliance in danger.
 6\PEROVXVHGLQWKHPDQXDO
This symbolinforms about a situation where a safety risk might be at hand.Given instruc-
tions are mandatory in order to prevent injury.
This symbol informs about the right way to perform in order to prevent bad results, appli-
ance damages or hazardous situations.
This symbol informs about recommendations and hints that help to get the best perform-
ance out of the appliance.
 6\PEROVXVHGRQWKHDSSOLDQFH
This symbol on a part informs about electrical terminals behind the part. The removal of
the part must be carried out by qualified persons only.
 &KHFNLQJWKHUHODWLRQRIWKHDSSOLDQFHDQGWKHPDQXDO
The rating plate of the appliance indicates the serial number of the appliance. If the man-
uals are missing, it is possible to order new ones from the manufacturer or the local rep-
resentative. When ordering new manuals it is essential to quote the serial number shown
on the rating plate.
 5HY
6DIHW\
2
 6DIHW\
 *HQHUDO
The coffee machine is to be used solely forpreparing espresso coffee and hot drinks made
with hot water or steam and for heating cups.
Improper use of the machine for operations other than the above can constitute a safety
risk to persons and to the equipment.
Never work the coffee machine with wet hands or naked feet.
 8VDJH
 &XSZDUPLQJSODWH
Place only coffee cups,cups and glasses to be usedin conjunction with the coffee machine
on the cup-warming plate.
Ensure that the coffee cups are completely drained before placing them on the cup-warm-
ing plate.
 0DFKLQHFORVHGRZQ
When the machine remains unattended for a long period of time (at night, during the
weekly closing day or during holidays), the following operations shall be performed:
•Remove the plug or switch off the main switch.
•Close the main water tap.
 'DQJHURIEXUQV
Do not place the hands or other parts of the body close to the coffee distribution points,
or near the steam and hot water nozzles.
Ensure that the machine is not handled by children or persons who have not been instruct-
ed in its correct use.
 5HY
6DIHW\
3
 0DLQWHQDQFHDQGUHSDLU
If the machine does not function correctly, switch it off, turn off the main switch and call
the service agent.
Only qualified and authorised servicing personnel should be called.
Use only original spare parts.
Maintenance activities performed by unqualified personnel may jeopardize the safety of
the machine and the warranty.
If the electric cable is damaged, switch off the machine and apply to the servicing depart-
ment for a replacement.
 5HY
)XQFWLRQDOGHVFULSWLRQ
4
 XQFWLRQDOGHVFULSWLRQ
 'HVFULSWLRQRISDUWV
1. Main ON/OFF switch
2. Steam adjustment knob
3. Push button panel
4. Hot water knob
5. Hot water dispensing pipe
6. Swivel steam jet pipe
7. Filter holder
8. Boiler pressure gauge
9. Dispensing push button - 1 short coffee
10. Dispensing push button - 2 short coffees
11. Dispensing push button - 1 long coffee
12. Dispensing push button - 2 long coffees
13. START-STOP-PROGR push button
14. Cup warmer
15. Drip tray
 5HY
2SHUDWLRQLQVWUXFWLRQV
5
 2SHUDWLRQLQVWUXFWLRQV
 %HIRUHILUVWWLPHXVH
After installing the machine and before starting to operate it, clean all the internal compo-
nents as described below.
When the machine has not been used for more than 8 hours, the internal components must
be washed before use.
&RIIHHGLVSHQVHUV
•Connect the (empty) filter holders (7) to the dispenser units (without coffee).
•Dispense water from each dispenser for about one minute, pressing one of the cof-
fee buttons repeatedly.
+RWZDWHU
•Dispense hot water for about one minute.
6WHDP
•Dispense steam from each nozzle for about one minute.
 5HY
2SHUDWLRQLQVWUXFWLRQV
6
 2SHUDWLRQSURFHGXUHV
 'DLO\6ZLWFKRQ
Before using the machine make sure that:
•the main electricity supply ON/OFF switch is ON
•the main water supply (and water softener) taps are open.
Turn on the machine from switch 1. Heating now beginns
At the end of the day, turn the machine OFF by turning the main ON/OFF switch (1) to
position 0.
 +HDWLQJSKDVH
During heating, if one of the coffee dispensing switches (9, 10, 11 or 12) is pressed, the
machine dispenses a coffee at the temperature reached at the time.
Heating is completed when the boiler gauge indicator (8) remains stable.
The machine is now ready to dispense coffee, steam and hot water.
To make sure that the dispenser unit and the filter holder (7) are at the similar tempera-
tures, press the START-STOP push-button (13) and let the machine dispense coffee for a
few seconds. Then press the START-STOP push-button (13) to stop dispensing. Let the
filter holder stay at the coffee dispenser unit.
 'HOLYHU\RIWKHFRIIHH
Remove the filter holder, empty out any coffee grouts and fill it up with 1 or 2 servings of
ground coffee, depending on the filter holder used.
Press the ground coffee down uniformly in the filter, using the grinder/doser presser.
Remove any residues of the ground coffee from the filter rim.
Fit and tighten the filter holder (7) on the coffee dispenser unit, positioning the cup (or
cups) under a nozzle (or nozzles) of the filter holder (7).
Press the coffee dispensing push button (9, 10, 11 or 12) for the required serving; the ma-
chine will stop automatically.
Press the START-STOP push-button (13) for continuous dispensing.
Dispensing, whether for doser servings or in the continuous dispensing mode, can be in-
terrupted at any time by pressing the START-STOP push-button (13).
 5HY
2SHUDWLRQLQVWUXFWLRQV
7
 2WKHUKRWEHYHUDJHV
6WHDPGLVSHQVLQJ
•Immerse the steam jet pipe (6) into the liquid to be heated in a suitable container
and turn the steam adjustment knob (2).
•When the liquid is hot, stop the flow of steam by turning nob (2) the other way.
+HDWLQJPLONIRUIURWK\FRIIHHFDSSXFFLQR
•Open the steam knob and let the condensed steam run out of the steam line.
•Use a tall narrow jug and fill it up to about the half-way mark. Then immerse the
steam jet pipe (6) into the milk.
•Gradually open up the steam tap (2) and heat the milk for a few seconds.
•When the required amount of froth has been made and the temperature is suffi-
ciently high, stop the flow of steam by turning knob (2) the other way
•When the steam jet pipe (6) is no longer required, clean it thoroughlywith a sponge
and a clean cloth.
'LVSHQVLQJKRWZDWHU
•Position a container under the hot water dispensing pipe (5) and open the hot water
knob (4) anticlockwise. When the desired amount is served, close the knob (4)
clockwise.
 &DSSXFFLQDWRUHRSWLRQ
The cappuccinatore is to be fitted to the steam dispencing pipe.
•Insert the suction tube i a recipent with milk; it is advisable to use
cold full fat milk to obtain better results
•Squeeze the suction tube and open the steam adjustment knob (2)
for a few seconds and let the condensed steam run out of the
steam line
•Free the suction tube, place a cup or a glass under the cappucci-
natore outlet and open the steam adjustment knob (2).
•When the desired amount of foam is accheived, close the steam adjustment knob
and remove the cup or glass.
•Squeeze the suction tube, open the steam adjustment knob and flush out the milk
residues from the cappuccinatore.
If the cappuccinatore is not going to be used for a longer while (15 minutes), do as fol-
lows.
•Place the suction tube in a recipent with water (glass).
•Open thesteam adjustment knob and let the water flow into the drip tray of the ma-
chine.
•When the water runs out, leave the knob open for approx. 30 seconds.
 5HY
2SHUDWLRQLQVWUXFWLRQV
8
 :DWHUOHYHOLQWKHERLOHU
The machine is fitted with automatic level control to keep the water in the boiler at a pre-
set level.
 5HY
2SHUDWLRQLQVWUXFWLRQV
9
 &OHDQLQJDQGPDLQWHQDQFH
 &OHDQLQJWKHGLVSHQVHUXQLWV
This procedure should be carried out at the end of the working day on all dispenser units:
•Switch off the machine
•Clean the underpan gasket with a brush.
•Place a filter hoder without holes or fit a rubber gasket into the normal filter holder
(7), and pour in the content of a sachet or a measure of detergent powder.
•Mount the filter holder (7).
•Keep button 10, “2 short coffees”, pressed while switching on the machine
•The cleaning process starts.
•Do not dismount the filterholder until the clean-
ing process has finished. The cleaning process
lasts 50 seconds and is indicated by two illumi-
nated leds on the push button panel.
•Remove the filter holder (7), and clean the water
“shower”with a sponge.
•Rinse for a few seconds with running water from each dispenser unit.
 &OHDQLQJWKHILOWHUKROGHUV
All the filter holders should be cleaned at the end of the working day.
•Pour 1 litre of cold water and a dose of detergent into a suitable receptacle.
•Remove the filters from the filter holders (7).
•Leave the filters and filter holders (7) in the solution for at least two hours.
•Remove any residues with a sponge and rinse in a plenty of cold water.
•Refit the filters in the filter holders (7).
 *ULGVDQGGULSWUD\
Remove the grid from the tray (15). Extract and clean it under running water.
 %RG\ZRUN
Use a soft cloth and cleansing products WITHOUT ammonia or abrasives.
 5HY
2SHUDWLRQLQVWUXFWLRQV
10
 &DSSXFFLQDWRUH2SWLRQ
In order to keep the cappuccinatore in good condition, take it to
pieces daily and clean the components by hand paying special
attention to the orifices.
 5HJHQHUDWLRQRIWKHZDWHUVRIWHQHU2SWLRQ
The machine must be installed with an ionic resin water softener.
The water softener may be of different types, with different resin capacities and different
periods of validity.
The resins are regenerated by adding coarse kitchen salt or salt pastilles to the water sof-
tener.
If the regeneration of the resins is not made at the due dates,calcareous deposits will form
which progressively decrease the machine’s efficiency until its functions are completely
blocked.
The regeneration due dates and method thereof may be found in the instructions provided
with the equipment.
If regeneration is performed at the due dates, the machine is maintained in ideal working
conditions.
 5HY
2SHUDWLRQLQVWUXFWLRQV
11
 3URJUDPPLQJ
+RZWRDFFHVVWKHSURJUDPPLQJIXQFWLRQ
To enter the programming mode, press push-button “*”(13) and keep it pressed for a 8
seconds.
To exit the programming mode, after programming the various drinks, press push-button
(13) again.
3URJUDPPLQJWKHFRIIHHPHDVXUHV
Before programming the coffee dispensing push-buttons fill the filter holder with the cor-
rect serving of ground coffee. Don’t use coffee grouts for programming servings.
Fit and tighten the filter holder (7) on the coffee dispenser unit, positioning the cup (or
cups) under the nozzle of the filter holder (7).
Press (and keep momentarily pressed) the coffee dispensing push-button (9, 10, 11 or 12)
corresponding to the required serving to be programmed.
When the amount of coffee in the cup reaches the required level, release the coffee dis-
pensing push-button.
Repeat the above operations for the other coffee push-buttons.
 5HY
,QVWDOODWLRQ
12
 ,QVWDOODWLRQ
 *HQHUDO
A water filter should be installedin thewater supply pipe. This filtersystem reduces great-
ly the amount of scaling in the machine and has a decisive effect on the quality of the wa-
ter. It is therefore of immense importance for the quality of the coffee and the safe
operation of the machine.
 3RVLWLRQLQJRIWKHDSSOLDQFH
Before connectingthe machine, makesure the available electricity and watersuppliescor-
respond to the specifications on the data plate.
The espresso coffee machine should be placed on a stable flat surface with the bodywork
at a minimum distance of 20 mm from the supporting surface. It is importanat to find a
perfectly horizontal position of the machine on it’s support so that coffee will be equally
ditributed in all cups (use the adjustable feet). The (electricity and water) supply connec-
tions and a water outlet fitted with a siphon should be close to the machine. A support sur-
face should also be available for accessories (grinder/doser, etc.)
To ensure correct operation and safety, the coffee machine should not be exposed to out-
door weather conditions (rain, sun, ice).
Do not install in rooms (kitchens) cleaned using water jets.
The electrical safety of this machine is guaranteed only if it is correctly connected to an
effective earthing installation as required by the safety regulations in force. This essential
safety requirement should be checked and, if there are any doubts, a complete check of
the installation should be carried out by qualified personnel. The maker cannot be held
responsible for any damage caused by failure to earth the machine.
If the machine is stored on premises where the temperature may drop below freezing
point, always empty the boiler and the water circulation pipes.
 5HY
,QVWDOODWLRQ
13
 +\GUDXOLFFRQQHFWLRQ
Place the machine on a perfectly levelled surface, adjusting and then fixing the feet in
place.
Make the hydraulic connections as per Figure.
1. Machine
2. Softener (Option)
Install the drain siphon in the water-drain line so that it is easily accessible and will thus
facilitate periodic cleaning.
Remember to put the relevant washer in the junctions between the tubes and the connec-
tors.
If the main pressure could rise above 6 bar, install a pressure reducer calibrated at 2-3 bar
before the softener.
The machine must beinstalled with an ionic resin water softener. Note chapter “Regener-
ation of the water softener”.
1
2
 5HY
,QVWDOODWLRQ
14
 (OHFWULFDOFRQQHFWLRQV
 *HQHUDO
Remember that the manufacturer is not responsible for damages due to incorrect electrical
connections and, furthermore, that the installer is responsible in case of damage.
Besides the above, check:
•the type of connection indicated on the label found on the power cable
•that the voltage corresponds to that indicated on the nameplate data found on the
box cover.

This manual suits for next models

1

Other Metos Coffee Maker manuals

Metos 5 User manual

Metos

Metos 5 User manual

Metos Excelso User manual

Metos

Metos Excelso User manual

Metos MELITTA CUP User manual

Metos

Metos MELITTA CUP User manual

Metos M200 User manual

Metos

Metos M200 User manual

Metos M-Series User manual

Metos

Metos M-Series User manual

Metos CBW 5W User manual

Metos

Metos CBW 5W User manual

Metos MELITTA CUP BREAKFAST User manual

Metos

Metos MELITTA CUP BREAKFAST User manual

Metos M100 User manual

Metos

Metos M100 User manual

Metos PERCOSTAR 6 User manual

Metos

Metos PERCOSTAR 6 User manual

Metos Next 4157950 User manual

Metos

Metos Next 4157950 User manual

Metos M200W User manual

Metos

Metos M200W User manual

Popular Coffee Maker manuals by other brands

Mr. Coffee AD10 AND AD12 operating instructions

Mr. Coffee

Mr. Coffee AD10 AND AD12 operating instructions

LaCimbali M39 Classic Use and installation

LaCimbali

LaCimbali M39 Classic Use and installation

Mr. Coffee PRX30 operating instructions

Mr. Coffee

Mr. Coffee PRX30 operating instructions

Silvercrest SEM 1100 A1 operating instructions

Silvercrest

Silvercrest SEM 1100 A1 operating instructions

Mr. Coffee BL4 operating instructions

Mr. Coffee

Mr. Coffee BL4 operating instructions

Francis Francis X1 manual

Francis Francis

Francis Francis X1 manual

Silvercrest SKA 1000 A1 operating instructions

Silvercrest

Silvercrest SKA 1000 A1 operating instructions

DallaCorte EVO 2 user manual

DallaCorte

DallaCorte EVO 2 user manual

MasterChef 043-1037-6 instruction manual

MasterChef

MasterChef 043-1037-6 instruction manual

Welbilt Crem EX3 Series user manual

Welbilt

Welbilt Crem EX3 Series user manual

Mr. Coffee BVMC-TF 4 CUP 119607 user manual

Mr. Coffee

Mr. Coffee BVMC-TF 4 CUP 119607 user manual

German pool CMC-212 user manual

German pool

German pool CMC-212 user manual

Mr. Coffee ECMPT1000 user manual

Mr. Coffee

Mr. Coffee ECMPT1000 user manual

LaCimbali M39 Dosatron TE Use and installation

LaCimbali

LaCimbali M39 Dosatron TE Use and installation

Mr. Coffee TR10 operating instructions

Mr. Coffee

Mr. Coffee TR10 operating instructions

TriStar KZ-1216 manual

TriStar

TriStar KZ-1216 manual

Silvercrest SEMS 1100 B2 operating instructions

Silvercrest

Silvercrest SEMS 1100 B2 operating instructions

Mr. Coffee BVMC-ECMP60 SERIES user manual

Mr. Coffee

Mr. Coffee BVMC-ECMP60 SERIES user manual

manuals.online logo
manuals.online logoBrands
  • About & Mission
  • Contact us
  • Privacy Policy
  • Terms and Conditions

Copyright 2025 Manuals.Online. All Rights Reserved.