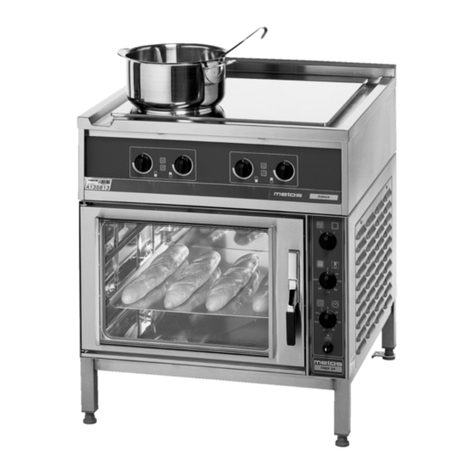
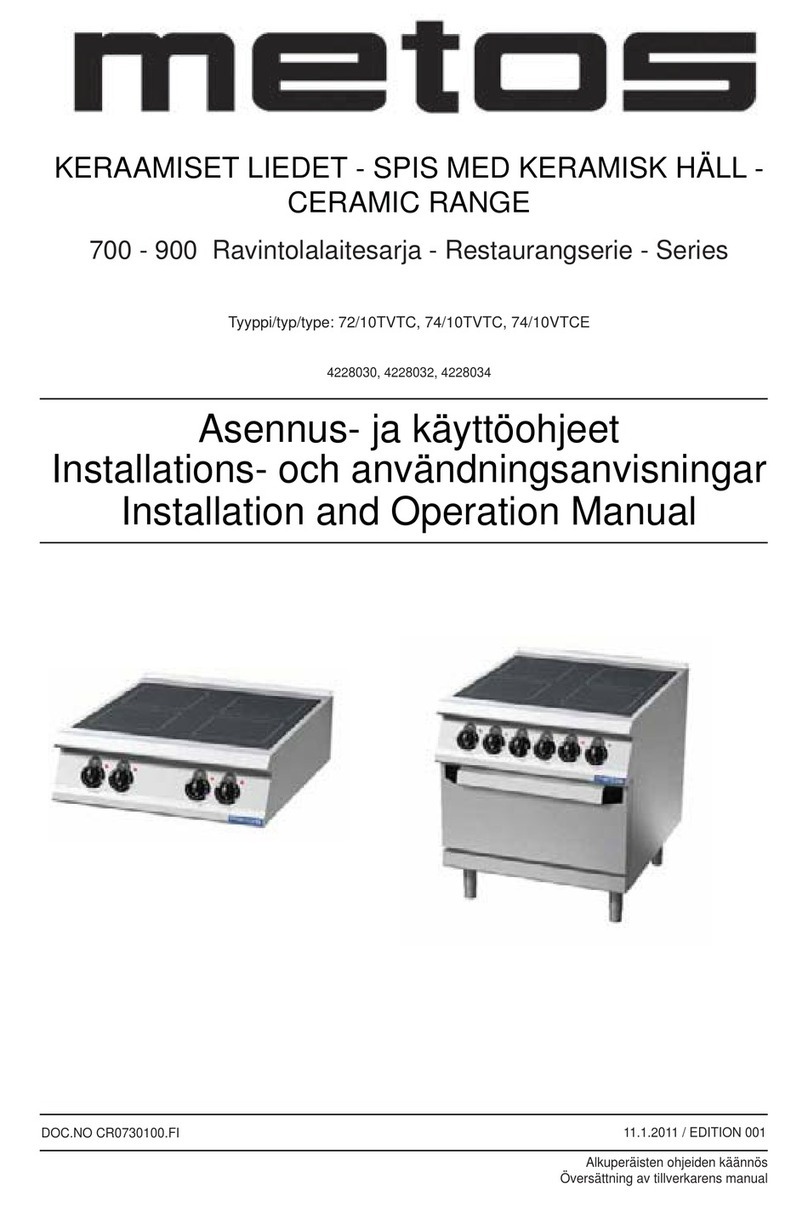
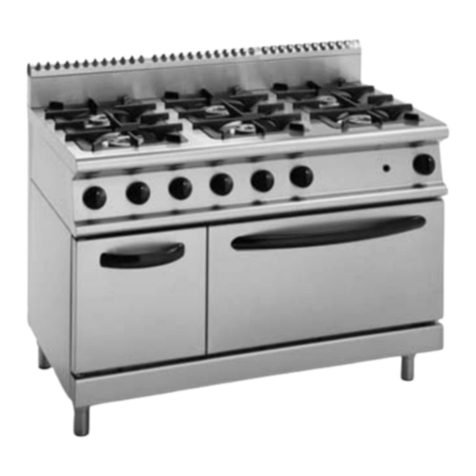
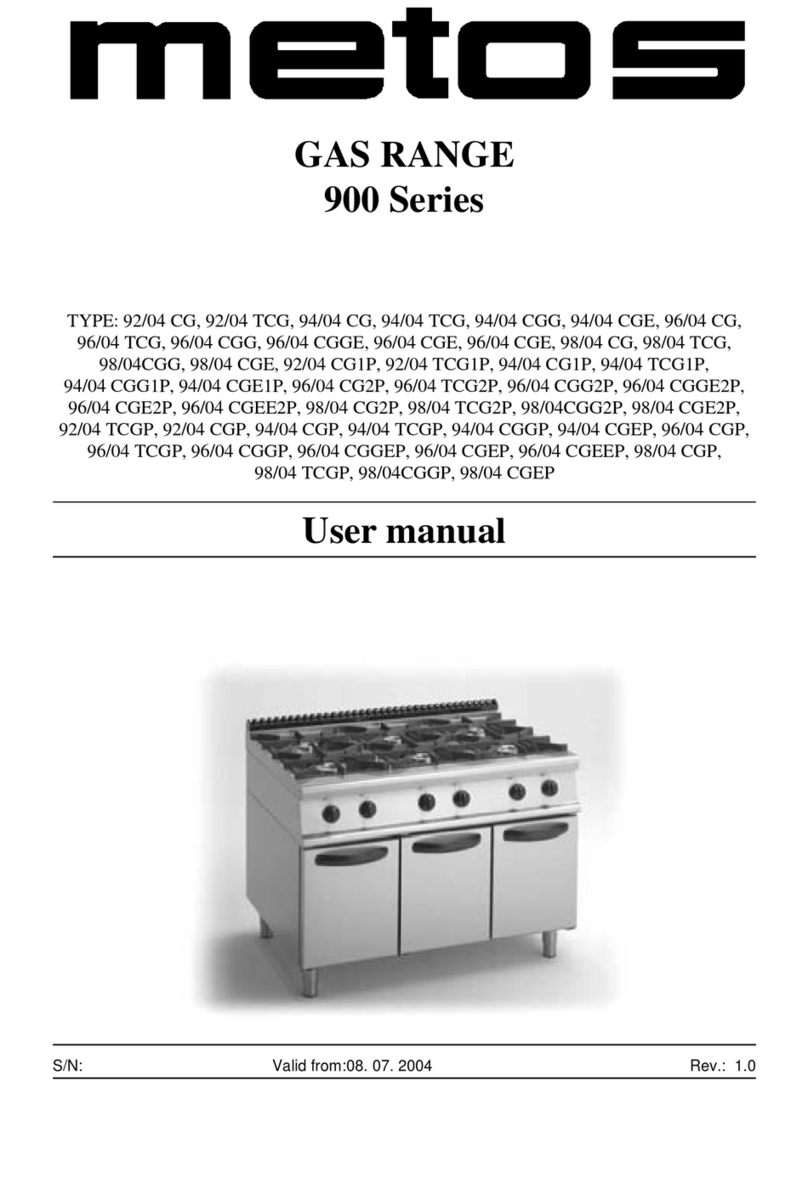
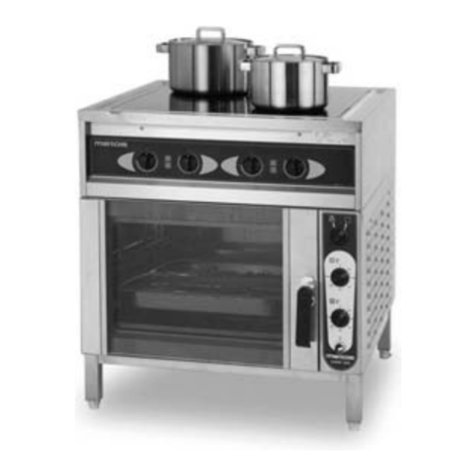
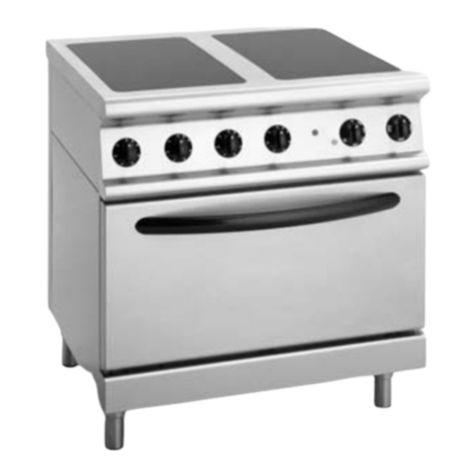
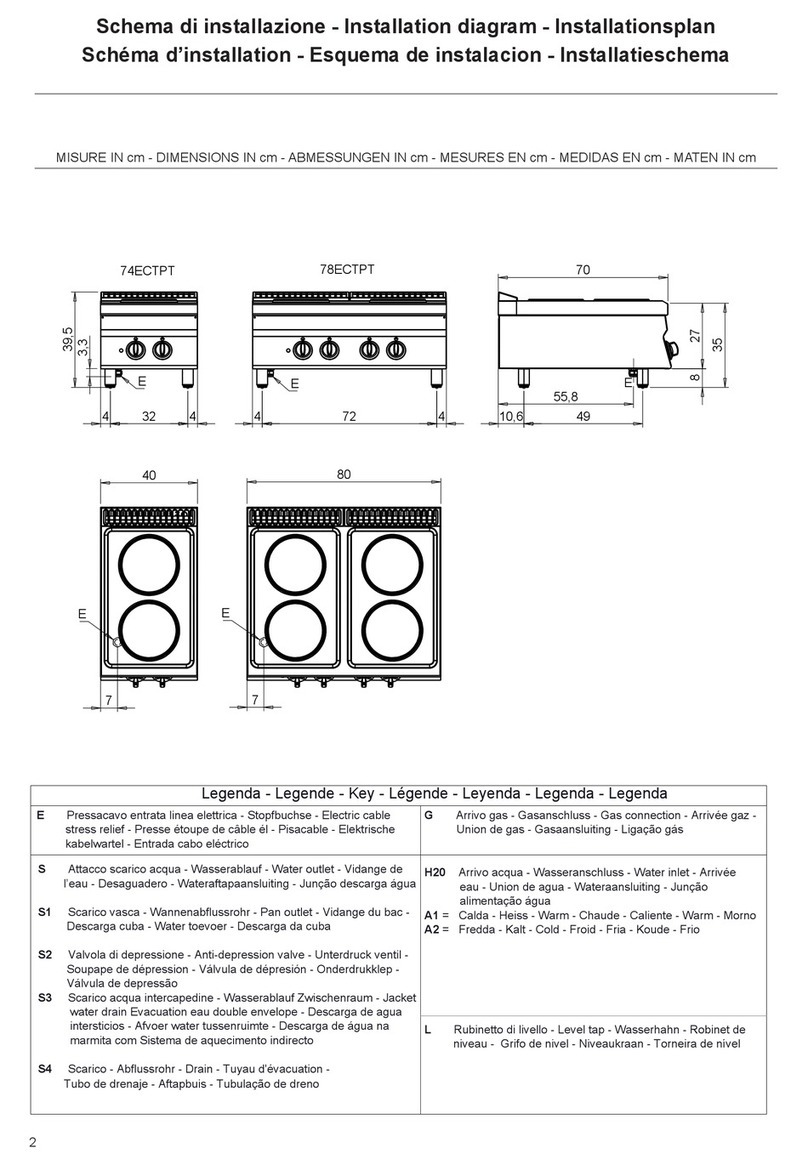
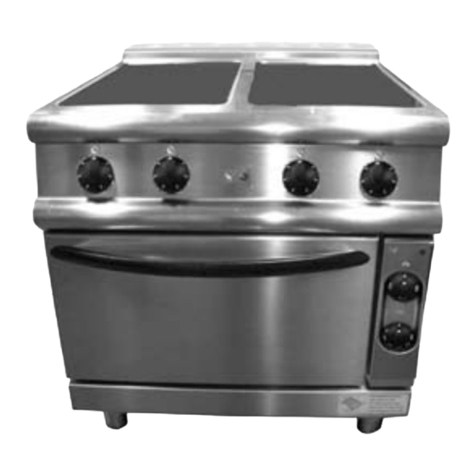
Metos 700 Series User manual

ELECTRIC RANGES
700 Series
TYPE: 72/02TCEPT, 72/02TCEPQ, 74/02TCEPT, 74/02TCEPQ, 76/02TCEPT, 76/02TCEPQ,
72/02CEPT, 72/02CEPQ, 74/02CEPT, 74/02CEEPT, 74/02CEPQ, 74/02CEEPQ, 76/02CEPT,
76/02CEEANPT, 76/02CEEEACPT, 76/02CEPQ, 76/02CEEANPQ, 76/02CEEEACPQ
Installation and Operation Manual
S/N: Rev.: 1.0


16.2.2004 Rev. 1.0
Dear Customer,
Congratulations on deciding to choose a Metos appliance for your kitchen activities. You
made an excellent choice. We will do our best to make you a satisfied Metos customer
like thousands of customers we have around the world.
Please read this manual carefully. You will learn correct, safe and efficient working meth-
ods in order to get the best possible benefit from the appliance. The instructions and hints
in this manual will give you a quick and easy start, and you will soon note how nice it is
to use the Metos equipment.
All rights are reserved for technical changes.
You will find the main technical data on the rating plate fixed to the equipment. When you
need service or technical help, please let us know the serial number shown on the rating
plate. This will make it easier to provide you with correct service.
For your convenience, space is provided below for you to record your local Metos service
contact information.
METOS TEAM
Metos service phone number:...............................................................................................
Contact person:....................................................................................................................

16.2.2004 Rev. 1.0

16.2.2004 Rev.
1. General .......................................................................................................... 1
1.1 Symbols used in the manual .......................................................................................... 1
1.2 Symbols affixed to the appliance .................................................................................. 1
1.3 Checking correspondence between the handbook and the appliance ............................ 2
2. Safety .............................................................................................................. 3
2.1 Using the appliance safely ............................................................................................. 3
2.2 Safety instructions in case of malfunction ..................................................................... 3
2.3 Disposing of the appliance ............................................................................................ 3
3. Functional description .................................................................................. 5
3.1 Intended use .................................................................................................................. 5
3.1.1 Prohibited use ....................................................................................................... 5
3.2 Construction .................................................................................................................. 5
3.3 Operating principle ........................................................................................................ 5
3.3.1 Operating switches and pilot lights ........................................................................ 6
4. Operating instructions ................................................................................. 7
4.1 Before using the appliance ............................................................................................ 7
4.1.1 Preparing the use .................................................................................................... 7
4.2 Using the appliance ....................................................................................................... 8
4.2.1 Turning on the appliance ....................................................................................... 8
4.2.2 Cooking .................................................................................................................. 8
4.2.3 Turning off the appliance ....................................................................................... 8
4.2.4 Turning on the electric oven .................................................................................. 9
4.2.5 Turning on the hot cupboard .................................................................................. 9
4.2.6 Preheating ............................................................................................................ 10
4.3 After-use care .............................................................................................................. 10
4.3.1 Cleaning ............................................................................................................... 10
4.3.2 Routine cleaning .................................................................................................. 10
4.3.3 Periodic maintenance ........................................................................................... 11
16.2.2004 Rev.
5. Installation ................................................................................................... 13
5.1 General information ..................................................................................................... 13
5.2 Storage ......................................................................................................................... 13
5.3 Unpacking the appliance ............................................................................................. 13
5.4 Disposing of packaging materials .............................................................................. 13
5.5 Installation ................................................................................................................... 14
5.6 Electrical connection ................................................................................................... 15
5.6.1 Connecting the connection cable to the terminal block (countertop and freestanding
ranges)[72PT,72PQ,74PT,74PQ,76TPT,76TPQ,72TPT,72TPQ,74TPT,74TPQ,76PT,76
TPQ] .............................................................................................................................. 15
5.6.2 Connecting the connection cable to the terminal block (ranges with oven)
[74EPT,74EPQ,76EANPT,76EEPT,76EANPQ,76EEACPQ] ..................................... 15
5.7 Air conditioning .......................................................................................................... 16
5.8 Staff training ................................................................................................................ 16
6. Troubleshooting .......................................................................................... 17
8. Technical specifications .............................................................................. 29

16.2.2004 Rev. 1.0
General
1
1. General
Read the instructions in this handbook carefully: they contain important information re-
garding proper, efficient and safe installation, operation and maintenance of the appli-
ance.
Keep this handbook in a safe place where it is readily available for consultation by other
users of the appliance.
This appliance must be installed in accordance with the manufacturer's instructions and
local regulations, and it must be connected to the electrical supply exclusively by a li-
censed electrician.
Persons responsible for using this appliance must be specifically trained in its operation.
Switch off the appliance in the case of faults or incorrect operation. The periodical func-
tion checks prescribed in this handbook must be carried out in compliance with the rele-
vant instructions. The appliance must be serviced by a technically qualified person
authorized by the manufacturer and using exclusively genuine original spare parts when
replacements are necessary.
Failure to comply with the foregoing prescriptions may compromise the safety of the ap-
pliance.
1.1 Symbols used in the manual
This symbol indicates situations associated with imminent safety hazards. Compliance
with the instructions provided is mandatory in order to prevent injury.
This symbol indicates the correct procedures to adopt to avoid unacceptable cooking re-
sults, damage to the appliance, and hazardous situations.
This symbol denotes recommendations designed to allow the user to obtain the maximum
possible performance from the appliance.
This symbol denotes information concerning functions that must be considered for the
purposes of control processes.
1.2 Symbols affixed to the appliance
This symbol indicates the presence of electrical terminals behind the component to which
it is affixed. The component in question may be removed exclusively by qualified person-
nel.

16.2.2004 Rev. 1.0
General
2
1.3 Checking correspondence between the handbook and the appliance
The appliance serial number is shown on the rating plate. If the handbooks are misplaced,
new copies may be ordered from the manufacturer or the local dealer. When ordering new
handbooks always quote the serial number shown on the rating plate.

16.2.2004 Rev. 1.0
Safety
3
2. Safety
2.1 Using the appliance safely
Being designed for professional use, this appliance should be used by qualified personnel
only.
Never leave the appliance unattended while in use!
Do not move the appliance while hot!
IF OIL SHOULD CATCH FIRE, NEVER USE WATER TO EXTINGUISH IT.
2.2 Safety instructions in case of malfunction
If oil should catch fire, use a fire extinguisher or an extinguishing blanket to smother the
fire.
In the event of failure or malfunction, disconnect power to the appliance. Call service.
In an emergency, use the main switch to disconnect power to the appliance.
2.3 Disposing of the appliance
This appliance has been madeo of recyclable raw materials and it does not contain any
hazardous or toxic substances. Dispose of the appliance in full compliance with applicable
local regulations in force where the appliance is being used. Packaging materials should
be sorted according to their types and delivered to specific collection sites. Please abide
by environmental protection regulations.

16.2.2004 Rev. 1.0
Safety
4

16.2.2004 Rev. 1.0
Functional description
5
3. Functional description
3.1 Intended use
This electric range is intended to cook food in pots and pans placed on the cooking plates.
3.1.1 Prohibited use
This electric range is not designed to cook food directly on the cooking plates.
3.2 Construction
Stainless steel bearing structure resting on four height-adjustable feet. Outer covering and
worktop are all stainless steel (AISI 304).
3.3 Operating principle
The heating elements underneath the cooking plates heat their surface to the desired tem-
perature.
When cooking food, any energy savings will depend on the quality of pots and pans, and
in particular of their bottom.
Pots and pans should have a diameter slightly larger than the cooking plate and be suitable
for electric cooking plate cooking.

16.2.2004 Rev. 1.0
Functional description
6
3.3.1 Operating switches and pilot lights
1. 7-position selector switch
2. “Power on” pilot light
By turning the selector switch to the desired setting, the pilot light will go on and the cook-
ing plate will start heating. Heating is effected by means of conductive heat provided by
electric cast-iron cooking plates. Cooking plate temperature can be controlled by a 7-po-
sition switch.
1. OFF position
2. Lowest effect
3. Highest effect
2
1 1
12
3

16.2.2004 Rev. 1.0
Operating instructions
7
4. Operating instructions
4.1 Before using the appliance
4.1.1 Preparing the use
Remove all packaging materials and adhesive films from the range very carefully. Re-
move the protective plastic film from the panels, being careful not to leave any traces of
glue on the steel surface; if necessary, remove any glue traces left by using non-flammable
solvents.
Before cooking food for the first time, we recommend cleaning the appliance --and espe-
cially the cooking plates-- thoroughly.
Before cleaning the stainless steel parts, make sure that the detergent you intend to use
does not contain any abrasive substances and is suitable for stainless steel surfaces.
After cleaning the appliance, rinse it with clean water and wipe it dry with a cloth.
Before using the cooking plates for the first time, you should heat them to the highest tem-
perature for about 4 minutes, without placing any pots on them. During this first stage, the
protective coating will harden and reach its highest strength.
Never place the appliance under a jet of water to clean it!

16.2.2004 Rev. 1.0
Operating instructions
8
4.2 Using the appliance
4.2.1 Turning on the appliance
Turn on the appliance using the safety switch located outside the appliance.
By turning the knob to the desired effect setting, the pilot light will go on and the cooking
plate will start heating. Heating is effected by means of conductive heat provided by elec-
tric cast-iron cooking plates.
4.2.2 Cooking
1. Select the desired cooking effect using the selector switch.
2. When cooking food, any energy savings will depend on the quality of pots and
pans, and in particular of their bottom.
3. Pots and pans should have a diameter slightly larger than that of the cooking plate
and be suitable for electric cooking.
4. Always place lids on pots while cooking.
5. Use the HIGHEST setting to reach the desired cooking temperature, and then turn
effect down and keep it as low as required to continue cooking.
Never leave the appliance unattended while in use!
In the everyday use, only perfectly dry pots and pans should be used. Never place any wet
containers or any objects on which water may have condensed (such as pot lids) on the
cooking plates.
4.2.3 Turning off the appliance
Turn the electric range off by turning the selector switch to the "0" position. Now, the
green pilot light will also go off.
The cooking plates may still be burning hot!

16.2.2004 Rev. 1.0
Operating instructions
9
4.2.4 Turning on the electric oven
Select the required heating direction using the knob shown as item 23 in ”Fig. 5” . The
power indicator light (item 25) will come on. Set the cooking chamber temperature by
turning the operating thermostat knob clockwise (item 24). The heating elements will start
operating and both the power indicator light (item 25) and the oven operation indicator
light (item 26) will light up. The operation indicator light will go out as soon as the set
temperature is reached. Oven temperature can be set from 50°C to 300°C and to any value
in between.
An unpleasant smell the very first time it is operated can be considered as completely nor-
mal. In fact, this is due to the overheating of insulating materials and residues of oil used
during the metal working process. The first time you turn it on, don’t place any food in
the cooking chamber and set the temperature to 300°C until the smell disappears.
Fig. 5
7. Hot cupboard thermostat knob
23. Knob to select oven heating direction
24. Oven thermostat knob
25. Power indicator light
26. Oven operation indicator light
27. Hot cupboard operation indicator light
4.2.5 Turning on the hot cupboard
Select the desired temperature using the hot cupboard knob (item 7 in ”Fig. 5” ). The heat-
ing elements will start operating and the operation indicator light (item 27 in ”Fig. 5” )
will come on. This indicator light will go out as soon as the set temperature is reached.
Hot cupboard temperature can be set from 30°C to 90°C and to any value in between.
An unpleasant smell the very first time it is operated can be considered as completely nor-
mal. In fact, this is due to the overheating of insulating materials and residues of oil used
during the metal working process. The first time you turn it on, don’t place any food in
the cooking chamber and set the temperature to 90°C until the smell disappears.

16.2.2004 Rev. 1.0
Operating instructions
10
4.2.6 Preheating
Preheating the chambers will ensure excellent cooking results. To do so, make sure that
the door is closed and set cooking chamber temperature to a value that is about 25-50°C
higher than the required cooking temperature. Considering the decrease in temperature
that occurs in the chamber when you open the oven door, you should wait until the set
temperature has stabilised (the "heating on" indicator light goes out) before placing any
products into the oven and setting the cooking temperature. If you need to cook foodstuffs
that require high temperatures, leave the pans or wire shelves in the oven while preheating
it.
4.3 After-use care
4.3.1 Cleaning
Before carrying out any cleaning or maintenance operations, turn the appliance off and
disconnect it from the electricity supply.
The main causes for stainless steel wear or corrosion are:
• using abrasive or acid detergents, especially chlorine-based products such as hy-
drochloric acid or sodium hypochlorite (bleach). Therefore, before buying a deter-
gent, make sure that it does not cause stainless steel corrosion;
• stagnation of ferrous deposits (such as those created by rust dissolved in the water
flowing through the piping, especially after the appliance has remained idle for
some time). Therefore, avoid such stagnation. Do not use wire wool pads to re-
move the most stubborn food stains. Use, rather, wool or spatulas made of stainless
steel or softer, non-ferrous materials;
• stagnation of substances having acid components such as vinegar, lemon juice,
sauces, salt, etc. Avoid prolonged contact of the stainless steel surfaces of the ap-
pliance with those substances. The evaporation of saline solutions over the surfac-
es of the appliance is particularly harmful to them.
Cleaning the appliance thoroughly on a daily basis (switch power off!) is the best way to
keep it in excellent working condition and increase its lifetime.
Never use direct water jets to clean the appliance, as this could cause water to enter the
appliance and damage it.
4.3.2 Routine cleaning
Clean the appliance with a damp cloth and soapy water or detergent, but avoid acid or
abrasive detergents as discussed above. Those detergents should not even be used to clean
the floor near the appliance, as their vapours may deposit on the steel surfaces and damage
them. Rinse the appliance off with clean water and wipe it dry.
Carry out routine cleaning using a damp cloth. To remove the most stubborn food stains,
pour a small quantity of regular detergent on the cloth. Finally, eliminate any residue of
detergent from the cooking plate and dry it by heating it for a few seconds. After complet-
ing this operation, apply a thin film of vegetable oil.

16.2.2004 Rev. 1.0
Operating instructions
11
Scratches and dark stains
Scratches and dark stains may be smoothed or removed by using stainless steel wool pads
or synthetic abrasive sponges, rubbing always in the same direction as the satin finish.
Rust
If you need to remove rust stains, contact manufacturers of industrial detergents to find a
suitable product. Industrial descaling products can also be used for this purpose. After us-
ing the cleaner and rinsing off the appliance with clean water, an alkaline detergent may
be required to neutralize any acid compounds left on the surface.
In order to prevent any corrosion spots from forming or any bad smells from building up
as a result of the burning of food residue, you should make sure that the cooking plates
have been thoroughly cleaned before each cooking cycle.
Idle period
If the appliance remains idle for some time or in the event of a failure, abnormal operation,
etc., disconnect power to it; clean the appliance and wipe it dry, and then protect it by ap-
plying a film of a suitable product (such as vaseline oil spray or similar products).
If the appliance fails to work, contact the service.
4.3.3 Periodic maintenance
Only qualified personnel are allowed to carry out service and maintenance procedures.
The following maintenance operation should be performed at least once a year:
- checking for proper operation of all control devices.
We strongly recommend concluding a maintenance agreement with the supplier, provid-
ing for at least one check-up per year.

16.2.2004 Rev. 1.0
Operating instructions
12

16.2.2004 Rev. 1.0
Installation
13
5. Installation
5.1 General information
The manufacturer cannot be held liable for any damage to property or injury to persons
due to installation errors or inappropriate use of the appliance.
Check that the appliance is preset to use the voltage rating available at the location where
it is installed. Should the available voltage rating be different, do not install the appliance.
5.2 Storage
If the appliance is stored in a warehouse where room temperature is below 0°C, it should
be warmed up to at least +10°C prior to use.
5.3 Unpacking the appliance
Prior to installation, remove all packaging materials from the range. Some parts are
wrapped in adhesive film, which should be thoroughly removed. Remove any glue traces
left on the surfaces of the appliance by using suitable non-flammable substances. Abso-
lutely avoid using abrasive substances.
5.4 Disposing of packaging materials
All packaging materials should be disposed of in compliance with the local regulations in
force where the appliance is installed. Packaging materials should be sorted according to
their types and delivered to specific collection sites. Please abide by environmental pro-
tection regulations.

16.2.2004 Rev. 1.0
Installation
14
5.5 Installation
If the range is installed near other electrical appliances, ensure that they do not interfere
with each other. Each applience should have an independently used power supply. Before
turning on any heating element, make sure that all packaging materials and protective
films have been removed.
Level the appliance using a bubble level. The appliance can be height-adjusted by means
of its adjustable feet (height can be adjusted from 860 to 900 mm, while only small ad-
justments can be made to countertop appliances). In this way, the appliance will be firmly
secured.
Ensure compliance with all workplace fire and safety regulations.
The appliance should be installed, serviced and connected to the power supply as well as
started up only by an authorised installer that must ensure full compliance with the safety
regulations in force in the place where the appliance is installed.
For your information, we remind you that all appliances installed in premises open to pub-
lic must meet the following requirements:
The appliance must be both installed and serviced in compliance with all applicable rules
and legal regulations in force, namely:
• Safety regulations on fire hazard and panic in premises open to public.
• General regulations valid for all appliances:
• Heating, ventilation, refrigeration, air-conditioning, and generation of steam and
hot water for sanitary use.
• Installation of professional cooking appliances.
• Specific regulations applicable to each type of premises open to public (hospitals,
shops, etc.).
If the appliance is installed with its sides next to flammable walls (made of wood or sim-
ilar materials) or to heat-sensitive walls (made of plasterboard or similar materials), suit-
able protective measures should be taken to keep such walls undamaged. Apply a coating
to insulate the walls from radiating heat or keep a minimum clearance of 50 mm (2") from
the side of the appliance.
The manufacturer cannot be held liable for any damage to property or injury to persons
due to installation errors or inappropriate use of the appliance.
Other manuals for 700 Series
7
This manual suits for next models
15
Table of contents
Other Metos Range manuals

Metos
Metos FUTURA RP4 User manual

Metos
Metos 92/04 VTC User manual

Metos
Metos 2500 Setup guide

Metos
Metos 72/02VTC User manual

Metos
Metos 92/04 TCG User manual

Metos
Metos ARDOX S2 User manual

Metos
Metos Proxy Series User manual

Metos
Metos OCFG 120 User manual

Metos
Metos 74ECTPT User manual

Metos
Metos Proxy Series User manual

Metos
Metos Ardox C4 User manual

Metos
Metos IEC4 User manual

Metos
Metos OPCE 40 User manual

Metos
Metos ARDOX S 4 series User manual

Metos
Metos 900 Series User manual

Metos
Metos 72/02CG User manual

Metos
Metos 7210TCG User manual

Metos
Metos ARDOX S 6 series User manual

Metos
Metos ARDOX IE User manual

Metos
Metos CHEF 200 User manual