QUICK START
23
The Little Tikes Company makes fun, high quality toys.We warrant to the original purchaser that this product is
free of defects in materials or workmanship for one year * from the date of purchase (dated sales receipt is
required for proof of purchase). At the sole election of The Little Tikes Company, the only remedies available
under this warranty will be the replacement of the defective part or replacement of the product.This warranty
is valid only if the product has been assembled and maintained per the instructions.This warranty does not
cover abuse, accident, cosmetic issues such as fading or scratches from normal wear, or any other cause not
arising from defects in material and workmanship. *The warranty period is three (3) months for daycare or
commercial purchasers. U.S.A and Canada: For warranty service or replacement part information, please visit
our website at www.littletikes.com, call 1-800-321-0183 or write to: Consumer Service, The Little Tikes
Company, 2180 Barlow Road, Hudson OH 44236, U.S.A. Some replacement parts may be available for purchase
after warranty expires—contact us for details. Outside U.S.A and Canada: Contact place of purchase for
warranty service.This warranty gives you specific legal rights,and you may also have other rights,which vary
from country/state to country/state. Some countries/states do not allow the exclusion or limitation of
incidental or consequential damages, so the above limitation or exclusion may not apply to you.
IMPORTANT INFORMATION
TROUBLESHOOTING
LIMITED WARRANTY
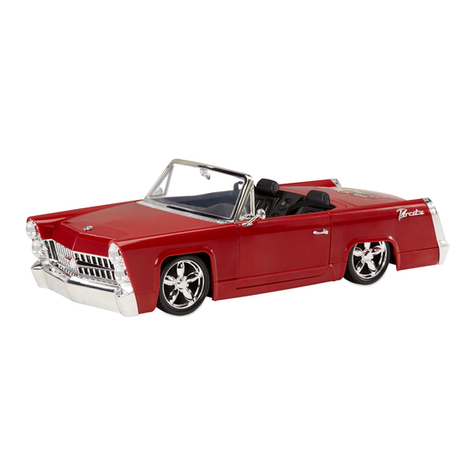
Aim the remote receiver at the RC car and press the
left button to move the RC car forward. Press the
center button for lights and sound eects!
Press the right arrow to turn the RC car in place.
•If the RC car is in the ON position for an extended time, it will go into sleep mode. Turn it o and back on
to restart the RC car. Ensure the remote control is also in the ON position.
•Always turn the unit and remote control OFF after playing to preserve battery life.
•Recommended for use on hard surfaces like wood ooring.
• The RC car has a lengthy, but limited range. Keep the remote close to the RC car during use.
•Keep long hair or loose apparel, such as shoestrings, away from the turning wheels of the RC car.
• Do not play with the RC car in the street or where there is vehicular traffic or in heavily traveled areas with
pedestrians.
• Do not stand on, sit or throw the RC car, as doing so can result in injury to the person and irreversible
damage to the unit.
• Do not run the RC car into furniture, walls, people, pets, etc., as doing so may cause injury to the people
and pets and irreparable damage to the unit.
• Do not drive the RC car through mud.
•Wipe clean with a damp cloth and air dry thoroughly. Keep water away from the battery compartments.
•From time to time, objects may become entangled in the wheels. Check for debris and remove regularly.
• Frequency band range is 2.412GHz - 2.468GHz.
• Maximum radio-frequency power is 3dBm.
1
34
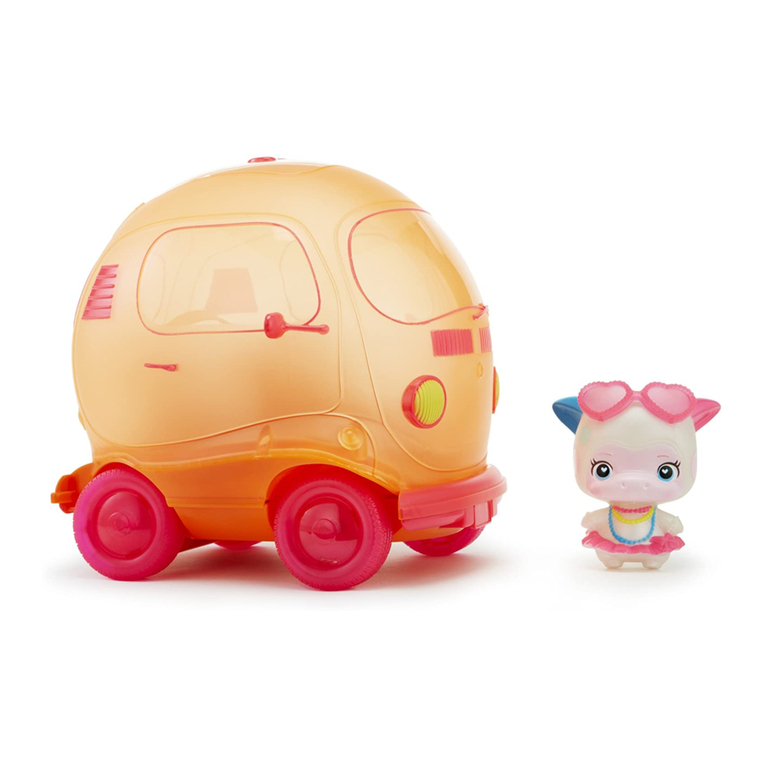
Open and close the
RC car’
s wing doors to reveal pictures!
5
2
Move the switch on the back of the controller
to the ON position. The light on the center
button of the remote will ash.
Move the switch under the RC car from OFF to ON. The
light on the center button of the remote will remain
solid, indicating the remote and RC car are paired.
If the RC car does not respond:
• The RC car may be out of range. Bring the remote closer to the RC car.
• Check that the RC car and remote control are both turned on.
• Turn the remote and RC car off and back on again to pair them.
• The batteries in the RC car and/or remote control may need to be replaced.
Recommended for use on hard surfaces like wood ooring.
RC CAR BATTERY INSTALLATION
Before playing, an adult must install
fresh alkaline batteries in the RC car.
Here’s how:
1. Using a Phillips screwdriver (not
included), remove the screw and
battery compartment cover
located under the RC car.
2. Install three (3) fresh 1.5V AA (LR6)
alkaline batteries (not included) in
the RC car making sure the (+) and
(-) ends face the proper direction
as indicated inside the battery
compartment.
NOTE: Batteries are layered with one
battery on the bottom layer and
two remaining batteries above it.
3. Replace the compartment cover
and tighten the screw.
3 x AA Batteries
1.5V AA/LR6
1.5V AA/LR6
+
OFFON
OFFON
