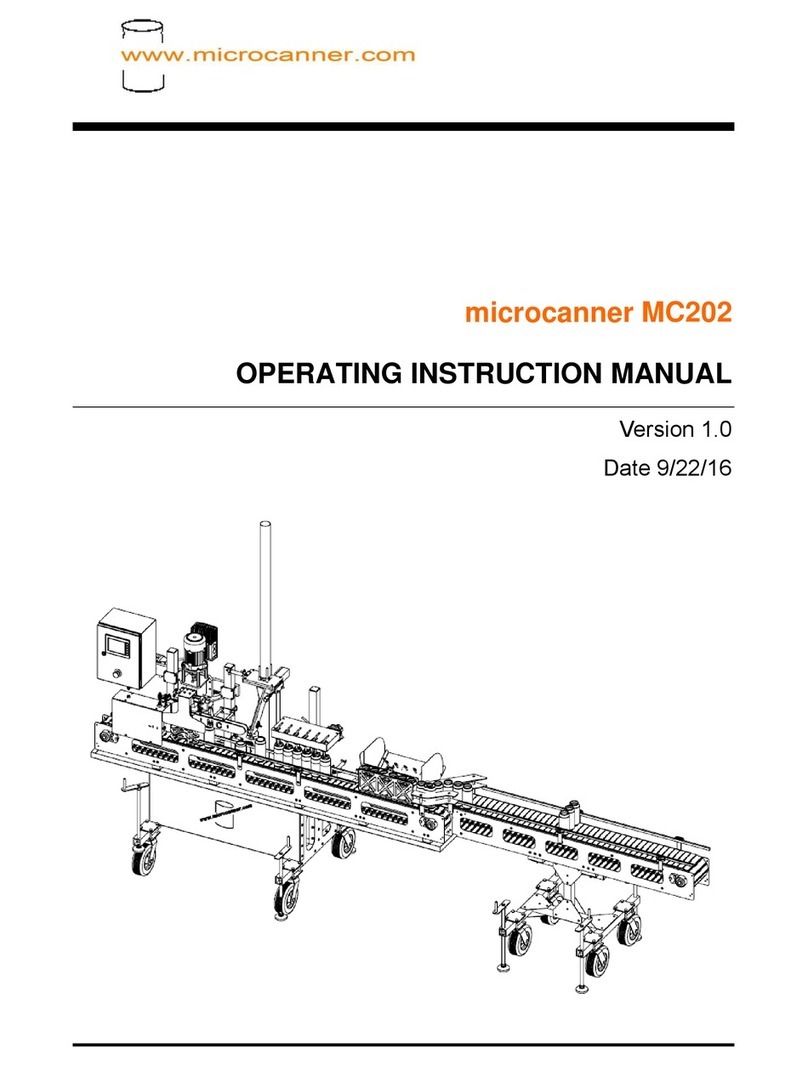
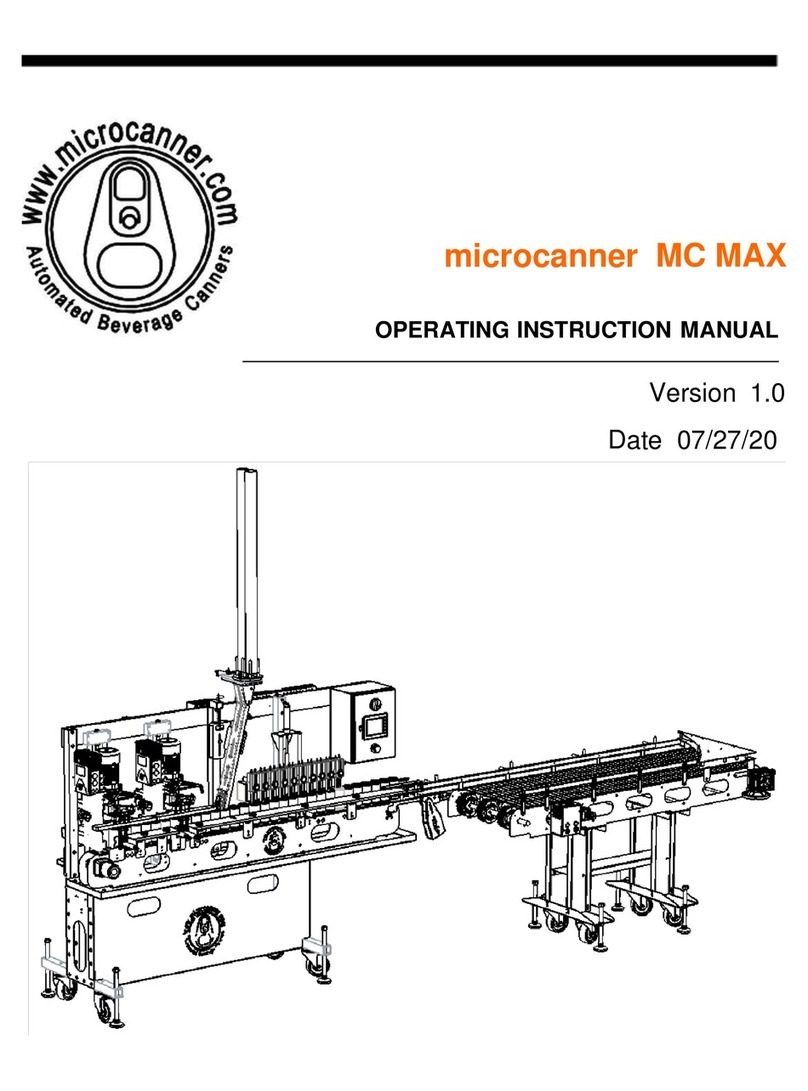
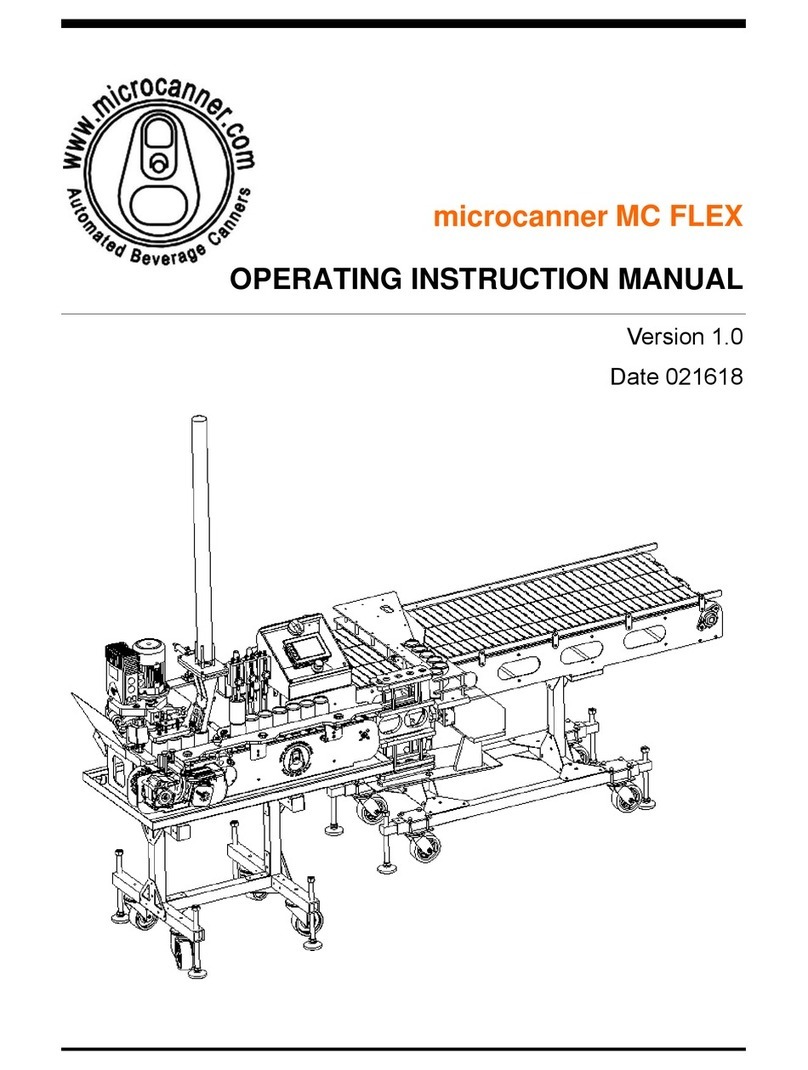
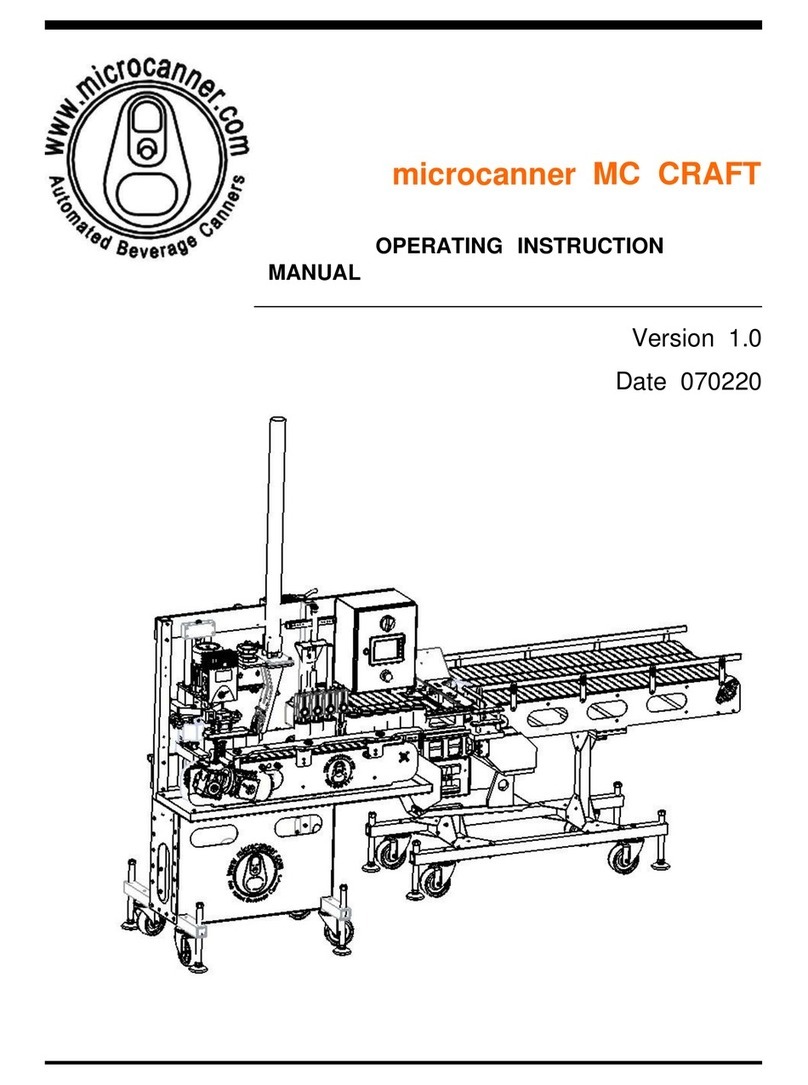
Microcanner MC ATOMIC Instruction Manual

Date
04/29/21
Microcanner
MC ATOMIC
OPERATING
INSTRUCTION
MANUAL
Version 1.1

microcanner MC-ATOMIC
MC-ATOMIC (V1.0) PAGE 2 OF 19
WARNING!
OPERATING AUTOMATED EQUIPMENT IS DANGEROUS, DO NOT OPERATE THE
MC ATOMIC CANNING SYSTEM UNTIL YOU HAVE READ THIS MANUAL AND
HAVE RECEIVED PROPER TRAINING. PRECAUTIONS MUST BE TAKEN TO
SAFEGUARD OPERATORS. OPERATORS MUST BE TRAINED AND AWARE OF
DANGER POINTS. FAILURE TO FOLLOW SAFETY RULES COULD RESULT IN
INJURY OR DEATH.

microcanner MC-ATOMIC
MC-ATOMIC (V1.0) PAGE 3 OF 19
IMPORTANT SAFETY PRACTICES
●Conveyors are dangerous and present entanglement hazards. Loose clothing,
hair, and jewelry should be avoided at all costs. Never place hands near or inside
of a moving conveyor.
●NEVER permit children, or un-trained operators anywhere near an operating
machine.
●In the event of an emergency, hit the E-stop.
●Never perform adjustments without being in E-Stop mode, or unplugging.
●Never plug into an outlet that is not GFCI. Water and electricity do not mix.
●Never open the control panel while powered up / plugged in.
●Keep clear of all moving parts.
●Clear machine jams only when in E-stop mode or fully powered down.
●It is recommended that you wear safety glasses anytime during operation of the
MC-ATOMIC canning system.
TABLE OF CONTENTS
1. INTRODUCTION-----------------------------------------------------------------------------------
2. MACHINE REQUIREMENTS-------------------------------------------------------------------
3. GENERAL MACHINE SERVICE-------------------------------------------------------------4.
START UP PROCEDURE-----------------------------------------------------------------------
5. SEAM SETUP GUIDE----------------------------------------------------------------------------
6. CHANGE OVER PROCEDURE--------------------------------------------------------------7.
HMI OPERATERATIONS-----------------------------------------------------------------------
8. TIPS FOR A SUCCESSFUL RUN----------------------------------------------------------
---

microcanner MC-ATOMIC
MC-ATOMIC (V1.0) PAGE 4 OF 19
1. INTRODUCTION
●Thank you for purchasing a Microcanner MC ATOMIC canning system.
This manual is written for your benefit to help you fully understand how
to operate and service your machine. With proper operation and
service your machine will offer you years of service.
●The MC ATOMIC canning system is designed to run 12 & 16oz 202
series cans and Sleek Series cans with a few simple changeover
steps. The machine will run up to 25 cases per hour, this will vary from
product to product based on carbonation and/or specific gravity along
with temperature of the product.
2. MACHINE REQUIREMENTS
●For safety purposes you should plug your machine into a 110v 20 amp
GFCI outlet.
●Clean dry air supply to the machine. Below is an air dryer we would
suggest.
○https://www.smcusa.com/products/air-preparation-equipment/air-dr
yers/refrigerated-air-dryers/idf~127900
○Model IDF B3E-11N should be adequate. Consult your local SMC
representative prior to purchase.
○Failure to provide dry air will destroy valves and void the warranty.

microcanner MC-ATOMIC
MC-ATOMIC (V1.0) PAGE 5 OF 19
○Air Regulator at the machine is to be set at 80 P.S.I. If your
pressure needle jumps around during operation, you will need to
supply a surge tank near the machine.
○CO2 delivery system that is regulated to 20 P.S.I. (use the inline
flow controls on the can purge and under cap gas to restrict the
flow. The machine only needs a few PSI for this application. The
inline flow controls will allow you to make finer adjustments than the
regulator will). This line should have a standard quick connect for
hooking up to the filler head.
●34°F product @ 2.64 CO₂@ 15 PSI head pressure (head pressure will
vary and a longer line set may be required when running high gravity,
high IBU double IPA beer)
●Sanitizer pump to rinse filler valves (visit www.microcannerparts.com
for list of parts and instructions on assembling the pump)
●A drain under the machine or area for the water to run away from the
machine, so the bottom of the machine does not become submerged
more than ¼” in water.
3. GENERAL MACHINE SERVICE
Like any other piece of equipment, new car or tractor, your canning
machine needs to be cleaned, lubricated and periodically serviced.
Screws loosen, filters plug up with contaminates, sensors vibrate out of
adjustment and seam tooling wears. It is important to assign a technician
to learn the system and take good care of it.
●Prior to each use, all screws and sensors should be checked for
tightness.

microcanner MC-ATOMIC
MC-ATOMIC (V1.0) PAGE 6 OF 19
●During each use seams should be checked at least every 200 cans to
assure that bad cans are not being made due to worn out or loose
tooling.
●Drain beer from the fill line and run sanitizer through it after use.
Thoroughly clean fill level sensor and spray with alcohol.
●Following each use, the entire machine should be hosed off (no
pressure washers). A bucket of warm water and Dawn soap should be
prepared, and the machine be scrubbed with a soft plastic bristle bush.
All water spots should be polished off using vinegar and rags.
●After cleaning, a food grade zero weight grease
(https://www.mcmaster.com/1445K41/) needs to be applied to all
cylinders.
●Grease must also be applied to 1st operation and 2nd operation tooling.
While greasing, spin the form wheel. Stop pumping when you just
start to notice the RPM of the wheel drop from the grease contact.
●Prior to running the machine check to see if any water has
accumulated in the catch bowl of the regulator.
○To empty the catch bowl, push up on the chrome thumb screw on
the bottom of the regulator, once all the water is drained simply
stop pushing up on the thumb screw.
4. START UP PROCEDURE
1. Place the machine in the desired location.
2. Place a bubble level on the machine to ensure that it is level.
3. Verify that the machine has proper seamer head tension to the
cans. you want to run. Linked here is a video that shows how to
check tension.

microcanner MC-ATOMIC
MC-ATOMIC (V1.0) PAGE 7 OF 19
4. Verify that the cap shedder is at the appropriate running height.
Run a can by hand under the shedder to verify the end catches and
falls on top of the can.
5. Plug in the machine power. Hook up the air supply, connect CO₂on
the quick connect fitting located below the air supply quick connect
fitting.
6. With the machine on, e-stop button off, put the machine into
manual mode. Click the bottom right button on the main screen
labeled “test”. Once on the test screen, select the bottom button
“filler valve” to open the valve and let the sanitizer flow completely
through the fill lines.
a. During this process leave a can under the filling station and
press the “filler lift” so the fill tubes, CO₂tube and float can get
rinsed in the sanitizer.
b. Make sure sanitizer has fully made it through the system.
c. On the HMI turn the “fill valve” off.

microcanner MC-ATOMIC
MC-ATOMIC (V1.0) PAGE 8 OF 19
d. Let it sit for the desired amount of time.
e. Lower the can with “filler lift” button.
f. Remove the can filled with sanitizer.
g. Fully purge the system with products. *more details on
sanitizing in the training video.
7. Load ends into the cap feeder station.
8. Load cans onto the machine and the conveyor.
9. Hold back the first can from entering the fill station.
10.Put the machine into auto mode and release cans.
*Be sure to check the seam dimensions (5.4) on the first few
cans, and periodically throughout the run.
5. SEAM SETUP GUIDE
○GETTING STARTED
■Prior to getting started review the seam dimensions that your can
manufacturer supplies.
■Your machine will be set up prior to shipment, but you will want to
verify that the seams are still in spec prior to every run, and
periodically while running.
○GENERAL SEAMING INFORMATION
■There are 3 main components to the operation.
1. The center chuck is what the can is pressed into and holds the
can in place for seaming.
2. The 1st operation form tool is to the right of the chuck (when
looking from the can exit side of the machine) and starts the
seam by curling the end around the lip of the can.

microcanner MC-ATOMIC
MC-ATOMIC (V1.0) PAGE 9 OF 19
3. The 2nd operation form tool is to the left of the chuck (when
looking from the can exit side of the machine) and acts as an
anvil to flatten and seal the seam.
■Check out http://www.doubleseam.com/ for a wealth of great
information.
○HOW TO ADJUST SEAM FORM TOOLING
Always contact a Microcanner technician before making any
seam adjustments
1. You should read this section 5.3 and the next 5.4 to get a good
understanding of the necessary steps required to properly set up
your tool prior to adjusting any tooling.
2. It is recommended that any step in this section 5.3 be done with the
air powered down, turned off, and the seaming arms moved
manually to verify fit and function. Failure to follow this step could
result in damage to tooling and voiding warranty of the tooling.
3. Unless your chuck becomes loose, or a bearing fails, there is never
any need to adjust it.
4. When setting up the 1st and 2nd op form tools you want to have
about a paper thickness of air gap (.003”) between the shoulder of
the chuck, and the shoulder of the 1st op tooling. You want two
paper thickness of air gap (.006”) between the shoulder of the
chuck and the shoulder of the 2nd op tooling.

microcanner MC-ATOMIC
MC-ATOMIC (V1.0) PAGE 10 OF 19
5. To adjust the height on either form tool you first need to
loosen the two jam nuts, then the two set screws that
lock the threads of the form tools. Never use a set screw
that is not brass or brass tipped as you risk damaging the
threads of the form tool. You then turn the form tools
clockwise to raise the tool, or counter-clockwise to lower
the tool. Once in position, retighten the two set screws,
and jam nuts. Take care to make sure the form tools do
not move while retightening the clamp screws.
6. Linked here is a video covering how to adjust your op
height
7. To adjust the thickness of the seam you will have to
adjust the stroke of the cylinder. To do this you will first
need to loosen the jam nut on the rod of the air cylinder.
Then put a wrench on the rod of the cylinder and turn
accordingly. If you need a tighter seam, you will need to
unthread the rod from the rod end making your stroke
longer. If you need to loosen your seam, you will need to
thread the rod of the cylinder further into the rod end.
Retighten the jam nut once in desired position. Make

microcanner MC-ATOMIC
MC-ATOMIC (V1.0) PAGE 11 OF 19
sure you are working with the correct cylinder for the op
that needs to be adjusted
○HOW TO TEST AND MEASURE SEAMS
1. Start with the machine on, and in manual mode.
2. Take a can and fill it with water to give it structural rigidity. The can
will get crushed without fluid in it running through the seaming
station.
3. Place an end on the can, and place the can in the filling station
(ensure the machine is in manual before placing can)
4. Click on the “test” screen button
5. Hold the “index” button on the test screen to move the can into
position, once the can is fully under the chuck you can release the
“index” button.
6. Hit the OP1 button on the test screen to run only the first operation.
Measure the seam. (you will need to press the OP1 button again
after the seam is finished to release the can from the chuck)
7. Do the first operation until within spec, then proceed to check the
second operation by running the OP1 & OP2 seam.

microcanner MC-ATOMIC
MC-ATOMIC (V1.0) PAGE 12 OF 19
8. Hit the OP1 & OP2 to check the second operation. Measure the
seam. (you will need to press the OP1 & OP2 button again after
the seam finished to release the can from the chuck)
9. Compare your measurements to the seam dimensions supplied by
your can manufacturer. If dimensions are out of tolerance adjust
the tooling until within spec.
6. CHANGE OVER PROCEDURE
○ADJUSTING THE FLOAT
■Fill a can with water or product to the desired volume/weight, and
place it under the filling station.
■Ensure you're in manual mode, then go to the “test” screen. Press
the “filler lift” button to raise the can.
■Loosen the screw holding the bracket that mounts the float. Move
the bracket down until the float sensor light is activated on the “test”
screen. Then tighten the screw.
■Use the test screen to lower the can in the fill station.
■Remove setup can so the machine will be ready to run.

microcanner MC-ATOMIC
MC-ATOMIC (V1.0) PAGE 13 OF 19
○ADJUSTING THE MAIN HEAD
■Crack the four nuts loose on the top of the seamer head
■In manual mode place a can without a lid on the lift puck and use
the “test” screen to lift the can. Lower the seamer head to where
the top lip of the chuck is just under flush to the top lip of the can.
■Using calipers or a speed square, measure from the top of each of
the rods to the seamer head to ensure each corner of the seamer
head is the same height.
■Retighten all four seamer head nuts.
■Video here on how to adjust seamer head tension.
7. HMI OPERATIONS
■There are three menu screens on your HMI, which we will get into
in this section. You navigate through each screen by pushing one
of the two buttons in the lower left and lower right of each of your
screens.
■On the bottom left of the control panel, you will see a red
emergency stop button. This E-stop button will stop the entire
machine's processes, and is a vital piece of safety equipment.
Familiarize yourself with this button and its operations prior to
running the machine

microcanner MC-ATOMIC
MC-ATOMIC (V1.0) PAGE 14 OF 19
○MAIN SCREEN
1. Manual/Auto: This button controls if the machine will allow you
to manually control it or if you want the machine to automatically
run its functions. You will use manual mode for whenever you
want to manually control a certain part or process on the
machine. Auto lets the machine cycle cans through the machine
without needing user input. Manual alone should not be used
to do machine maintenance. Always press the e-stop
button prior to doing any maintenance.
2. RST/Count: This is used to count how many cans are
produced. Pressing the “RST” button will make the count reset
back to 0.
3. Test: This does not perform a machine function, clicking it
simply takes you to the test screen
4. Fill options: This does not perform a machine function, clicking
it simply takes you to the fill options screen

microcanner MC-ATOMIC
MC-ATOMIC (V1.0) PAGE 15 OF 19
○Test Screen
■CO₂- Triggers the CO₂valve to open, normally used when adjusting
the co2 regulator to ensure the regulator is set correctly
■Op1&Op2- This is used for checking your op2 seam, be sure to
have a can and lid placed under the chuck before activating this
button
■Op1- This is used for checking your op1 seam, be sure to have a
can and lid placed under the chuck before activating this button
■Filler lift- Used to raise the filler puck, used for sanitization process
and when adjusting the float
■Index- Normally used to get a test can under the seamer. You will
need to hold this button down for the duration you want the index to
retract for.
■Lift puck- Used to check seamer head height/can tension
■Filler valve- Used to open up the filler valve, normally used to
allow sanitizer to run through the lines.
■Can in place and Float sensors- These are not buttons but
indicators for when the sensor lights up. The float is used to

microcanner MC-ATOMIC
MC-ATOMIC (V1.0) PAGE 16 OF 19
determine when the float senses, normally used when setting float
heights
○Fill Options
■This screen is to be used for adjusting the settings of your fill
■Overfill- Determines how much time after the float gets triggered
that the fill continues for. If your goal weight for a finished can is
370 grams but your cans are weighing at 365 grams you would
increase this number to let more product into the can after the float
gets triggered.
■CO₂purge- Determines how long the CO₂will purge inside the
can.The timer starts when a can is seen by the “can in place”
sensor. If set for too long of time, the product could submerge the
CO₂tube while still flowing CO₂causing an excess of foam. If you
don't have enough foam on your fills you can extend the timer too
long on purpose to get additional foam.

microcanner MC-ATOMIC
MC-ATOMIC (V1.0) PAGE 17 OF 19
■Fill Delay- Determines how long of a delay after the “can in place”
sensor is triggered that the fill valve will open. You can use this in
correlation with the CO₂purge. Normal setting is 0.2 for the delay,
but if you wanted to purge your can with CO₂for 1 second before
the product goes into the can, you could increase your CO₂time by
1 second and then also increase your fill delay by 1 second. This
will slow down your cans per minute but it will purge the can for 1
second before letting in the product.
8. TIPS FOR A SUCCESSFUL RUN
8.1When canning you want the temperature of your product to be
as close to 32° as possible for your first run. The key to low
dissolved oxygen levels is to have a perfect marshmallow of
foam when the cans leave the fill head. To achieve this, tank
pressure, temperature and carbonation rates must be
experimented with on each beer until this desired condition is
met. When starting out, only can the beer you know will sell in
a couple of weeks.
8.2 Steps that need to be taken prior to dissolved oxygen testing
8.2.1 Measure dissolved oxygen at the tank. Preferably
this should be at or below 7 ppb.
8.2.2 Measure dissolved oxygen at the machine hook up
point following pasteurizer and buffer (if present).
Preferably we want to see a 0 PPB pick up at this point.
8.2.3 Be sure to remove site glasses from your tank. It is
very difficult to get all of the air purged out of the site

microcanner MC-ATOMIC
MC-ATOMIC (V1.0) PAGE 18 OF 19
glass. Even 1 teaspoon can destroy a lot of beer. We are
talking about parts per billion.
8.2.4 Never use a one and a half inch Brewers hose to
feed your canning line. You have three or four 3/16 inch
inner diameter hoses feeding each side of your line. The
calculated surface area of each hose comes out to
approximately .03 in.² Make a link hose no more than .75
Inner Diameter. Make this line as short as possible. The
less beer sitting on your floor the better. This is especially
true in the summer months coming up.
8.2.5 Before Canning, rotate all of your fittings and work
all of the air trapped inside these lines out until you are
running nothing but clear beer. One teaspoon of air can
destroy a lot of beer.It is easy to trap one teaspoon inside
a stainless steel wye fitting and not know it’s there. The
clear vinyl hose also helps with this.
8.2.6 CO2 pressure for the can purge should be between
5 and 9 PSI. Most big box store regulators are not very
accurate until above 35. I like to take a bic lighter and put
it under the CO2 can purge tube. It is important that the
flame dances without being blown out. When you achieve
this level it’s about the proper flow. Anything higher than
that will actually create a Venturi effect drawing air into
the can. Bernoulli’s principle.
8.2.7 With any beer other than a porter, or a hard seltzer
or something that doesn’t have a head this CO2 gas
should be completely turned off by turning the needle
screw clockwise all the way to the end position.

microcanner MC-ATOMIC
MC-ATOMIC (V1.0) PAGE 19 OF 19
8.2.8 Every beer / product recipe will vary from season to
season and density pressure altitude to density pressure
altitude. It is important that you keep thorough records of
what each recipe likes. A typical high IBU, IPA, at sea
level likes the following set up.
8.2.9 Make sure all overhead doors are closed all fans
are off and all hallway doors are closed. You do not want
air blowing through the Brewery while canning.
- 2.65 Parts of carbonation
- 35°C measured at the cannot at the supply. Use a
thermal pen to determine this temperature.
- Start with 12 psi Head pressure and slowly ramp up to
approximately 16 psi head pressure as the components
cool off. Stop when the foam becomes unmanageable,
and lids start skipping off at the Track. When this
happens, bleed off some CO2 and drop approximately
two psi. This will result in about 2.55 parts of carbonation
after the beer is canned. It is important to use the beers
own CO2 to expel oxygen.
Training Video:
https://drive.google.com/file/d/1c1un4Ve9fLPR4hiDTDF_Fg_0XaClspF5/view
?usp=sharing
Other Microcanner Industrial Equipment manuals
Popular Industrial Equipment manuals by other brands

EGAmaster
EGAmaster 57664 operating instructions

woodmizer
woodmizer SLAB-MIZER MB200AF Installation

Little Giant
Little Giant RFSN-16 quick start guide

Premier Manufacturing Co.
Premier Manufacturing Co. 536BK Installation, Inspection, Operation & Maintenance Guide

Band-it
Band-it Ultra-Lok UL4000 Clamping Instructions

PCB Piezotronics
PCB Piezotronics 351B11 Installation and operating manual