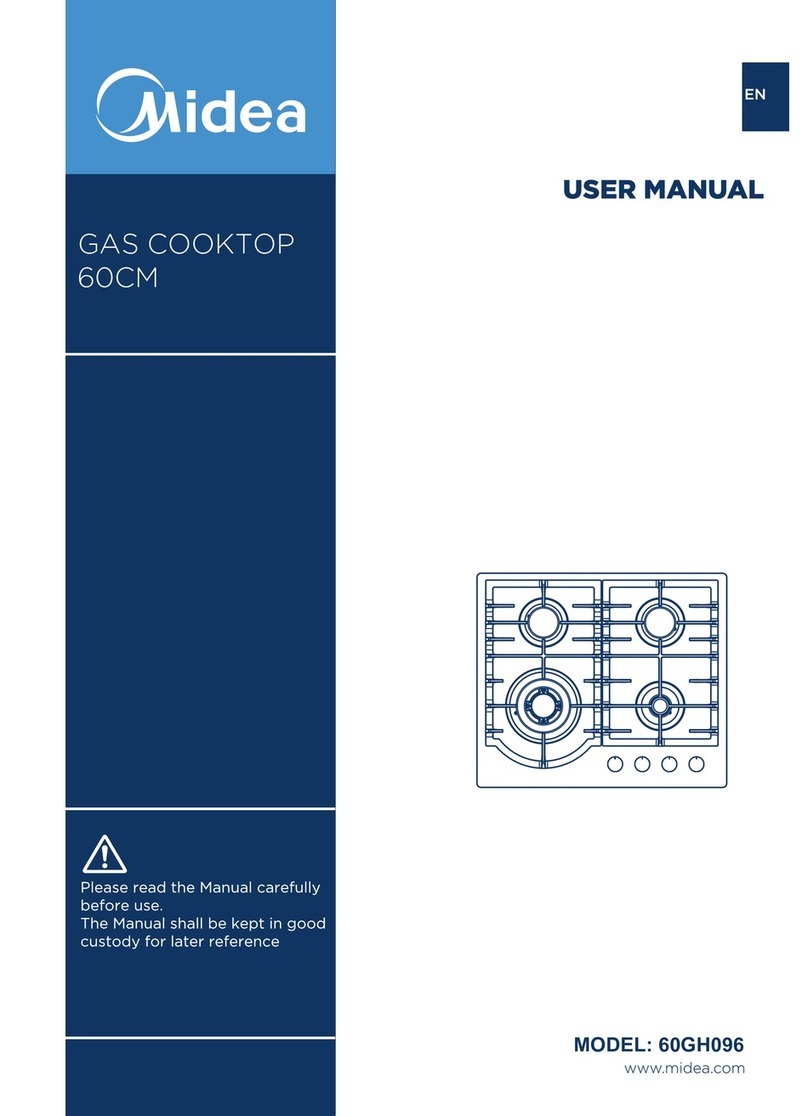
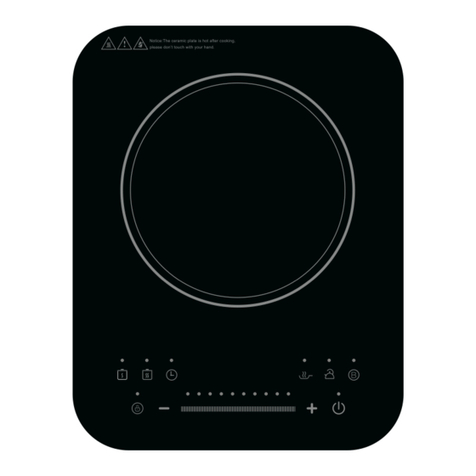
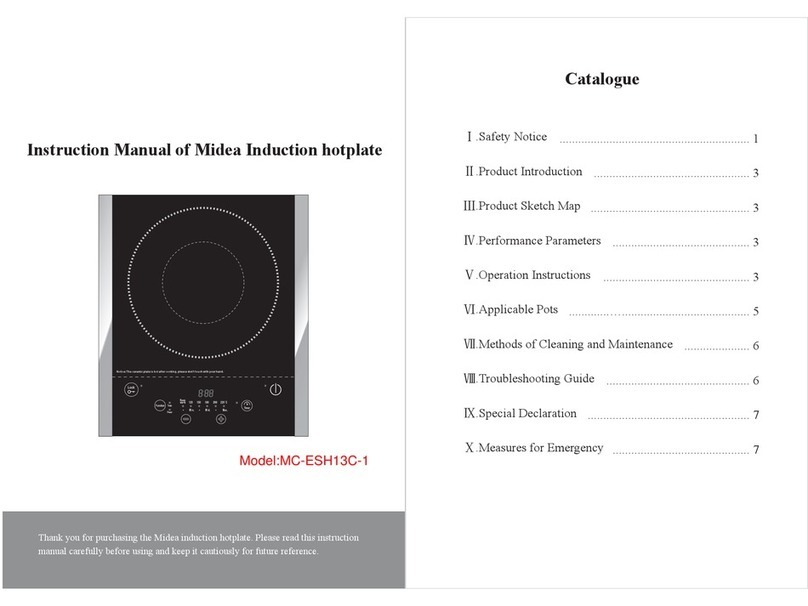
Midea MC-QHW2001 User manual

Induction Cooker
user’s manual
Model No.: MC-QHW2001

120W -2000W 380x296x40 2.4MC-QHW2001 2000W
220-240V 50/60
Model Rated
power
Power adjustment
range
Appearance
dimension
(mm)
Weight
(kg)
Safety instructions .......................................................
Product summary ........................................................
Part list .................................................................
Preparation ..............................................................
Instructions for use .......................................................
Proper pots ..............................................................
Cleaning and maintenance ................................................
Self-diagnosis for abnormalities ............................................
Guarantee for repairs and service ..........................................
1
6
6
6
7
11
12
12
13

Never heat food in sealed containers
such as compressed products like cans
or coffee pots, to avoid explosion caused
by heat expansion.
Never let the appliance run unattended.
Do not use empty vessels to avoid affecting
product performance and to prevent
injury
.
Do not heat iron items on the induction
cooker heating plate. It can get heated due
to high temperature.
Do not rinse this induction cooker under
water. Avoid spilling water and soup into
the internal parts of the induction cooker.
Do not place the induction cooker when
in use, on a gas stove (the magnetic
lines can heat the metal parts of the
gas stove)
Safety instructions
1
Children should be operating this appliance
under supervision to avoid injuries.

To avoid danger, do not insert any foreign
objects, such as iron wire, nor block the air
ventilation opening or entry port.
Do not place paper, aluminium foil, cloth or
other unsuitable articles onto the induction
cooker heating plate.
Do not put it on any metal platforms (such
as iron, stainless steel, aluminium), or
place a non-metal pad less than 10 cm
thick on the heating plate while the cooker
is in use.
Unplug the power cord from the outlet after
use to avoid fire and/or damaging the
electronic components caused by prolonged
electrical connection.
Safety instructions
2
People with heart pacemakers should avoid
using the appliance. It is advisable to
consult a doctor or pacemaker manufacturer
about your particular situation.
Avoid causing impacts on the heating plate.
It may damage the plate. If cracking is found
on the cooker plate, turn off the appliance to
avoid any electrical shock that might occur.

When using the induction cooker, place it
horizontally and allow atleast 10 cm of
free space between the sides and back of
the induction cooker and the wall. Do not
use the induction cooker in narrow spaces.
Please keep the ventilation opening free,
for release of heat.
Do not use the appliance if the plug or the
main cord or the appliance is damaged. If
the power cord is damaged, have it
replaced by agent of the manufacturer, its
service department or specialized person
from a similar department.
Please use a dedicated and high quality
power outlet, with high power rating (10A-16A).
Do not use poor quality outlets. It is advisable
not to share the power outlet with electrical
appliances with high power ratings, such
as an air conditioners, electrical stoves etc.
to avoid fires caused by overburdening
the outlet.
10A-16A
Safety instructions
3
Do not place the induction cooker onto a
carpet, tablecloth or thin paper while on
use to avoid blocking the air inlet opening
or air outlet opening, which will affect the
heat emission.
Metal objects, such as knives,forks,spoons
and lids should not be put on the surface
of the cooking area, as they will be heated.

When using the induction cooker or after
use, please keep it clean. Protect the
induction cooker from bugs, dust and
humidity. Avoid letting cockroaches etc
fall into the internal parts of the induction
cooker and causing a short circuit of the
electrical board. When not in use for a
long period, please clean it and put into a
plastic bag to store it.
Do not place the induction cooker near a
gas stove, kerosene stove, gas cooker or
in any space with an open fire or in an
environment with high temperature.
Safety instructions
4
Always clean the induction cooker to
prevent mess from getting into the fan,
which could influence the normal
operation of the appliance.
Always make sure the plug is inserted
firmly into the socket.
We suggest that you should periodically
check that there are no objects (glass,
paper, etc.) that could obstruct the inlet
under your induction hot plate.
This appliance is intended to be used in
household and similar applications such
as:
-staff kitchen areas in shops, offices
and other working environments;
-farm houses;-by clients in hotels, motels
and other residential type environments ;
-bed and breakfast type environments.

The instructions shall state that
appliance are not intended to be
operated by means of an external timer
or separate remote-control system.
Do not touch the cooking plate after
cooking, as it retains heat from the
cookware.
Please turn off and unplug the appliance before cleaning, maintenance or relocation
and whenever it is not in use.
After being used for a long time, the corresponding heating zone of the induction
hotplate is till hot. Never touch the ceramic surface to avoid burning.
Keep the main cord out of the reach of
children. Do not let the main cord hang
over the edge of the table or worktop
on which the appliance stands.
This appliance is not intended for use by
persons (including children) with reduced
physical, sensory or mental capabilities,
or lack of experience and knowledge,
unless they have been given supervision
or instruction concerning use of the
appliance by a person responsible for
their safety.Children should be
supervised to ensure that they do not
play with the appliance
.
Never connect this appliance to an
external timer switch in order to avoid
a hazardeous situation.
Do not plug in the appliance or operate
the control panel with wet hands.
Safety instructions
5

This induction cooker is designed for household use. Please refer to
the instructions for detailed cooking methods.
Ai r ou tle t Po wer co rd
Ai r in take
Control panel
Ceramic pl ate
Coo king zone
Part list
Prod uct su mmary
Prep a ra tion
Before using, please first check if the power plug connects well with the
power outlet.
Before placing the pot on the cooker plate, please clean up water stains,
oil spots or any other adherent dirt from the outside surface of the pot and
cooker plate.
Please put the pot to be heated on the central part of the induction
cooker. Do not put an empty pot on the cooker plate to be heated.
6

Instructions for use
Function selection
Connecting the power and switching on
Power adjustment
After press the “ON/STANDBY” key, press the function keys to
select the required mode. The induction cooker enters working mode.
After press the “ON/STANDBY” key, if no function key is pressed for
one minute, the induction cooker will switch off automatically.
After press the function key, if there is no proper pot on the cooker plate,
the induction cooker will not heat up and the alarm will sound to indicate
that a pot is required. One minute later, it will switch off automatically.
After switching on the appliance, press the “Function” to enter the desired
cooker mode.
Please refer to “Function Cooking Mode Instruction” for the details of the
corresponding heating process for each cooking mode.
After selecting a mode, you can press “+” or “-” to adjust
the power.
For some modes, during the heating procedure, the
induction cooker can automatically adjust the power
according to the cooking requirement.
For certain modes, the power is restricted complying
with the cooking requirement.
Timer adjustment
7
If timer function is not activated, the induction cooker
will heat the ingredients for the default time duration.
If timer is needed, first press the “Timer” key. When
the numbers blink on the display, press the key “+” or
“-” to adjust the time duration.
When the adjustment is finished, the number on the display
will be shown after blinking for several seconds. The induction
cooker starts counting down.
When the counting down is over, the induction cooker automatically
stops heating and switches off.
8
Instructions for use
The pause function is designed for temporarily stopping heating during the
normal operation process. You can switch to pause status in any cooking mode.
During operation, when pause is needed, please press the function key “Pause”.
Now, the pause indicator lights up, the display and other function indicators stay
in the previous status. The power indicator turns off and the induction cooker
stops heating.
When the induction cooker is in pause, press the “Pause” key
again or select any cooking mode to quit the pause status and
return tothe normal heating process.
After setting pause, the induction cooker stops heating. The
default pause time interval is 10 minutes. After 10 minutes, if the
pause mode is not cancelled, the induction cooker will sound an alarm.
The alarm will last for several seconds, then the induction cooker will
switch off automatically.
Pause adjustment
Switch off
When the operating time is over, the induction cooker
switches off automatically.
If switch off is needed in advance, press the “ ON/STANDBY ” key
to turn the appliance off.

9
Instructions for use
The cooking modes of Fry ,Fierce fire and Deep fry fit to high temperature
cooking. In the heating procedure, the time and power can be adjusted at
any time. When the temperature of the ingredients reaches the temperature
level provided by the selected mode (the highest temperature of various
modes are different), the induction cooker will switch to interval heating or
stops heating. After the temperature cools down, the induction cooker
restarts heating.
For the cooking modes of Soup and Braise, the induction cooker
can automatically control the power according to the time duration that has
been set and the temperature of the ingredients. Under these modes, the
power can be adjusted within the adjustable power range at any time. After
this manual adjustment, the induction cooker will return to auto power control
according to the cooking purpose two minutes later. Among these modes,
when Soup mode is selected, the induction cooker will start the
auto two-hour keeping warm function after the operation is finished.
The cooking mode of Slow fire fits to the situation that needs continuous
heating with gentle power. When using this mode to stew soup or porridge,
please first use the “Hot pot” mode to make the ingredients boil, and then
heat it by using “Slow cook”. The stewing time duration can be set according
to the feature of original material or personal taste.
Note:
Under this mode, the power cannot be adjusted. If adjustment is needed,
please switch to the other modes, such as “Hotpot”. Then the power can be
adjusted at will.
Functional cooking mode instructions
The cooking modes of “Hot pot” individually fit to heating requirements, such
as hotpot and boiling water. In the heating procedure, the time and power can
be adjusted at any time. If the water in the pot dries up or the temperature is
abnormally high, the induction cooker automatically switches off or starts
protection function.
Users can select among the different cooking modes according to cooking
purpose. For your convenience, we provide the following instructions:

10
Instructions for use
Functional cooking mode instructions
Boil mode is for boiling water. After the water is boiled, the induction cooker
can switch off automatically.
Note:
1.It is recommended to put water that occupies 30% to 80% of the pot capacity
when boiling water.
2.When boiling water, factors such as uneven pot bottom, scale or weather
conditions could influence the boiling effect.
3.Please use the specific stock pot or water kettle when boiling water.
Keeping warm cooking mode fits for cooking that needs gentle heat to
maintain warmth. Under this mode, the induction cooker heats the ingredients
with gentle power to maintain a certain temperature inside the pot.
Note: Under this mode, the power cannot be adjusted.

a
c
ef
b
d
Please use the attached pots sold by Midea. Do not use other pots as
replacements to avoid influencing the performance.
The maximum load for the frying pan is 4kg. When using it, do not let
the weight of the ingredients exceed this weight to avoid danger.
If other pots are used, please comply with the following conditions:
1. Requirements for pot material: containing iron material.
2. Requirement of pot shape: with even bottom, the diameter is not
less than 15 cm while not more than 18 cm.
Iro n stock p ot Iro n mil k po t
Iro n wok Iro n wate r kettl e
Iro n fryi ng p an Iro n stea mer p an
Note: For optimum performance, please use the standard pots
provided.
Proper pots
11

Be for e cle an in g, pl ea se switch o ff the ap pl ia nce fi rst an d the n
di scon ne ct the p owe r pl ug fr om the power ou tle t. Wai t til l the co oke r
pl ate o f the i nd ucti on co oke r is n ot ho t an d star t cle an in g.
Afte r usi ng th e in du ctio n coo ker fo r a lo ng ti me, the o pe ni ng o f air
in le t/ai r ou tle t wil l pi le u p with d ust o r oth er d ir t, ple ase wi pe i t with a
soft d ry cl oth . Dust in th e ai r in le t an d ou tle t can b e cle aned b y usi ng
a soft b ru sh or a mi ni va cuu m cle an er.
Note: Please do not rinse it with water
For o il sp ots on the cooker p la te, wi pe th e coo ker p la te by usi ng a
soft mo ist clo th with a l ittl e too th pa ste or mi ld d ete rg en t. And th en
use a so ft moi st clo th to wip e it un til n o stai n re mai ns.
Whe n no t usi ng i t for a l on g time , ple ase d isco nn ect th e po wer p lu g
fro m the p owe r ou tle t an d pr otect the in du ctio n coo ker fr om a ny d ust
or b ug s.
Abnormalities Key checkingpoints andtrouble shooting
After plugging in the power cord
and pressing the “ON/STANDBY” key,
the indicator and display do not
light up.
The “ON/STANDBY” indicator lights up
and the display works normally, but
heating does not start.
Heating suddenly stops during the
process.
Is the power plug properly connected?
Is the switch, power outlet, fuse or power cord
damaged?
Is the pot material proper?
For other causes, please take the appliance to a
repairing and maintenance site to be fixed.
Is the temperature of the oil too high when frying dishes?
Is the temperature of the surroundings very
high?
Is the air inlet or air outlet of the induction
cooker blocked?
Is the default heating time of the induction
cooker over?
The self-safety prot ection of the induction
cooker starts, wait for several minutes and
connect power to use it.
Cleaning and maintenance
Self-diagnosis for abnormalities
12

If pr ob le ms occu r with th e pr od uct, pl ea se con tact o ur sp eci fic r ep ai r
an d mai nte na nce si te or se rvi ce cen ter.
One year warranty for the whole chassis of induction cookers.
The starting warranty date refers to the invoice opening date of the product.
Any problem caused by the following items is not included in the warranty:
1. Damage caused by incorrect use, storing or maintenance by the customer.
2.Disassembling or repairing the appliance by a repair agent that is not
appointed by our company, resulting in damage to the appliance.
3. The model number on the invoice is different from the one of the product to
be repaired, or the model number on the invoice is modified.
4. No valid invoice.
5. Damage due to force majeure.
6. Putting the induction cooker to commercial use.
7. Using the product in a non-household environment is not covered by the
warranty scope.
8. Man-made issue or problems caused by incorrect use are not covered by
the warranty scope.
For those products beyond the warranty the customer service center of
the company will still serve you warmly
,
.
Guarantee for repairs and service
The description above is for diagnosing and checking common issues. If the problems cannot be
solved, please send the product to a repair and maintenance site or inquiry by calling service number.
In products without display function, switch/power indicators will blink to signal potential issues Please
pay attention to the key points of checking to solve the problems.
Do not disassemble or repair the product by yourself to avoid product damage or personal injury.
The protection codes appear
Protection for over-high
temperature of the
induction cooker
Protection for over-high
temperature of the
cooker plate
The temperature inside the induction cooker is too high. When
the temperature lowers, press the “O N/STANDBY ” key, the
heating can start normally.
The temperature of the cooker plate is too high. When the
temperature lowers, press the “O N/STANDBY ” key, the
heating can start normally.
Protection for the inner
sensor of the induction
cooker
When using the induction cooker, if the temperature of the
surroundings is too low, the auto protection function will start.
With switching on the appliance again or switching after simple
warm-up, the appliance can return to normal working status
automatically.
Call the service number or the professional repair and
maintenance site to make an inquiry.
13
Self-diagnosis for abnormalities

If there is technical amendment for the
product, it will be edited into the updated
version of the instruction manual. Please
be aware that we will not inform customers
of this separately. If the appearance or
color of the product is modified, please
refer to the real appliance as a standard.
Table of contents
Other Midea Cooktop manuals

Midea
Midea MIND179ST-B User manual

Midea
Midea MC-RTW1505M User manual

Midea
Midea MCG90SS User manual

Midea
Midea MC-ESH13C-1 User manual

Midea
Midea C16-RTY1619-GL User manual

Midea
Midea 60GH096 User manual

Midea
Midea 90GT503 User manual

Midea
Midea MC-HF605 User manual

Midea
Midea MCG601GBL User manual

Midea
Midea MCG90GBL User manual
Popular Cooktop manuals by other brands

US COOKING EQUIPMENT
US COOKING EQUIPMENT USFH-12-2 operating instructions

Haier
Haier HGRA201AAWW Conversion instructions

Maytag
Maytag ELECTRIC COOKTOP user guide

Cole Parmer
Cole Parmer HP-200 Series instruction manual

Airxcel
Airxcel PT1356 Use, installation and maintenance instructions

Miele
Miele CS 1018 G Operating and installation instructions