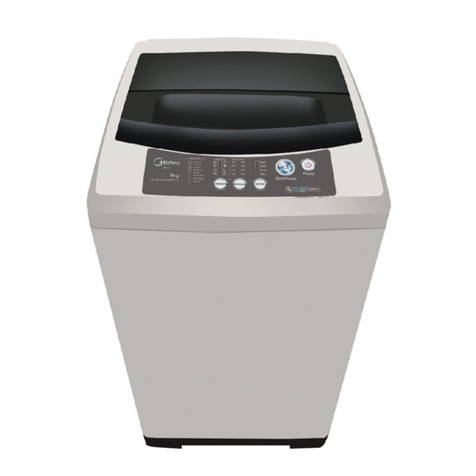
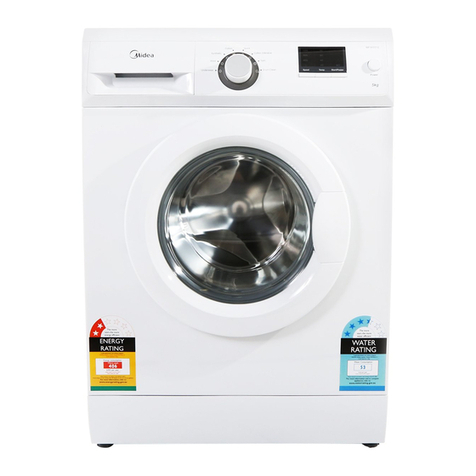
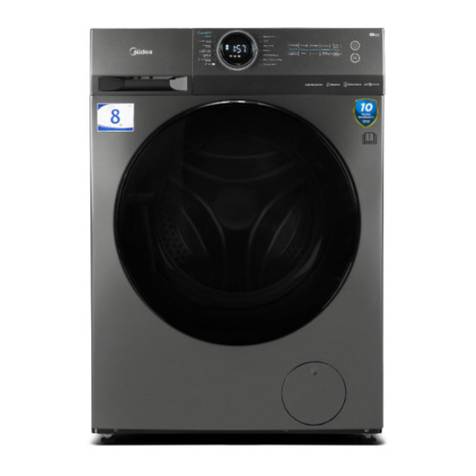
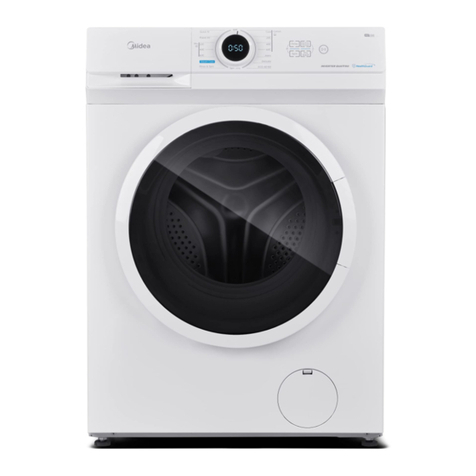
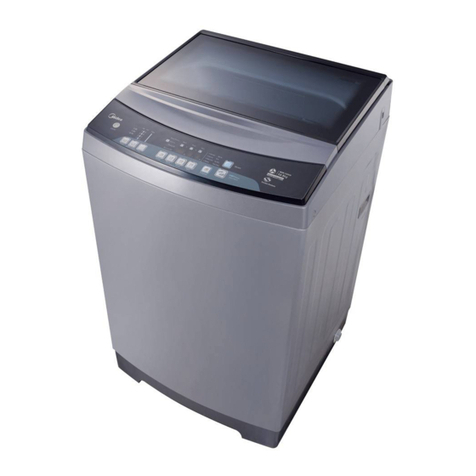
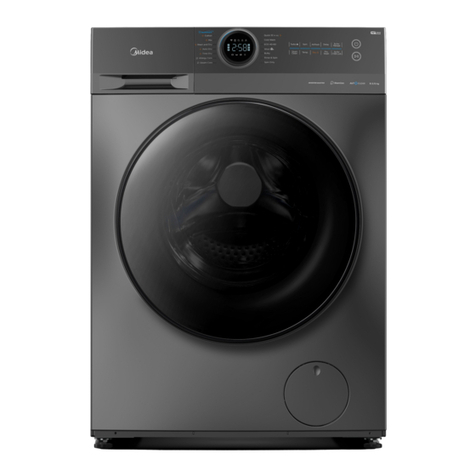
Midea FP-90LTL085GETM-N1 User manual

Top Load Washing Machine
A quality product of
Please read this User’s Manual carefully for proper use of Midea Washing Machine.
Customer Care
(02) 863-55-22
Landline:
(0917) 863-5522
SMS:
[email protected]om.ph
Email:
1-800-10-863-5522
Toll free:
Monday - Sunday / 8:00am - 8:00pm

Safety Precautions
Do not directly rinse the
machine with water when
cleaning.
Do not install/place the machine in a
damp place to avoid electric shock,
combustion and other accidents.
小天
小天
Observe the following in order to prevent injuries from and damages to
the machine:
This indicates that serious injuries to humans may occur.
Please observe the following symbols:
Warning
Caution
This will remind you that injury to people and damage
to property may occur.
This icon represents Prohibited Operation. Detailed prohibitions
the displayed inside the icon.
This icon represents a call for attention, and caution details are
displayed inside the triangle.
This icon represents Forced Execution. Details are displayed
inside the icon.
Warning
Do not disassemble the
machine. Only authorized
service personnel are
allowed to do so.
Do not put your hand inside
the tub when it is operating.
This appliance is not intended for use by individuals with reduced
physical, sensory or mental capabilities or those who lack experience
and knowledge, unless they are under the supervision of a person
responsible for their safety. Children should be supervised to ensure
that they do not play with the appliance.
Control Panel
Quick start
Operation
Wasg Settings (Program)
Troubleshooting

Do not let children play with and
climb on the machine.
Do not wash clothes damp with
kerosene, gasoline, alcohol and other
flammable materials.
Avoid damaging the power cord and
power plug to avoid electric shock,
short circuit and combustion.
Regularly clean the power plug.
Turn off the machine and unplug
from power source after using.
Properly connect the earth line of
socket to avoid electric shock due
to accidental current leakage.
Securely plug the machine in the
correct power source.
!
!
小天
Warning
Do not place flammable objects such
as candles, mosquito repellents and
heating sources on the machine.
Use the correct power source. Do not plug or unplug the machine
from power source when barefoot
and with wet or damp hands.
A running water source must be
connected to the inlet pipe before
starting the washing program.
If power cord is damaged, only the
manufacturer, service agent or
qualified persons should repair it.
Do not place heavy objects
on the washing machine.
When unplugging the power supply,
pull the plug, not the cord.
Do not wash raincoats, fishing coats
and similar heavy and thick items.
!
!
!
Use of wet hands
is prohibited
+
+
小天
>50 C
小天
Water temperature should be below
50°C when washing with
warm water.
Caution

•Remove the machine from box and take out the
foam board at the bottom.
• Take out the accessories inside the tub.
• Trial operation or washing on the foam cushion
is strictly prohibited.
• Install the rat-proof base cover at the bottom of the machine.
Completely insert the drain hose into the
washing machine drain outlet
Secure the connection, with the clamp provided
.
Base foam cushion
Unpacking
installed
do not
Installing Water Inlet Hose
(For Models with Double Screw Thread Inlet Pipe)
• Connect the water inlet pipe screw
(with metallic ring) to the water faucet
• Connect the clamping nut (with rubber
seal ring inside) of the water inlet hose
to the washer inlet valve.
Note: When tightening the
clamping nut, evenly apply the
force and do not twist the water
inlet valve to avoid breaking the
water inlet valve joint.
+
+
+
+
Small ball
To detach: Close the water tap, push down
the slide jacket of the
quick-release connector and
pull out th quick-release
connector.
Remove the four screws of part
A and put part A horizontally
over the mouth at the end of
water tap (the mouth at the end
of water tap must be flat and
smooth. Flatten it by filing if it is
not flat) and push it upward with
force making the rubber washer
firmly press the plane center of
water tap mouth. Then tighten
the screws sequentially.
After that, tightly screw on part B.
Push down the slide jacket
to expose the small ball and
enable separation of connector
socket from the quick-release connector..
+
+
1
Connect
+
+
6
+
+
7
5
Junk ring
The connection socket consists
of parts A and B. Before installation,
A and B must have a vertical gap of
about 5mm, or be directly disconnected.
If the bore of water tap is larger,
remove the plastic junk ring of part A.
5mm
+
+
A
B
4
3
2
Tightly screw the other end of the water inlet hose
to the water inlet valve. (with rubber seal ring inside).
Note: When tightening the clamping nut, evenly apply
force and do not twist the water inlet valve, to avoid breaking
of the water inlet valve joint.
Installation of Water Inlet Pipe
(For Models with Single Screw Thread Inlet Pipe)
+
+
To connect: Push down the slide jacket of
quick-release connector ( 4 small
balls must be exposed ),
insert it into the connection
socket and then push upward.
Release the slide jacket. If it
is required to supply water,
simply open the water tap.
If the power cord is damaged, it must be replaced by the manufacturer, its service agent,
similarly-qualified persons, in order to avoid hazards. The new hoses supplied with this product
should be used; do not use old hoses. Opening at the base must not be obstructed by carpets
or similar items. This appliance is for indoor use only.

12
3 5
4
+
+
6
Adjust the height of the machine
by rotating this foot clockwise or
counter clockwise, to extend
or shorten the foot shaft. Once
the machine is in a stable
position, lock the foot knob.
Detergent box
Lint Fiter
Power cord
Make sure thet the washing machine
is in a stable position
Install the water
inlet hose.
!
NOTE
Connect Put down the drain hose.to
a power
source
Open the
water tap.
Put in clothes and suitable amount of
detergent.
Preparation Before Use
Before washing, remove coins, keys, and other
hard objects from pockets and fasten zippers to
prevent damage to clothes and the tub.
-All sketches in this manual are for reference only. Please refer to the product, for the actual
appearance of the parts.
Please refer to the supplied accesories, for its actual appearance.
A clamp is used to
secure the drain hose
during installation.
Anti-rat cover
Only for selected models.

Control Panel
Actual panel appearance may slightly vary. This illustration is a representative model.
Press the “wash” and “rinse” at the
same time to lock all the buttons on
the control panel.
Press the “wash” and “rinse” buttons
at the same time to unlock the
buttons.
Turns the unit
on and off
5. Wash, rinse, spin
The illustration may be changed, without prior notice.
To protect the control panel, wait at least 30 seconds before turning the power on and off.
Press this button to set the delay time (the number
of hours that will elapse before washing starts ).
The delay time is set just before pressing the
Start button, Refer to “Special features” section
of the manual, for more details.
• After program selection, press this button to start the
wash cycle.
• Press this button to pause & resume the wash cycle.
• As an option, this button also activates the
One Touch function. See Special Features section
of this manual
Press this button, to select the wash program.
With each press of this button, the indicator
either lights up steadily or flashes. The steady
indicator light is for Mini wash, Jeans, Delicates,
and Normal while the flashing light is for Drum dry,
Quick, Bulky, & Intensive.
Press these buttons to select
the washing time, number of
rinses, and spinning time.
Press this button, to select the water level
based on the clothes quantity. The indicator
light is either steady or flashing, with each
press of the button. The steady indicator
light is for levels , 3, 5, & 7 while the flashing
light is for levels 2, 4, 6, &8.

Put detergent into
its case
Put down the drain
hose.
Plug into power supply
Press the
Start/Pause button
Select the proper water level and other settings, as desired.
Press the Start/ Pause button
End of Program
Although the power will be cut off automatically, the power plug must still be pulled
out from the socket, for safety.
Turn off the water tap.
When the operation stops, the buzzer will sound continuously 6 times and
then the power will be automatically cut off.
Operation
1.Press the power switch.
2.Choose the appropriate water level, based on the wash load.
3.Press Start/Pause button.
Close the lid when machine is running, otherwise, it will automatically
stop working during the spin process and sound off a warning.
The washer will not work when water does not reach the set water level.
The Normal wash program is the easiest, most convenient, and most common washing
program. The user presses the power switch, presses the Start/Pause button, and the
Normal washing program will start to work.
NOTE
!
!
!
Users can freely set a variety of combinations for water level, wash time, number of rinses,
and spin time, depending on their need.
Manual Setting Options
For Spin only
1.Press the Power button.
2.Press the Spin button to choose the spin time.
3.Press the Start/Pause button.
The washing machine will operate a single spin process.
For Wash only
1.Press the Power button.
2.Repeatedly press the spin button until the indicator light goes out. Press the Wash
button to choose the wash time.
3.Press the Start/Pause button.
The washing machine will operate a single wash process.
For Wash and Rinse
1.Press the Power button.
2.Repeatedly press the Spin button until the indicator light goes out. Press the Rinse
button and the Wash button to choose the setting desired.
The washing machine will operate the 'wash and rinse' process. For other process
combinations, just choose the desired settings for water level, wash time, number of
rinses, and spin time, then press the Start/Pause button.
3.Press the Start/Pause button.
NORMAL Wash Program
Procedure
Wash Program Customization

Wash Settings (Program)
1. Normal
For washing clothes with cotton fabric and daily wear.
2. Delicates
Has a gentle wash action and slow spin speed for light fabrics such as silk.
3. Jeans
For washing thick clothes and those with heavy stains.
4. Mini wash
Ideal for washing small loads of laundry, using low water level.
5. Intensive
Use this program, to wash heavily-soiled clothes.
6. Bulky
Washing ability is strong and can wash large pieces of laundry.
7. Quick
Washing time is short. Suitable for washing lightly-stained clothes.
8. Drum dry
To dry the laundry without heating, to achieve the result of clothes being
dried in a room.
Delay
This function postpones the start of the washing process and the delay time is 1-24 hours.
After selecting the wash settings, “long press” the Delay button repeatedly and the delay
time will increase by 1 hour. When the display shows 24 hours and the Delay button is
pressed, the display light will turn off and the Delay function turns off correspondingly.
Child Lock
This function can be activated only after the selected program starts.
Spin only
1. Press the ON/OFF button.
2. Press the Spin button to choose the spin time
3. Press Start/Pause button.
The washing machine will operate a single process.
Note: For wash only, follows steps in “Spin only” but press the wash button instead of the
Spin button, to choose the wash time. Before pressing the Start/Pause button, press the
Spin button repeatedly until the light goes out.
Tub clean
This function removes dirt accumulated on the inside and outside surfaces of the drum. In the
standby mode, press Spin & Program buttons at the same time, to set to Tub clean.
Afterwards, press Start/Pause button.
Water cycle (Rinse hold)
After the rinsing cycle is finished, water will not be drained and another set of clothes can
be rinsed using the same water. To commence the Spin cycle, select the Spin time after
rinsing is done and then press Start/Pause button.
Program pause and resumption
The program will stop if the Start/Pause button is pressed and will resume if this button is
pressed again.
Automatic power shut off
If the Start/Pause button is not pressed after the ON/OFF button is pressed, power will
automatically cut off after 10 minutes.
When an operation stops, the buzzer will sound continously 6 times and then the power
will automatically cut off.

One Touch
Follow steps no. 2 to 7 of Quick Wash, press ON/OFF button, then press Start/Pause button.
The washing machine will automatically weigh the laundry, select the appropriate settings
(water level, wash, time, rinse mode, spin time) and start the operation.
No need to manually select the wash settings.
Automatic Balance
If the laundry is unevenly distributed in the tub before spinning, vibration is likely to occur
during spinning. The washing machine can automatically adjust tub imbalance. If the
unbalance sensor detects strong vibration, the program to balance the wash load will
automatically commence.
When the machine adjusts imbalance, the “rinse” light flashes and water will be supplied to
a set level. Adjustment takes about 1 minute and then water is drained. Afterwards, the
spinning cycle will resume. The machine will make 2 attempts to adjust the imbalance.
If imbalance still occurs after the 2nd attempt, an alarm will sound and the user needs to
manually adjust the clothes distribution in the tub.
Fuzzy Logic Function
The “fuzzy” program automatically detects the amount of laundry and then
selects the corresponding water level. The “fuzzy” control is deactivated in the
following conditions: 1. If water is present in the tub at the start of
operation and 2. If the user selects a certain water level at the start of operation.
Power Failure Memory Function
In case of a power failure, the operation during which the power was interrupted will be
stored in the machine’s memory and when power resumes, the machine will continue operation
where it left off.
Alarm function when the Top Lid is opened
If the Top Lid is opened during washing or spinning, an E3 alarm will be activated and
operation will stop. Closing the Top Lid will deactivate the alarm and operation will
automatically resume. When the Delay function has been activated, opening the
Top Lid will also trigger the E3 alarm. Closing the Top Lid will cancel the alarm and the
Delay function will resume.
Cleaning and Maintenance of the Washing Machine
Note:
Clean the lint filter in the drain pump (for machines with drain filter)
1. Drain the water out of the
pump, use a container to collect
2. Loosen the pump cover
counter-clockwise.
3. Take out the lint filter.
4. Clean the filter 5. Restore it and adjust the
convex place to align at the
pump hole.
6. Tighten the pump cover
The washing machine will alarm after the washing
process to remind you to take out the laundry.
After the sound, the machine will automatically go
to its power-off state with no display and all lights
will be off.
Make sure to turn off the faucet and pull the power
plug after every use to avoid water leakage or fire
accidents
After long time use, the water inlet mesh bag may be
blocked with dirt, clean it following there steps:
1. Switch on the power and the water faucet.
2. Let the washer work for 5 seconds so that the water
flows into the tub through the water inlet hose.
After using the machine for a period, clean the filter
accordingly.
1. Take out the lint filter.
2. Open the filter (for Magic Cleaning Filter) or
reverse inside out the mesh bag (for normal filter)
and wash it clean with water.
3. Restore and put back the filter.
End of Program
Clean the Water Inlet Cleaning the Filter
Maintenance
(only for magic filter)
(only for normal filter)
If the drain filter is not cleaned at proper time (every 10 times of use).
Drain problem could occur
or
Use gentle cloth to wipe off the water and dirt on the
surface of the machine after using it. Avoid using
detergent, propellant and other chemicals when
cleaning the surface of the
machine to prevent damage
to the plastic accessories.
Model
Dimensions
Rated input power
Rated voltage
Rated frequency
Product weight
Rated wash & spin
capacity (dry weight)
Allowable
water
pressure
at inlet
FP-90LTL085GETM-N1
550x565x920 (mm)
450W
220-240V~
60Hz
37kg
8.5kg
0.8MPa
0.03MPa
FP-90LTL105GETM-N1
550x565x960 (mm)
560W
220-240V~
60Hz
40kg
10.5kg
0.8MPa
0.03MPa
Minimum
Maximum
Troubleshooting
If trouble occurs, contact Customer Care.
Only authorized service technicians are allowed to open and/or dismantle the machine.
If the machine does not function normally, an error indicator will be displayed at the control
panel and an alarm will sound off. Check and correct, as follows:
Top lid is not closed before
spinning or is opened while
the tub is spinning.
Incomplete water draining.
Abnormal water filling.
Manually and evenly distribute the clothes
in the tub.
Close the Top Lid.
Check the faucet if it is opened or not.
This manual suits for next models
1
Table of contents
Other Midea Washer manuals

Midea
Midea MA500W150 Series User manual

Midea
Midea MT725B User manual

Midea
Midea MF200W85B Series User manual

Midea
Midea MFL80S14 User manual

Midea
Midea 360471 User manual

Midea
Midea MAV160-A2808PS/01FM-US User manual

Midea
Midea MFW-752S User manual

Midea
Midea MAD160-A2801GPS User manual

Midea
Midea M Series User manual

Midea
Midea MSW-1508P User manual

Midea
Midea MAV10-A2804PS/01FM-US User manual

Midea
Midea X8 User manual

Midea
Midea MTW55 User manual

Midea
Midea 360111 User manual

Midea
Midea 360215 User manual

Midea
Midea RW145 User manual

Midea
Midea MA200W75 User manual

Midea
Midea MFW-EC950 User manual

Midea
Midea MLV47A3AWW Instruction sheet

Midea
Midea MLV47C4AWW Manual