Midea MFH180-G1302DS F01E-US How to use

Midea Group
Midea Front Load
Washer
Models:
Technical Service Guide
JUNE 2020
Midea Consumer & Industrial
MFH180-G1302DS_F01E-US
Little Swan Electric Co., Ltd
MFH180-G1302DS_F01E-EU

– 2 –
IMPORTANT SAFETY NOTICE
The information in this service guide is intended for use by
individuals possessing adequate backgrounds of electrical,
electronic, and mechanical experience. Any attempt to repair a
ytreporpdnayrujnilanosrepnitluseryamecnailpparojam
ehtrofelbisnopserebtonnacrellesrorerutcafunamehT.egamad
niytilibailynaemussatinacron,noitamrofnisihtfonoitaterpretni
connection with its use.
WARNING
To avoid personal injury, disconnect power before servicing
tsetrosisongaidrofderiuqersirewoplacirtcelefI.tcudorpsiht
purposes, disconnect the power immediately after performing the
necessary checks.
RECONNECT ALL GROUNDING DEVICES
If grounding wires, screws, straps, clips, nuts, or washers used to
complete a path to ground are removed for service, they must be
returned to their original position and properly fastened.
Midea Consumer & Industrial
Technical Service Guide
Copyright © 202
All rights reserved. This service guide may not be reproduced in whole or in part
in any form without written permission from the Little Swan Company.
0

– 3 –
Table of Contents
Basic Wash Cycle ..............................................................................................................................................................25
Component Locator Views............................................................................................................................................27
Control and Inverter Board Connections............................................................................................................... 29
Control Board.......................................................................................................................................................................29
Control Features................................................................................................................................................................ 6
Control Panel ......................................................................................................................................................................31
Dampers ................................................................................................................................................................................53
Dispenser Assembly.........................................................................................................................................................37
Dispenser Motor.................................................................................................................................................................39
Door ........................................................................................................................................................................................49
Door Hinge............................................................................................................................................................................51
Door Lock ..............................................................................................................................................................................33
Door Strike.............................................................................................................................................................................34
Error Codes ...........................................................................................................................................................................59
Front Panel............................................................................................................................................................................35
Heater Assembly................................................................................................................................................................44
Introduction......................................................................................................................................................................... 5
Inverter ...................................................................................................................................................................................46
Line Filter ...............................................................................................................................................................................36
Motor Assembly .................................................................................................................................................................47
Nomenclature .................................................................................................................................................................... 4
Operation Overview..........................................................................................................................................................25
Outer Tub Assembly and Suspension .................................................................................................................... 56
Pedestal Installation (Washer and Dryer).............................................................................................................. 19
Programming the Control Board............................................................................................................................... 28
Pump .......................................................................................................................................................................................42
Schematic .............................................................................................................................................................................62
Service Panel .......................................................................................................................................................................30
Service Test Mode..............................................................................................................................................................58
Stacking Instructions .......................................................................................................................................................22
Top Panel ...............................................................................................................................................................................30
Tub Gasket (Boot)...............................................................................................................................................................51
Using the Washer..............................................................................................................................................................12
Midea Washer Warranty.................................................................................................................................................63
Washer Components........................................................................................................................................................30
Washer Features.............................................................................................................................................................. 12
Wash Basket .........................................................................................................................................................................54
Water Level Senser............................................................................................................................................................40
Water Valve...........................................................................................................................................................................41
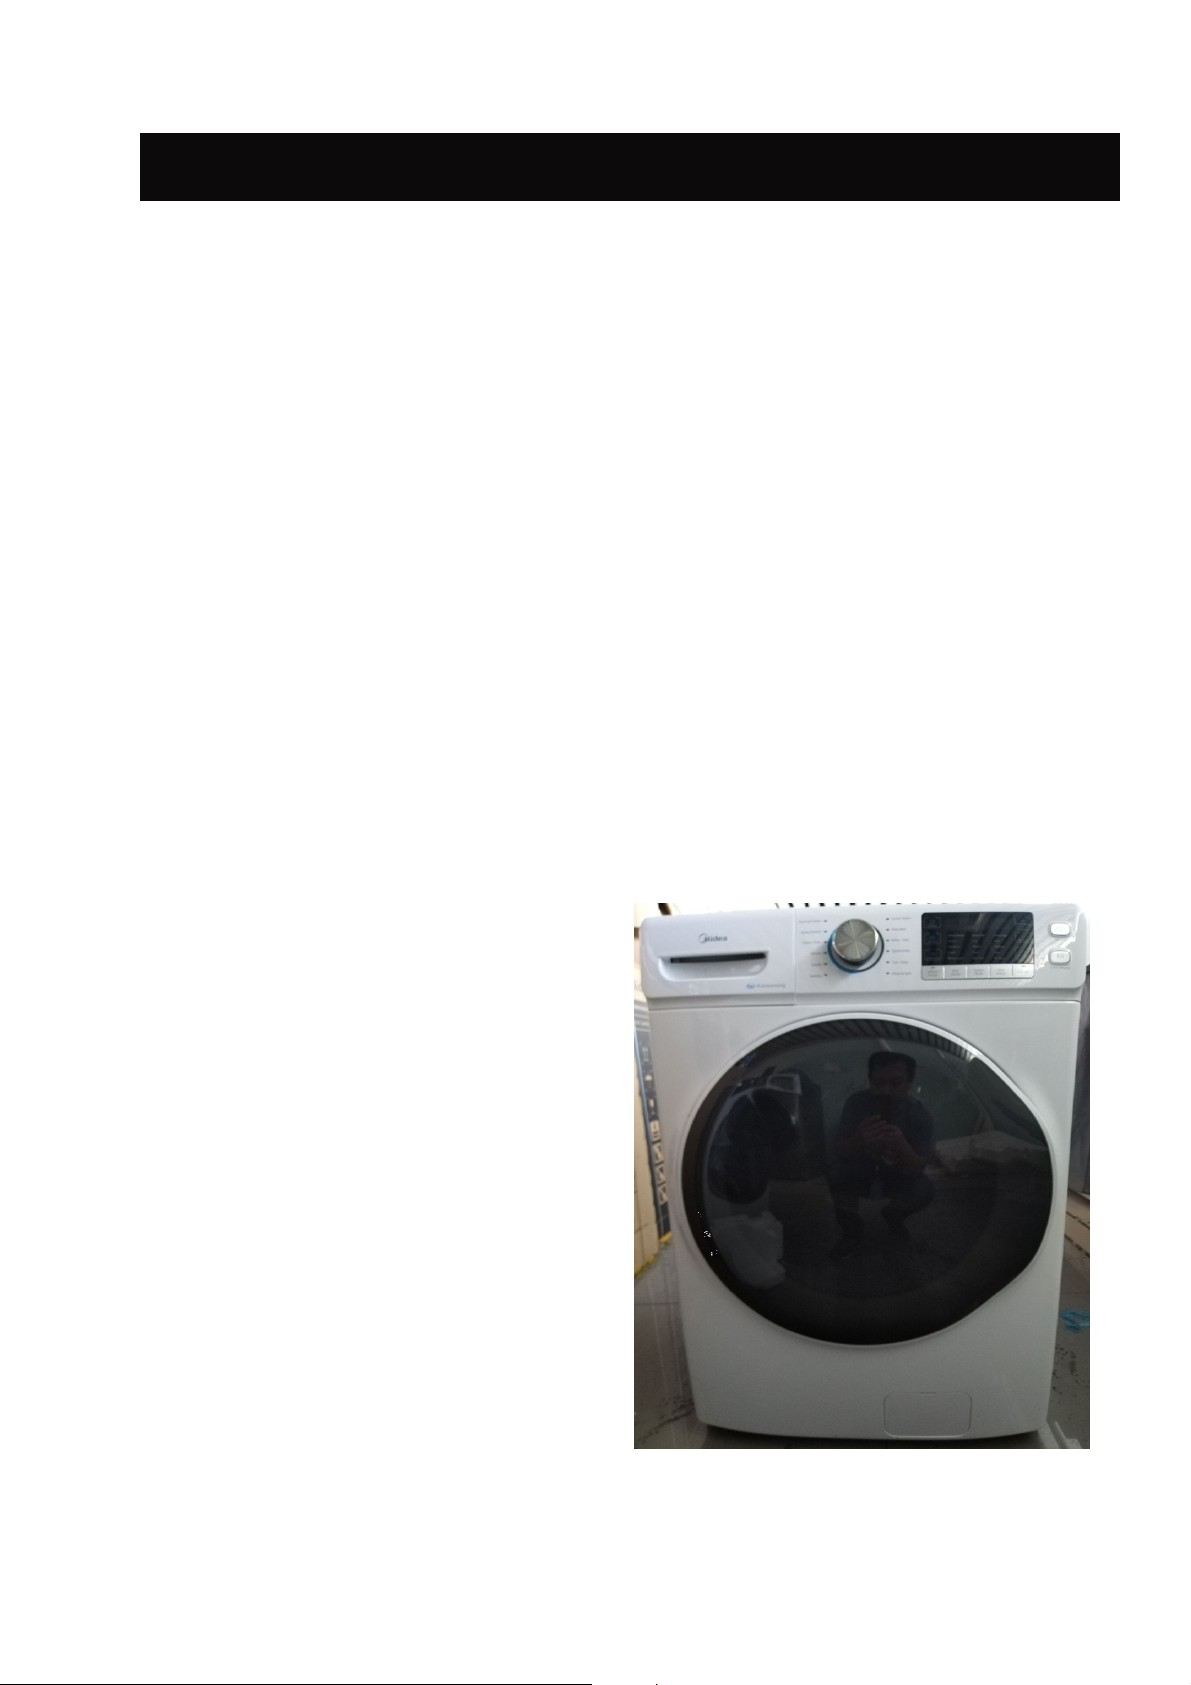
Model Number
Nomenclature
nodetacolsigaterutalcnem
onehT
the bottom front corner on the right
side of the cabinet.
Note: The technical sheet is located
behind the control panel.
Capacity/Conf guration
Brand
M= Midea
Feature Packages
F=Front load washer Feature Packages
F01=Door code
Display mode
E=LED digital screen
Structural code
D=Frequency conversion motor
S=Double intake water
Speed
Feature Packages
H=Heating type
System code
G=Large drum
Control board code
– 4 –
MFH180-G1302DS_F01E
180=18Kg

– 5 –
Introduction
The new Midea Front Load Washer has the following features:
Energy Star Qualificationassureslessenergywasteandlowerutilitybills.
14wash cycles include a variety of fabric-specific settings, from Extra-Heavy Cottons to Easy-Care
Colors.
My Cycle selection saves a favorite cycle for future use.
Dispenser adds diluted detergent, bleach, and fabric softener at the correct time during the wash or rinse
cycles.
A nozzle sprays fresh water into the tub to clean the door glass.
End-Of-Cycle Signal alerts user when the cycle is done, saving time between loads. Signal volume can be
on or off.
Overflow protection activates the drain pump whenever water reaches overflow level.
Service test mode built-in. Specific washer components can be operated. Error codes are recorded and
accessible on the control panel's 7-segment display.
Two piece plastic outer tub is formed from tough, lightweight polypropylene.
The wash tub is constructed of durable stainless steel.
Two suspension springs and four dampers provide maximum off-balance load protection with minimal
vibration transfer to the floor.
Intricate door lock keeps the door locked
during operation.
Blackout protection. Restoring power resumes
cycle where it was interrupted. Eliminating
restarting entire wash cycle.
Flush door handle.
UV stabilizers are utilized on the control panel,
top cover, and door outer panel to prevent
yellowing when exposed to sunlight.
The Midea dryer can be installed on top of
the washer.
Pedestal available at additional cost. White
(model number DZ210-H01(W)) and Diamond
Gray (model number DZ210-H01(S)).
•
•
•
•
•
•
•
•
•
•
•
•
•
•
•
•
•

- 6 -
CONTROL PANEL
Models:MFH180-G1302DS/F01E-EU
ECO 40-60
QUICK START
Press the Power button.
If the screen is dark, a press of the Power
button will “wake up” the display.
Select a wash cycle. (Defaults are set for
each cycle. These default settings can be
changed. See Control setting for more
information).
Press the START/PAUSE button.
MFH180-G1302DS/F01E-EU:
MFH180-G1304DS/F01E-ID:
Press the Pause/Add a Garment button.
ECO 40-60

- 7 -
CONTROL SETTING
Power
Press to “wake up” the display. If the display is active, press to put
the washer into standby mode.
NOTE: Pressing Power does not disconnect the appliance from the
power supply.
W ash Cycles
The wash cycles are optimized for specific types of wash loads. The
chart below will help you match the setting with the loads.
Bulky/
Sheets
For large items such as comforters, blankets, small rugs
and similar bulky items.
Heavy
Duty
Washing the large and heavy clothing, such as overcoats
or towels.
Towels For items such as towels, sheets, pillowcases and dish rags.
Sanitize For increased water temperature which will sanitize and
kill more than 99.9% of many common bacteria found in
home laundry. For best results, select the extra heavy soil
setting when using the Sanitize cycle.
Quick Wash For lightly soiled items needed in a hurry. Cycle time is
approximately 40 minutes, depending on selected options.
Delicates For delicate, washable textiles, e.g. made of silk, satin,
synthetic fibers or blended fabrics.
Baby Care Washing the baby’s clothes, it can make the baby’s wear
cleaner and make the rinse performance better to protect
the baby skin.
20℃
Tub Clean Use for cleaning the basket of residue and odor.
Recommended use of at least once per month.
NOTE: Never load laundry white using Tub Clean. The
laundry may become damaged See the Care and Cleaning
section.
Rinse &
Spin
To quickly rinse and spin out any items at any time.
Cotton
MFH180-G1302DS/F01E-EU
Normal/
Colors
For heavily to lightly soiled colorfast cottons, household
linens, work and play clothes.
NOTE: This is the most common cycle.
Hard-wearing textiles, heat-resistant textiles made of
cotton or linen.
Whites For heavily to lightly soiled white laundry, work and play
clothes.
Washing the activewear.
Baby Care Washing the baby’s clothes, it can make the baby’s wear
Sportswear
ECO 40-60
Default 40℃,not selectable,suitabale for laundry washing
at about 40℃-60℃.
MFH180-G1304DS/F01E-ID
MFH180-G1302DS/F01E-EU
MFH180-G1304DS/F01E-ID
MFH180-G1302DS/F01E-EU
colors better.
Washing brightly colored clothes, it can protect the

- 8 -
SOIL LEVEL
Change the Soil level to
increase or decrease the
wash time to remove
different amounts of soil.
To change the Soil level,
press the Soil level button
until you have reached
the desired setting. You
can choose between
Extra Light, Light,
Medium, Heavy or Extra
Heavy soil levels.
WASH TEMP
Adjust to select the proper
main water temperature
for the wash cycle. The
PreWash rinse water is
always cold to help reduce
energy usage and reduce
setting of stains and
wrinkles.
Follow the fabric
manufacturer’s care label
when selecting the wash
temperature.
To change the wash
temperature, press the
wash Temp button until
you have reached the
desired setting.
Tap Cold,Cold,Warm,Hot or
Extra Hot.
By design, to protect
fabrics, not all wash
temperatures are available
for certain wash cycles.
SPIN SPEED
Changing the Spin speed
changes the final spin
speed of the cycles.
Always follow the garment
manufacturer’s care label
when changing the Spin
speed.
To change the Spin
speed, press the Spin
speed button until you
have reached the desired
setting. You can choose
between No Spin, Low,
Medium, High or Extra
High. Higher spin speeds
are not available on certain
cycles, such as Delicates.
Higher spin speeds
remove more water from
the clothes and will help
reduce dry time, but may
also increase the possibility
of setting wrinkles on some
fabrics.
You can choose between
MFH180-G1302DS/F01E-EU:
Tap Cold,Cold,Eco Warm,
You can choose between
MFH180-G1304DS/F01E-ID:
Warm or Hot.

- 9 -
STEAM
Steam adds steam into the washer to
assist with loosening stains on the
Normal/Colors, Bulky/Sheets, Heavy
Duty, Whites, Towels, Sanitize or Hand
Wash cycle.
To use:
1. Turn power ON and select a
wash cycle.
2. Select the Add Steam button to
activate steam.
3. Press the Pause/Add a Garment
button.
SIGNAL Use the Signal pad to change the
volume of the end-of-cycle signal.
Press the pad until you reach the
desired volume.
WATER
PLUS
Increases the water level of the
main wash.
To use:
1. Turn power ON and select a
wash cycle.
2. Select the Add Water Plus
button to activate water plus.
3. Press the Pause/Add a Garment
button.
SPEED
WASH
This option reduces the overall washer
cycle time by optimizing the wash,
rinse and spin actions and/or gently
raising the wash temperature to get
clothes cleaned faster. Option
is available on Normal/Colors, Bulky/
Sheets, Heavy Duty, Whites, Towels,
Hand Wash, Delicates, Baby Care,
Casual or Sportswear cycles. Total
wash time will vary based on cycle
chosen and options selected.
To use:
1. Turn power on and select a wash
cycle which has Time Saver as an
option.
2. Make any adjustments to Soil,
Temp and Spin as desired.
3. Press the Speed Wash button to
reduce the overall wash time.
4. Press the Pause/Add a Garment
button.
EXTRA
RINSE
This option allows for an
extra rinse during a cycle to remove
excess dirt and detergent from soiled
loads.
A drain and spin cycle can be
achieved by pressing
the Extra Rinse button until the light
is no longer illuminated.

- 10 -
PRE WASH
Prewash is an extra wash before the
main wash. Use it for heavily soiled
clothes or for clothes with a care label
that recommends prewashing before
washing. Be sure to add liquid or
powder high-efficiency detergent, or
the proper wash additive to the
prewash dispenser.
PreWash must be selected prior to
pressing Pause/Add a Garment. The
PreWash feature will fill the washer with
cold water (adding the prewash
detergent), tumble the clothes, drain
and spin. Then the washer will run the
selected wash cycle.
EXTRA
RINSE and
PRE WASH
You can lock the controls to prevent
any selections from being made. Or
you can lock or unlock the controls
after you have started a cycle.
Children cannot accidentally start
the washer by touching buttons
with this option selected.
To lock the washer, press and hold
the Extra Rinse and Pre Wash
buttons for 3 seconds.
To unlock the washer controls, press
and hold Extra Rinse and Pre Wash
buttons for 3 seconds.
NOTE: The Power button can still be
used when the machine is locked.
MY CYCLE
To save a favorite cycle, set the
desired setting for wash cycle, soil
level, spin speed and wash temp
settings and hold down the My Cycle
button for 3 seconds, A beep will
sound to indicate the cycle has been
saved.
To use your custom cycle, press the
My Cycle button before washing a
load.
To change the saved cycle, set the
desired setting and
hold down the My Cycle button for
3 seconds.
NOTE: When using My Cycle, wash
options cannot be modified after the
cycle has been started.
NOTE: If you change wash options
with My Cycle before starting the cycle,
the My Cycle light will turn off and you
will be returned to the base cycle.

- 11 -
DELAY
You can delay the start
of a wash cycle for up to
24 hours. Press the Delay
Wash button to choose
the amount of time you
want to delay the start of
the wash cycle. Once the
desired time is reached,
press the button. The
machine will count down
and start automatically at
the correct time.
NOTE: If you forget to fully
close the door, a remainder
signal will beep reminding
you to do so.
NOTE: If you open the door
when the delay is counting
down, the machine will
enter the pause state.
You must close the door
and press
again in order to restart
the countdown.
Display
Displays the approximate
time remaining until the
end of the cycle.
NOTE: The cycle time
is affected by the water
pressure in your home and
the balance of the load
in the washer. You may
see the time remaining
on the display increase to
accommodate a slower
spin speed to handle
unbalanced loads.
BA
CD
Cycle status is also
displayed and certain
features such as Delay
Wash or Steam are shown
indicating they have been
selected.
Press to start a wash
cycle. If the washer is
running,pressing it once
will pause the washer.
Press again to restart the
wash cycle.
If you want add a
garment,please press the
The washer will unlock the
door. Press again to restart
the cycle.
NOTE: In some cycles the
washer will drain first,then
unlock the door when it is
paused.
NOTE: The washer
performs automatic system
checks after pressing the
or less. You may hear the
door lock and unlock before
water flows,this is normal.
Wash Time Delay Time
End
Error
ADisplay
BRemain-Delay
CChild Lock
DDoor Lock
button
MFH180-G1302DS/F01E-EU
button.
button.

- 12 -
FEATURES
THE DISPENSER DRAWER
Slowly open the dispenser drawer by pulling it out until it stops.
After adding laundry products, slowly close the dispenser drawer. Closing
the drawer too quickly could result in early dispensing of the bleach,
fabric softener or detergent.
You may see water in the dispenser drawer at the end of the cycle. This
is a result of the flushing/siphoning action and is part of the normal
operation of the washer.
NOTE: Liquid detergent will drain into the washer drum as it is added.
Detergent usage may need to be adjusted for water temperature,
•water hardness, size and soil level of the load. Avoid using too much
detergent in your washer as it can lead to over sudsing and detergent
residue being left on the clothes.

- 13 -
The Detergent Compartment
High-effi cient detergent is required for this washer.
•
Use the detergent manufacturer’s recommended amount.
Add measured detergent to the front left detergent compartment of
•
the dispenser drawer.
Detergent is flushed from the dispenser at the beginning of the wash
•
cycle. Either powdered or liquid detergent can be used.
Powder Detergent-Remove the Detergent selection insert and place
•
it in a safe location outside of the washer. Follow the detergent
manufacturer’s instructions when measuring the amount of powder to
use.
Detergent usage may need to be adjusted for water temperature,
•
water hardness, size and soil level of the load. Avoid using too much
detergent in your washer as it can lead to oversudsing and detergent
residue being left on the clothes.
Using more detergent than the recommended quantity can cause
•
residue buildup on your washer.
Liquid Detergent - Locate the concentration of your detergent on
•
the bottle. Place the Detergent selection insert in the corresponding
location depending on the concentration.
DETERGENT SO
LIQUID 3X 2X 1X
remove for powder
Normal
HE Liquid
Detergent
Setting
2X HE Liquid
Detergent Setting
(most common
setting)
3X HE
Liquid
Detergent
Setting
Remove for powder detergent

- 14 -
The Liquid Bleach Compartment
IMPORTANT: Be sure to identify the correct compartment for bleach before using.
If desired, measure out the recommended amount of liquid bleach, not to exceed 1/3 cup (80 ml), and
pour into the right compartment labeled “LIQUID BLEACH”.
Do not exceed the maximum fill line. Overfilling can cause early dispensing of the bleach
which could result in damaged clothes.
NOTE: Do not use powdered bleach in the dispenser.
The Fabric Softener Compartment
IMPORTANT: Be sure to identify the correct compartment for fabric softener before using.
If desired, pour the recommended amount of liquid fabric softener into the compartment labeled
“FABRIC SOFTENER”.
Use only liquid fabric softener in the dispenser.
Dilute with water to the maximum fill line.
Do not exceed the maximum fill line. Overfilling can cause early dispensing of the fabric
softener which could stain clothes.
NOTE: Do not pour fabric softener directly on the wash load.

- 15 -
LOADING THE WASHER
Wash drum may be fully loaded with loosely added items. Do not wash fabrics containing flammable
materials (waxes, cleaning fluids, etc.).
To add items after washer has started, press Pause/Add a Garment and wait until the door is unlatched.
The washer may take up to 30 seconds to unlock the door after pressing Pause/Add a Garment
depending on the machine conditions. Do not try to force open the door when it is locked. After the door
unlocks, open gently. Add items, close the door and press Pause/Add a Garment to restart.
WASHER CARE
CLEANING
EXTERIOR
Immediately wipe off any spills. Wipe with damp cloth. Do not hit surface with sharp objects.
INTERIOR
To clean the interior of the washer, select the Tub Clean feature on the control panel. This Tub Clean
cycle should be performed, at a minimum, once per month. This cycle will use more water, in addition
to bleach, to control the rate at which soils and detergents may accumulate in your washer.
NOTE: Read the instructions below completely before starting the Tub Clean cycle.
1. Remove any garments or objects from the washer and ensure the
washer basket is empty.
2. Open the washer door and pour one cup or 250 ml of liquid bleach or
other washing machine cleaner into the basket.
3. Close the door and select the Tub Clean cycle. Push the Pause/Add a Garment button.
4. When the Tub Clean cycle is working, the display will show the
estimated cycle time remaining. The cycle will complete in about 90 minutes. Do not
interrupt the cycle.

- 16 -
5. After the cycle is complete, leave the door open slightly for better
ventilation.
If for any reason the cycle needs to be interrupted, the door will not
open immediately. Forcing open the door at this stage may cause water
to flood. The door will open after the water is drained to a level where it
would not flood the floor.
Tub Clean may be interrupted by pressing the Pause/Add a Garment
button in between cycles. A power outage in the house might also
interrupt the cycle. When the power supply is back, the Tub Clean cycle
resumes where it had stopped. When interrupted, be sure to run a
complete Tub Clean cycle before using the washer. If the Power pad is
pressed during Tub Clean, the cycle will be lost.
IMPORTANT:
Run Tub Clean with 1 Cup (250 ml) of bleach once a month.
•
After the completion of a Tub Clean cycle, the interior of your washer
•may have a bleach smell.
It is recommended to run a light color load after the Tub Clean cycle.
•
DISPENSER DRAWER AREA
Detergent and fabric softener may build up in the dispenser drawer.
Residue should be removed once or twice a month.
Lock tab is visible only after drawer has been pulled open.
Remove the drawer by first pulling it out until it stops. Then reach back
into right rear corner of the drawer cavity and press down firmly on the
lock tab, pulling out the drawer.

- 17 -
CLEANING THE PUMP FILTER
Due to the nature of the front-load washer, it is sometimes possible for small articles to pass to the pump.
The washer has a filter to capture lost items so they are not dumped to the drain. To retrieve lost items,
clean out the pump filter.
Pum pfi lter
1. Using a coin or flat screwdriver in the notch on the door, open the access door.
2. Place a shallow pan or dish under the pump access door and towels on the floor in front of the washer
to protect the floor. It is normal to catch about a cup of water when the filter is removed.
3. Pull down the pour spout.
Pour
spout

- 18 -
4. Turn the pump filter counterclockwise and remove the filter. Open slowly to allow the water to
drain.
Pour
spout
5. Clean the debris from the filter.
6. Replace the filter and turn clockwise. Tighten securely.
7. Flip up the pour spout.
8. Close the access door.

–19–
Pedestal Installation (Washer and Dryer)
Optional 12-in. high storage drawer pedestals with
dividers are available to provide convenience and
extra storage space for detergent, dryer sheets and
other cleaning supplies. The pedestal installation kit
includes 4 support pads, 4 mounting screws, and
Pedestal Organizer.
Phillips-head Screwdriver
0.669" Open End Wrench
or Adjustable Wrench
8-mm Socket Wrench
Tools Needed
4 Support Pads
4 Mounting Screws
Pedestal Organizer
Kit Contents
WARNING: Due to the size and weight of the
washer or dryer, and to reduce the risk of personal
injury or damage, 2 people are required for proper
installation.
Note:
DO NOT remove washer shipping bolts prior to
pedestal installation. Shipping bolts MUST be
reinstalled, if previously removed.
Care should always be taken when laying
the washer or dryer on its side to prevent
component damage.
Do not lay washer or dryer on its back. Use a
pad or protective surface when laying washer or
dryer on its side.
To install the pedestal:
Lay the washer or dryer on its side.
Remove the 4 leveling legs.
•
•
•
1.
2.
(Continued Next Page)
Back out and remove
all 4 leveling legs

–20 –
Place the pedestal against the bottom of the
washer or dryer. Ensure that the drawer front is
at the front of the washer or dryer.
Align the holes in the pedestal with the holes in
the bottom of the washer or dryer base.
Use a Phillips-head screwdriver to install the 4
(8-mm) bolts through the pedestal and into the
unit. DO NOT tighten the bolts.
Align the pedestal with the unit. Use an 8-mm
socket wrench to securely tighten the bolts.
7.
8.
9.
10.
Note: The support pads should be installed on the
dryer only. DO NOT INSTALL THE PADS ON THE
WASHER PEDESTAL.
Install a support pad at each top corner of the
pedestal. Ensure both protrusions on each pad
are inserted in the holes on top of the pedestal.
6.
(Continued Next Page)
Pull the drawer out to its stop position.
Remove the screws from the drawer slides.
Slide the drawer out of the base and set it aside.
3.
4.
5.
This manual suits for next models
1
Table of contents
Other Midea Washer manuals

Midea
Midea MA200W130 Series User manual

Midea
Midea MF10EW70B User manual

Midea
Midea MFW-801S User manual

Midea
Midea MT700W User manual

Midea
Midea M Series User manual

Midea
Midea MA500W21/W User manual

Midea
Midea MFW-EC950 User manual

Midea
Midea C03 User manual

Midea
Midea MLV47C3AWW Manual

Midea
Midea MTWM60 User manual

Midea
Midea MFN75-S1403/C31E-AU(25) User manual

Midea
Midea MTWR45 User manual

Midea
Midea 360471 User manual

Midea
Midea MFL70S12 User manual

Midea
Midea MLV45N1BWW Manual

Midea
Midea MA500W150 Series User manual

Midea
Midea MWD-40P User manual

Midea
Midea KL15TTGIW User manual

Midea
Midea FP-90LST060GMTL-N User manual

Midea
Midea MAV10-A2804PS/01FM-US User manual