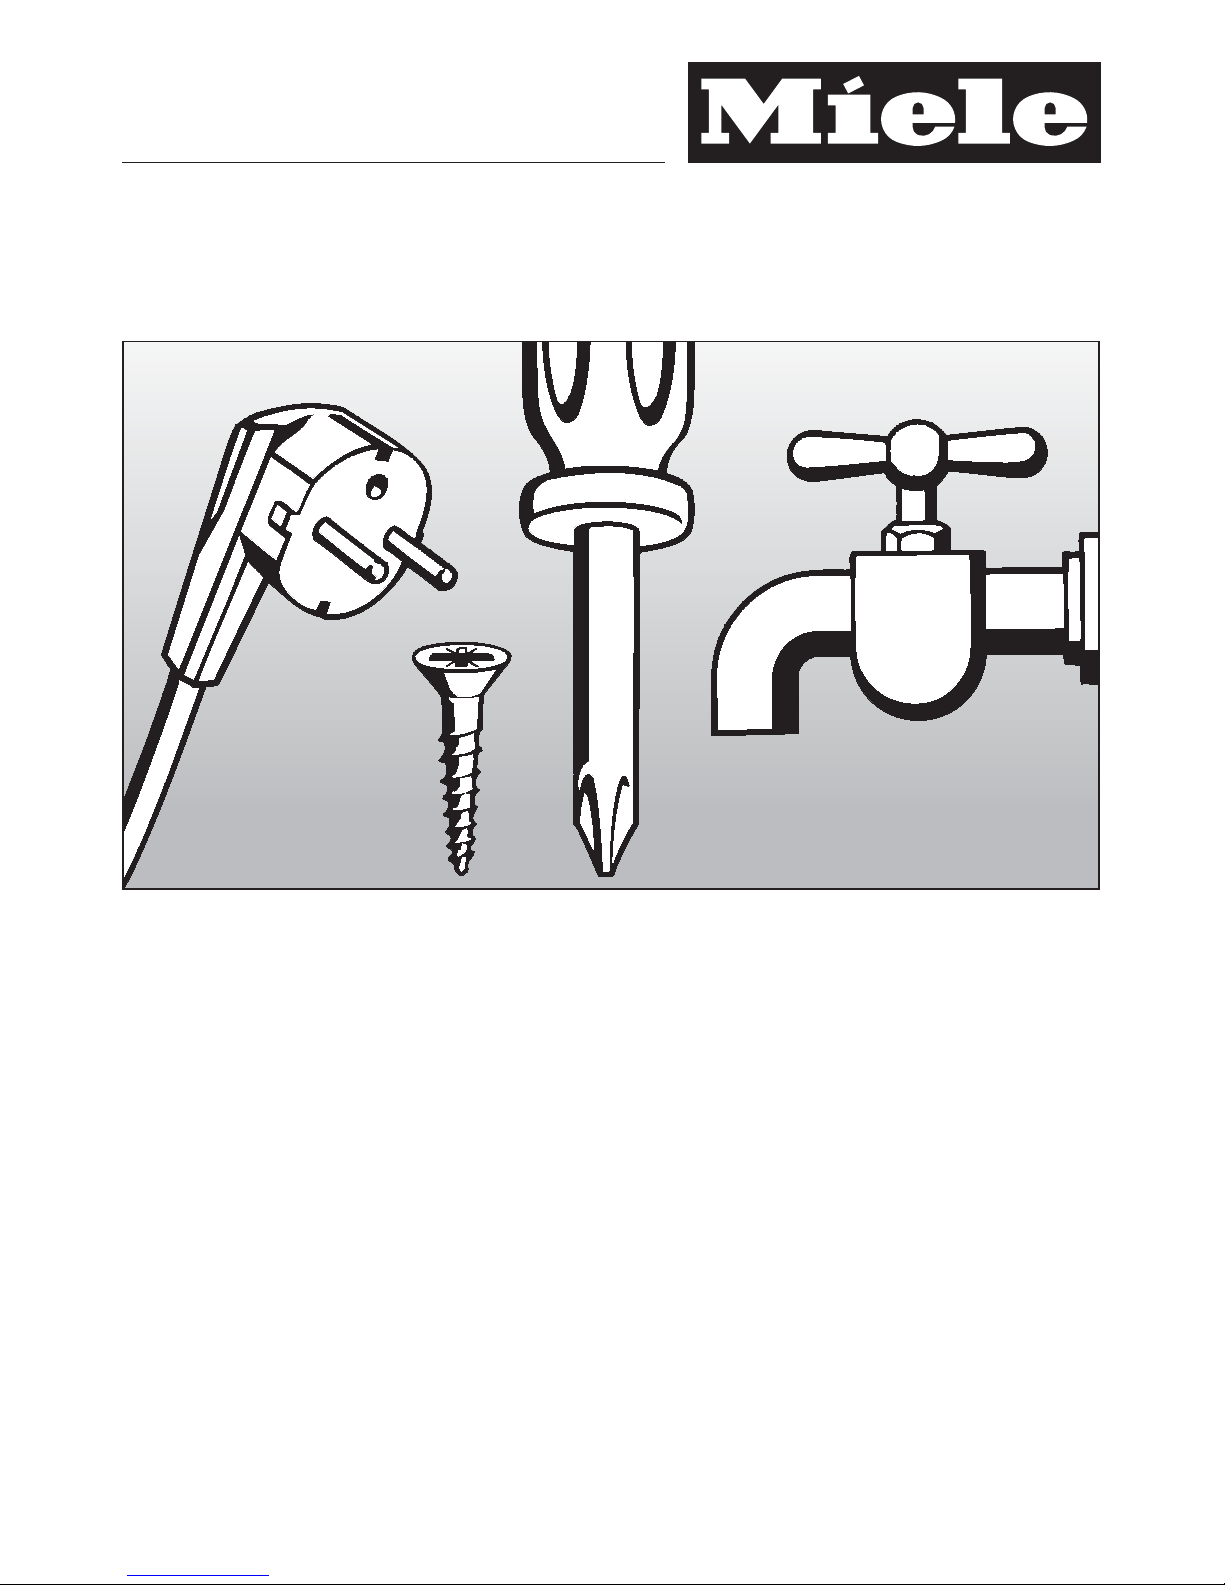
Miele CVA 6805 User manual

Installation Instructions
CVA 6805HQ&$
,QVWDOODWLRQUHSDLUDQGPDLQWHQDQFHZRUNVKRXOGEHSHUIRUPHGE\
D0LHOHDXWKRUL]HGVHUYLFHWHFKQLFLDQLQDFFRUGDQFHZLWKQDWLRQDO
DQGORFDOVDIHW\UHJXODWLRQVDQGWKHSURYLGHGLQVWDOODWLRQLQVWUXFWLRQV

Technical Service
92
After sales service
In the event of a fault that you cannot
correct yourself, please contact
– Your Miele dealer
or
– Miele Technical Service
The telephone number for Miele is list‐
ed at the back of these instructions.
When contacting Miele, please quote
the model and machine number of
your coffee system.
This information is given on the data
plate inside your appliance.
Warranty
For more information, please refer to
the included warranty.
MieleCare (USA only)
MieleCare, our Extended Service Con‐
tract program, gives you the assurance
of knowing that your appliance invest‐
ment is covered by 5 years of worry
free ownership.
MieleCare is the only Extended Service
Contract in the industry that guarantees
repairs by a Miele Authorized Service
Provider using genuine Miele parts. On‐
ly genuine Miele parts installed by fac‐
tory trained professionals can guaran‐
tee the safety, reliability, and longevity
of your Miele appliance. Please note
that unless expressly approved in writ‐
ing by Miele’s Service department, Ex‐
tended Service Contracts offered by
other providers for Miele products will
not be recognized by Miele. Our goal is
to prevent unauthorized (and untrained)
service personnel from working on your
Miele products, possibly doing further
damage to them, you and/or your
home.
To learn more about MieleCare Extend‐
ed Service Contracts, please contact
your appliance dealer or visit us online
at:
http://mieleusa.com/mielecare

Saving energy
93
If the settings of the following functions
are altered from the factory default, en‐
ergy consumption will increase:
– Eco mode
– Lighting
– Time display
– Timer

Packaging material / Disposal of old machine
94
Disposal of packaging material
The cardboard box and packing materi‐
als protect the appliance during ship‐
ping. They have been designed to be
biodegradable and recyclable.
Ensure that any plastic wrappings,
bags, etc. are disposed of safely and
kept out of the reach of children. Return
the packaging to your dealer.
Disposal of your old appliance
Old electrical and electronic appliances
often still contain valuable materials.
However, they also contain harmful
substances that were essential for the
proper functioning and safe use of the
equipment. Handling these materials
improperly or disposing of them in your
household waste can be harmful to
your health and the environment.
Therefore, please do not dispose of
your old appliance with regular house‐
hold waste.
Old appliances may contain materials
that can be recycled. Please contact
your local recycling authority about the
possibility of recycling these materials.
Ensure the appliance presents no dan‐
ger to children while being stored for
disposal.

Plumbing
95
Notes on connecting to the
water supply
The appliance must be connected to
the water supply by a qualified pro‐
fessional.
Disconnect the appliance from the
power supply before connecting it to
the water line.
Turn off the water supply before con‐
necting the water lines for the coffee
system.
The water being used should meet
the drinking water standards of the
country where the machine is used.
All devices used for connecting the
appliance to the water supply must
comply with the current national and
local safety regulations in the coun‐
try in which the appliance is being
installed. All units and systems used
to supply water to the appliance
must also comply with the applicable
requirements of the respective coun‐
try.
The appliance must be connected to
a cold water line that:
– is directly connected to the fresh wa‐
ter supply in order to ensure a circu‐
lation of the water in the cold water
line.
Avoid connection to a water supply
in which the water might stagnate.
This will affect the taste of drinks
prepared with the coffee system.
– The machine is constructed to com‐
ply with the relevant local and nation‐
al safety standards and may be con‐
nected to the water supply without a
non-return valve if national regula‐
tions permit.
– The water intake must be able to
withstand the required operating
pressure.
– The water pressure must lie between
14.5 and 145 psi.
– The stainless steel hose supplied is
4' 11" (1.5 m) long. The hose may not
be lengthened as too much water
would then remain in the hose, ad‐
versely affecting the quality of the
coffee.
– National and local hygiene regula‐
tions must be observed.
– A shut-off valve must be provided
between the stainless steel hose and
the building's water supply to ensure
that the water supply can be cut off if
necessary.
Make sure that the shut-off valve is
accessible after the unit has been in‐
stalled.

Plumbing
96
Parts must only be replaced with
original Miele spare parts, available
from Miele.
Fitting the stainless steel hose
to the appliance
Make sure that the stainless steel
hose is not kinked or damaged. The
stainless steel hose must not be
shortened.
ĺRemove the water connection cover
from the bottom of the back panel of
the machine.
ĺTake the angled side of the stainless
steel hose and check whether a gas‐
ket is present. If not, insert one.
ĺScrew the stainless steel hose cou‐
pling nut onto the threaded union.
ĺEnsure that the hose is correctly fit‐
ted and that it is water-tight.
Connecting to the water sup‐
ply
Before establishing the fixed network
connection, ensure the appliance is
disconnected from the electrical
supply.
Connection to the water supply should
be carried out by a qualified plumber
and should incorporate a connection
with a 3/4" thread.
ĺCheck that the gasket is present. Re‐
place, if not, insert before connecting
to the water supply.
ĺScrew the supplied brass compres‐
sion fitting, with the 3/4" end, tightly
onto the water connector of the cof‐
fee machine. (Tighten the compres‐
sion fitting by hand, do not use a
tool.) The fitting includes an opening
for standard 1/4" piping.
Old or used hoses must not be con‐
nected to this coffee system.
ĺConnect the compression fitting to
the water supply.
ĺSlowly open the shut-off valve to the
water supply and check for leaks.
If necessary, check whether the seal‐
ing ring and fittings are tight.
You can now continue with the installa‐
tion of the coffee system in its housing
unit (see "Installation").
1
1

Plumbing
97
This product is tested and certified by the WQA against ORD0902 for California
"lead free" compliance.
Miele & Cie KG
Carl-Miele-Straße 29
D-33332 Gütersloh

Electrical connection
98
Make sure that the power to the ma‐
chine is OFF before installing or per‐
forming maintenance or repairs. All
electrical work should be performed by
a qualified electrician in strict accord‐
ance with national and local safety reg‐
ulations. Installation, repairs and other
work by unqualified persons could be
dangerous.
Verify that the voltage, load and circuit
rating information found on the data
plate match the household electrical
supply. This data must match to pre‐
vent damage to the coffee system. If in
doubt, consult a licensed electrician.
The necessary connection information
is given on the data plate inside your
appliance.
The coffee system comes equipped
with a 6 ft (1.8 m) power cord with a
NEMA 5-15P molded plug for connec‐
tion to a 120 V, 15 A, 60 Hz power sup‐
ply.
Fuse rating must be at least 16 A.
Do not connect the appliance to a pow‐
er inverter or directly to power pro‐
duced outside of the normal electrical
grid (i.e. direct solar or wind power
source).
Direct connection to such power sour‐
ces can cause power surges and trip‐
ped breakers when the appliance is
turned on, and could damage the appli‐
ance.
Do not connect the appliance to energy
saving plugs or outlets. The reduction
of power to the appliance caused by
these devices will cause the appliance
to run hot and may damage it and/or
shorten its usable life.
If there is any question concerning the
electrical connection of this appliance
to your power supply, please consult a
licensed electrician or contact Miele’s
Technical Service Department. See
back page for contact information.
WARNING:
THIS APPLIANCE MUST BE GROUND‐
ED
(NEMA 5-15P, 15 amp, L1, N, G)

Installation
99
Installation and combination options
The appliance is designed to be built into a tall unit.

Installation
100
It can also be combined with other Miele built-in appliances. If the coffee system
is to be built in above another appliance, there must be a full-width, closed shelf
between them.

Installation
101
Ventilation
Condensation water can damage the
coffee system or surrounding cabi‐
nets.
The specified ventilation cross-sec‐
tions absolutely must be observed.
Do not cover or block the ventilation
cross-sections.
Clean the ventilation cross-sections
on a regular basis.
Due to the heating of water, water
steam can condense inside the coffee
system and inside the door.
During installation, ensure there is suffi‐
cient ventilation at the rear of the appli‐
ance so that steam and warm air are
able to escape without hindrance.
The surrounding cabinets should be de‐
signed as follows:
– Air intake Ȧoccurs via the plinth at
the bottom of the appliance and the
air escapes at the top ȧat the rear
of the surrounding cabinets.
– A ventilation gap of at least 1 5/8"
(40 mm) depth must be provided be‐
hind the appliance for air to circulate.
– The ventilation cross-sections in the
plinth, surrounding cabinets and
above the appliance must amount to
at least 78 3/4 square inches
(200 cm2) to ensure that air can cir‐
culate without obstruction.
Top ventilation cross-section
The ventilation cross section at the top
of the appliance can be constructed in
different ways:
&directly above the coffee system
with a ventilation grille (free airflow
of at least 78 3/4 square inches /
200 cm2)
'between the surrounding cabinets
and the ceiling
(through a suspended ceiling

Installation
102
Installing the coffee system
Make sure that there is no power to
the machine during installation. This
also applies when uninstalling.
The machine may only be operated
when installed and in an ambient
temperature range between +50°F
(10°C) to +100°F (38°C).
For installation, you will require two
socket wrenches in sizes 3 and 5.
To ensure the appliance door is flush
with the cabinetry front, a seal around
the building-in niche is needed or a
sealing strip must be adhered to the
coffee system.
ĺIf there is not a seal at the front of the
building-in niche, adhere the Miele
sealing strips from the back (see pic‐
ture) before installing the coffee sys‐
tem.The sealing strips can be pur‐
chased from Miele.
Sealing strips are available from your
Miele dealer or from Miele.
Tip: We recommend providing a place
to sit the coffee system which is the
same height as the building-in niche.
This will make it easier to connect the
machine to the electrical supply and
water line.
ĺUsing the large allen key, unscrew all
four feet out by about 3/4" (2 mm).
The feet can be unscrewed by up to
approx. 4" (10 mm).
ĺConnect the appliance to the water
intake hose (see "Plumbing").
ĺConnect the appliance to the electri‐
cal supply.
Ensure the electrical and water con‐
nection does not get damaged when
pushing the appliance into the niche.
ĺPush the coffee system all the way
into the building-in niche.
ĺMake sure the coffee system is cen‐
tered and straight in the building-in
niche. If this is not the case, align the
machine using the four bases.
The appliance comes with four M5
socket screws to help you align and se‐
cure it in the building-in niche.

Installation
103
ĺOpen the appliance door, and partial‐
ly tighten the side socket screws.
ĺCarefully turn the lower socket
screws to center the machine in the
niche.
ĺTighten both upper socket screws by
hand to secure the machine in the
unit. Do not over-tighten them.
Adjusting the door hinges
If the machine door becomes difficult to
open or close after installation, you can
adjust the hinges to realign it (TX 20):
ĺTighten the screw Ȧto align it flush
with the cabinet front.
ĺTighten the screw ȧto align the door
horizontally and vertically.

Copyright and licenses
104
Miele uses software to operate and control the appliance.
The copyright authorization from Miele and other relevant software suppliers (e.g.
Adobe) must be respected.
Miele and its suppliers reserve the rights to the software components.
In particular the following are prohibited:
– copying and distribution,
– modifications and derivations,
– decompilation, reverse engineering, disassembling and other such reductions of
software.
This product contains Adobe® Flash® Player Software under license from Adobe
Systems Incorporated, Adobe Macromedia Software LLC. Adobe and Flash are
registered trademarks of Adobe Systems Incorporated.
Components which fall under GNU General Public Licence and further Open
Source licenses are integrated into the software.
An overview of the integrated Open Source components and a copy of the current
license can be obtained at KWWSZZZPLHOHFRPGHYLFHVRIWZDUHOLFHQVHV. You will
need to enter the specific product name.
Miele will provide the source code for all components of software licensed under
the GNU General Public License and comparable Open Source licenses.


9 Independence Way
Princeton, NJ 08540
Phone:
Fax:
www.mieleusa.com
U.S.A.
Miele, Inc.
National Headquarters
Please have the model and serial number
of your appliance available before
contacting Technical Service.
Canada
Importer
Miele Limited
Headquarters and Miele Centre
800-843-7231
609-419-9898
609-419-4298
Technical Service & Support
Nationwide
Phone:
Fax:
T
161 Four Valley Drive
Vaughan, ON L4K 4V8
www.miele.ca
800-999-1360
888-586-8056
Customer Care Centre
Phone:
800-565-6435
905-532-2272
Germany
Manufacturer
Miele & Cie. KG
Carl-Miele-Straße 29
33332 Gütersloh
105

M.-Nr. 10 215 120 / 0en – US, CA
CVA 6805
ħ
Other manuals for CVA 6805
7
Table of contents
Other Miele Coffee Maker manuals

Miele
Miele Coffee System User manual

Miele
Miele CM 6310 User manual

Miele
Miele DGC 6800 User manual

Miele
Miele CM 5100 User manual

Miele
Miele CM7550 User manual

Miele
Miele 07 173 930 User manual

Miele
Miele CVA7440CTS User manual

Miele
Miele XKM 2000 CON User manual

Miele
Miele CVA 30xx User manual

Miele
Miele CVA 7445 User manual

Miele
Miele CM6350 User manual

Miele
Miele CM6150BL User manual

Miele
Miele CVA 2662 Specification sheet

Miele
Miele MilkPerfection CM6360OBS User manual

Miele
Miele CVA 5060 User manual

Miele
Miele CM5310BRRT User manual

Miele
Miele CM5500 User manual

Miele
Miele CM 6160 User manual

Miele
Miele CM 5100 User manual

Miele
Miele CVA 4075 EN-CA User manual