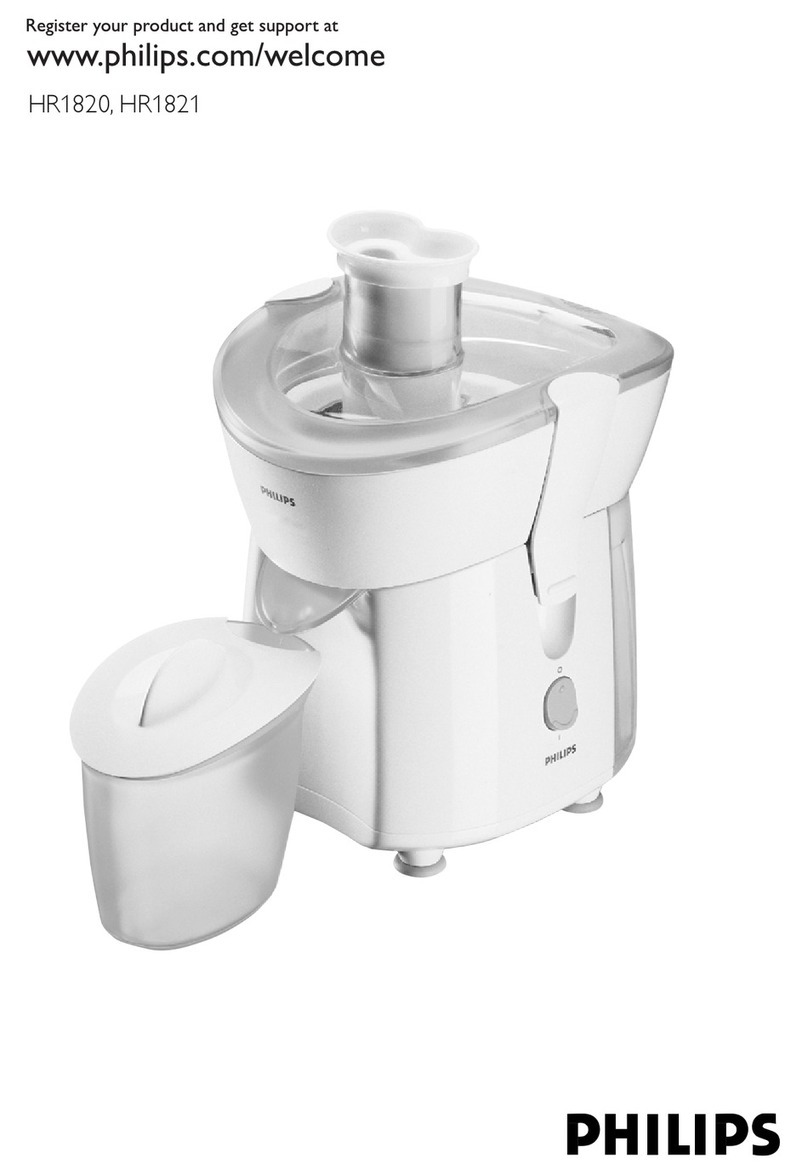
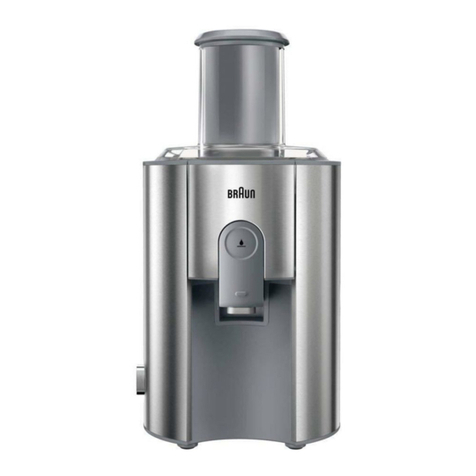
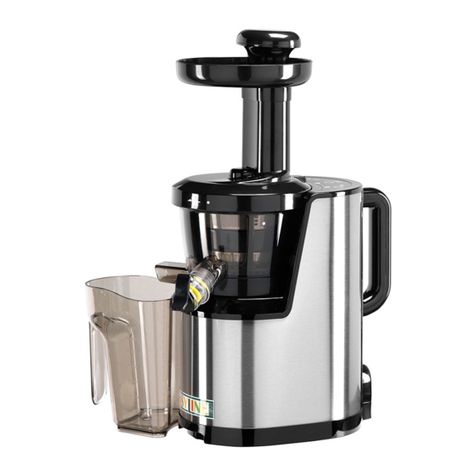
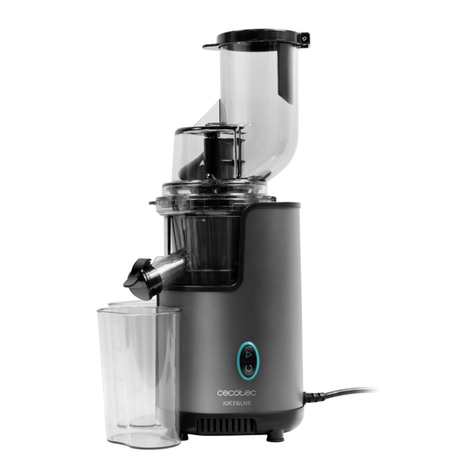
MIGEL GPJ User manual


1
GPJ 182
GPJ 182
"0"

2

3

4

5

6
012

7

8
0

9

10

11

1
English
GPJ 182
Dear customer!
Thanks for your worthful choce and confdence to Mgel
brand. We really hope that you enjoy operatng ths product.
Technical Data
Model Power Voltage Frequency
GPJ 182 800 W 220-240 V 50/60 Hz
Important safeguards
When using electrical appliance, basic safety precautions should always be
follow including following:
1. This appliance should only be used by or under the direct supervision of a
Responsible adult. Always keep away from the young children
2. Place the appliance on a at and level surface when operating. Never put
it near a source of direct heat or contact heating surface.
3. Take and put the unit gentlely ,it may not work caused by collision many times
4. To protect against the risk of electrical shock do not put the mainbody,
power Supply in water or other liquid. And do not use near a source of water,
eg. kitchen sink
5. Do not use this appliance if it is damaged, malfunctioning or if the mains
lead or plug is damaged. Return the appliance to the retailer if it is still within
the guarantee period. Otherwise contact the professional persons to repair.
6. Unplug the unit when not in use, before putting on or taking o any parts
before cleaning ,make the switch to“0”position.After operating,put the
switch to“0”position, unplug the unit then just can you pour the juice and
the plug.
7. It maybe overheated if the socket is loose, in this case ask the professional
persons for help
8. Always make sure the appliance is properly and completely assembled
before used.
9. To avoid cut yourself, do not touch the extractor blade seat.
10. When washing the removable parts of this product, the water should
not exceed 50 degree Never to put it in a dishwasher for high temperature
antisepsis.
11. Do not operate the appliance whilst empty or overloaded.
12. When the motor is running do not insert your nger or other objects into
the machine, and do not attempt to push fruit or vegetables down the chute
with anything other than the pusher.
13. Ensure that the grating sieve comes to a complete stop before removing
the cover.
14. After operating continuously for 30 seconds, wait 30 seconds before
operating the appliance to help prevent the motor from overheating.

Part Name
1. Pusher
2. Juice Cover
3. Blade Net
4. Juicer Tray
5. Handle
6. Switch (0,1,2)
HOUSEHOLD USE ONLY. NOT SUITABLE FOR USE OUTDOORS. DO NOT LEAVE
THISAPPLIANCE UNATTENDEDWHEN IN USE. STORE AWAY FROM DIRECT
SUNLIGHT.
15. This appliance is not intended for use by persons (including children)
with reduced physical, sensory or mental capabilities, or lack of experience
and knowledge, unless they have been given supervision or instruction
concerning use of the appliance by a person responsible for their safety.
16. Children should be supervised to ensure that they do not play with the
appliance.
17. Always disconnect the blender from the supply if it left unattended and
before assembling, disassembling or cleaning.
18. This appliance is intended to be used in household and similar
applications such as:
- Sta kitchen areas in shops, oces and other working environments;
- Farm houses;
- By clients in hotels, motels and other residential type environments;
- Bed and breakfast type environments.
1
2
3
4
5
6
7
8
9
10
11
12
7. Main Body
8. Pulp Container
9. Grinder
10. Chopper
11. Blender Jar
12. Juice Container
To Assemble
2

3
To Assemble
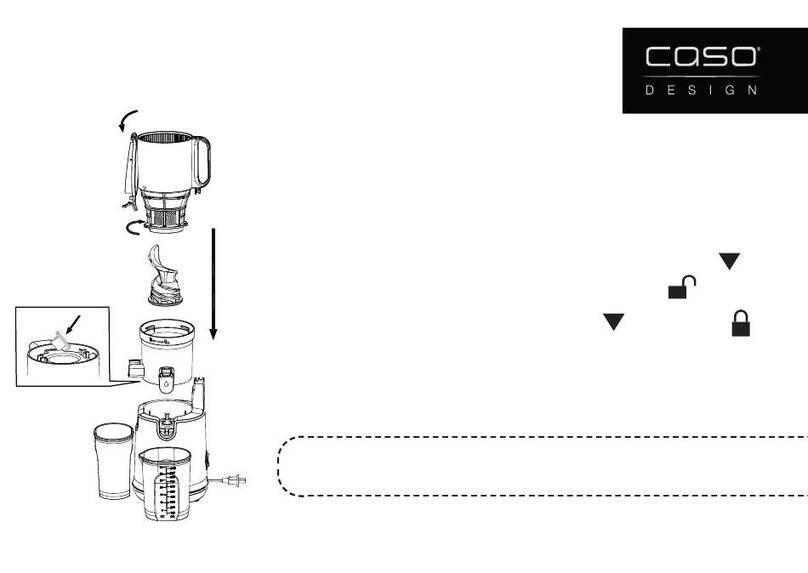
Unpack all pieces set the base unit on a at, level and stable surface
1. Place the juice tray onto the base unit, so that The spout of the juice tray
base is aligned with the gap of the main body
1
2
3. Fit the juicer cover onto the juice tray base, Taking care to t correctly
3
4. Pull the safety locking handle over the juicer cover So that the handle
ts into the grooves on the cover Note: The juicer will not work unless the
handle is correctly tted. Do not use the handle to pick up the appliance
5. Tip the base unit slightly to insert the pulp Container underneath the
juicer cover
4
5
2. Place the blade net onto the connector on the Base unit and press down
rmly Note:Be careful of the bottom blade when assemble

Put the blender jar on top of
main body i n v e r t i c a l p o
s i t i o n
Fasten the blender jar clockwise
till you hear a voice.
Accordingly, you can loose it in
counterturn.
To Disassemble
Lift back the safety locking handle
Lift the juicer cover from the juicer tray base
Remove the blade net
Lift the juicer tray base from the base unit
Juicer Extractor
1. Wash the fruit or vegetables ready for juicing, most fruit and vegetables
such as apples, carrots and cucumbers will not need to be cut to size as these
will t into the feed tube.
2. Make sure to place a glass or container under the spout while juicing, the
pulp container should be put under the pulp spout.
3. Make the switch to 0 position and then plug the power oulet
4. Start the unit, place food down the feed tube. Using the food pusher,
gently guide food down the feed tube.
Note:
1) To extract the maximum mount of juice, always push the food pusher
down slowly.
2) Never use hands or foreign objects to push food down the feed tube or to
clear the feed tube. Always use the food pusher provided.
5. Juice will ow into the glass or container and the separated pulp will
accumulate in the pulp container.
4
Dry Miller And Meat Grinder
Cleaning the blender
6. Slide the food pusher down the feed tube by aligning The grove in food
pusher with the small protrusion
6

5
Note:
1) Do not allow the pulp container to overll as this may damage the unit.
2) Please switch o the appliance when empty the pulp container.
3) For easy cleaning, suggest place a plastic bag into the pulp container to
collect pulp.
6. After juicing, the power should be cut o, running without food is not allowed.
1. Vegetable:
Cut the vegetable into sects, put 150g~200g vegetable into the jar, pour
some quantity
cold water, let it blend for 30 seconds, repeat twice, then can make fresh
vegetable juice
2. Fruit:
Peel o the fruit, cut it to pieces, put 150g~200g into the jar, pour some
quantity cold water together with ingredients, let it blend for 30 seconds,
repeat twice, then can make fresh fruit jam.
Place the miller or grinder onto
the base unit in vertical posit
ion
Fasten miller or grinder
clockwise till you hear a voice
accordingly, you can loose it in
counterturn
Dry Miller And Meat Grinder
Dry Miller
The miller is suitable for dry food, such as dry vegetable, peanut, ingredient.
Put 150g into the miller cup per time, cover the blade base, fasten it
clockwise, then turn upside down, press the button, let it run 30 seconds,
stop 30 seconds, repeat 2~3 times
Note:When the miller runs without food, that’s the blade can’t touch
the food, You should stop the appliance.
Cleaning the blender
Turn the appliance o at the power supply and unplug Twist the blender jar
o the base unit in a clockwise direction Pour out any remaining blended
material Wash the blender, blender lid, lid cap in warm soapy water
It is possible to remove the blade from the blender jug for extra cleaning.
When cleaning the blade, take great care as the edges are sharp

6
Juicing instructions
1) Hints & Guides
•Peel o the fruit or vegetables, such as orange, lemon, pineapple, pumpkin.
• Fruit with small pits and seeds, such as lemon, orange, watermelon, grape, can
put into food tube for juicing. Fruit with big pits and seeds, such as nectarines,
peaches, apricots, plums and cherries must be pitted before juicing.
• Can put the fruit or vegetable with caudex or leaf into the food tube
• Bundle the leaves of the fruit or vegetable before putting into the food tube.
• Soft food, such as banana, g, not suitable for juicing, the pulp would block
the appliance and damage motor.
2) Helpful hints
•Drink the fresh juice at once, it will lose the nutrition if stored too long.
•When drinking, let the juice in the mouth for 30 to 60 seconds, it will be
more sweet and speed up imbibing.
•Mix green vegetable juice, such as spinage, celery, with soft, sweet fruit
juice, such as apple, carrot, only 1/4 green vegetable juice is enough
Cleaning & care
• Turn the power switch to ‘0’ position and unplug the appliance before
cleaning.
• Disassemble the appliance. Note: lift o the juicer tray base with the
stainless steel lter basket inside, then, turn the juicer tray base upside down
and carefully remove the lter basket.
• Except the motor base, all detachable parts can be immersed in water
• Wipe the motor base with a damp sponge or paper towel
• For storage, make sure all the parts are dry enough and store in a clean &
dry place.
Environment friendly disposal
This symbol means that in case you wish to dispose of the
product once its working life has endedT take it to an autho-
rised waste agent for the selective collection of Waste from
Electric and Electronic Equipment ( WEEE ) .
Meat Grinder
Remove the bones, muscles and skin of the meat, cut into pieces, put 150g
in the grinder cup per time, cover the blade base, fasten it clockwise, then
turn upside down, press the button, let it run 30 seconds, stop 30 seconds,
repeat 2~3 times It would be delicious if add some quantity food oil or
ingredients when grinding.
Note: When you nd some meat muscles entwist the blade, it would speed
down, then you should stop the appliance, remove the muscles.

Table of contents
Languages:
