manuals.online logo
Brands
  1. Home
  2. •
  3. Brands
  4. •
  5. MIIDEX LIGHTING
  6. •
  7. Lighting Equipment
  8. •
  9. MIIDEX LIGHTING Vision-EL 75494 Operation and maintenance manual

MIIDEX LIGHTING Vision-EL 75494 Operation and maintenance manual

Ce produit, est un nouveau commutateur à économie d'énergie; il possède un détecteur à micro-ondes avec une vague électromagnétique de haute fréquence (5.8GHz) et un circuit intégré.
Il rassemble l'automatisme, la commodité, la sécurité, l'économie d'énergie et des fonctions pratiques. Le large champ de détection dépend des détecteurs.
Il fonctionne en détectant le mouvement humain à travers les portes, le verre et des parois nes. Quand on entre dans le champ de détection, il se met en marche immédiatement et identie automatiquement
le jour et la nuit. Son installation est simple.
Utilisation du détecteur micro-ondes
Detector microondas
Welcome to use microwave sensor
Source d’alimentation : 220-240V/AC Power Source: 220-240V/AC Fuente de alimentación: 220-240V/AC
Fréquence de puissance : 50/60Hz Power Frequency: 50/60Hz Frecuencia de alimentación : 50/60Hz
Lumière ambiante : <3-2000LUX (réglable) Ambient Light: <3-2000LUX (adjustable) Luz ambiente : <3-2000LUX (adjustable)
Charge nominale : Max 1200W - 300W
Portée de détection : 360°
Distance de détection : 1-8m (radius)
Consommation électrique : approx 0.9W
Hauteur d’installation : 1.5-3.5m
Vitesse de détection de présence : 0.6-1.5m/s Detection Moving Speed: 0.6-1.5m/s Velocidad de detección de presencia : 0.6-1.5m/s
Installation Height : 1.5-3.5m Altura de instalación : 1.5-3.5m
Power Consumption : approx 0.9W Consumo eléctrico : approx 0.9W
Transmisión de corriente: <0,2 mW
Sistema HF: radar CW de 5,8 GHz, banda ISM
Detection distance : 1-8m (radius) Distancia de detección : 1-8m (radius)
Dectection Range : 360° Alcance de detección : 360°
Rated Load : Max. 1200W - 300W Carga nominal : Max. 1200W - 300W
Temporisation : Min.10sec±3sec
Max.12min±1min
Time Delay : Min.10sec±3sec
Max.12min±1min
Diferido : Min.10sec±3sec
Max.12min±1min
The product is a new saving-energy switch; it adopts microwave sensor mould with high-frequency electro-magnetic wave (5.8GHz) and integrated circuit.
It gathers automatism, convenience, safety, saving-energy and practical functions. The wide detection eld depends on detectors. It works by receiving human motion.
When one enters the detection eld, it can start the load at once and identify automatically day and night. Its installation is very convenient and its using is very wide.
Detection is possible to go through doors, panes of glass or thin walls.
Este es un nuevo conmutador de ahorro energético; posee un detector microondas con ola electromagnética de alta frecuencia (5.8GHz) y un circuito integrado.
Reúne el automatismo, la comodidad, la seguridad, el ahorro energético y funciones prácticas. El amplio campo de detección depende de los detectores.
Funciona cuando detecta el movimiento humano a través de puertas, cristales, y paredes nas. Cuando entramos en el campo de detección, el detector funciona de inmediato y distingue la luz del día y la noche.
Su instalación es simple.
Utilizzando il rilevatore a microonde
Il prodotto è costituito da un rilevatore ad alta sensibilità e un circuito integrato. Riunisce automazione, convenienza, sicurezza, risparmio energetico e funzioni pratiche.
Utilizza l'energia a infrarossi come sorgente del segnale di controllo e può iniziare immediatamente a caricarsi quando si entra nel campo di rilevamento.
Può identicare automaticamente il giorno e la notte. È facile da installare e utilizzare.
Verwendung des Mikrowellendetektors
Questo prodotto, è un nuovo interruttore a risparmio energetico; Dispone di rilevatore a microonde con onde elettromagnetiche ad alta frequenza (5,8 GHz) e circuito integrato.
Riunisce automazione, comodità, sicurezza, risparmio energetico e funzioni pratiche. L'ampio campo di rilevamento dipende dai rilevatori.
Funziona rilevando il movimento umano attraverso porte, vetri e pareti sottili. Quando si entra nel campo di rilevamento, si accende immediatamente e si identica automaticamente
il giorno e la notte. La sua installazione è semplice.
Caratteristiche tecniche
Fonte di energia : 220-240V/AC
Frequenza di potenza: 50/60Hz
Luce ambientale : <3-2000LUX (réglable)
Carico nominale : Max. 1200W - 300W
Ambito di rilevamento : 360°
Distanza di rilevamento : 1-8m (radius)
Sistema HF: radar CW 5,8 GHz, banda ISM
Trasmissione corrente: <0,2 mW
Consumo di energia : approx 0.9W
Altezza di installazione : 1.5-3.5m
Velocità di rilevamento della presenza: 0.6-1.5m/s
Timeout : Min.10sec±3sec
Max.12min±1min
Technische Merkmale.
Stromquelle : 220-240V/AC
Netzfrequenz: 50/60Hz
Umgebungslicht : <3-2000LUX (réglable)
Nennlast : Max. 1200W - 300W
Erfassungsbereich : 360°
Erkennungsabstand : 1-8m (radius)
HF-System: 5,8 GHz CW-Radar, ISM-Band
Stromübertragung: <0,2 mW
Stromverbrauch : approx 0.9W
Installationshöhe : 1.5-3.5m
Präsenz Erkennungsgeschwindigkeit : 0.6-1.5m/s
Timeout : Min.10sec±3sec
Max.12min±1min
®
NOTICE - INSTRUCTIONS - INSTRUCCIONES -
AVVISO
- BEKANNTMACHUNG
Ref : 75494
Ce produit est garanti contre tout défaut de fabrication pendant une durée de 2 ans.
/ This product is guaranteed against any manufacturing defect for a period of 2 years. / Este producto está garantizado contra cualquier defecto de fabricación por un período de 2 años.
/ Questo prodotto è garantito contro qualsiasi difetto di fabbricazione per un periodo di 2 anni. / Dieses Produkt wird für einen Zeitraum von 2 Jahren gegen Herstellungsfehler garantiert.
CARACTÉRISTIQUES TECHNIQUES / TECHNICAL CHARACTERISTICS / CARACTERÍSTICAS TÉCNICAS
CARATTERISTICHE TECNICHE / TECHNISCHE EIGENSCHAFTEN
FONCTION / FUNCTION / FUNCIONAMIENTO / FUNZIONE / FUNKTION
1. Peut identier le jour et la nuit: L’utilisateur peut programmer le détecteur selon lumière ambiante. Le détecteur fonctionne avec la lumière du jour et la nuit quand il est
programmé sur la position "soleil" (Max). Il fonctionne avec la lumière ambiante inférieure à 3 LUX quand il est programmé sur la position "3" (Min). Pour la programmation, se référer
au point 4 « TEST ».
1. Can identify day and night: The consumer can adjust working state in dierent ambient light. It can work in the daytime and at night when it is adjusted on the“sun”position
(max). It can work in the ambient light less than 3LUX when it is adjusted on the“3”position (min). As for the adjustment pattern, please refer to the testing pattern.
1. El detector identica la luz del día y la noche : El usuario puede programar el detector según la luz ambiente. El detector funciona con la luz del día y de noche cuando está
programado en la posición "sol" (Max). También funciona con la luz ambiente inferior a 3 LUX cuando está programado en la posición "3" (Min). Para la programación referirse al
punto 4“PRUEBAS”.
1. Può identicare giorno e notte: l'utente può programmare il rilevatore in base alla luce ambientale. Il rilevatore funziona con luce diurna e notturna quando è programmato sulla
posizione "sole" (Max). Funziona con una luce ambientale inferiore a 3 LUX quando è programmato sulla posizione "3" (Min). Per la programmazione, fare riferimento al punto 4
"TEST".
1. Kann Tag und Nacht identizieren: Der Benutzer kann den Detektor entsprechend dem Umgebungslicht programmieren. Der Melder arbeitet mit Tageslicht und Nacht, wenn er
auf "Sonne" programmiert ist (Max). Es arbeitet mit Umgebungslicht unter 3 LUX, wenn es auf die Position "3" (Min) programmiert ist. Zur Programmierung siehe Punkt 4 "TEST".
Système HF : 5.8GHz CW radar, ISM band
Transmission de courant : <0.2mW
HF system: 5.8GHz CW radar, ISM band
Current transmission: <0.2mW
Le signal de HF du détecteur est <0.2Mw- soit 5000 fois inférieure à la puissance de transmission d'un téléphone portable ou d'un four à micro-ondes.
The high-frequency output of the HF sensor is <0.2Mw- that is just 5000 times less than the transmission power of a mobile phone or the output of a microwave oven.
La señal de HF del detector es <0.2Mw, 5000 veces menor a la potencia de transmisión de un teléfono móvil o un microondas.
Il segnale HF del rilevatore è <0,2 Mw o 5000 volte inferiore alla potenza di trasmissione di un telefono cellulare o di un forno a microonde.
Das HF-Signal des Detektors ist <0,2 MW- oder 5000-mal niedriger als die Sendeleistung eines Mobiltelefons oder einer Mikrowelle.
ATTENZIONE
- Pericolo di morte per scossa elettrica
• Deve essere installato da un elettricista professionistal
• Disconnetti il potere
• Proteggi o evita connessioni vicine
• Assicurati che il dispositivo non possa essere acceso
• Controllare che l'alimentazione sia disconnessa
ATTENTION
- Peligro de muerte por descarga eléctrica
• Debe ser instalado por el electricista profesional.
• Desconectar la corriente.
• Cubrir o proteger conexiones cercanas.
• Asegurarse que el dispositivo no pueda encenderse.
• Vericar que la corriente este bien desconectada.
ATTENTION
- Danger de mort par décharge électrique
• Doit être installé par un électricien professionnel
• Déconnecter le courant
• Protéger ou éviter les connexions à proximité
• S’assurer que le dispositif ne peut pas être allumé
• Vérier que le courant est bien déconnecté
WARNING
- Danger of death through electric shock
• Must be installed by professional electrician
• Disconnect power source
• Cover or shied any adjacent live components
• Ensure device cannot be switched on
• Check power supply is disconnectedé
VORSICHT
- Lebensgefahr durch Stromschlag
• Muss von einem professionellen Elektriker installiert werden
• Trennen Sie die Stromversorgung
• Schützen oder vermeiden Sie Verbindungen in der Nähe
• Stellen Sie sicher, dass das Gerät nicht eingeschaltet werden kann
• Stellen Sie sicher, dass die Stromversorgung unterbrochen ist
®
NOTICE - INSTRUCTIONS - INSTRUCCIONES -
AVVISO
- BEKANNTMACHUNG
Ce produit est garanti contre tout défaut de fabrication pendant une durée de 2 ans.
/ This product is guaranteed against any manufacturing defect for a period of 2 years. / Este producto está garantizado contra cualquier defecto de fabricación por un período de 2 años.
/ Questo prodotto è garantito contro qualsiasi difetto di fabbricazione per un periodo di 2 anni. / Dieses Produkt wird für einen Zeitraum von 2 Jahren gegen Herstellungsfehler garantiert.
RACCORD / CONNECTION / CONEXION / MONTAGGIO / ANPASSUNG
1. Ouvrir le détecteur an de programmer la minuterie et les LUX.
2. Ouvrir le couvercle puis desserrer les vis du terminal de
connexion et connecter le courant au terminal de connexion
(Voir schéma ci-dessous).
3. Relever les ressorts puis insérer le détecteur dans le plafond.
Une fois le détecteur dans le plafond, relâcher les ressorts.
4. Une fois l’installation terminée, reconnecter le courant puis
tester le détecteur.
1. Abrir el detector para programar el temporizador y los LUX.
2. Abrir la tapa y aojar los tornillos del terminal de conexión.
Conectar corriente al terminal de conexión (ver esquema
adjunto).
3. Colocar las pestañas en posición vertical e introducir en el
techo. Una Vez el detector colocado soltar las pestañas.
4. Una vez acabada la instalación, conectar la corriente y probar el
detector.
1. Aprire il rilevatore per programmare il timer e i LUX
2. Aprire il coperchio e allentare le viti del terminale di
collegamento e collegare l'alimentazione al terminale di
connessione (vedere lo schema seguente).
3. Sollevare le molle quindi inserire il rilevatore nel sotto. Una
volta che il rilevatore è nel sotto, rilasciare le molle.
4. Una volta completata l'installazione, ricollegare l'alimentazione
e quindi testare il rilevatore.
1. Önen Sie den Detektor, um den Timer und die LUXs zu
programmieren
2. Önen Sie die Abdeckung und lösen Sie die Schrauben der
Anschlussklemmen und schließen Sie die Stromversorgung an
die Anschlussklemme an (siehe Abbildung unten).
3. Heben Sie die Federn an und setzen Sie den Detektor in die
Decke ein. Sobald der Detektor in der Decke ist, lassen Sie die
Federn los.
4. Sobald die Installation abgeschlossen ist, schließen Sie die
Stromversorgung erneut an und testen Sie den Detektor.
1. Swing the plastic cover a little and adjust time and LUX knob.
2. Unload the transparent vinyl cover, loose the screws in the
connection terminal, and then connect the power to connection
terminal of sensor according to connection-wire diagram.
3. Fold the metal spring of the sensor upwards, until they are in “I”
position with sensor, and then put the sensor into the hole or
installation box which is on the ceiling and has the similar size with
the sensor.
4. After nishing installing, turn on the power and then test it.
Releasing the spring, the sensor will be set in this installation
position.
Ref : 75494
SCHÉMA DE CONNEXION / CONNECTION-WIRE DIAGRAM / ESQUEMA DE CONNEXION
SCHEMA DI COLLEGAMENTO / ANSCHLUSSPLAN
MIIDEX LIGHTING - 1 rue Isaac Newton 31830 Plaisance du Touch - www.miidex.com
®
NOTICE - INSTRUCTIONS - INSTRUCCIONES -
AVVISO
- BEKANNTMACHUNG
Ce produit est garanti contre tout défaut de fabrication pendant une durée de 2 ans.
/ This product is guaranteed against any manufacturing defect for a period of 2 years. / Este producto está garantizado contra cualquier defecto de fabricación por un período de 2 años.
/ Questo prodotto è garantito contro qualsiasi difetto di fabbricazione per un periodo di 2 anni. / Dieses Produkt wird für einen Zeitraum von 2 Jahren gegen Herstellungsfehler garantiert.
TEST / PRUEBAS / PROVA
1. Tournez le bouton LUX dans le sens des aiguilles d'une montre sur le maximum (soleil), tounez le bouton de distance de détection dans le sens des aiguilles d’une montre sur le
maximum (+),
Tournez le bouton de la Minuterie dans le sens inverse des aiguilles d'une montre, sur le minimum (10s).
2. Une fois le courant rétabli la lumière s’allumera automatiquement. Après 10sec±3sec la lumière s’éteindra et commencera à fonctionner selon les programmes choisis.
3. Tourner le bouton LUX dans le sens inverse des aiguilles d'une montre sur le minimum (3 LUX) Si la lumière ambiante est inférieure à 3LUX (obscurité), le détecteur se met en
marche s’il reçoit un signal.
1. Turn the LUX knob clockwise to the maximum (sun), turn the sensing distance knob clockwise to the maximum (+),
Turn the Timer knob counterclockwise to the minimum (10s).
2. When power is restored the light will turn on automatically. After 10sec ± 3sec the light will turn o and start working according to the selected programs.
3. Turn the LUX knob counterclockwise to the minimum (3 LUX) If the ambient light is less than 3LUX (darkness), the detector will turn on if it receives a signal.
1. Gire la perilla LUX en sentido horario al máximo (sol), gire la perilla de distancia de detección en sentido horario al máximo (+),
Gire la perilla del temporizador en sentido antihorario hasta el mínimo (10 s).
2. Cuando se restablezca la energía, la luz se encenderá automáticamente. Después de 10 segundos ± 3 segundos, la luz se apagará y comenzará a funcionar de acuerdo con los
programas seleccionados.
3. Gire la perilla LUX en sentido antihorario al mínimo (3 LUX) Si la luz ambiental es menor que 3LUX (oscuridad), el detector se encenderá si recibe una señal.
1. Ruotare la manopola LUX in senso orario al massimo (sole), ruotare la manopola della distanza di rilevamento in senso orario no al massimo (+),
Ruotare la manopola Timer in senso antiorario al minimo (10s).
2. Quando viene ripristinata l'alimentazione, la luce si accenderà automaticamente. Dopo 10sec ± 3sec la luce si spegnerà e inizierà a funzionare secondo i programmi selezionati.
3. Ruotare la manopola LUX in senso antiorario al minimo (3 LUX) Se la luce ambientale è inferiore a 3LUX (buio), il rilevatore si accenderà se riceve un segnale.
1. Drehen Sie den LUX-Knopf im Uhrzeigersinn bis zum Maximum (Sonne), drehen Sie den Erfassungsabstandsknopf im Uhrzeigersinn bis zum Maximum (+).
Drehen Sie den Timer-Knopf gegen den Uhrzeigersinn auf das Minimum (10s).
2. Wenn die Stromversorgung wiederhergestellt ist, wird das Licht automatisch eingeschaltet. Nach 10 Sekunden ± 3 Sekunden erlischt das Licht und beginnt gemäß den
ausgewählten Programmen zu arbeiten.
3. Drehen Sie den LUX-Knopf gegen den Uhrzeigersinn auf das Minimum (3 LUX). Wenn das Umgebungslicht weniger als 3LUX (Dunkelheit) beträgt, schaltet sich der Detektor ein,
wenn er ein Signal empfängt.
Ref : 75494
MIIDEX LIGHTING - 1 rue Isaac Newton 31830 Plaisance du Touch - www.miidex.com
Note : Si l’essai se fait à la lumière du jour, tourner le bouton LUX jusqu’à la position « Soleil », autrement le détecteur ne fonctionnera pas.
Note : When testing in daylight, please turn LUX knob to (SUN) position, otherwise the sensor lamp could not work.
Note : Si la prueba se realiza a la luz del día, girar el botón de los LUX hasta la posición « Sol » si no el detector no funcionará.
Nota: se il test viene eseguito alla luce del giorno, ruotare la manopola LUX sulla posizione "sole", altrimenti il rilevatore non funzionerà.
Hinweis: Wenn der Test bei Tageslicht durchgeführt wird, drehen Sie den LUX-Knopf auf "Sonne", sonst funktioniert der Detektor nicht.
®
NOTICE - INSTRUCTIONS - INSTRUCCIONES -
AVVISO
- BEKANNTMACHUNG
Ce produit est garanti contre tout défaut de fabrication pendant une durée de 2 ans.
/ This product is guaranteed against any manufacturing defect for a period of 2 years. / Este producto está garantizado contra cualquier defecto de fabricación por un período de 2 años.
/ Questo prodotto è garantito contro qualsiasi difetto di fabbricazione per un periodo di 2 anni. / Dieses Produkt wird für einen Zeitraum von 2 Jahren gegen Herstellungsfehler garantiert.
3/ Le détecteur n’éteint pas le luminaire automatiquement
a. Vérier qu’il y a un signal constant dans le champ de détection
b. Vérier que le réglage de la temporisation soit à la position maximum
c. Vérier que la source d’alimentation correspond aux instructions
3/ The sensor can not shut o the load automatically
a. Please check if there is continual signal in the detection eld
b. Please check if the time delay is set to the maximum position
c. Please check if the power corresponds to the instruction
3/ El detector no apaga la luminaria automaticamente
a. Vericar que haya una señal constante en el campo de detección
b. ericar que el ajuste del diferido este en la posición máxima
c. Vericar que la fuente de alimentación corresponda a las instrucciones
3/ Il rilevatore non spegne automaticamente l'apparecchio
a. Vericare che ci sia un segnale costante nel campo di rilevamento.
b. Vericare che l'impostazione del timer sia nella posizione massima.
c. Vericare che la fonte di alimentazione corrisponda alle istruzioni.
3/ Der Melder schaltet die Leuchte nicht automatisch ab
a. Überprüfen Sie, ob im Erfassungsfeld ein konstantes Signal vorhanden ist.
b. Stellen Sie sicher, dass die Timereinstellung auf der maximalen Position
ist.
c. Überprüfen Sie, ob die Stromquelle den Anweisungen entspricht.
2/ Si la détection est faible
a. Vérier qu’il n’y a aucun obstacle qui empêche le détecteur de recevoir
le signal
b. Vérier que la température ambiante n’est pas trop élevée
c. Vérier que le signal est dans le champ de détection
d. Vérier que la hauteur d’installation du détecteur correspond à la
hauteur requise
2/ The sensitivity is poor
a. Please check if there is any hindrance in front of the detector to aect it
to receive the signals
b. Please check if the ambient temperature is too high
c. Please check if the induction signal source is in the detection eld
d. Please check if the installation height corresponds to the height required
in the instruction
2/ Si la deteccion es debil
a. Vericar que no haya ningún obstáculo que impida al detector recibir la
señal
b. Vericar que la temperatura ambiente no sea muy elevada
c. Vericar que la señal está en el campo de detección
d. Vericar que la altura de instalación del detector corresponda a la altura
requerida
2/ Se il rilevamento è debole
a. Vericare che non vi siano ostacoli che impediscano al ricevitore di
ricevere il segnale
b. Vericare che la temperatura ambiente non sia troppo alta
c. Vericare che il segnale si trovi nel campo di rilevamento
d. Vericare che l'altezza di installazione del rivelatore corrisponda
all'altezza desiderata
2/ Wenn die Erkennung schwach ist
a. Stellen Sie sicher, dass keine Hindernisse vorhanden sind, die den
Detektor daran hindern, das Signal zu empfangen
b. Überprüfen Sie, dass die Umgebungstemperatur nicht zu hoch ist
c. Überprüfen Sie, ob das Signal im Erfassungsfeld ist
d. Überprüfen Sie, ob die Installationshöhe des Melders der erforderlichen
Höhe entspricht
Ref : 75494
1/ Si le luminaire ne fonctionne pas
a. Vérier si la connexion entre le courant et le luminaire
b. Vérier l’état du luminaire
c. Vérier que les réglages correspondent à la lumière ambiante
1/ Some problem and solved way
a. Please check if the connection of power source and load is correct
b. Please check if the load is good
c. Please check if the settings of working light correspond to ambient light
1/ Si la luminaria no funciona
a. Vericar la conexión entre la corriente y la luminaria
b. Vericar el estado de la luminaria
c. Vericar que los ajustes correspondan con la luz ambiente
1/ Se l'apparecchiatura non funziona
a. Controlla se la connessione tra la potenza e l'apparecchio
b. Controlla le condizioni dell'apparecchio
c. Vericare che le impostazioni corrispondano alla luce ambientale
1/ Wenn das Gerät nicht funktioniert
a. Überprüfen Sie, ob die Verbindung zwischen der Stromversorgung und
der Leuchte besteht
b. Überprüfen Sie den Zustand der Leuchte
c. Überprüfen Sie, ob die Einstellungen dem Umgebungslicht entsprechen
MIIDEX LIGHTING - 1 rue Isaac Newton 31830 Plaisance du Touch - www.miidex.com

Other MIIDEX LIGHTING Lighting Equipment manuals

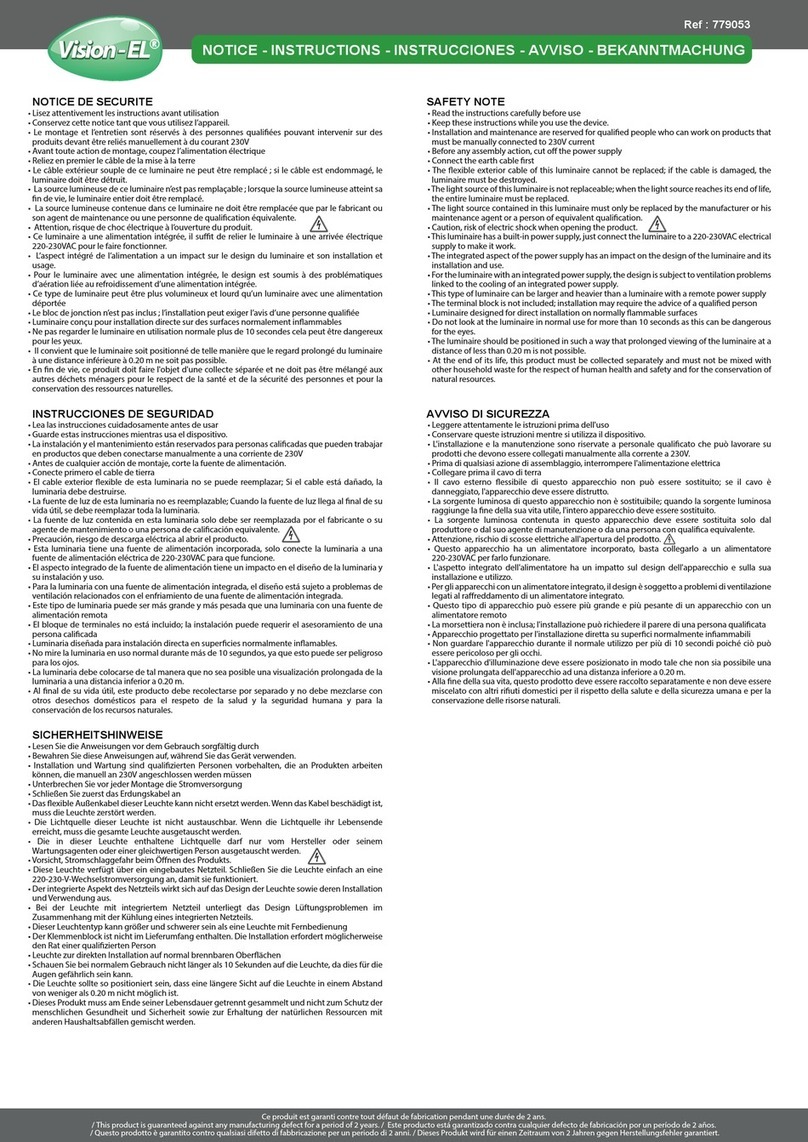
MIIDEX LIGHTING Vision-EL 779053 Operation and maintenance manual

MIIDEX LIGHTING

MIIDEX LIGHTING Vision-EL 779053 Operation and maintenance manual

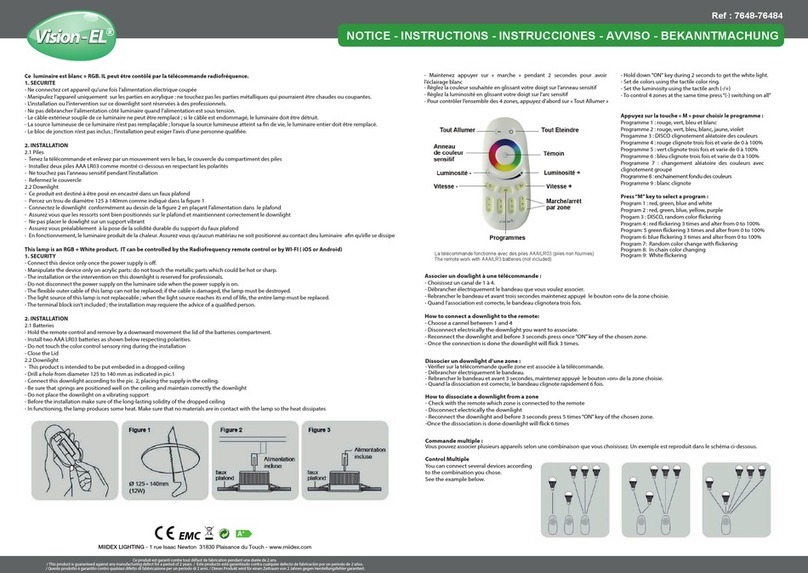
MIIDEX LIGHTING Vision-EL 7648 Operation and maintenance manual

MIIDEX LIGHTING

MIIDEX LIGHTING Vision-EL 7648 Operation and maintenance manual

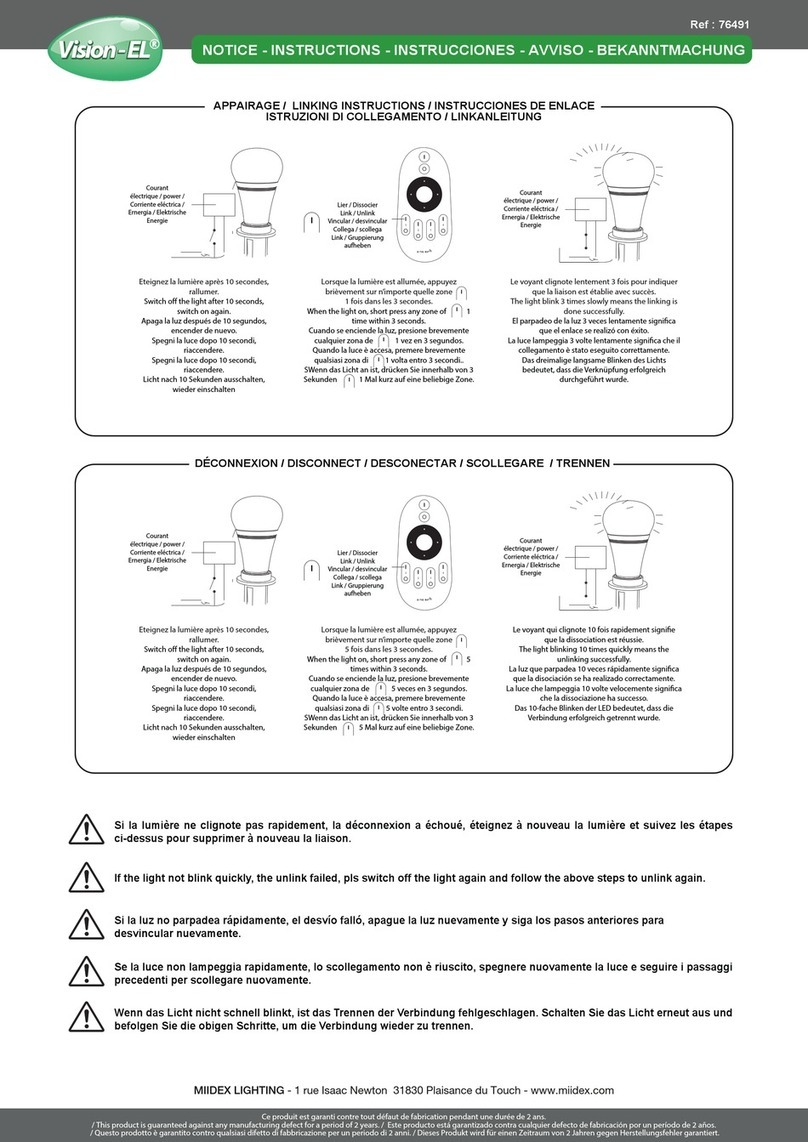
MIIDEX LIGHTING Vision-EL 76491 User manual

MIIDEX LIGHTING

MIIDEX LIGHTING Vision-EL 76491 User manual

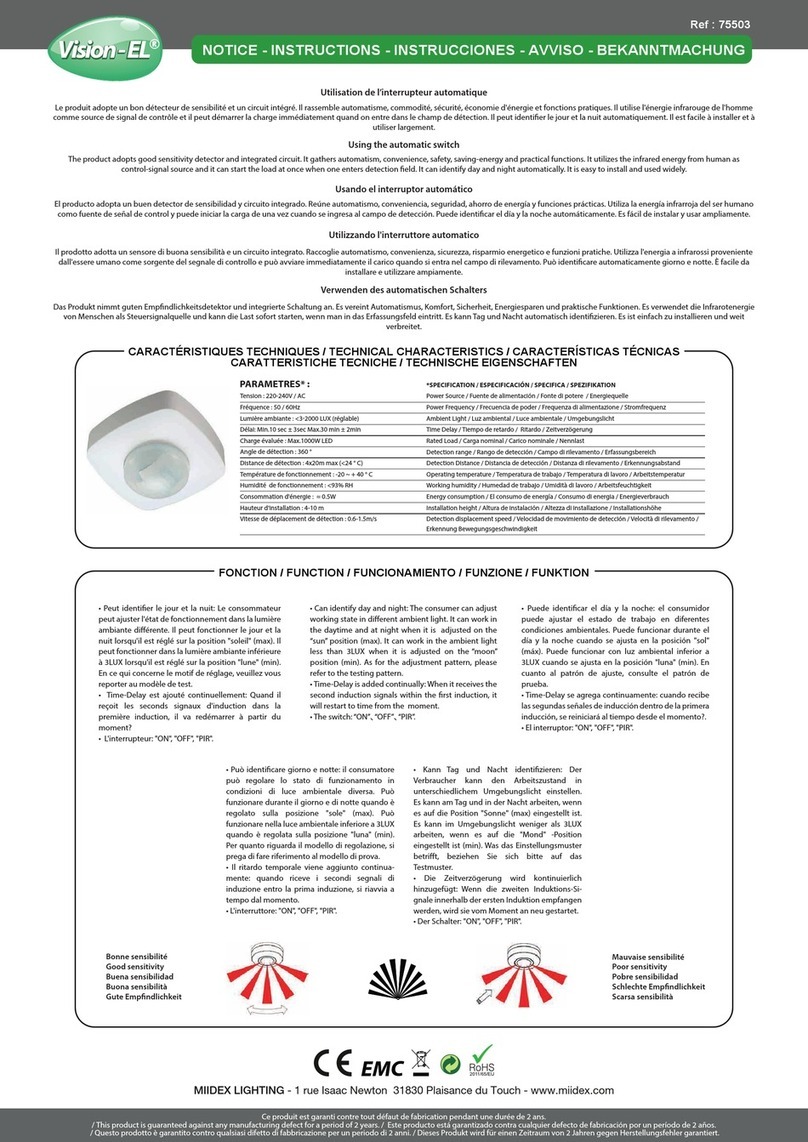
MIIDEX LIGHTING Vision-EL 75503 Operation and maintenance manual

MIIDEX LIGHTING

MIIDEX LIGHTING Vision-EL 75503 Operation and maintenance manual

MIIDEX LIGHTING Vision-EL ELV416353 Operation and maintenance manual

MIIDEX LIGHTING

MIIDEX LIGHTING Vision-EL ELV416353 Operation and maintenance manual

MIIDEX LIGHTING Vision-EL 754934 Operation and maintenance manual

MIIDEX LIGHTING

MIIDEX LIGHTING Vision-EL 754934 Operation and maintenance manual

MIIDEX LIGHTING VISION-EL 75492 Operation and maintenance manual

MIIDEX LIGHTING

MIIDEX LIGHTING VISION-EL 75492 Operation and maintenance manual

MIIDEX LIGHTING Vision-EL ELV404558 Operation and maintenance manual

MIIDEX LIGHTING

MIIDEX LIGHTING Vision-EL ELV404558 Operation and maintenance manual

MIIDEX LIGHTING Vision-EL ELV773725-10 User manual

MIIDEX LIGHTING

MIIDEX LIGHTING Vision-EL ELV773725-10 User manual

Popular Lighting Equipment manuals by other brands

HQ Power AERON 575S user manual

HQ Power

HQ Power AERON 575S user manual

HQ Power VDLP36CW user manual

HQ Power

HQ Power VDLP36CW user manual

LIVARNO LUX 300257 Operation and safety notes

LIVARNO LUX

LIVARNO LUX 300257 Operation and safety notes

Inlite SMART SCOPE TONE installation instructions

Inlite

Inlite SMART SCOPE TONE installation instructions

SilverStar ECLIPSE MINI COLOR SS867 user manual

SilverStar

SilverStar ECLIPSE MINI COLOR SS867 user manual

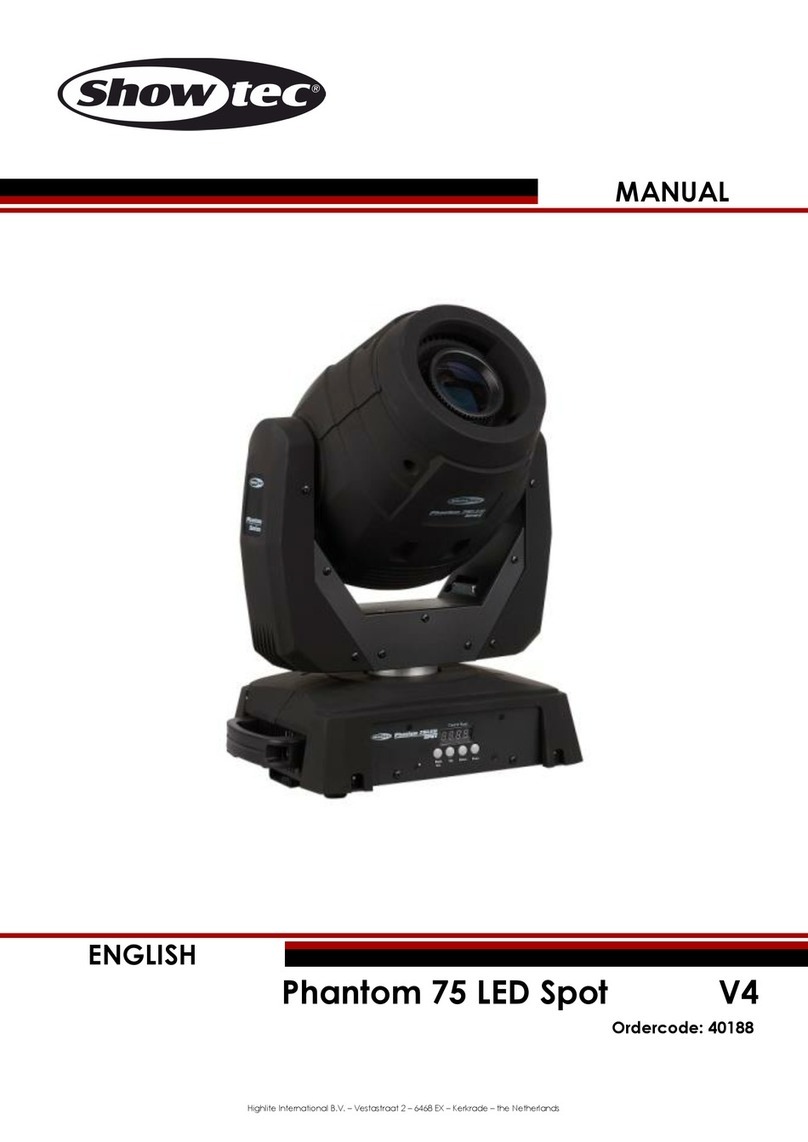
Show Tec Phantom 75 LED Spot V4 manual

Show Tec

Show Tec Phantom 75 LED Spot V4 manual

North Light A4557 Instructions for use

North Light

North Light A4557 Instructions for use

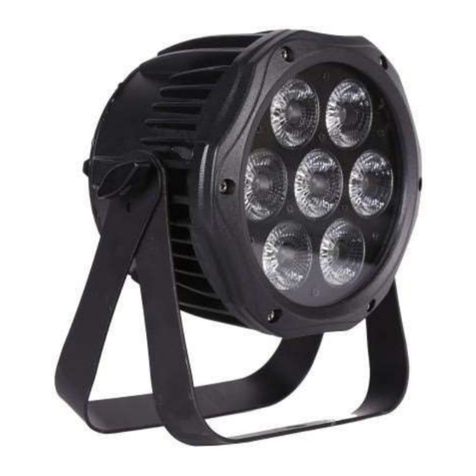
Gamma+ Starburst 7x18w user manual

Gamma+

Gamma+ Starburst 7x18w user manual

Lightmybricks LEGO 75274 installation guide

Lightmybricks

Lightmybricks LEGO 75274 installation guide

BLACK DECKER BFMAKB2 instruction manual

BLACK DECKER

BLACK DECKER BFMAKB2 instruction manual

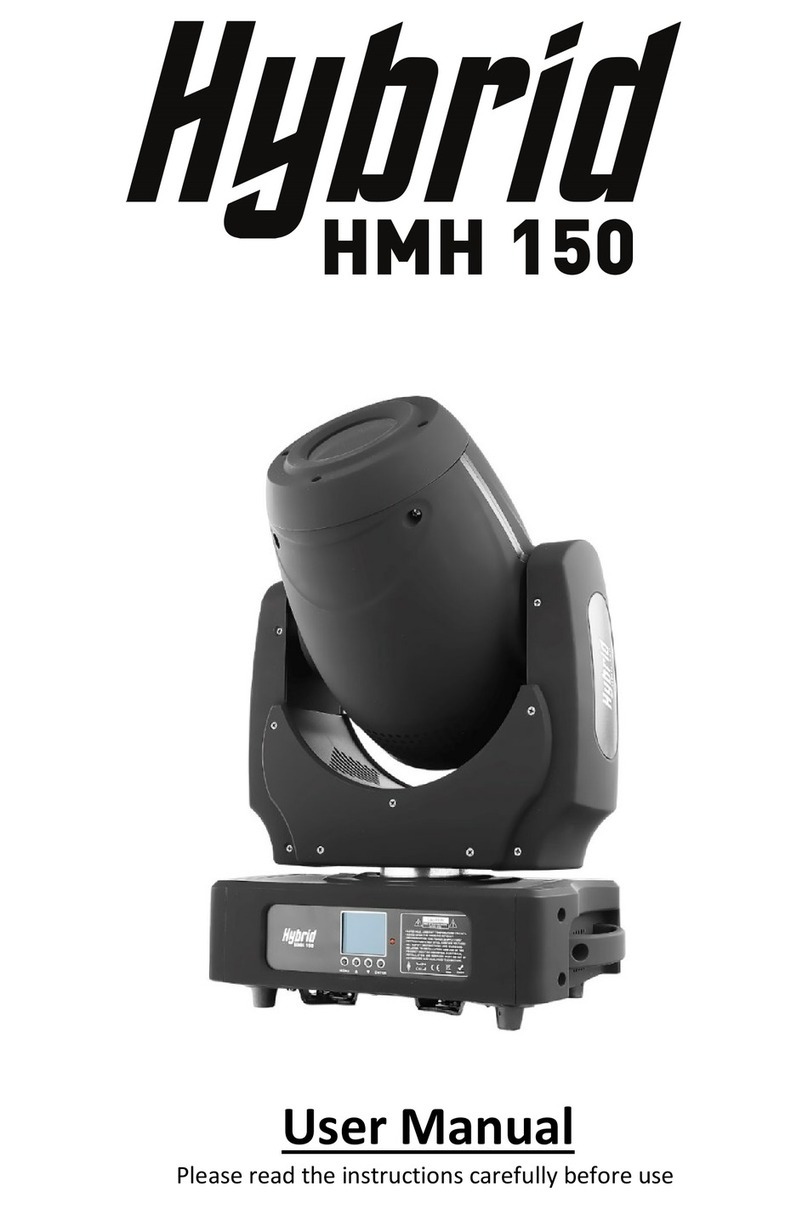
Hybrid+ HMH 150 user manual

Hybrid+

Hybrid+ HMH 150 user manual

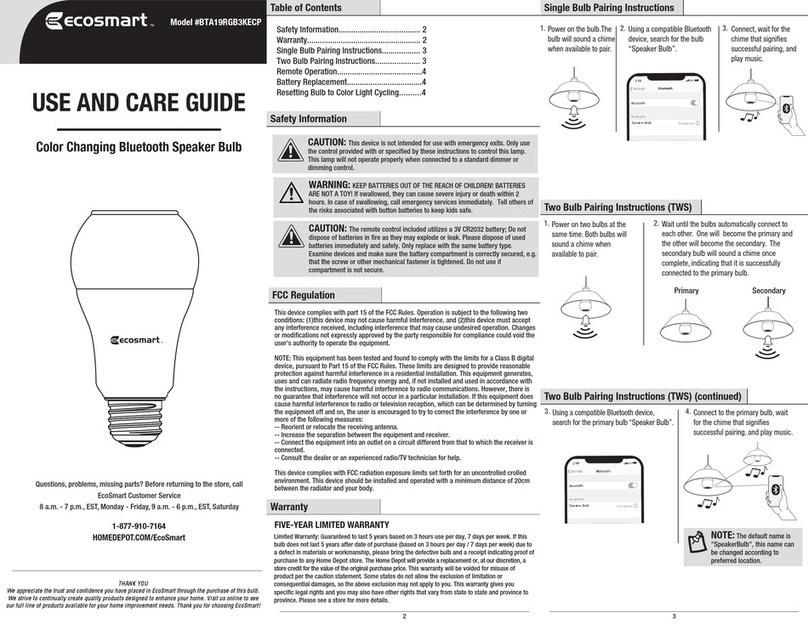
Eco-Smart BTA19RGB3KECP Use and care guide

Eco-Smart

Eco-Smart BTA19RGB3KECP Use and care guide

STUDIODUE D-Color Operator's manual

STUDIODUE

STUDIODUE D-Color Operator's manual

HQ Power HQLE10034 user manual

HQ Power

HQ Power HQLE10034 user manual

Show Tec Phantom 1220 Zoombar user manual

Show Tec

Show Tec Phantom 1220 Zoombar user manual

Lightmybricks LEGO STAR WARS EXECUTOR SUPER STAR DESTROYER 75356 LIGHT... installation guide

Lightmybricks

Lightmybricks LEGO STAR WARS EXECUTOR SUPER STAR DESTROYER 75356 LIGHT... installation guide

North Light WX-5VLED44-C-80MC-10-1 instruction manual

North Light

North Light WX-5VLED44-C-80MC-10-1 instruction manual

Eco-Smart LR431U-7.2X5IR3-10M-1024 Use and care guide

Eco-Smart

Eco-Smart LR431U-7.2X5IR3-10M-1024 Use and care guide

manuals.online logo
manuals.online logoBrands
  • About & Mission
  • Contact us
  • Privacy Policy
  • Terms and Conditions

Copyright 2025 Manuals.Online. All Rights Reserved.