manuals.online logo
Brands
  1. Home
  2. •
  3. Brands
  4. •
  5. mikroElektronika
  6. •
  7. Computer Hardware
  8. •
  9. mikroElektronika Pressure click User manual

mikroElektronika Pressure click User manual

Other mikroElektronika Computer Hardware manuals
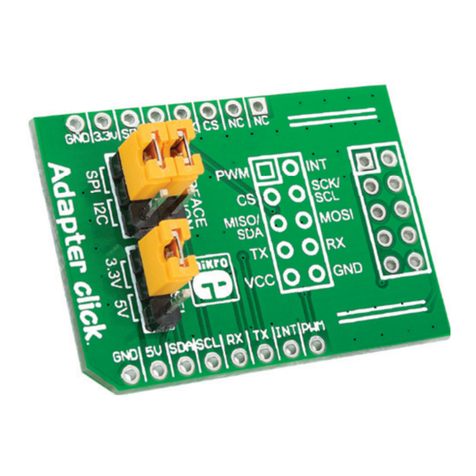
mikroElektronika Click User manual

mikroElektronika

mikroElektronika Click User manual
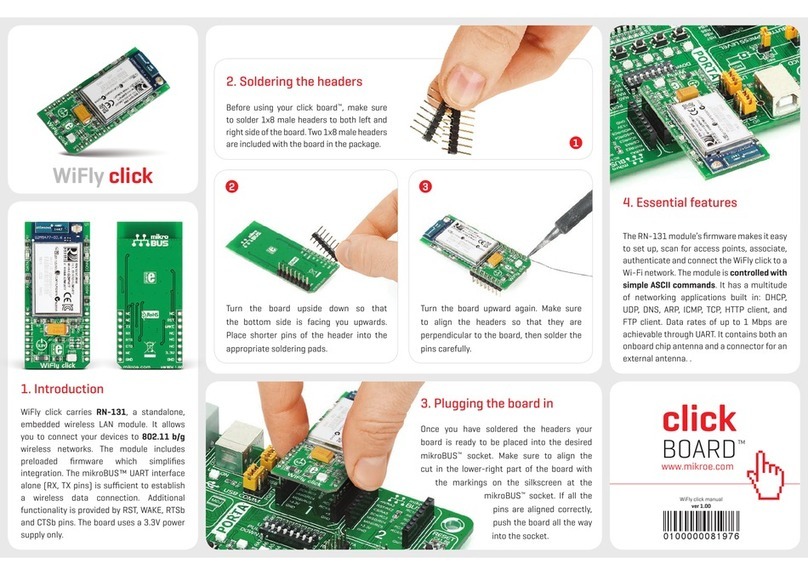
mikroElektronika WiFly click User manual
mikroElektronika

mikroElektronika WiFly click User manual

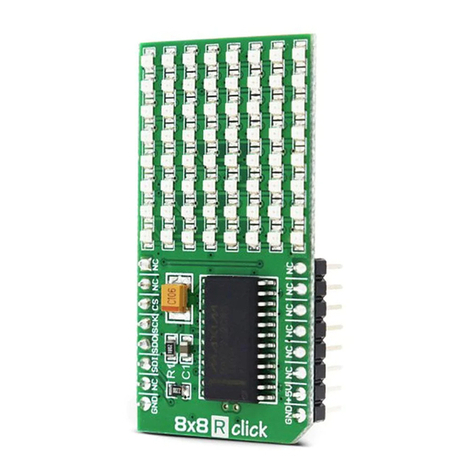
mikroElektronika Keypad 4x4 User manual
mikroElektronika

mikroElektronika Keypad 4x4 User manual

mikroElektronika 8x8 B Click User manual
mikroElektronika

mikroElektronika 8x8 B Click User manual

mikroElektronika Bluetooth2 click User manual
mikroElektronika

mikroElektronika Bluetooth2 click User manual

mikroElektronika Current Click User manual
mikroElektronika

mikroElektronika Current Click User manual

mikroElektronika CAN SPI click User manual
mikroElektronika

mikroElektronika CAN SPI click User manual

mikroElektronika AlphaNum R click User manual
mikroElektronika

mikroElektronika AlphaNum R click User manual

mikroElektronika Series Ethernet2 User manual
mikroElektronika

mikroElektronika Series Ethernet2 User manual

mikroElektronika EasyMx PRO v7 User manual
mikroElektronika

mikroElektronika EasyMx PRO v7 User manual

mikroElektronika RTC click User manual
mikroElektronika

mikroElektronika RTC click User manual

mikroElektronika Alcohol click User manual
mikroElektronika

mikroElektronika Alcohol click User manual

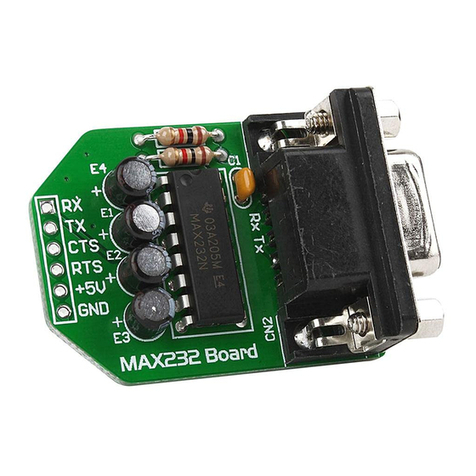
mikroElektronika MAX232 User manual

mikroElektronika

mikroElektronika MAX232 User manual
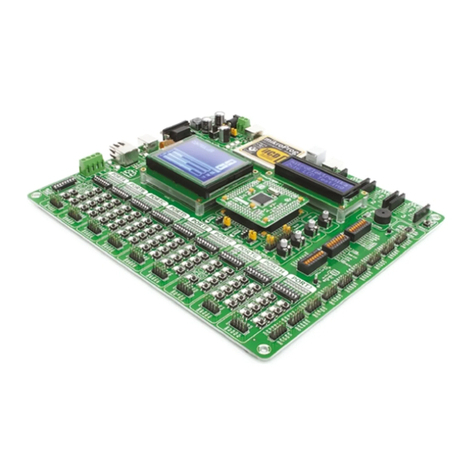
mikroElektronika EasyMx PRO v7 User manual
mikroElektronika

mikroElektronika EasyMx PRO v7 User manual

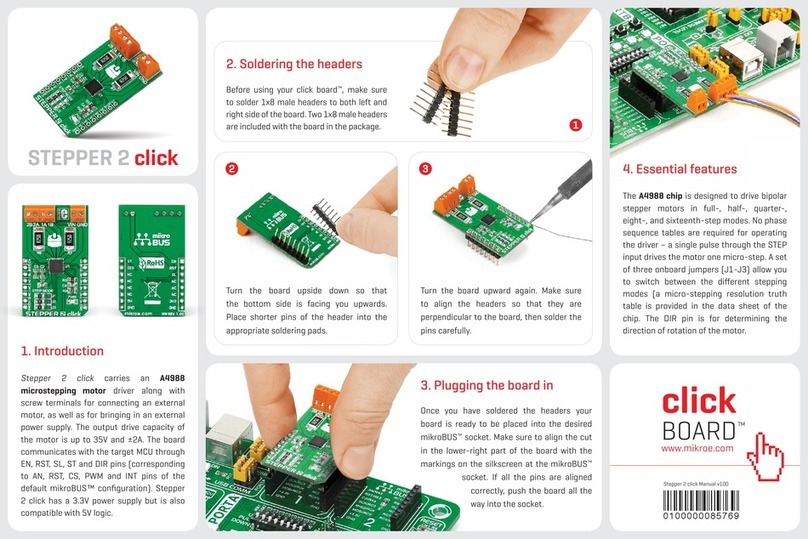
mikroElektronika tRF click User manual
mikroElektronika

mikroElektronika tRF click User manual

mikroElektronika STEPPER 2 click User manual

mikroElektronika

mikroElektronika STEPPER 2 click User manual

mikroElektronika AVR-Ready1 User manual
mikroElektronika

mikroElektronika AVR-Ready1 User manual

mikroElektronika 4-20mA R click User manual
mikroElektronika

mikroElektronika 4-20mA R click User manual

mikroElektronika 3.3V-5V VOLTAGE TRANSLATOR MIKROE-258 User manual
mikroElektronika

mikroElektronika 3.3V-5V VOLTAGE TRANSLATOR MIKROE-258 User manual

mikroElektronika 4x4 RGB click User manual

mikroElektronika

mikroElektronika 4x4 RGB click User manual

mikroElektronika LV24-33 v6 User manual

mikroElektronika

mikroElektronika LV24-33 v6 User manual

mikroElektronika SpeakUp User manual

mikroElektronika

mikroElektronika SpeakUp User manual

mikroElektronika CO click User manual

mikroElektronika

mikroElektronika CO click User manual

mikroElektronika multimedia workStation v7 User manual

mikroElektronika

mikroElektronika multimedia workStation v7 User manual

Popular Computer Hardware manuals by other brands

Toshiba TOSVERT VF-MB1/S15 IPE002Z Function manual

Toshiba

Toshiba TOSVERT VF-MB1/S15 IPE002Z Function manual

Shenzhen MEITRACK MVT380 user guide

Shenzhen

Shenzhen MEITRACK MVT380 user guide

TRENDnet TEW-601PC - SUPER G MIMO WRLS PC CARD user guide

TRENDnet

TRENDnet TEW-601PC - SUPER G MIMO WRLS PC CARD user guide

StarTech.com CF2IDE18 instruction manual

StarTech.com

StarTech.com CF2IDE18 instruction manual

Texas Instruments LMH0318 Programmer's guide

Texas Instruments

Texas Instruments LMH0318 Programmer's guide

Gateway 8510946 user guide

Gateway

Gateway 8510946 user guide

Devon IT TC2D Quick setup guide

Devon IT

Devon IT TC2D Quick setup guide

Krüger & Matz Air Shair2 owner's manual

Krüger & Matz

Krüger & Matz Air Shair2 owner's manual

Crystalio VPS-2300 quick guide

Crystalio

Crystalio VPS-2300 quick guide

MYiR FZ3 user manual

MYiR

MYiR FZ3 user manual

Protech Systems BC-K200 Quick reference guide

Protech Systems

Protech Systems BC-K200 Quick reference guide

Miranda DENSITE series DAP-1781 Guide to installation and operation

Miranda

Miranda DENSITE series DAP-1781 Guide to installation and operation

Sierra Wireless Sierra Wireless AirCard 890 quick start guide

Sierra Wireless

Sierra Wireless Sierra Wireless AirCard 890 quick start guide

Leadtek Killer Xeno Pro Quick installation guide

Leadtek

Leadtek Killer Xeno Pro Quick installation guide

Star Cooperation FlexTiny 3 Series Instructions for use

Star Cooperation

Star Cooperation FlexTiny 3 Series Instructions for use

Hotone Ampero user manual

Hotone

Hotone Ampero user manual

Connect Tech Xtreme/104-Express user manual

Connect Tech

Connect Tech Xtreme/104-Express user manual

Yealink WF50 user guide

Yealink

Yealink WF50 user guide

manuals.online logo
manuals.online logoBrands
  • About & Mission
  • Contact us
  • Privacy Policy
  • Terms and Conditions

Copyright 2025 Manuals.Online. All Rights Reserved.

1. Introduction
Once you have soldered the headers your
board is ready to be placed into desired
mikroBUS™ socket. Make sure to align the
cut in the lower-right part of the board
with the markings on the silkscreen at the
mikroBUS™ socket. If all of the pins are
aligned correctly, push the board all
the way into the socket.
3. Plugging the board in
2 3
2. Soldering the headers
1
4. Essential features
Turn the board upward again. Make sure
to align the headers so that they are
perpendicular to the board, then solder the
pins carefully.
Turn the board upside down so that
bottom side is facing you upwards. Place
shorter parts of the header pins in both
soldering pad locations.
Before using your click board™, make sure
to solder 1x8 male headers to both left
and right side of the board. Two 1x8 male
headers are included with the board in
the package.
click
BOARD
www.mikroe.com
Pressure click Manual
ver. 1.00
0 100000 023730
Pressure Click™is an accessory board in
mikroBUS™form factor. It’s a compact
and easy solution for adding pressure
measurement to your design. It features
LPS331AP digital output pressure
sensor. Pressure Click™communicates
with the target board microcontroller via
mikroBUS™ SPI (MOSI, MISO, SCK, CS),
I2C (SDA, SCL) and INT lines. The board
is designed to use 3.3V power supply
only. LED diode (GREEN) indicates the
presence of power supply.
Pressure click
Pressure Click™ with it’s LPS331AP IC is
an ultra compact absolute piezoresistive
pressure sensor capable to measure
pressure (260-1260 mbar) or temperature
(-40°C to 80°C) and provide a digital signal
to main board microcontroller. All these
features make this board ideal for indor and
outdor navigations, altimeter or barometer
for portable devices, weather station
equipment, sport watches and many more.
8. Support
MikroElektronika oers Free Tech Support
(www.mikroe.com/esupport) until the
end of product lifetime, so if something goes
wrong, we are ready and willing to help!
7. Code Examples
.com
Once you have done all the necessary
preparations, it’s time to get your click
board up and running. We have provided
the examples for mikroC, mikroBasic and
mikroPascal compilers on our Libstock
website. Just download them and you are
ready to start.
5. Pressure Click™ Board Schematic
C2
10uF
C1
100nF
VDD_IO
NC
NC
SCL/SPC
GNDINT2
GND
INT1
GND
GND
GND
VCC
VDD
SDA/SDI
SAO/SDO
CS
U1 LPS331AP
VCC-3.3V
J5
J4
J3
J1
SAO/SDO
SDA/SDI
SCL/SCK
INT
SDA/SDI
SAO/SDO
I2C/CS
VCC-3.3VVCC-3.3V
VCC-3.3V
VCC-3.3V
J2
SCL/SCK
SCL
SCK
SDA
SDI
VCC-3.3V
SDO
R4 10K
CS
I2C/CS
R1
2K2
LD1
I2C/SPI
I2C/SPI
I2C/SPI
I2C/SPI
INT
CS
SCL
SCK
SDASDI
SDO
R5 27
ADD0
ADD1
R3 10K
R2 10K
AN
RST
CS
SCK
MOSI
MISO
+3.3V
GND
PWM
INT
RX
TX
SCL
SDA
+5V
GND
VCC-3.3V
VCC-3.3V
C3
100nF
VCC-3.3V
MIKROBUS DEVICE CONN.
MikroElektronika assumes no responsibility or liability for any errors or inaccuracies that may appear in the present document.
Specication and information contained in the present schematic are subject to change at any time without notice. Copyright © 2013 MikroElektronika. All rights reserved.
6. SMD Jumpers
The Pressure Click™ board
communicates with the main
board microcontroller via I2C or
SPI interface depending on the
position of the J1, J2, J3 and J4
SMD jumpers. These jumpers are soldered in
I2C interface position by default. There is an
option to select the alternate address with
jumper J5 in the case of I2C interface (default
position is logic 1).