Milagrow Spaze Wet User manual
OtherRoboticAttractionsfromMilagrow
CelebritySpeak
MediaSpeak
WindowRobots
LivingRobots
LawnRobots
BodyRobots
PoolRobots
‘BuildyourRobots’
AmitabhBachchan
India'sMostRespectedFilmStar
“Roboticfirmtotallyfascinating.Humans
shallcreatetheirownsubstitute..."
(Tweet804)
SainaNehwal
India'sOlympicMedalist
"HumaneTechnologyforabetter
world”
ManoharParrikar
ChiefMinister,Goa,India
"ZeroGerms,ZeroBacteriawith
MilagrowRobots."(OnQuestforZero
PollutiononTimesNow)
AnupamKher
FamousIndianActor
"MilagrowBodyMassagingRobotisa
wonderdeviceanditisonesuch
innovation,thatbenefitslives.

World’s1stArtificiallyIntelligent
HomeSafety&FloorCleaning
Robots
Vacummcleanersand'homeswithgerms'arenowhistory!
OPERATINGMANUAL
India’sNo.1
Domestic
Robots
TableofContents
TableofContents
SafetyInstructions
Advancedfeatures
Productintroduction
StructureoftheRobot
PaneloftheRobot
BatteryinstallationfortheRobot
Introductionoftheautochargingdockstation
Introductionoftheremotecontroller
SettingsoftheUVlampontheremotecontroller/intelligentWatertank
Settingsofschedule/timefortheremotecontroller
Introductionofthevirtualwall
Installation&removalandcleaningofthedustbin
InstallationandremovaloftheONECOVERALLmainbrushassembly
Installationandremovalofthesuctioninlet
Installationoftheintelligentwatertank/trailingbar/mop
Commonfailuresandtroubleshooting
DimensionsandParameters
InstructionManualforIoT,AI&HomeSafetyisdistributedseparatelyandisnotpart
ofthismanual
NOTE:-
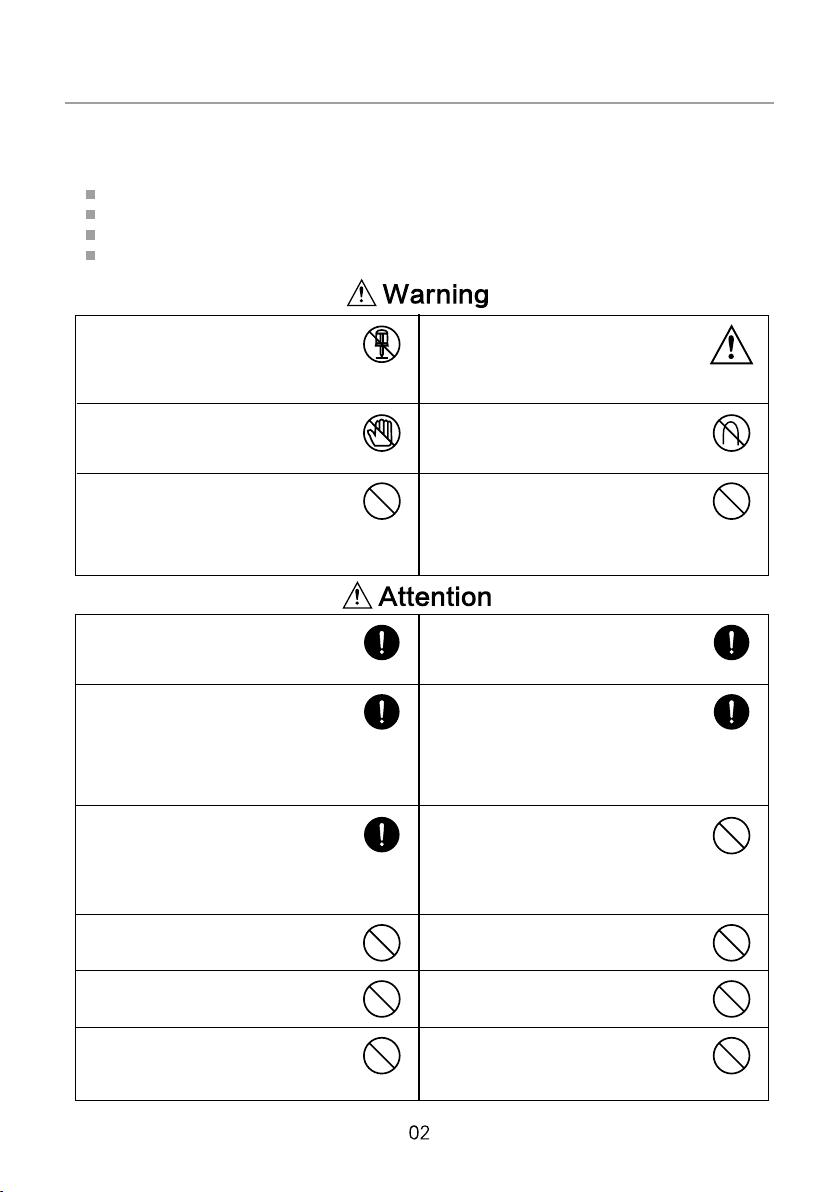
SafetyInstructions
Beforeusingthisproduct,pleasereadthefollowingsafetyinstructionsandfollowall
routinesafetyprecautions!
Pleasereadtheseinstructionscarefully.
Pleaseproperlykeepthisbookofinstructions.
Anyoperationnotincompliancewiththisbookislikelytocausedamagetotheproduct.
TherighttofinalinterpretationresideswiththeCompany.
Anyone except our designated
service technicians should not
disassemble,repairormodifythe
product.Otherwiseitmayleadto
fire,electricshockorinjury.
Do not touch any high voltage
powercableoftheappliancewith
wet hands, as this may cause
electricshock.
Attention must be paid to avoid
clothesoranypartofbody(head,
fingers, etc.) getting stuck in
thebrushorwheelsofthevacuum
cleaner. Doing so may result in
personalinjury.
Do not use any recharger other
than the one accompanying this
appliance. Otherwise it may cause
fireresultingfromproductdamage,
electricshockorhighvoltage.
Don'toverbendthepowercordor
placeheavyobjectsonit.Doingso
may damage the cord, causing a
fireorelectricshock.
KeeptheRobotawayfromcigarettes,
lighters,matchesandheatsource
objectsandfromflammablematerials.
Turnoffthepowerbefore
transportingorrelegatingitto
prolongedstorage.Otherwise,the
batterymaybedamaged.
Checktheconnectionbetween
therechargerandthesocketfor
reliability.Otherwiseitmayresult
innon-chargingandconsequential
fire.
Beforeleavingvacuumcleanertoa
longidleperiod,pleaserecharge
thebatterytoitsfull,thentakethe
batterytoacoolplace,tokeepthe
bottomoftheappliancedry.
PleaseusetheRobotwithcaution
inthepresenceofchildrentoavoid
hurtingthem.
Attention:Donotlettherobotinhale
waterandotherliquids,Otherwiseit
mayleadtoproductdamage.
Outdooruseisprohibited,asdoing
somaycauseproductdamage.
Plugthepowercordofthe
rechargertight,oritmaycause
electricshock,shortcircuit,smoke
orfire.
Toprolongbatterylife,rechargeit
foratleast16hoursbeforethefirst
useorbeforereuseafteralongidle
period.Thebatterywillnotachieve
itsoptimumperformanceuntil2-3
completerecharging-discharging
cycles.
Priortouse,removealldamage-
proneobjects(luminousobjects,
fabrics,glassbottles,etc.)fromhome.
Robotmaycausedamage
totheseobjects,oraffectthe
performancetheappliance.
Donotstandorsitonthevacuum
cleanersoasnottocausedamage
toitorinjuriestohumans.
Donotusethevacuumcleanerin
confinedspaces(smalltable,chair)
whichmayleadtoproductdamage.
Donotusethevacuumcleanerin
commercialpremises,otherwise
productdamagemayfollow
excessiveuse.

Robot
boxmay
Robot
1
0.35
0.65
Patented
s
sblockage is
()
s
wall sRobot
o
at90 angle
Advancedfeatures
01.PatentedIntelligentprogrammablewatertank
02.Intelligentvoiceprompts
03.Multi-functiondoubledustbin
04.PatentedONECOVERALLcleaningsystem
05.Patented3DUVsteriliztion
06.Patented3Dfilter
07.Two-wayvirtualwall
,-
S
This manual suits for next models
5
Table of contents
Other Milagrow Vacuum Cleaner manuals

Milagrow
Milagrow iMap Venii Max User manual

Milagrow
Milagrow BlackCat User manual

Milagrow
Milagrow Aguabot 5.0 User manual

Milagrow
Milagrow iMap10.0 User manual

Milagrow
Milagrow RoboPurifier 7.0 User manual

Milagrow
Milagrow BlackCat 21 User manual

Milagrow
Milagrow BlackCat MGRV02 User manual

Milagrow
Milagrow Seagull Instruction manual

Milagrow
Milagrow RedHawk MGRV01 User manual

Milagrow
Milagrow iMap10.0 User manual


