manuals.online logo
Brands
  1. Home
  2. •
  3. Brands
  4. •
  5. Milltronics
  6. •
  7. Transducer
  8. •
  9. Milltronics EASY AIMER 2 User manual

Milltronics EASY AIMER 2 User manual

EASY AIMER - 2
The Easy Aimer is an accessory device for aiming Milltronics ultrasonic transducers used in process
material level measurement.
Assembly
1. Feed the transducer cable through
the supplied coupling and conduit.
Then assemble the transducer,
coupling and conduit as shown.
If the transducer diameter is
greater than 148 mm ( 5.8" ),
include the customer mounting
plate. If sealing is required,
include the customer gasket.
2. Feed the conduit through the center
hole of the Easy Aimer until the
conduit is at the desired point within
the Easy Aimer (typically midway).
3. Tighten the conduit gland to
secure the conduit and
transducer assembly in place.
4. Install the supplied locknut
as shown, and complete
the conduit installation.
33454380
Rev 1.6
Printed in China
Peterborough, Canada TEL. (705) 745-2431
Arlington, U.S.A. TEL. (817) 277-3543
Worcester, England TEL. +44 1905 450500
Aix En Provence, France TEL. +33 4 42 65 69 00
June 1999
PL - 438
mounting hole - 3 places to suit
M8 or 3/8", 120° apart on 157
mm (6.2") bolt center diameter
angle block binding
screw and clamp
sighting block binding screw
and clamp
ground screw
178 mm
(7")
3/4" NPT or BSP conduit x 300 mm
(12") long
conduit gland angle block
sighting block
mounting block
customer gasket
(as required)
customer mounting plate
(as required)
coupling (typical)
76 mm (3")
nominal
Milltronics transducer
(typical)
20°
12.7mm
(0.5")
127 mm
(5") Ø
(typical)
locknut
Application
In solids applications, the transducer is generally mounted so that it is aimed toward the low level draw point.
The sighting block can be rotated through 360° with the transducer angled at 0 to 20° off vertical.
The location of the Easy Aimer should be such that the transducer’s sound path is unobstructed and
away from fill points.
The Easy Aimer is capable of withstanding 100 kPa (1 bar or 15 psi) gauge pressure with proper installation and has a
temperature rating from -40oC to 105oC (-40oF to 220oF).
The Easy Aimer must be mounted to an access plate with welded studs or to a flange in order to isolate the
mounting holes from the pressurized environment.
Installation and Aiming
1. Install the Easy Aimer and transducer assembly by bolting the mounting block directly to the bin or via
a mounting plate.
2. Leaving the sighting block binding screws fastened, loosen the angle block binding screws. Rotate the
angle block until the transducer is pointing at the desired angle.
Re-fasten angle block binding screws.
3. Loosen the sighting block binding screws and rotate sighting block until the transducer is pointing in
the desired direction. Sighting reference graduations on the mounting block are 30° apart.
Re-fasten sighting block binding screws.
conduit gland
tighten to 95 N-m
(70 ft lb) of torque
Peterborough, Canada TEL. (705) 745-2431
Arlington, U.S.A. TEL. (817) 277-3543
Worcester, England TEL. +44 1905 450500
Aix En Provence, France TEL. +33 4 42 65 69 00
basic installation
angle adjustment
sighting adjustment
mounting plate
and hardware
(customer supplied)
block binding
screws, 6 places,
tighten to 12 N-m
(9 ft lb) of torque
recommended gasket
thickness
1.5mm - 1.8mm
(.06" - .07")
(customer supplied)
mounting plate with
welded studs
(customer supplied)
mounting
hardware,
3 places, tighten
to 27 N-m
(20 ft lb) of torque
sealed installation
*7ML19981DV01*

Other Milltronics Transducer manuals

Milltronics ST-100 SERIES User manual

Milltronics

Milltronics ST-100 SERIES User manual

Milltronics XLS Series User manual

Milltronics

Milltronics XLS Series User manual

Milltronics PL-521 User manual

Milltronics

Milltronics PL-521 User manual

Milltronics XRS-5 User manual

Milltronics

Milltronics XRS-5 User manual
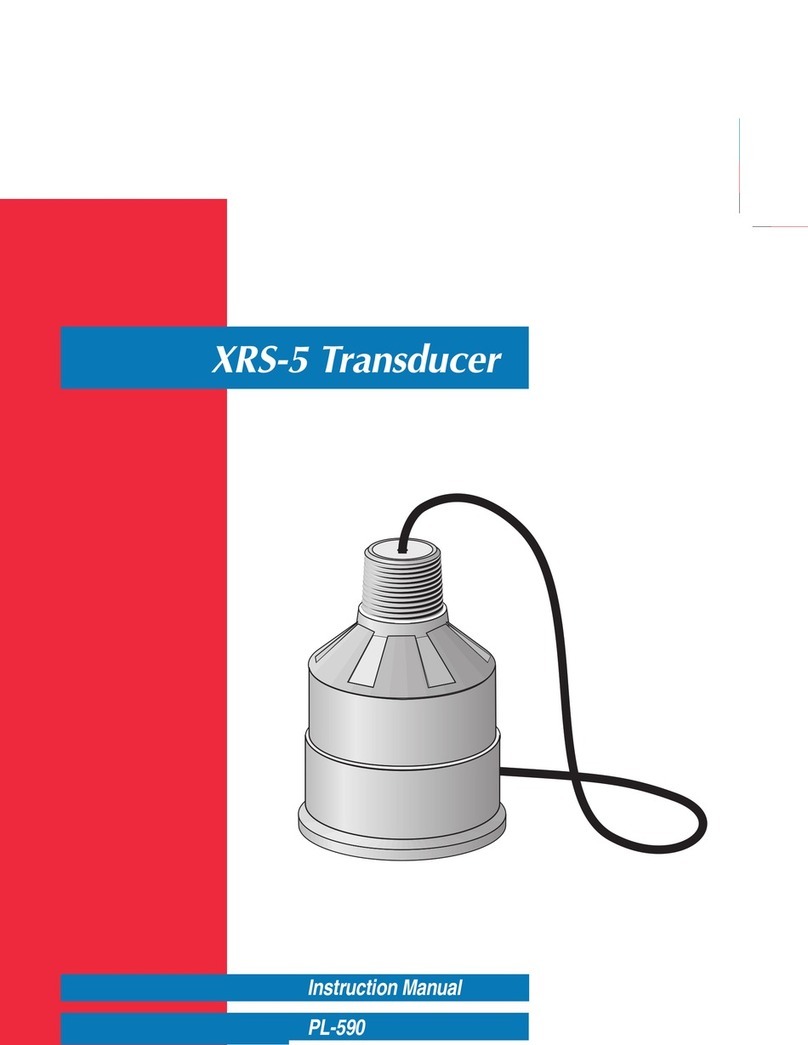
Milltronics PL-551 User manual

Milltronics

Milltronics PL-551 User manual

Milltronics XPS-10 User manual

Milltronics

Milltronics XPS-10 User manual

Milltronics PL-590 User manual

Milltronics

Milltronics PL-590 User manual

Milltronics ST-50 Series User manual

Milltronics

Milltronics ST-50 Series User manual
Popular Transducer manuals by other brands

Audio Precision APx1701 Series installation instructions

Audio Precision

Audio Precision APx1701 Series installation instructions

gtm KTN-LF Series operating manual

gtm

gtm KTN-LF Series operating manual

S+S Regeltechnik PREMASGARD 232 Series Operating Instructions, Mounting & Installation

S+S Regeltechnik

S+S Regeltechnik PREMASGARD 232 Series Operating Instructions, Mounting & Installation

Emtec SonoTT operating instructions

Emtec

Emtec SonoTT operating instructions

Lumel ULT20 user manual

Lumel

Lumel ULT20 user manual

Sofraser 9000 Technical manual

Sofraser

Sofraser 9000 Technical manual

TSI Instruments ALNOR AVT 55 manual

TSI Instruments

TSI Instruments ALNOR AVT 55 manual

Lumel P21Z Series quick start

Lumel

Lumel P21Z Series quick start

Balluff BTL5-S1 Series user guide

Balluff

Balluff BTL5-S1 Series user guide

Balluff BTL6-A500-M PF-S115 Series user guide

Balluff

Balluff BTL6-A500-M PF-S115 Series user guide

Mianyang Weibo Electronic WB9128-1 user manual

Mianyang Weibo Electronic

Mianyang Weibo Electronic WB9128-1 user manual

KEPO DAP9050-F5 specification

KEPO

KEPO DAP9050-F5 specification

Setra Systems 540 Series installation guide

Setra Systems

Setra Systems 540 Series installation guide

B&C Speakers DE75PTN datasheet

B&C Speakers

B&C Speakers DE75PTN datasheet

APAR AR594 User instruction

APAR

APAR AR594 User instruction

Fluke PV500 instruction sheet

Fluke

Fluke PV500 instruction sheet

HBM TB1A Mounting instructions

HBM

HBM TB1A Mounting instructions

Sitron SP10 user manual

Sitron

Sitron SP10 user manual

manuals.online logo
manuals.online logoBrands
  • About & Mission
  • Contact us
  • Privacy Policy
  • Terms and Conditions

Copyright 2025 Manuals.Online. All Rights Reserved.