MSIN0112AE/9805AV (1 of 2)
DRYER, CONDITIONER, AND SHAKER
SAFETY FOR INSTALLATION AND SERVICE
General Safety Requirements
(specific warnings, next page and throughout manual)
Incorrect installation, neglected preventive maintenance, abuse, and/or improper repairs or changes to the
machine can cause unsafe operation and personal injuries, such as multiple fractures, amputations, or death. The
owner or his selected representative (owner/user) is responsible for understanding and ensuring the proper operation
and maintenance of the machine. The owner/user must familiarize himself with the contents of all machine instruc-
tion manuals. The owner/user should direct any questions about these instructions to a Milnor®dealer or the Mil-
nor®Service department. Most regulatory authorities (including OSHA in the USA) hold the owner/user ultimately
responsible for maintaining a safe working environment. Therefore, the owner/user must do the following:
•recognize all foreseeable safety hazards within his facility and take actions to protect his personnel,
equipment, and facility
•require that personnel are familiar with all functional and safety aspects of the machine
•ensure safety devices installed on the machine are in place and properly maintained
•ensure all machine parts and assemblies are properly maintained.
ËLaundry Facility—Provide a supporting floor that is strong and rigid enough to support--with a reasonable
safety factor and without undue or objectionable deflection--the weight of the fully loaded machine and the forces
transmitted by it during operation. (For washer-extractors, see “ABOUT THE FORCES TRANSMITTED BY MIL-
NOR®WASHER-EXTRACTORS.”) Provide sufficient clearance for machine movement. Provide any safety
guards, fences, restraints, devices, and verbal and/or posted restrictions necessary to prevent personnel, machines,
or other moving machinery from accessing the machine or its path. Provide adequate ventilation to carry away heat
and vapors. Ensure service connections to installed machines meet local and national safety standards, especially
regarding the electrical disconnect (see the National Electric Code). Prominently post safety information, including
signs showing the source of electrical disconnect.
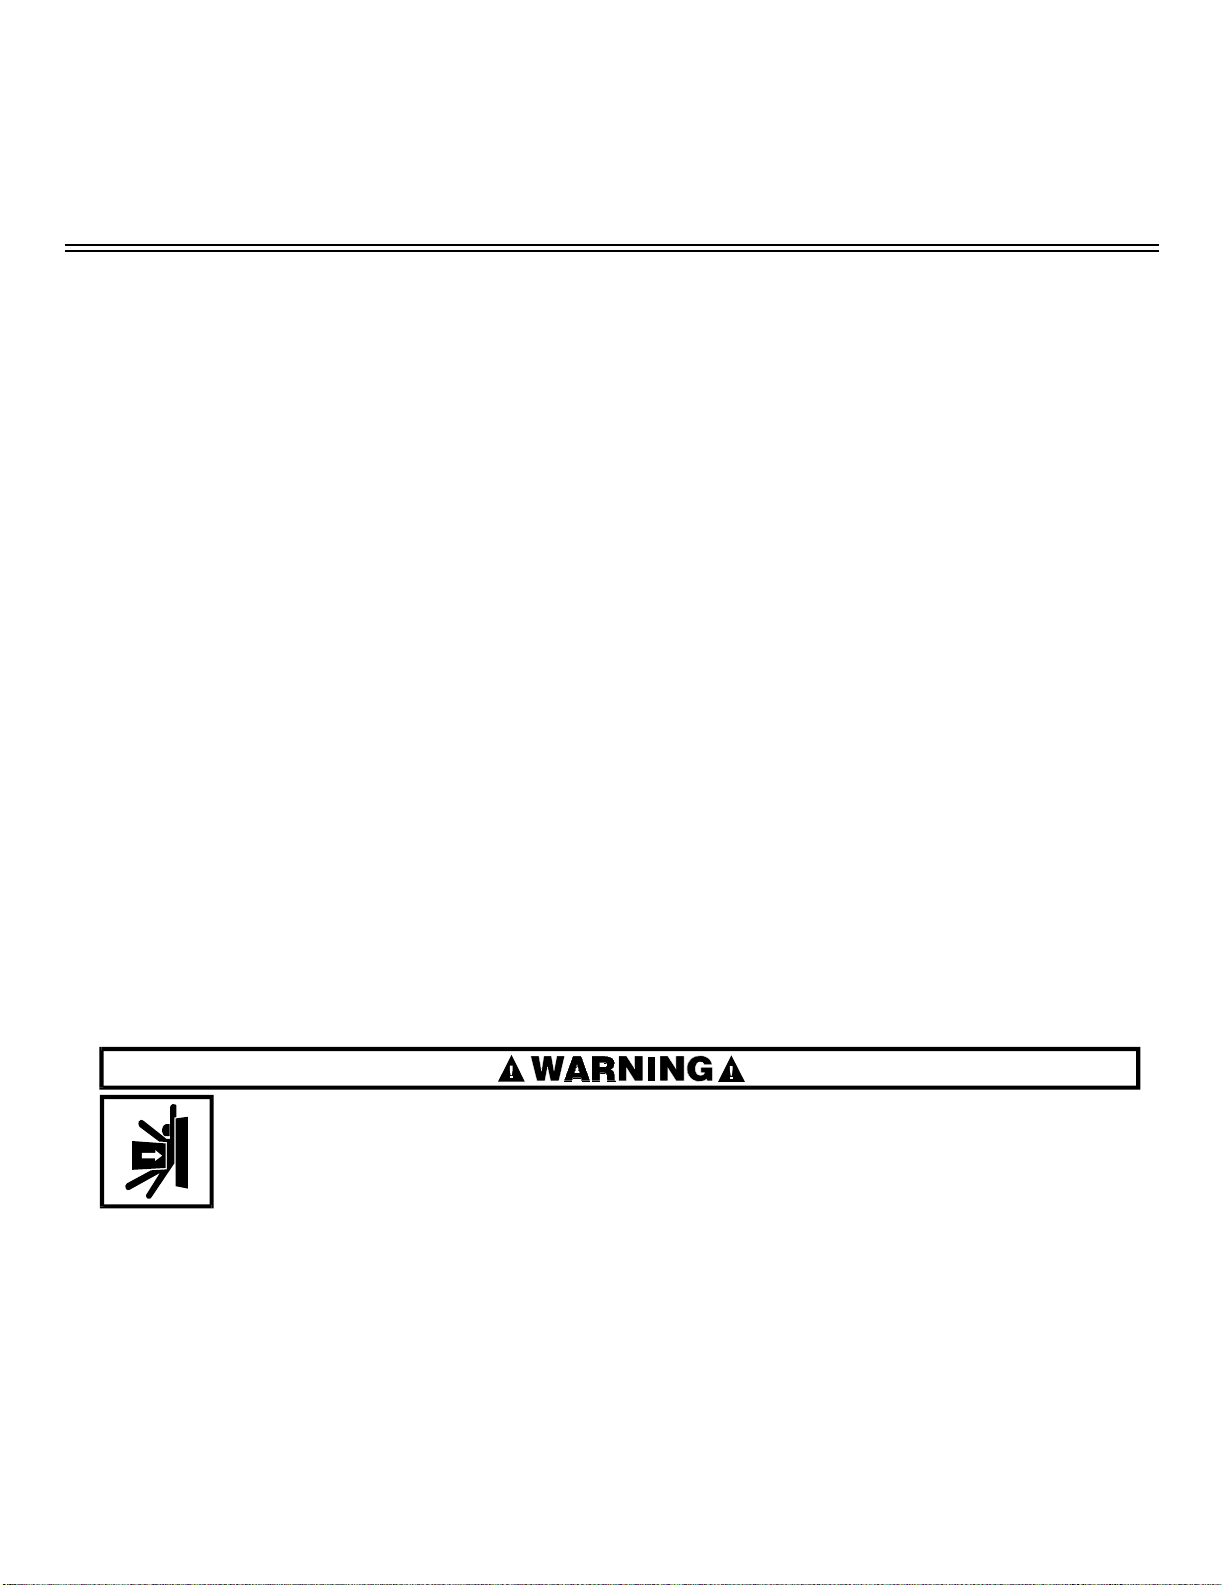
COLLISION, CRUSHING, AND PINCH HAZARDS—Serious bodily injury or death
can result to personnel in proximity to machinery/systems that traverse, ele-
vate, extend, pivot, and/or tilt. The following mandatory minimum safety rer-
quirements must be installed with the machinery system:
☞Safety fence inclosing machine movement areas,
☞Lockable electric interlocks on all gates, properly interfacedas shown on machine sche-
matics, to disable machine movement when any gate is opened,
☞Signs to alert personnel to these hazards, placed prominently around the fenced area.
☞Local codes may require additional precautions.
ËPersonnel—Inform personnel about hazard avoidance and the importance of care and common sense. Provide
personnel with the safety and operating instructions that apply to them. Verify that personnel use proper safety and
operating procedures. Verify that that personnel understand and abide by point-of-hazard tags on the machine and
procedure-specific precautions in the instruction manuals.
ËSafety Devices—Ensure that no one eliminates or disables any safety device on the machine or in the facility.
Do not allow machine to be used with any missing guard or cover. Service any failing or malfunctioning device
before operating the machine.
ËMaintenance—Ensure the machine is inspected and serviced in accordance with the norms of good practice and
with the preventive maintenance schedule. Replace belts, pulleys, brake shoes/disks, clutch plates/tires, rollers,
seals, alignment guides, etc; before they are severely worn. Immediately investigate any evidence of impending
failure and make needed repairs (e.g., cylinder, shell, or frame cracks; drive components such as motors, gear boxes,
bearings, etc; whining, grinding, smoking, or becoming abnormally hot; bending or cracking of cylinder, shell,
frame, etc.; leaking seals, hoses, valves, etc.) Do not permit service or maintenance by unqualified personnel.
Hazards During Assembly
SHOCK HAZARD—Electrical source can cause death or severe injury. Connec-
tions from the machine main bus to the wall disconnect must be made by a
competent electrician.
☞NEVER make electrical connections without locking OFF and tagging out
power at the wall disconnect.
When lowering basket housing onto base, keep body parts away from sections
being joined.
Sufficient clearance and access must be provided on all sides for service pro-
cedures.