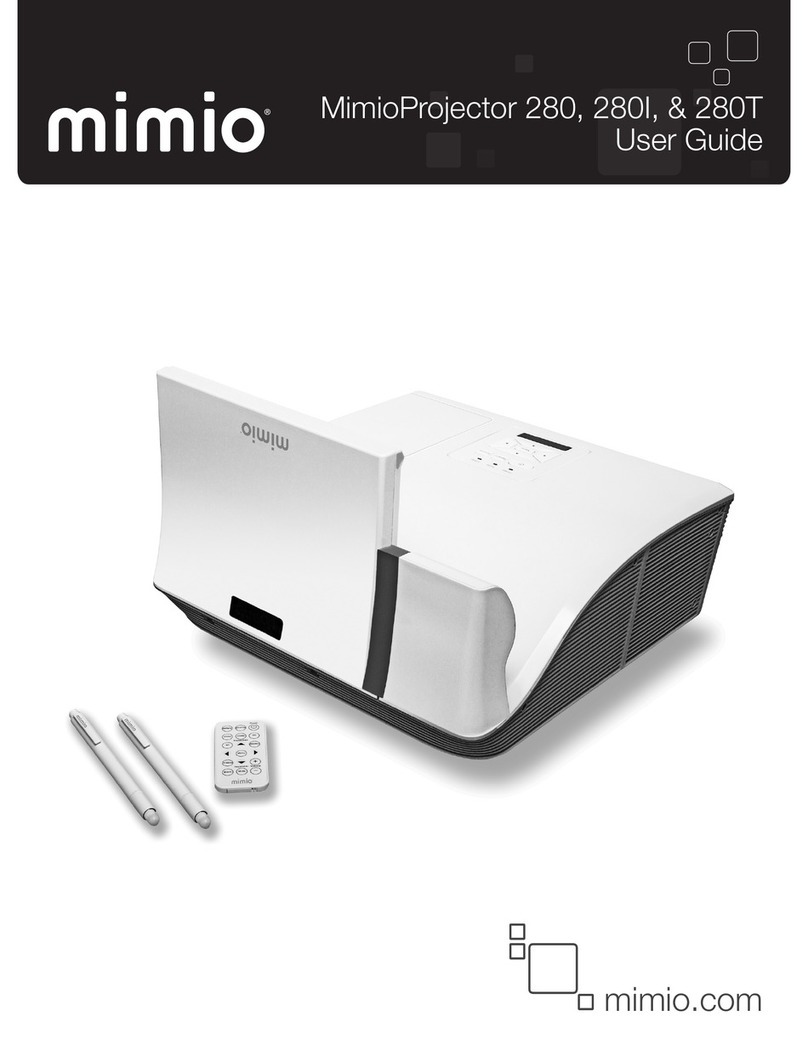
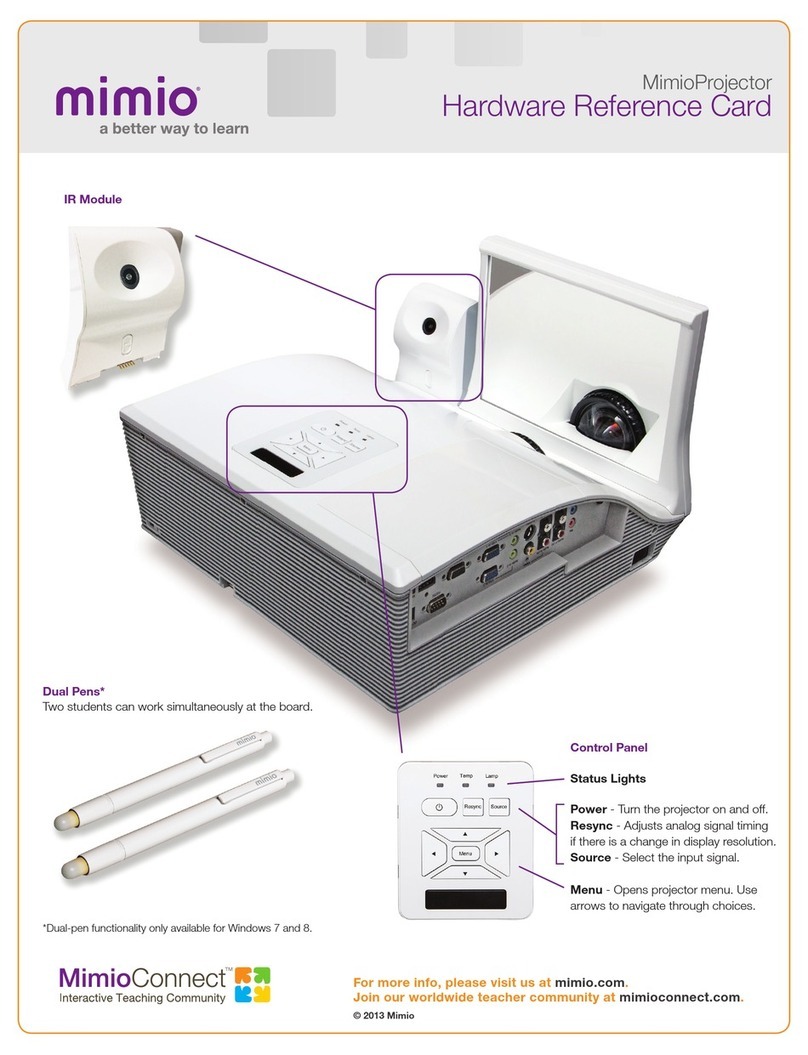
Mimio MimioProjector User manual

MimioProjector
User Guide
mimio.com

© 2013 Sanford, L.P. All rights reserved. Revised 1/17/2013.
No part of this document or the software may be reproduced or transmitted in any form
or by any means or translated into another language without the prior written consent
of Sanford, L.P.
Mimio, MimioClassroom, MimioTeach, MimioCapture, MimioVote, MimioView,
MimioHub, MimioBoard, MimioPad, MimioProjector, and MimioStudio are registered
marks in the United States and other countries. All other trademarks are the property of
their respective holders.

Contents
About MimioProjector 7
What's Included 7
About MimioProjector 8
About the Control Panel 10
About the Remote Control 11
About the Connection Ports 13
Getting Started 15
Connecting the Projector 15
Connecting to a Computer 16
Connecting to a Video Source 17
Setting Up the Remote Control 18
Turning On the Power 19
Turning off the Power 20
Status Lights 21
Adjusting the Projected Image 22
Resizing the Projected Image 22
Focusing the Projected Image 22
Changing the Projector Settings 23
Navigating the Projector Menu 23
Adjusting the 3D Settings 26
3D 26
3D Invert 26
3D Format 26
1080p @24 26
Adjusting the Interactive Settings 27
Adjusting the Options 27
Logo 27
Logo Capture 28
Auto Source 28
Input 28
Auto Power Off 28
Lamp Setting 28
Lamp Hours Used (Normal) 28
Lamp Hours Used (ECO) 28
iii

Lamp Life Reminder 28
Lamp Power Mode 29
Clear Lamp Hours 29
Dynamic Black 29
High Altitude 29
Filters Remind 29
Information 30
Adjusting the Picture 30
Color Mode 30
Wall Color 30
Brightness 30
Contrast 30
Sharpness 30
Saturation 31
Hue 31
Gamma 31
Color Temperature 31
Color Space 31
Adjusting the Screen 31
Aspect Ratio 31
Phase 32
Clock 32
Horizontal Position 32
Vertical Position 32
Digital Zoom 32
Vertical Keystone 32
Ceiling Mount 32
Adjusting the General Settings 33
Language 33
Menu Location 33
Closed Caption 33
VGA OUT (Standby) 33
Auto Screen (12V Out) 33
Test Pattern 34
Security 34
Setting the Password 34
Reset 34
Adjusting the Volume 35
Mute 35
iv

Volume 35
Microphone Volume 35
Caring for MimioProjector 37
Replacing the Remote Control Battery 37
Replacing the Lamp 38
Cleaning the Dust Filters 39
Getting Help 41
General Troubleshooting 41
Projector stops responding to all controls 41
Lamp burns out or makes a popping sound 41
Image Troubleshooting 41
No image is displayed 41
A partial, scrolling, or incorrect image is displayed 41
The notebook computer display is not displaying an image 42
Image is unstable or flickering 42
Image has vertical flickering bar 42
Image is out of focus 42
Image is stretched when displaying 16:9 DVD image 42
Image is too small or too large 42
Image is displayed with slanted sides 43
Image is reversed 43
3D Troubleshooting 43
A blurry double image is displayed 43
Two images are displayed side-by-side 43
Image not displayed in 3D 43
Sound Troubleshooting 43
Remote Control Troubleshooting 43
Contacting Mimio 44
Compatibility Modes 45
VGA Analog 45
PC Signal 45
Extended Wide Timing 46
Component Signal 47
HDMI Digital 48
PC Signal 48
Extended Wide Timing 49
Video Signal 50
v

HDMI 1.4a Mandatory 3D Timing - Video Signal 50
Technical and Environmental Information 51
Usage Notice 51
Warnings 51
Precautions 51
Regulation & Safety Notices 52
FCC Notice 52
Notice 52
Caution 52
Operating Conditions 53
Notice: Canadian Users 53
Remarque à L’intention des Utilisateurs Canadiens 53
Declaration of Conformity for EU countries 53
Projector Mount Saftey Notices 53
Environmental Information 54
Documentation Feedback 55
vi

About MimioProjector
What's Included
The MimioProjector package contains the following items:
CR2025
3V
1
23
4
5
1 Remote control 4 Power cord
2 Remote control battery 5 Projector with lens cap
3 VGA cable
If you are missing any of the items above, contact Customer Support.
7
Chapter 1

About MimioProjector
About MimioProjector
The following figure shows the major components of the MimioProjector.
1
2
3
4
5
6
7
8
9
8
Front View
Back View
Bottom View
8

About MimioProjector
1 Focus ring 6 Input/Output connection ports
2 Lens 7 Power connector
3 Control panel 8 Elevator feet
4 Lamp cover 9 Elevator feet spacers
5 IR Receiver
9

About MimioProjector
About the Control Panel
The following figure shows the components of the MimioProjector control panel.
MENU
POWER TEMP LAMP
RESYNC SOURCE
1
MENU
2
4
6
9
8
7
5
3
1 Navigation keys Navigate through menus and make selections.
2 Power button Turn the projector on and off.
3 Power status light Indicates the power status of the projector.
4 Lamp status light Indicates the projector lamp status.
5 Temperature status light Indicates the projector temperature status.
6 Source button Select an input signal.
7 Resync button Automatically synchronize the PC analog timing
to the optimized condition.
8 Menu/Exit button Open the menu screen or exit a menu.
9 IR receiver
10

About MimioProjector
About the Remote Control
The following figure shows the components of the MimioProjector remote control.
1
2
4
6
9
8
7
5
3
10
12
13
14
15
16
11
11

About MimioProjector
1 Source Select an input signal.
2 Resync Automatically synchronize the
PCanalog timing to the optimized
condition.
3 HDMI Switch to HDMIinput.
4 Video Switch to Composite Video or S-
Video input.
5 3D Turn on and off the 3D menu.
6 Menu Open the menu screen or exit a menu.
7 Freeze Freeze or unfreeze the image on the
screen.
8 Blank Hide or show the screen image.
9 Power Turn the projector on or off.
10 PC Switch to VGA-A/VGA-B input.
11 Keystone / Adjust image until the sides are
vertical.
12 Aspect ratio Select the desired aspect ratio.
13 Navigation keys Navigate through menus and make
selections.
14 Volume up Increase the audio volume.
15 Volume down Decrease the audio volume.
16 Mute Mute the audio.
12

About MimioProjector
About the Connection Ports
The following figure shows the connection ports available on the MimioProjector .
12 4 6 987
5
3
10 11 12 13 14 15 16
1 Mini-USB 9 Audio output
2 HDMI 10 12V trigger relay (12V, 250mA)
3 VGA output 11 RS232
4 VGA in 1 12 VGA in 2
5 Audio in 1 (for VGA in 1) 13 Audio in 2 (for VGA in 2)
6 S-Video 14 Composite video input
7Left/Right RCA audio input (for
composite video input) 15 3.5 mm microphone input
8 Left/Right RCA audio input (for S-Video) 16 Power
13

14
This page intentionally left blank for double-sided printing.

Getting Started
Review the following topics to install and start using your MimioProjector.
nConnecting the Projector
nSetting Up the Remote Control
nTurning On the Power
Connecting the Projector
You can connect MimioProjector to a computer or other video source..
nConnecting to a Computer
nConnecting to a Video Source
15
Chapter 2

Getting Started
Connecting to a Computer
The following figure shows the connection methods available for connecting the
MimioProjector to a computer.
LAN
Power outlet Audio output
+12V output
Notebook
Computer
Monitor
1
23 4 7 8
6
5
2
2
4
4
1 Power cord (included) 5 RS232 cable
2 Audio cable 6 HDMI cable
3 VGA to DVI-A cable 7 USB cable
4 VGA cable (included) 8 12V DC jack
16

Connecting the Projector
Connecting to a Video Source
The following figure shows the connection methods available for connecting the
MimioProjector to a video source.
Video output
DVD player, set-top box,
HDTV receiver
Power outlet
Audio output S-Video output DVD player, set-top box,
HDTV receiver
+12V output
1 2
34
5
6
78
3 9 5
6
5
1 Power cord (included) 6 VGA to HDTV (RCA) cable
2 Microphone cable 7 HDMI cable
3 Audio cable jack/RCA 8 12V DC jack
4 S-Video cable 9 Composite video cable
5 Audio cable
17

Getting Started
Setting Up the Remote Control
Before using the remote control for the first time, remove the transparent insulation tape.
To set up the remote control
1. Press firmly and slide the battery holder out of the battery compartment.
2. Remove the battery from the battery holder.
3. Remove the transparent insulation tape.
3
V
O
L
T
S
CR2025
4. Replace the battery holder with the + polarity marking facing up as shown.
3
V
O
L
T
S
CR2025
5. Slide the battery holder back into the battery compartment and press firmly.
M
3
V
O
L
T
S
CR2025
18

Turning On the Power
Turning On the Power
The projector has an auto-off feature which automatically turns the projector off when no
input signal is received by the projector for a set amount of time.
For information about setting the amount of time the projector will stay on before
automatically turning off , see Auto Power Off on page 28.
To turn the projector on
1. Securely connect the power cord and signal cable.
When connected, the Power status light turns red.
2. Press on the control panel or on the remote control.
The Power status light turns blue.
3. Turn on the source that you want to display on the screen (computer, notebook, video
player, and so on).
The projector detects the source automatically and displays the source image.
4. If multiple sources are connected to the projector, press Source on the control panel or
on the remote control to switch between inputs.
19

Getting Started
Turning off the Power
To turn the projector off
1. Press on the control panel or on the remote control.
A confirmation message is displayed on the projector screen.
2. Press again to turn the projector off.
The Power status light turns red and blinks rapidly. The projector fans continue to run
for approximately 10 seconds to ensure that the projector cools properly.
When the system is finished cooling, the fans turn off and the Power status light turns
solid red, indicating that the projector is in standby mode.
3. Unplug the power cord.
20
Other manuals for MimioProjector
2
This manual suits for next models
1
Table of contents
Other Mimio Projector manuals
Popular Projector manuals by other brands

Dell
Dell 1609WX - WXGA DLP Projector user guide
Sharp
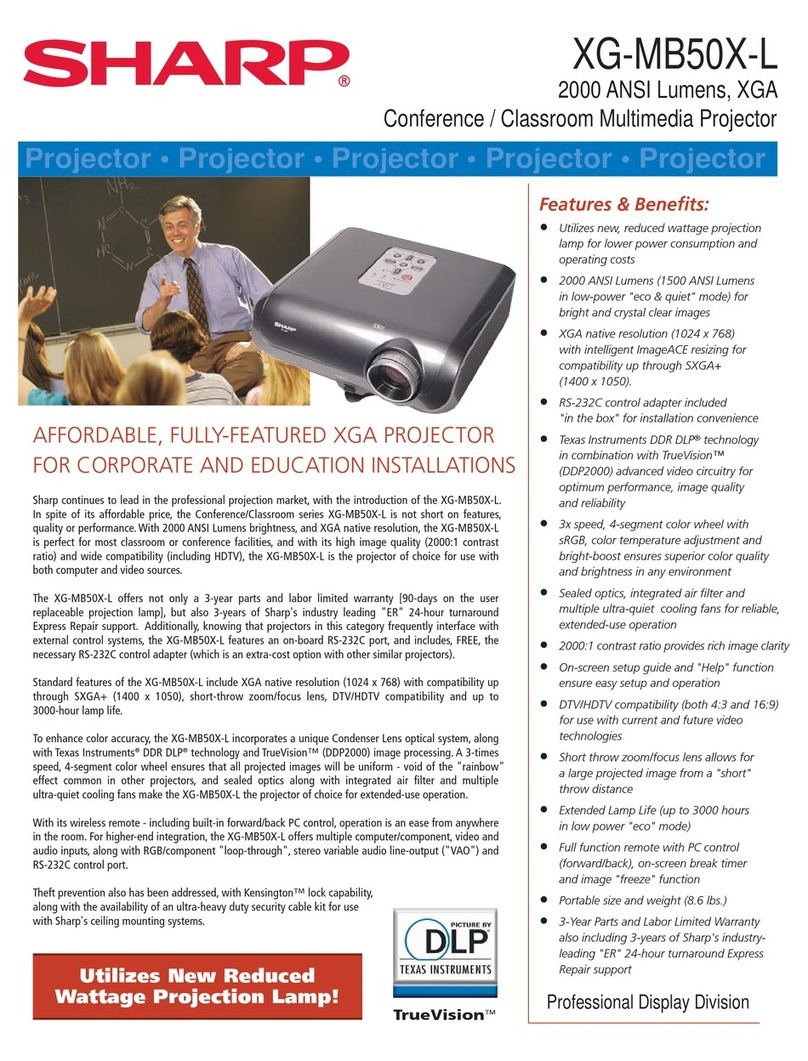
Sharp XG-MB50X-L - Notevision XGA DLP Projector specification
AAXA Technologies
AAXA Technologies P3 Pico user guide

Dukane
Dukane 8755K user manual
Epson
Epson Megaplex MG-50 Quick setup guide
Christie
Christie CineLife+ RGB PLF CP4450-RGB Installation and setup guide
