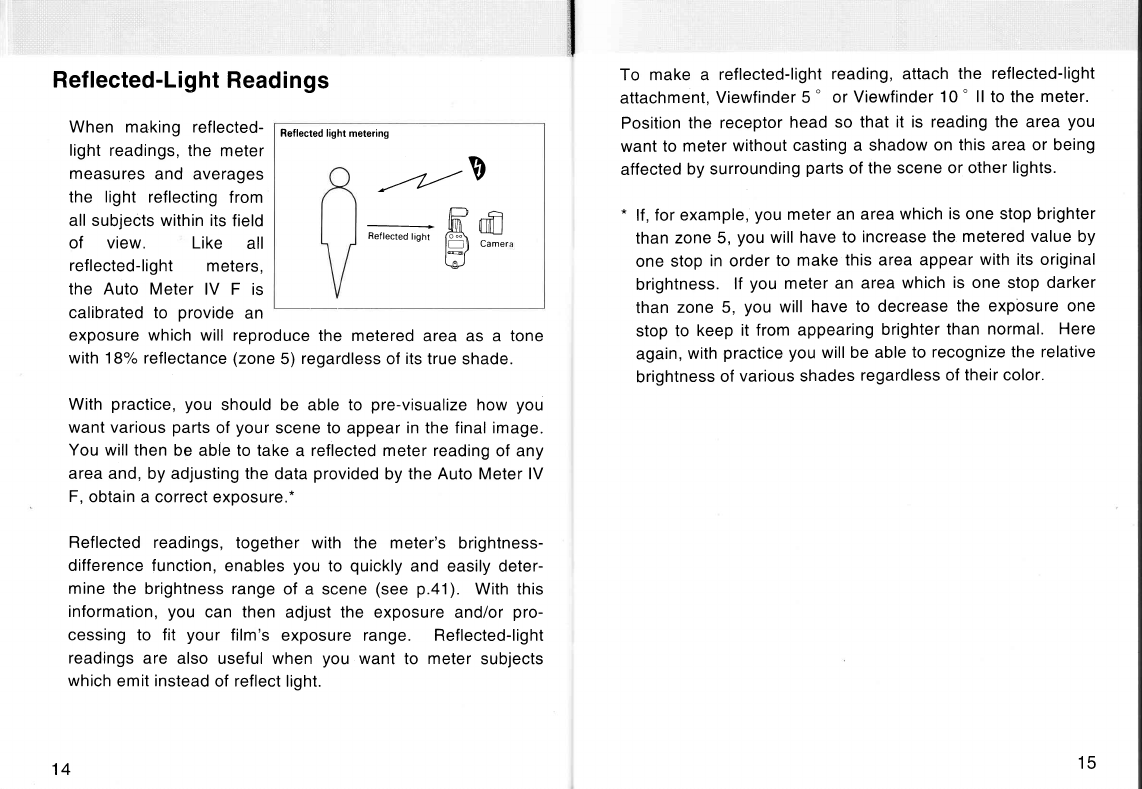
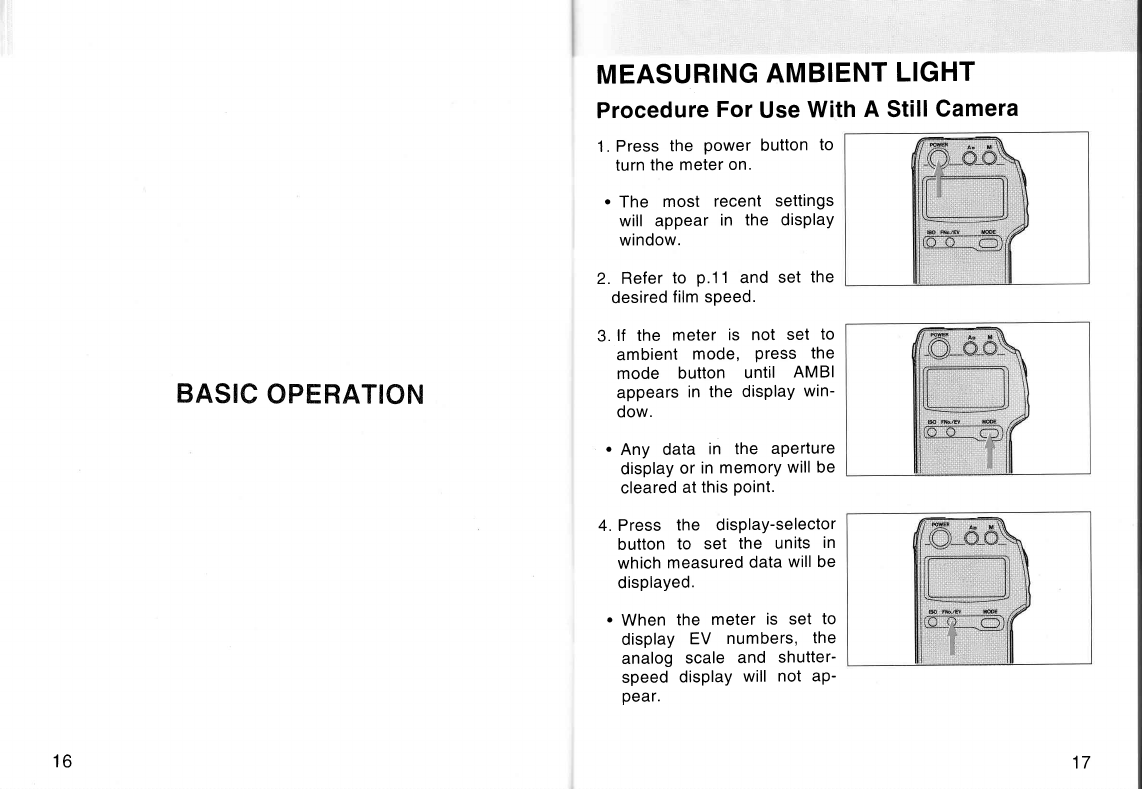
Minolta Auto Meter IV F User manual
Other Minolta Measuring Instrument manuals

Minolta
Minolta AUTO METER IIIF - PART 2 User manual

Minolta
Minolta FLASH METER V - PART 2 User manual

Minolta
Minolta Flash meter IV User manual

Minolta
Minolta CL-200 User manual

Minolta
Minolta SPOTMETER F - IR REMOTE CONTRO LRC-3 User manual

Minolta
Minolta AUTO METER IIIF - PART 3 User manual

Minolta
Minolta CA-100PLUS - User manual

Minolta
Minolta AUTOMETER VF - PART 3 User manual

Minolta
Minolta AUTO METER IIIF - PART 3 User manual

Minolta
Minolta Auto Meter IV F User manual

Minolta
Minolta MULTI GLOSS 268 User manual

Minolta
Minolta AUTOMETER III - PART 3 User manual

Minolta
Minolta AUTO METER IIIF - PART 1 User manual

Minolta
Minolta FLASH METER III - PART 2 User manual

Minolta
Minolta FLASHMETER VI - PART 2 User manual

Minolta
Minolta CA-210 - User manual

Minolta
Minolta AUTO METER IIIF - PART 2 User manual

Minolta
Minolta COLOR METER IIIF - PART 1 User manual

Minolta
Minolta Auto Meter IV F User manual

Minolta
Minolta SPOTMETER M - IR REMOTE CONTRO LRC-3 User manual