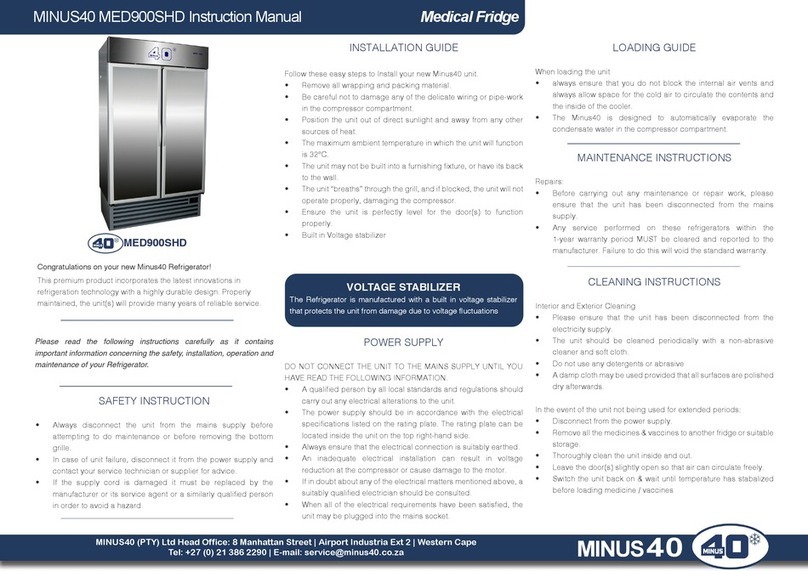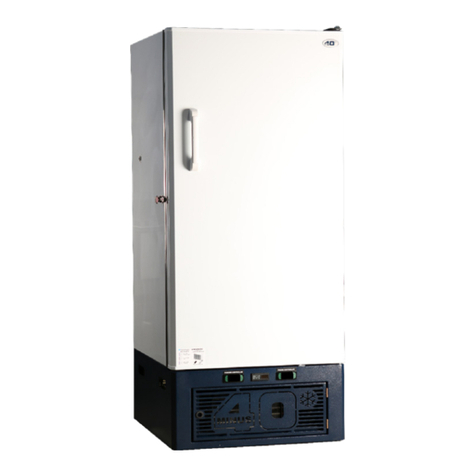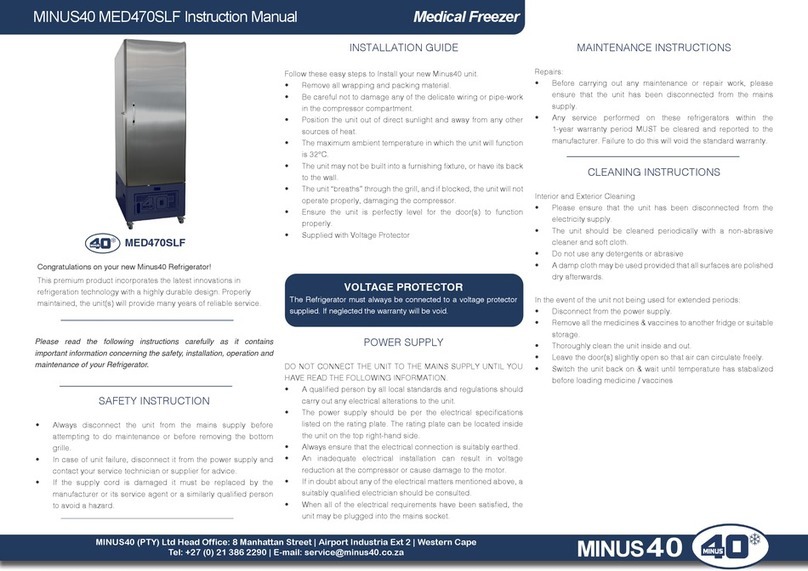
MW60GHD, MW130GHD, MW230GHD
Congratulations on your new Minus40 Medical Warmer!
This premium product incorporates the latest innovations in heating
technology with a highly durable design. Properly maintained, the
unit(s) will provide many years of reliable service.
MINUS
40
MINUS40 (PTY) Ltd Head Office: 8 Manhattan Street | Airport Industria Ext 2 | Western Cape
MINUS40 Medical Warmer Instruction Manual Medical Warmer
SAFETY INSTRUCTION
• Always disconnect the unit from the mains supply before
attempting to do maintenance.
• In case of unit failure, disconnect it from the power supply and
contact your service technician or supplier for advice.
• If the supply cord is damaged it must be replaced by the
manufacturer or its service agent or a similarly qualied person
in order to avoid a hazard.
INSTALLATION GUIDE
Follow these easy steps to Install your new Minus40 unit.
• Remove all wrapping and packing material.
• Position the unit out of direct sunlight.
• The unit may not be built into a furnishing xture, or have its back
to the wall.
• The unit “breaths” through the grill, and if blocked, the unit will
not operate properly.
• Ensure the unit is perfectly level for the door to function properly.
• This unit is intended for use in a stable ambient environment, with
an ideal temperature of 22 °C or less.
Please read the following instructions carefully as it contains
important information concerning the safety, installation, operation and
maintenance of your Warming Cabinet.
LOADING GUIDE
• Minus40 does not make recommendation on specic chamber
set points for any items that are to be warmed. For appropriate
heating requirements and set points of blanket, intravenous and
irrigation uids, please follow the temperature guidelines printed
on the container or contact the supplier for temperature and
expiration periods.
• Load contents into the chamber with a minimum of 2 to 3 cm of
space between all walls and fan to allow for evenly distributed
circulation. Allow 2 cm of spacing between uid containers for
evenly distributed heating.
• Fluid Bags, should not be stacked as this increases the heating
time required to achieve set temperatures.
• Blankets, must be folded and stacked to allow a 2 cm minimum
space from the sides, back and top of the compartment or the
shelf above. Do not let blanket protrude past the front edge of
the shelf.
• Always ensure that the air vent in the airow insert panel is not
obstructed and always allow space for the warm air to circulate
the contents and the inside of the warmer.
• Ensure the number of bottles/bags, or blankets as applicable do
not exceed the maximum capacity per shelf or basket
WARNING
• Avoid injury by using proper personal protective equipment when
loading or unloading the Warming Cabinet. Internal surfaces are
hot, glass may shatter when cooled suddenly and solution bags
or bottles may burst when picked up. Rotate warmed contents
on a rst-in, rst-out basis. Failure to do so may present cold or
discoloured contents.
POWER SUPPLY
DO NOT CONNECT THE UNIT TO THE MAINS SUPPLY UNTIL YOU
HAVE READ THE FOLLOWING INFORMATION.
• A qualied person by all local standards and regulations should
carry out any electrical alterations to the unit.
• The power supply should be in accordance with the electrical
specications listed on the rating plate. The rating plate can be
located inside the unit on the top right-hand side.
• Always ensure that the electrical connection is suitably earthed.
• If in doubt about any of the electrical matters mentioned above, a
suitably qualied electrician should be consulted.
• When all of the electrical requirements have been satised, the
unit may be plugged into the mains socket.
DUE TO THE SENSITIVE NATURE OF THE CONTROLLER, THE
MEDICAL WARMER SHOULD ALWAYS BE PLUGGED WITH A
SURGE PROTECTOR SUPPLIED BY MINUS40.
REPAIRS
• Before carrying out any maintenance or repair work, please
ensure that the unit has been disconnected from the mains
supply.
• Any service performed on these warmers within the 1-year
warranty period MUST be cleared and reported to the
manufacturer. Failure to do this will void the standard warranty.
CAUTION
Do not use in the presence of ammable anaesthetics.
Do not heat liquids in the presence of ammable solvents
Do not warm ammable materials or liquids


