5
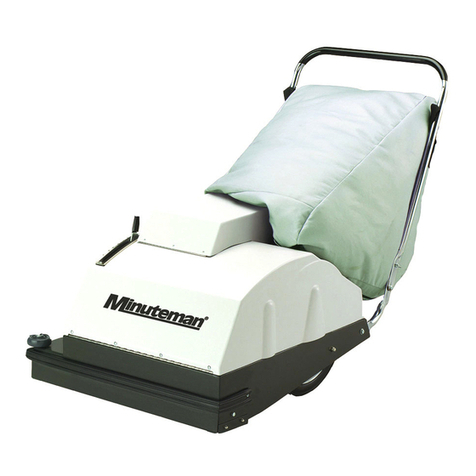
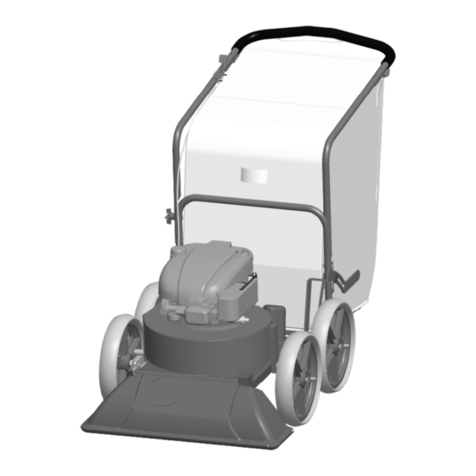
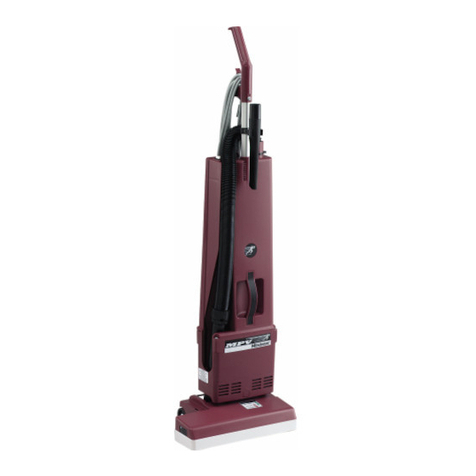
Maintenance and Operation Instructions for MPV-31 Wide Area Vacuum Cleaner
The MPV-31 is designed primarily for use on carpet, although it also performs very well on hard surface floors. Sand, dust,
paper, etc. are readily vacuumed from these types of floors. However, it is not recommended that this machine be used to
vacuum metal slugs, shavings, or similar type of debris from floors, carpeted or otherwise.
Inspect MPV-31 carton for shipping damage when received. Report any damage to delivering freight carrier immediately.
Operating Instructions
Before starting, familiarize yourself with machine and controls (see ‘Machine Overview’ and ‘Control Panel’ diagrams). Large
debris such as paper cups, plates, etc. should be picked up before starting the cleaning process. To operate machine, do the
following:
1. Make sure unit is used only on voltage shown on nameplate.
2. From storage position (handles folded), position machine so all four wheels are on floor.
3. Adjust handle to a desired and comfortable position by lifting up on adjustment lever located on left side of machine at
base of metal handle. After desired handle position is set, lock in place by closing adjustment lever.
4. Install paper and/or cloth bags inside main compartment by pushing rubber collar onto flanged bag adaptor.
5. If using both bags, install cloth bag as described above, unzip it, and place paper bag inside. Push rubber gasket seal over
adaptor. Zip up cloth bag and make sure there is no damage to paper bag. Close lid.
6. There are four (4) brush settings for different carpet piles. This can be adjusted by either depressing foot pedal (lowest
level) for short naps, such as indoor/outdoor carpeting, or by lifting pedal for taller naps (highest setting). Set brush height
to lightly hit carpet surface.
7. Turn on vacuum and brush switch (see control panel). Keep machine moving while brush is activated. Damage to carpet
could occur if brush is kept in same spot.
8. The rate at which the operator pushes machine depends on debris load, type of debris, and carpet nap length. In areas
where large amounts of ‘tracked in’ sand are present, carpets should be vacuumed with a double pass (forward and
backward pass made without turning machine around at the end of one pass). A slow, moderate walking pace by the
operator normally gives a good cleaning result.
9. To use off-aisle wand, turn off brush power switch, pull up and twist to lock control cable (see machine overview) to divert
air from main nozzle to auxiliary hose.
10. For storage, handle may be folded over and machine parked is an upright position to increase closet space. To fold for
storage, unlock handle adjustment lever when the machine is on all four wheels, push handle forward as far as it will go
and relock the handle adjustment lever. Tilt machine back on large wheels until it is in an upright position and ready to be
stored.
Maintenance
Periodic maintenance should be followed for good performance and longer machine life. Unplug power cord from electrical
source before making any repairs or adjustments to machine.
Daily:
For cloth bags, shake down bag daily. For paper bags, check if full and replace as necessary.
Check power cord for damaged or frayed insulation.
Return machine to ‘storage’ position when not in use.
Check and remove any string, lint, or debris from around brush and brush housing.
Monthly:
Remove rear wheels and clean axle. Apply thin coat of silicone lubricant on each wheel axle and front casters. This should be
done at least twice a year.
The cloth filter bag can be washed twice before losing its filtering capabilities. Wash with mild detergent and cool water, drip dry.
Make sure bag is totally dry before reinstalling to machine, otherwise electrical shock may occur.
Inspect all hoses, cables, filters, and gaskets. Clogged filters and damaged hoses and gaskets can result in loss of vacuum.
Brush Adjustment/Replacement
Inspect brush for wear. Adjust or replace brush when necessary.
Adjustment:
1. The brush housing is set up so you can change the brush position to extend the brush life. When bristles are worn down
enough so there is no contact with floor on lowest setting, you may reposition brush as described:
2. Unplug power cord from electrical source.
3. Remove belt cover by removing three #10 Hi/Lo screws.
4. Remove the two #10-32 screws and washers from each end of brush housing (it may be necessary to remove housing
assembly for easier access).
5. Rotate bearing retainer ring and bearing support ring so that they line up with second set of mounting holes, which lowers
the brush by 1/16”.
Replacement:
1. Unplug power cord from electrical source.
2. Remove belt cover by removing three #10 Hi/Lo screws.
3. Loosen brush motor plate and roll belt off brush pulley.
4. Remove the ten screws securing brush housing assembly from main body.
5. Loosen set screw, remove pulley from shaft.
6. Remove the two screws and washers from each end of brush assembly.
7. Remove the two flathead screws that attach brush to shaft, slide shaft out of brush core.
8. Inspect bearings; make sure to remove the two bushings at each brush end to replace them on new brush.
9. Install new brush to shaft and assemble accordingly.
10. When attaching bearing retainer and supporting ring, make sure screws and washers are placed on normal (horizontal)
position otherwise machine will not function right.
11. After reinstalling brush housing assembly check for proper belt tension.
