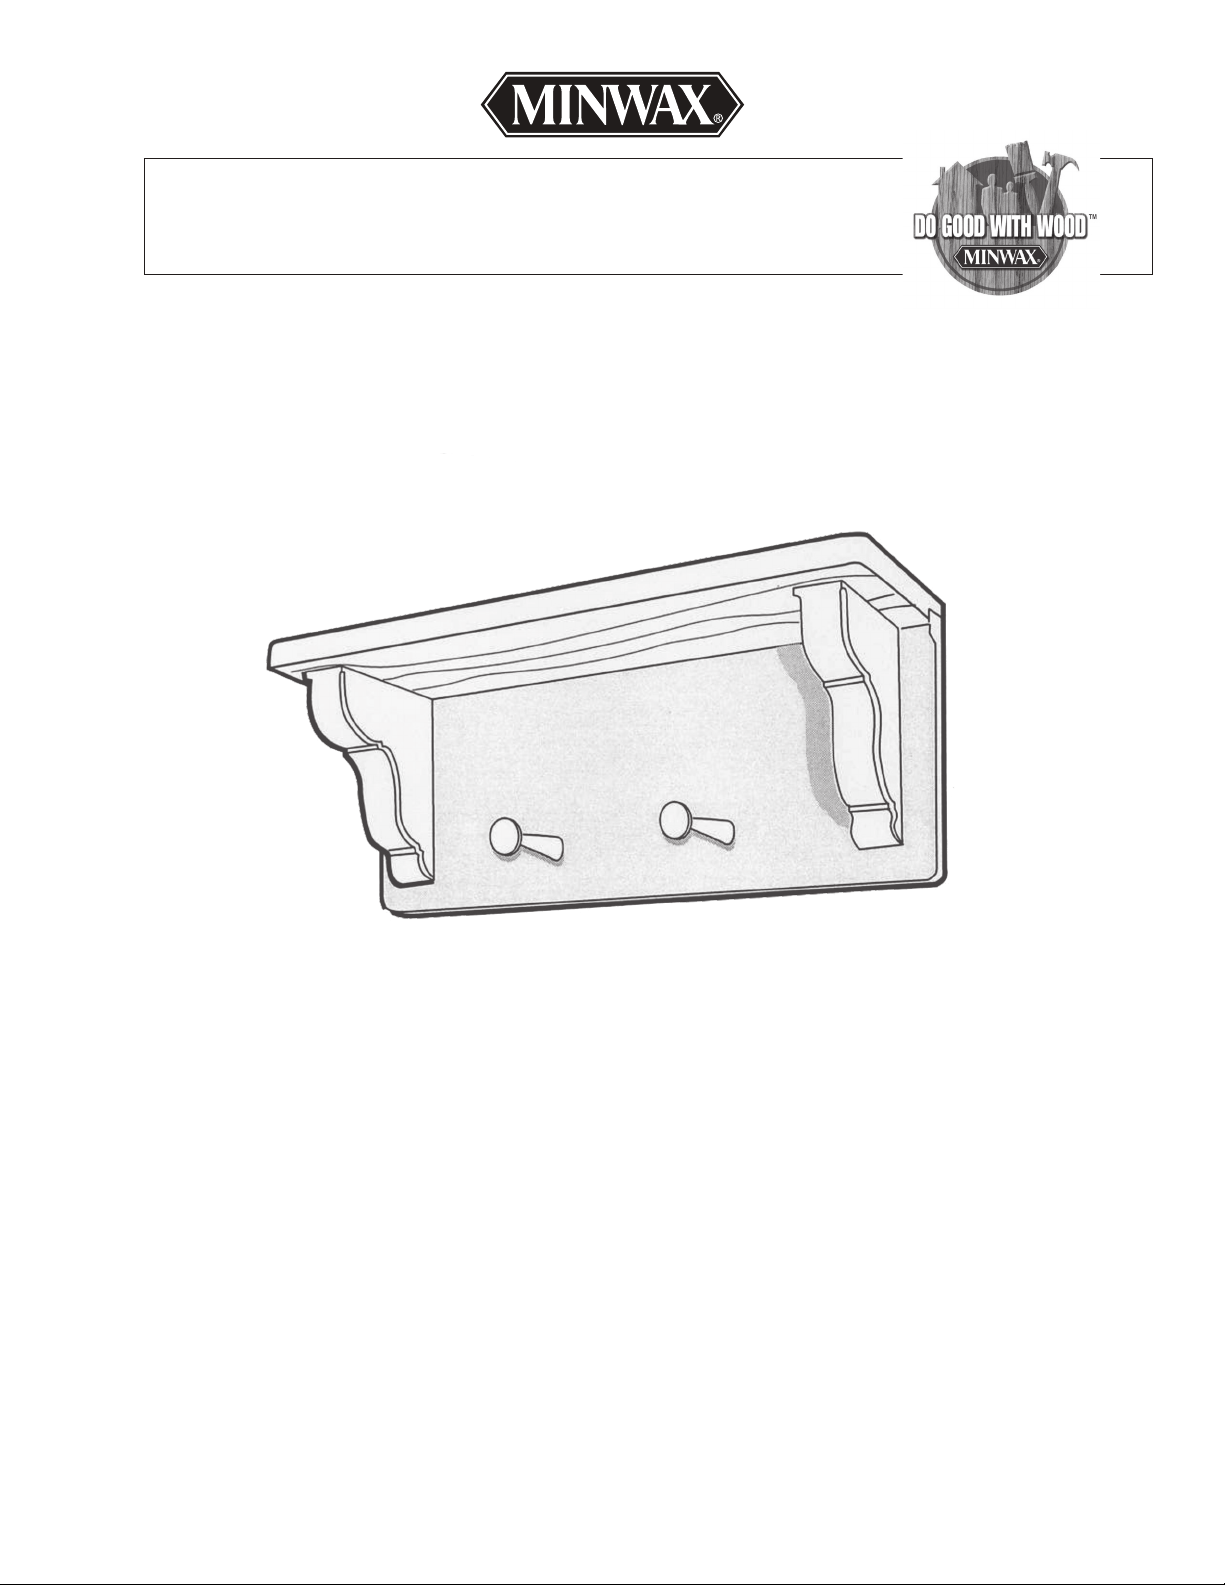
CONTINUED - WOODWORKS: BEGINNER PROJECT COLLECTIBLES SHELF
–2–
TOOLS REQUIRED:
MATERIALS REQUIRED:
See Shopping and Cutting Lists
WOOD FINISHING PRODUCTS:
– Pencil
– Ruler (zigzag or tape)
– Square (combination or try)
– Assorted files
– 1/2” or 3/4” Forstner bit
– Phillips screwdriver (medium)
– Hammer and 1/32" nail set
– Wooden mallet
Recommended Finish
Minwax®Pre-Stain Wood Conditioner
Minwax®Wood Finish™Cherry
Minwax®Fast-Drying Polyurethane
Miscellaneous
Minwax®Fine Finishing Brushes
Clean rags
Paint thinner, if required
Water-filled metal container with cover
Wood Glue
120. 150 and 220-grit sandpaper
– Safety glasses
– Rasp
– Scroll or saber saw
– Table saw and dado head
– Sanders (belt, random orbit, pad)
– Router (with assorted bits)
– Drill press (or portable electric drill)
BEFORE YOU BEGIN
Make no mistake, good craftsmanship begins and ends widi good
work habits. So, aspiring woodworkers should always remember
to review the plans for every project before picking up any tools or
purchasing materials. Also, discuss anything that seems unclear
with your instructor at the start, so you’ll avoid frustration and
wasted materials later.
PROCEDURE
I. Layout and Cutting
1. Layout and cut shelf and apron to size.
2. Create the template pattern for the brackets on heavy cardboard
or 1/4” plywood referring to the plans for design and dimensions.
(Note: If desired, use optional bracket drawings for Shelf with Throw
Rack.) When satisfied with template’s form, carefully cut it out and
transfer the design to the two pieces of 5/4” stock.
3. Cut brackets to size using a scroll saw or saber saw.
Builder’s Tip: Because of the stock’s thickness and the tight cuts
required, you should not attempt to tack boards together to cut
both brackets at the same time.
4. Install the dado head on the table saw and plough the 1/4” x 3/4”
edge-rabbet in the shelf to receive the apron.
5. Slightly round front corners of shelf and bottom corners of apron
using a rasp and pad sander, or stationary belt sander.
6. Using 120-grit sandpaper, sand all surfaces smooth. Remember,
always sand with the wood grain to avoid cross-grain scratches.
7. Using a router and beading bit, dress front bracket edges as
shown. Also, rout the front plane of the apron along the two end and
bottom edges. Do not rout the shelf edges. This piece is rounded-over
using Dies and sandpaper.
8. Lay out parts on workbench and temporarily assemble piece
(without using glue or nails) to check parts for fit and dimensions.
Trim parts to exact size if necessary.
9. With parts temporarily assembled, use a pencil to lightly mark the
inside planes of the brackets on the apron.
10a. For Shelf with Shaker Pegs:
i. Determine hole location for Shaker pegs. Start by carefully
measuring the distance between the pencd lines just drawn and divide
by three. Lightly draw a second set of pencil tines approx. 4-5/8” in
from the original lines. Set a combination square to 1-3/4” and,
measuring up from the apron’s bottom edge along these new fines,
mark peg location.
ii. Bore die two mortises to receive peg tenons.
Builder’s Tip: Peg dimensions can vary, so carefully measure
both the diameter and length of the tenons on the pegs you are
using. The pegs for the prototype project required mortises that
were 1/2” diameter by 5/8” deep. They were made with a 1/2”
diameter hole cutter with a brad point. If the mortise exits back
side of the apron, don’t worry. This provides an escape hole for
excess glue if any is present.
10b. For Shelf with Throw Rack:
i. Locate and mark position for blind mortises on brackets to hold
dowel (see plans).
ii. Use a 3/4” dia. Forstner bit to bore bodi mortises 1/4” deep.