Mio MiVue C300 User manual

User Manual
MiVueTM
C300

1
Table of Contents
Precautions and notices ...................................................................3
Getting to know the recorder ............................................................3
Inserting a memory card ...................................................................5
Formatting a card .......................................................................6
Using your recorder in a vehicle .......................................................6
Operating basics...............................................................................7
Setting the date and time ...........................................................8
Recording in driving mode..........................................................8
Continuous recording...........................................................8
Event recording....................................................................9
Capture mode.............................................................................9
Playback mode.........................................................................10
File management ............................................................................ 11
Protecting les..........................................................................11
Deleting les.............................................................................12
Customising the settings.................................................................12
Caring for your device.....................................................................14
Regulatory information....................................................................15
CE ............................................................................................15
WEEE.......................................................................................16
Safety precautions....................................................................16


3
Precautions and notices
For your own safety, do not operate the controls of the product while driving.
A window mount is needed when using the recorder in a car. Make sure that
you place the recorder in an appropriate place, so as not to obstruct the
driver’s view or deployment of airbags.
Make sure that no object is blocking the camera lens and no reective
material appears near the lens. Please keep the lens clean.
If the car’s windscreen is tinted with a coating, it may impact the recording
quality.
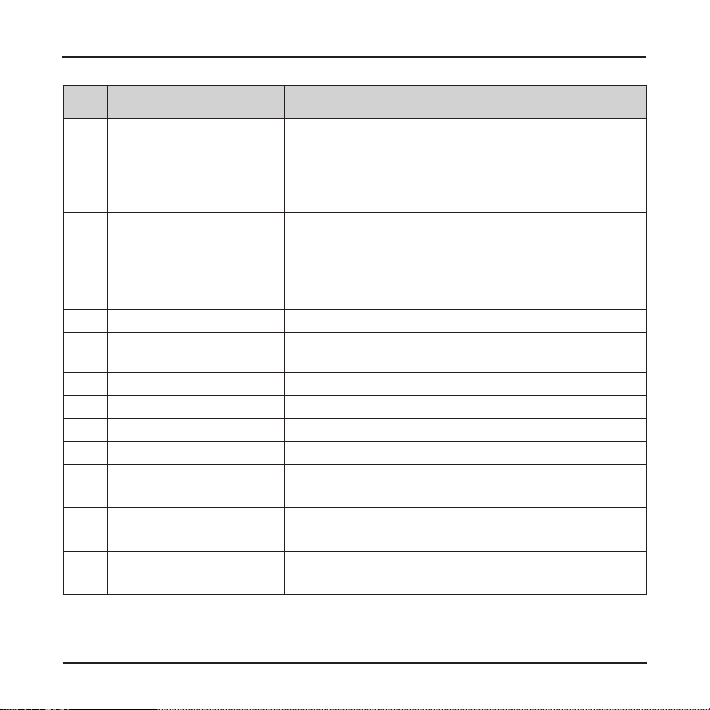
Getting to know the recorder
Name Description
❶Device mount socket For mounting the device.
4
Name Description
❷Power key
Press briey to turn on the device; press and hold to
turn off the device.
When the device is on and not recording: press
briey and repeatedly to cycle through the operation
mode: video > capture > playback.
❸Status indicator
Glows in red when charging is in progress.
(The indicator will be off when the device is fully
charged.)
Flashes in green when recording is in progress.
Glows in green when the device is turned on.
❹LCD screen Displays the output of your device.
❺Camera lens Make sure that no object is blocking the camera lens
and no reective material appears near the lens.
❻Mini-USB connector Connects to the charger.
❼Shutdown switch Turns off the device.
❽Speaker Outputs audio.
❾Microphone Receives sounds.
❿OK key
Starts or stops recording.
Acts as the ENTER button.
⓫Down key
Moves to the next item.
Zooms out of the image.
⓬Up key
Moves to the previous item.
Zooms in the image.

5
Name Description
⓭Menu key
Opens the settings menu when not recording.
Returns to the previous screen.
Changes the speed (1X, 2X, 4X, 8X) during video
playback.
⓮Memory card slot Data is recorded to a MicroSD card.
Inserting a memory card
CAUTION: Do not apply pressure to the centre of the memory card.
You have to insert a memory card before you can start
recording. Your device supports Class 10 memory cards with up
to 32 GB capacity.
Hold the card (MicroSD) by the edges and gently insert it into
the slot as shown in the illustration.
To remove a card, gently push the top edge of the card inwards
to release it, and pull it out of the slot.
Note: Before you start recording, please format the MicroSD card to avoid malfunction caused by
les not created by MiVue. You can format the card on your computer or on MiVue.
Note: MiTAC does not guarantee the product’s compatibility with MicroSD cards from all
manufacturers.

6
Formatting a card
If you need to format a memory card (all data will be erased):
1. When not recording, press twice to open the Setup menu.
2. Select Format and press .
3. Select Yes and press .
Using your recorder in a vehicle
CAUTION:
Select an appropriate location for mounting the device in a vehicle. Never place the device
where the driver’s eld of vision is blocked.
DO NOT insert or remove the memory card when operating the recorder.
To ensure the optimal recording angle, pay attention to the following:
1. Make sure that your car is parked on a level ground.
2. When adjusting the angle of mounting, make sure that the camera’s view is
parallel with the level ground, and the ground/sky ratio is close to 6/4.
Use cable clips to secure the power cord so that it does not interfere with driving.
To ensure the highest quality recordings, you are advised to place the recorder
near the rear view mirror.

7
Operating basics
CAUTION: DO NOT remove or insert the memory card while recording.
Connect the recorder to the car charger according to the installation instructions in
the previous “Using your recorder in a vehicle” section.

8
Setting the date and time
To make sure of the correct date and time for your recordings, please check the
date and time settings before you begin recording.
1. When not recording, press twice to open the Setup menu.
2. Select Date/Time and press .
3. Select Set and press .
4. Press the Power key repeatedly to change the setting elds.
Date format
Date elds
Time elds
Use and to select the desired setting and press .
Recording in driving mode
Continuous recording
When you connect the car charger to the cigarette lighter in the car, the recorder
will start continuous recording automatically. The recording will be divided into
video clips with about 130 MB for each clip; recording will not stop between video
clips.
The recorder automatically stops and saves the recording when the vehicle
engine is turned off. Then the recorder turns off automatically. If you want to stop
recording manually, press .
When recording is not in progress, you can manually start the continuous
recording at any time by pressing . To stop recording, press .

9
❶ ❷ ❹ ❺
❻
❸
❼❽
❶Current operation mode ❺Battery power status
❷Image resolution ❻Elapsed time of
recording; remaining
time for recording
❸Microphone status ❼Current time
❹Memory card status ❽Current date
Note: If continuous recording is ongoing but there is not enough space on your memory card, new
video clips will replace the old ones.
Note: When not recording, you can open the Video menu by pressing .
Event recording
By default, if an event happens, such as sudden impact, high-speed driving, an
overdone turn or an accidental crash, the G sensor will prompt the recorder to start
an "emergency" recording (an event recording).
If you want to manually start an event recording while continuous recording is in
progress, press .
To stop recording, press .
Note: Your MiVue will automatically protect/lock event recordings.
Capture mode
When not recording, press the Power key briey and repeatedly to switch to
capture mode. Press to capture a photo.
Table of contents
Other Mio Dashcam manuals

Mio
Mio MiVue M760D User manual

Mio
Mio MiVue C310 User manual

Mio
Mio MiVue 388 User manual

Mio
Mio mivue drive 60 series User manual

Mio
Mio N548 User manual

Mio
Mio MiVue C540 Series User manual

Mio
Mio MiVue M760D User manual

Mio
Mio 5415N5780005 User manual

Mio
Mio MiVue 798 User manual

Mio
Mio MiVue C570 Series User manual

Mio
Mio MiVue 82 Series User manual

Mio
Mio MiVue 6 series User manual

Mio
Mio MiVue M760D User manual

Mio
Mio MiVue 730 Series User manual

Mio
Mio MiVue C312 User manual

Mio
Mio MiVue C380D Series User manual

Mio
Mio MiVue C560 Series User manual

Mio
Mio MiVue 5 series User manual

Mio
Mio MiVue 338 User manual

Mio
Mio MiVue 600 User manual


