manuals.online logo
Brands
  1. Home
  2. •
  3. Brands
  4. •
  5. Miranda
  6. •
  7. Amplifier
  8. •
  9. Miranda HDA-1811 Instruction Manual

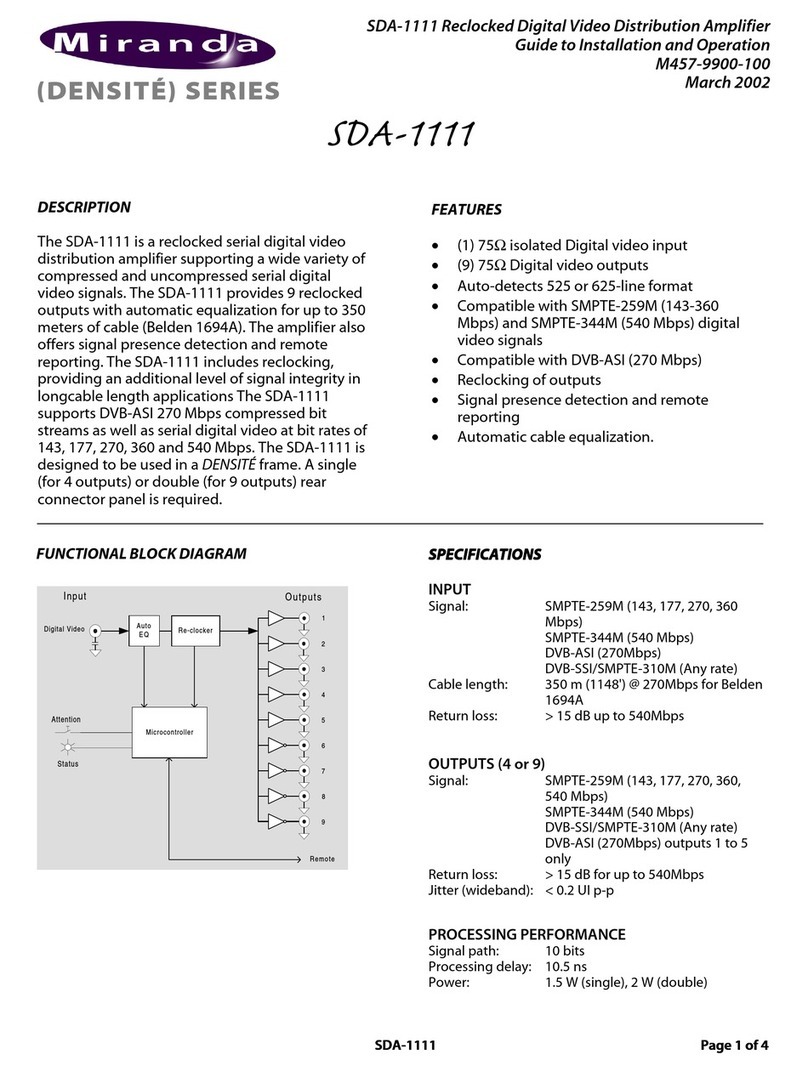
Miranda HDA-1811 Instruction Manual

HDA-1811 Reclocked High Definition Digital Video DA
Guide to Installation and Operation
M460-9900-100
(DENSITÉ) SERIES
March 2002
HDA-1811
Page
1
of
4
HDA-1811
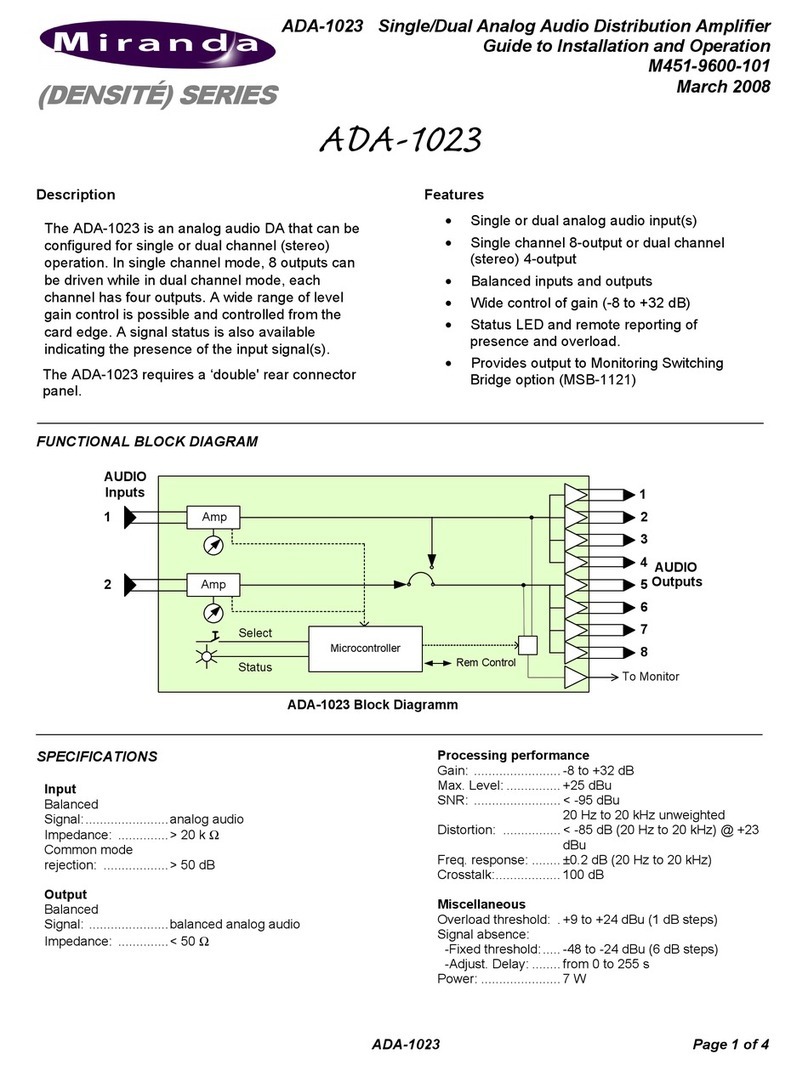
FUNCTIONAL BLOCK DIAGRAM
DESCRIPTION
The HDA-1811 is a reclocked high definition serial
digital video distribution amplifier. The HDA-1811
has one input, and 4 outputs, with automatic
equalization for up to 110 meters of cable (Belden
1694a) at 1.485 or 1.485/1.001 Gbps. The amplifier
offers signal presence detection and remote
reporting, and includes reclocking, providing an
additional level of signal integrity in long cable
length applications. While primarily designed for
distribution of HD serial digital signals (SMPTE
292M), the HDA-1811 automatically detects non-
HD signals and distributes them without reclocking.
This multi-rate feature makes the HDA-1811 ideal
for applications where HD and SD signals may
coexist. The HDA-1811 is designed for use in the
DENSITÉ
frame.
FEATURES
•
(1) HD SDI input
•
(4) HD SDI reclocked outputs
•
Supports HD SDI (1.485, 1.485/1.001 Gbps)
•
Supports non-reclocked SD SDI (143-540
Mbps)
•
110 m automatic cable equalization
•
Signal presence detection with remote
reporting
Outputs
Input
Remote
1
2
3
Microcontroller
Attention
Status
Signal
Presence
Detect
4
HD SDI
IN
HD
SDI
Auto
EQ
Re-
clock
SPECIFICATIONS
SPECIFICATIONSSPECIFICATIONS
SPECIFICATIONS
INPUT
Signal:
SMPTE-292M
(1.485 1.485/1.001 Gbps)
SMPTE-259M-ABCD
(143, 177, 270, 360, 540 Mbps)
Cable length:
110 m (360') up to 1.5 Gbps for
Belden 1694A
Return loss:
> 15 dB up to 1.5 GHz
OUTPUTS (4)
Signal:
SMPTE-292M
(1.485 1.485/1.001 Gbps)
SMPTE-259
M-ABCD
(143, 177, 270, 360, 540 Mbps)
Return loss:
> 15 dB for up to 1.5 GHz
Jitter (wideband):
< 0.2 UI p-p
PROCESSING PERFORMANCE
Signal path:
10 bits
Processing delay:
6 ns
Power:
Power:Power:
Power:
2 W
HDA-1811 Reclocked High Definition Digital Video DA
Guide to Installation and Operation
Page
2
of
4
HDA-1811
UNPACKING
Make sure the following items have been shipped
with your HDA-1811. If any of the following items are
missing, contact your distributor or Miranda
Technologies Inc.
* HDA-1811 Digital Video Distribution Amplifier
* HDA-1811 rear panel
INSTALLATION
The HDA-1811 must be mounted in a DENSITÉ
frame. The installation includes both the HDA-1811
module, and the rear panel module. It is not
necessary to switch off the frame’s power when
installing or removing the HDA-1811.
Detailed instructions for installing cards and their
associated rear panels in the Densité frame are given
in the Densité Frame manual.
OPERATION
Overview
The HDA-1811 is equipped with an on-board LED
status indicator, mounted on the front edge of the
card so as to be visible from the front of the card
frame, even when the frame door is closed. The
functionality of this status monitor is described below.
The DENSITÉ frame incorporates a central controller
card, located in the center of the frame, which is
equipped with an LCD display. The card handles
error reporting and remote control for all cards
installed in the frame. The display shows the error
status of any card in the frame whose SELECT
button has been pushed.
The HDA-1811 is also equipped with the remote
reporting and control capabilities of the DENSITÉ
series. Fault reporting is carried out on a frame-wide
basis. There is no individual rear-panel access to the
fault and status reporting port of the HDA-1811.
Interfacing to the outside world is handled by the
frame’s contoller card. The fault reporting protocol is
standardized across the DENSITÉ series of modules.
Status Monitor LED
The status monitor LED is located on the front card-
edge of the HDA-1811 module, and is visible through
the front access door of the DENSITÉ frame.
This multi-color LED indicates module status by
color, and by flashing/steady illumination, according
to the following chart. The chart also indicates fault
HDA-1811
SDA-1101 - SD DIGITAL VIDEO
Select
Status
Status LED
SELECT button
HDA-1811 Rear Connector Panel
HDA-1811 Reclocked High Definition Digital Video DA
Guide to Installation and Operation
HDA-1811
Page
3
of
4
reporting for this card on the DENSITÉ frame’s serial
and GPI interfaces.
Status Indicator
REPORT COLOR (F=flashing)
SERIAL GPI G Y R FR
No errors 
No Input
Signal 
No rear
panel 
No lock
on input 
: Factory default.
NOTE: A “Flashing Yellow” Status LED indicates that
the SELECT button on the front panel has been
pushed, and the card is being accessed by the
controller. The LED color assignments for the various
error conditions can be reconfigured by the user.
User Interface
Push the SELECT button on the front edge of the
HDA-1811 to see a report of the current error status
on the DENSITÉ frame’s controller card display. The
HDA-1811 has four possible status messages:
STATUS
ERROR NO REAR
OK
ERROR NO SIGNAL
ERROR NO LOCK
The STATUS LED will revert to it’s normal state upon
a second push of the button, or after a short delay
otherwise.
Example :
SELECT button pushed when the status LED is
green:
SELECT button pushed when there is no input
signal connected to the rear panel and the LED
is steady red:
H D A - 1 8 1 1
O KS T A T U S
H D A - 1 8 1 1
A LN O S I G N
HDA-1811 Reclocked High Definition Digital Video DA
Guide to Installation and Operation
Page
4
of
4
HDA-1811
WARRANTIES
Miranda’s Warranty and Warranty Policy are explained in full detail in the Warranty Information Sheet.
COMPLIANCE
Radio Frequency Interference and Immunity
This unit generates, uses, and can radiate radio frequency energy. If the unit is not properly installed and used in accordance with this
guide, it may cause interference with radio communications. Operation with non-certified peripheral devices is likely to result in interference
with radio and television reception. This equipment has been tested and complies with the limits in accordance with the specifications in:
- FCC Part 15, Subpart B
- CE EN50081-1:1992
- CE EN50082-1:1992.
CONTACT MIRANDA
Head Office Miranda Europe Miranda Asia
Miranda Technologies Inc. 222, 226 Rue De Rosny Mita Nexux Bldg. 2F
3499 Douglas B. Floreani 93100 Montreuil 1-3-33 Mita, Minato-Ku
St. Laurent (Montreal), Que.H4S 1Y6 France Tokyo, Japan 108-0073
Canada
Tel (514) 333 – 1772 +33 1 55 86 87 88 81 3 5730 2988
Fax (514) 333 – 6914 +33 1 55 86 00 29 81 3 5730 2973
Toll free: 1-800-224-9828

Other Miranda Amplifier manuals

Miranda ADA-1023 Instruction Manual

Miranda

Miranda ADA-1023 Instruction Manual

Miranda DENSITE series Instruction Manual

Miranda

Miranda DENSITE series Instruction Manual

Miranda Densite HDA-1861 Instruction Manual

Miranda

Miranda Densite HDA-1861 Instruction Manual

Miranda Densite series DDA-1113 Instruction Manual

Miranda

Miranda Densite series DDA-1113 Instruction Manual

Miranda DENSITE series Instruction Manual

Miranda

Miranda DENSITE series Instruction Manual

Miranda VDA-1001 Specification sheet

Miranda

Miranda VDA-1001 Specification sheet

Miranda imaging Series Instruction Manual

Miranda

Miranda imaging Series Instruction Manual

Miranda DENSITE series Instruction Manual

Miranda

Miranda DENSITE series Instruction Manual

Miranda DENSITE series Instruction Manual

Miranda

Miranda DENSITE series Instruction Manual

Miranda DDA-1112 Instruction Manual

Miranda

Miranda DDA-1112 Instruction Manual

Miranda HDA-1832 Instruction Manual

Miranda

Miranda HDA-1832 Instruction Manual

Miranda VEA-1002 Instruction Manual

Miranda

Miranda VEA-1002 Instruction Manual

Miranda SDA-172p User manual

Miranda

Miranda SDA-172p User manual

Miranda SDA-122 Instruction Manual

Miranda

Miranda SDA-122 Instruction Manual

Miranda HDA-1801 Instruction Manual

Miranda

Miranda HDA-1801 Instruction Manual

Miranda DENSITE HDA-1851 Instruction Manual

Miranda

Miranda DENSITE HDA-1851 Instruction Manual

Miranda ADA-702i Instruction Manual

Miranda

Miranda ADA-702i Instruction Manual

Miranda DENSITE series Instruction Manual

Miranda

Miranda DENSITE series Instruction Manual

Popular Amplifier manuals by other brands

Atlas IED AL2450 owner's manual

Atlas IED

Atlas IED AL2450 owner's manual

EMU CREATIVE TRACKER pre Reference manual

EMU

EMU CREATIVE TRACKER pre Reference manual

Pioneer SPEC-2 Service manual

Pioneer

Pioneer SPEC-2 Service manual

Inter-m PA-9312 Operation manual

Inter-m

Inter-m PA-9312 Operation manual

Quartzlock A5-32 User handbook

Quartzlock

Quartzlock A5-32 User handbook

Crown PSL-2 quick reference

Crown

Crown PSL-2 quick reference

Bryston SP3 manual

Bryston

Bryston SP3 manual

Hama 00044139 operating instructions

Hama

Hama 00044139 operating instructions

Laney AH50 user manual

Laney

Laney AH50 user manual

Audiopipe APMR-4080MIN owner's manual

Audiopipe

Audiopipe APMR-4080MIN owner's manual

Atlona AT-HD-V214 user manual

Atlona

Atlona AT-HD-V214 user manual

SMART SMP435 Installation and operating manual

SMART

SMART SMP435 Installation and operating manual

Cloud 46-50 Installation and user guide

Cloud

Cloud 46-50 Installation and user guide

Insignia NS-P2000 user guide

Insignia

Insignia NS-P2000 user guide

K-array KA7 user manual

K-array

K-array KA7 user manual

Raymer Amplifier 801-35A operating instructions

Raymer

Raymer Amplifier 801-35A operating instructions

ORTEC 572A Operating and service manual

ORTEC

ORTEC 572A Operating and service manual

Xenos 3 user guide

Xenos

Xenos 3 user guide

manuals.online logo
manuals.online logoBrands
  • About & Mission
  • Contact us
  • Privacy Policy
  • Terms and Conditions

Copyright 2025 Manuals.Online. All Rights Reserved.